Fast Links
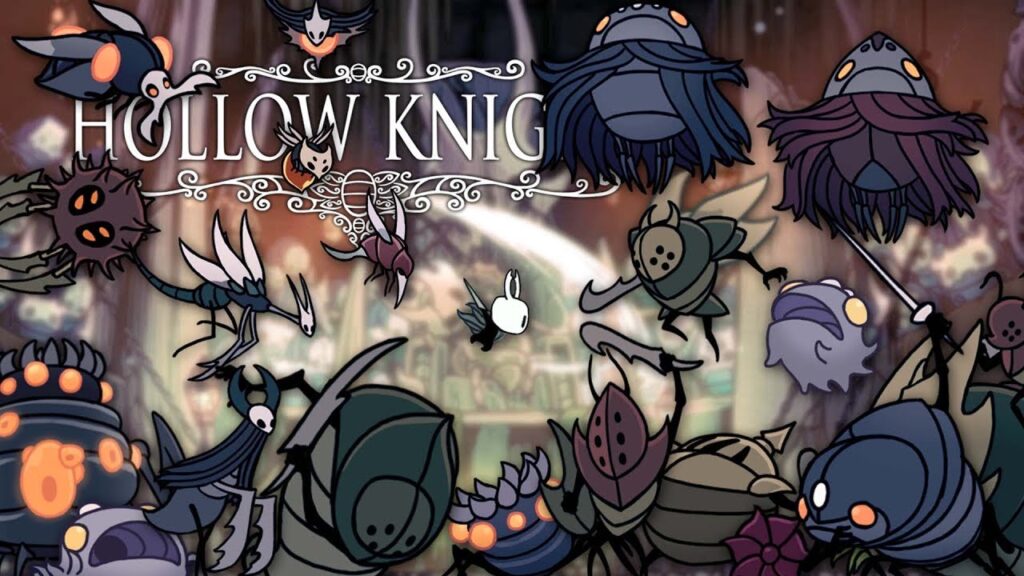
As you make your way through the trials in the Colosseum of Fools, the third and last trial that you encounter is the Trial of the Fools in Hollow Knight. The Colosseum of Fools is a great way to earn some extra Geo, as it costs a bit to enter, but once you successfully complete each trial, you earn your Geo back, plus a considerable amount on top of it. However, the Trial of the Fool is one of the most difficult challenges you can take on within the game, so it’s best to be on your toes and know exactly what you’re going up against. Keep reading for a full guide on the Trial of the Fool in Hollow Knight.

Trial of the Fool Guide in Hollow Knight
Since the Trial of the Fool is a more late-game place, it’s best to have some decent gear ready to take in with you, otherwise, you might not last very long at all. It’s recommended that you take:
When it comes to Charms, you should bring:
- Nailmaster’s Glory
- Cyclone Dash, Great Slash, or Dash Slash
- Shaman Stone
- Mark of Pride
- Longnail
- Dream Wielder
- Hiveblood
- Grubsong
- Thorns of Agony
- Dreamshield
In order to begin the Trial of the Fool, you’ll notice there is a banner, same as the first couple of trials, that you can walk to and place your mark. This will begin the trial, which costs 800 Geo. Keep reading below to learn what to expect with each of the 17 Waves of enemies that you’ll be taking on.
Hollow Knight: Trial of the Fool Waves
- Wave One
- First Spawn: Heavy Fool, Sturdy Fool
- Second Spawn: 2x Armoured Squit
- Third Spawn: 2x Shielded Fool, Primal Aspid
- Fourth Spawn: 2x Winged Fool, 2x Sharp Baldur
- Wave Two
- First Spawn: 2x Sturdy Fool, Primal Aspid
- Leave your focus on the Primal Aspid, as the spikes will destroy the Sturdy Fools, assuming you stay on the platform
- Wave Three
- Ceiling lowers by 1/4 of the Arena size
- First Spawn: 3x Battle Obble, Winged Fool
- Second Spawn: 2x Furious Vengefly
- Wave Four
- The platforms disappear, along with the spikes
- First Spawn: 2x Heavy Fool, 6x Belfly
- The Belflies will likely kill off the Heavy Fools, so wait until they’re done before you initiate a fight with them
- Wave Five
- The ceiling rises back up
- First Spawn: 3x Death Loodle
- Wave Six
- Four platforms appear
- First Spawn: 5x Death Loodle
- Wave Seven
- Platforms disappear
- First Spawn: 3x Death Loodle
- Wave Eight
- Four Platforms appear, along with floor spikes
- First Spawn: 2x Armoured Squit
- Second Spawn: 2x Primal Aspid
- Third Spawn: Primal Aspid, Winged Fool
- Fourth Spawn: 4x Garpede
- Fifth Spawn: Winged Fool, 2x Armoured Squit
- Wave Nine
- Platforms and Spikes both disappear
- First Spawn: Shielded Fool, Heavy Fool, Primal Fool
- Second Spawn: Mantis Traitor
- Third Spawn: Mantis Petra
- Fourth Spawn: 2x Mantis Petra, Mantis Traitor
- Fifth Spawn: Mentis Petra, Heavy Fool
- Sixth Spawn: 2x Soul Twister
- Seventh Spawn: 3x Mistake
- Eighth Spawn: Soul Warrior, Folly
- Wave 10
- Six platforms appear, along with floor spikes
- First Spawn:Volt Twister
- Second Spawn: Soul Twister
- Third Spawn: Volt Twister
- Fourth Spawn: Volt Twister
- Fifth Spawn: Soul Twister
- Wave 11
- Platforms and Spikes disappear
- First Spawn: Soul Warrior
- Second Spawn: Soul Twister
- Wave 12
- Walls move closer to the center of the arena
- First Spawn: Winged Fool, Sturdy Fool
- Second Spawn: 2x Lesser Mawlek
- Third Spawn: 2x Lesser Mawlek, Winged Fool
- Fourth Spawn: Brooding Mawlek
- Wave 13
- Walls move even closer to the center of the arena
- First Spawn: 8x Garpede
- Wave 14
- Walls return to the position they were in during Wave 12
- First Spawn:Winged Fool, 2x Armoured Squit
- Second Spawn: Primal Aspid, Armoured Squit
- Third Spawn: Mantis Petra, Armoured Squit
- Fourth Spawn: 4x Battle Obble
- Fifth Spawn: 2x Winged Fool
- Wave 15
- Ceiling drops to half the size it previously was
- First Spawn: Armoured Squit
- Second Spawn: Armoured Squit
- Wave 16
- Walls and Ceiling both return to the normal position, making the arena it’s max size and platforms disappear
- First Spawn: 14x Death Loodle
- Wave 17
- First Spawn: Heavy Fool, Sturdy Fool
- Second Spawn: Mantis Traitor
- Third Spawn: Winged Fool
- Fourth Spawn: Mantis Petra, Shielded Fool
- Fifth Spawn: Soul Twister
- Sixth Spawn: Shielded Fool
- Seventh Spawn: Volt Twister, Heavy Fool
- Eighth Spawn: 2x Sharp Baldur, 2x Armoured Squit
- Ninth Spawn: Heavy Fool, Winged Fool, Shielded Fool
- Tenth Spawn: Sturdy Fool
- Eleventh Spawn: God Tamer
Related:
How to Get to the White Palace in Hollow Knight
This is everything you need to know about what to expect within the Trial of the Fool in Hollow Knight, and a full guide to beating it. Be sure to check back for more useful and interesting guides and as always, be safe and have fun!

