
As you gather more slimes in Slime Rancher 2, you’ll quickly realize that feeding them yourself is frustrating. Often, you’ll find yourself not throwing enough food at them, or you’ll come back to a bunch of angry slimes who became hungry again. To avoid this problem, you can set up an auto-feeding system! This guide will explain how to use the auto feeder in Slime Rancher 2.
How to Use the Auto Feeder in Slime Rancher 2
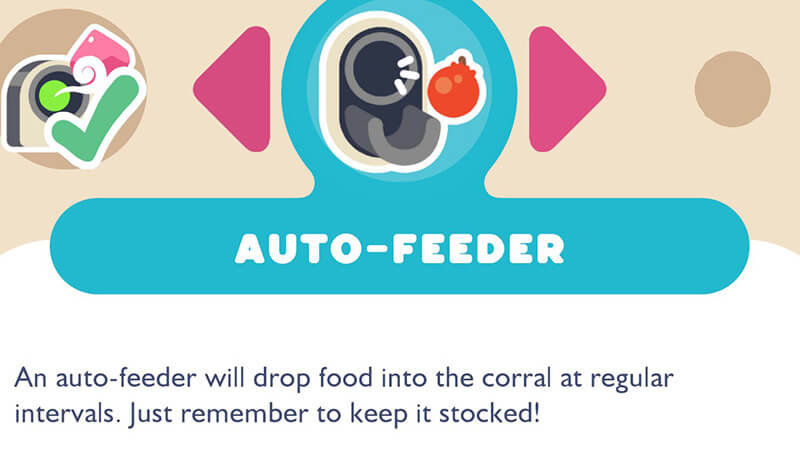
The Auto Feeder is a Corral extension you can purchase for 500 Newbucks. After building a Corral, interact with the terminal to access its different upgrades. At the very end, you’ll see the Auto-Feeder. Upon buying it, it’ll appear on the corner of the Corral, much like the Plort Collector.
From here, you can throw different food items into the Auto Feeder. You can use any food, ranging from vegetables to chickens. Once you throw food in, it’ll automatically release it into the area for your slimes to eat!
Related:
Slime Rancher 2: How to Get Primordy Oil
You’ll also notice a green button with three different intervals. These indicate how quickly the Auto Feeder releases food to your slimes. Generally speaking, if you only have a few slimes in the Corral, you’ll set it to the green interval. If you have a dozen or so, you’ll want it in yellow or red.
Just be careful with the speeds since setting it at a high interval may cause you to overfeed the slimes or waste food! Similarly, if it is too low, you may not feed your slimes enough. You’ll also want to check up on the Auto Feeder often to ensure you have enough food to throw into the Corral. After all, if there’s no food in the Auto Feeder, it has nothing to give to your slimes!
Slime Rancher 2 is available in Early Access on PC and Xbox Series X|S through Steam and Game Pass.