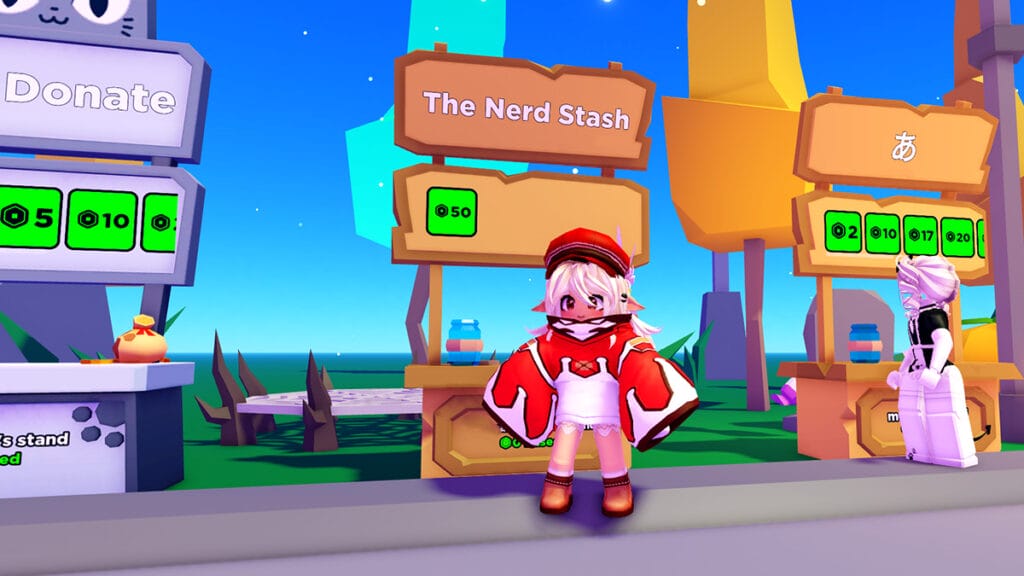
If the conventional street beggar life isn’t for you in Pls Donate, consider making your own Roblox gamepass for the game. Referred to as simply “Pass” on the platform, you can add the element as a purchasable item on your claimed Stand. This way, you needn’t beg for donations from every player that loads on the server. Instead, you can have them potentially come to you with their Robux—as long as your stand’s decor and charming disposition can woo them over, that is.
How To Create a Pass in Roblox
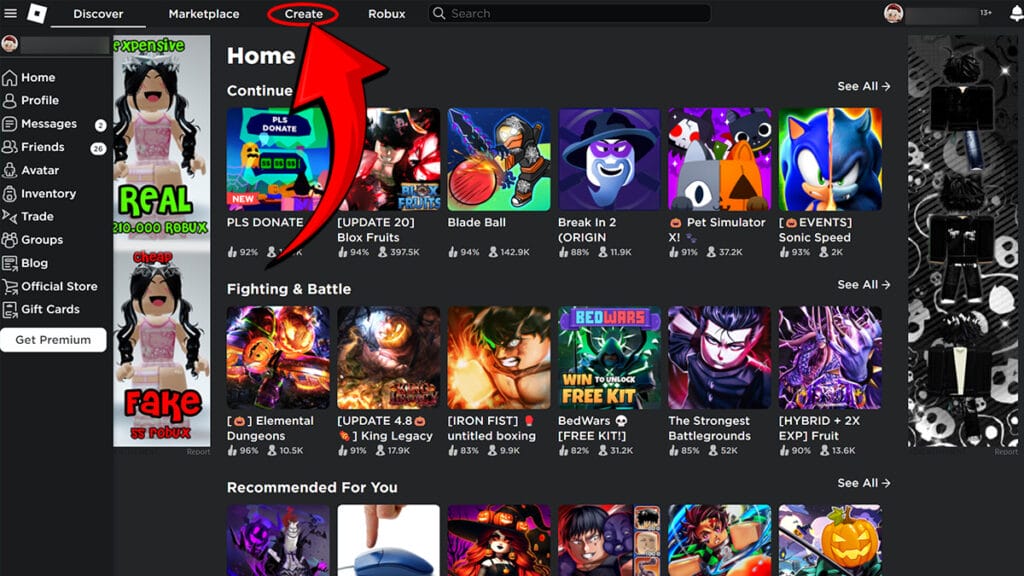
While you can create various elements for Roblox games via the Roblox Studio application, we will focus on Pass creation via browser since it’s the more accessible method. Starting on the platform’s Home Page, you must navigate your way to the Creator Hub. This can be done by selecting the “Create” tab at the top of your browser, between “Marketplace” and “Robux.”
Once you’re in your hub, go to Experiences, where you will find your “Place,” which is where you’ll configure everything that has to do with your Roblox game. Obviously, we’re not discussing making a game in Roblox at the moment, but it’s still the page where you need to navigate to make a gamepass in Pls Donate.
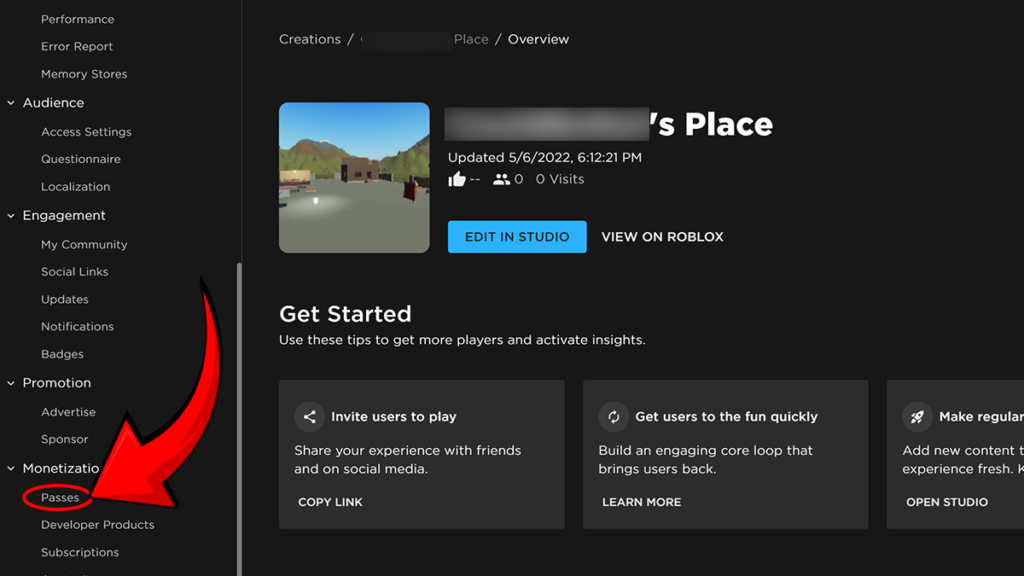
On the left side of your Place in Roblox, examine the long list of items to select from. Scroll down to the bottom, look under the tab for “Monetization Products,” and choose “Passes.” Since this is your first time doing so, the inventory page should be empty. Hit the “Create A Pass” to get started.
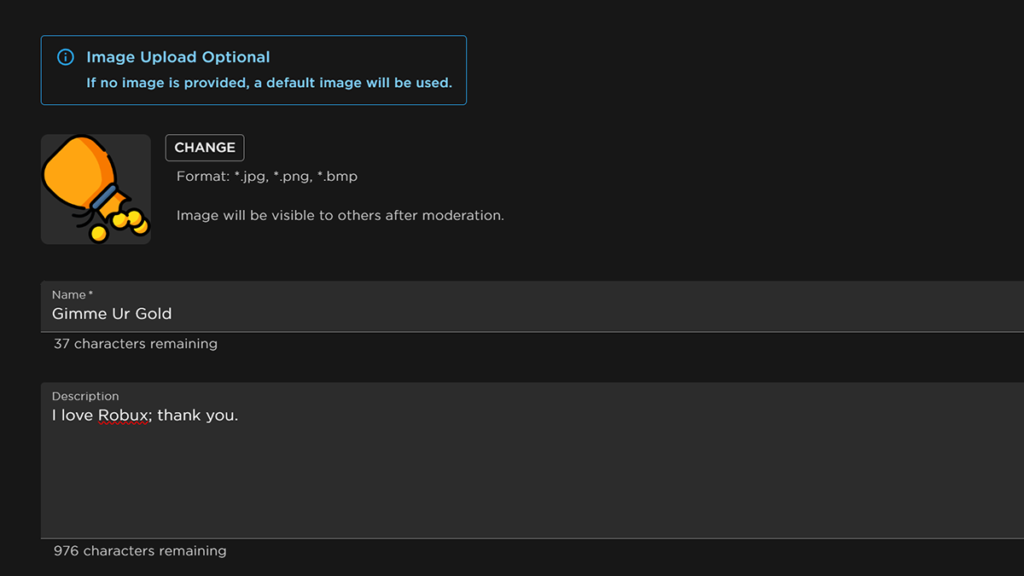
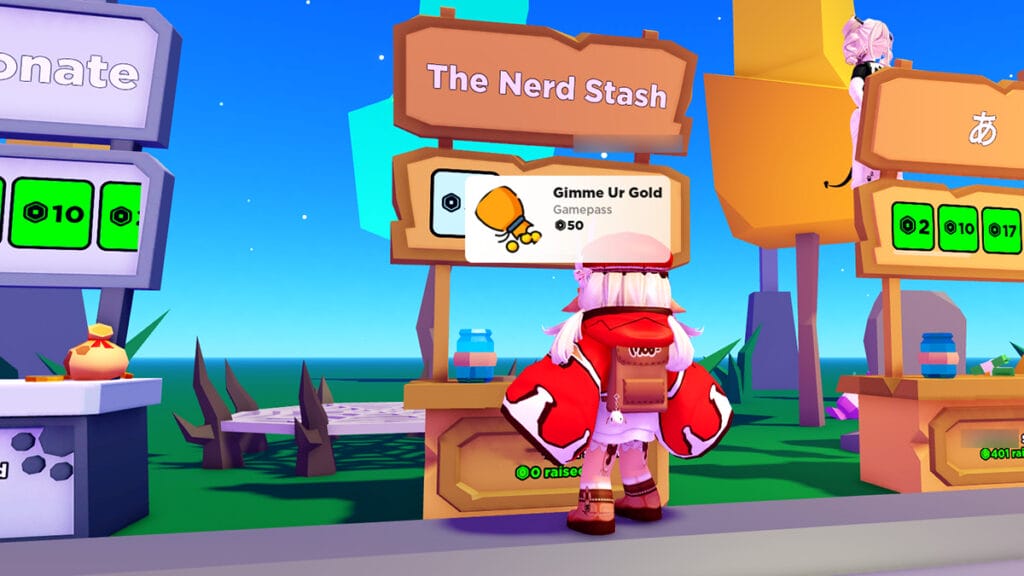
The creation process is extremely simple: Add an image for the Pass, choose a Name, and then fill out the Description. You can put whatever you want, such as “Gimme Your Robux.” That said, you also need to add pricing to your Pls Donate Pass in Roblox. This is done by selecting “Sales” under “Basic Settings” on the left of the Pass’s page and filling in a Robux value. Do note that Roblox, the company, will take 30% of your currency earnings.
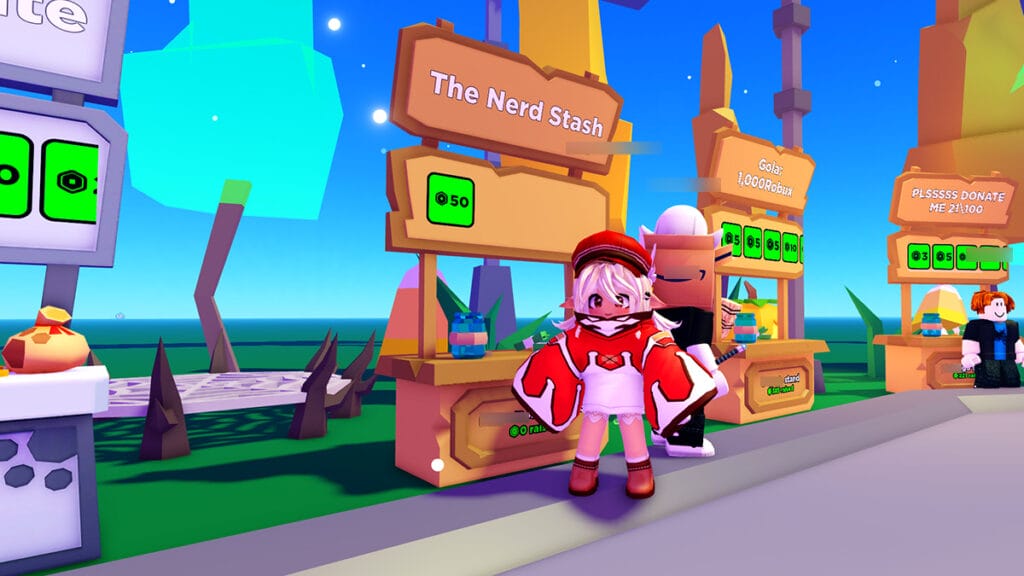
Now it’s time to put your Pls Donate gamepass into action by entering the game and claiming a Stand. Edit your Stand and select the Pass you just created, and voilà—your gamepass is good to go! Now, all that’s next to do is patiently wait AFK, dance, or do whatever you do best to acquire those donations.
For clarification’s sake, let’s briefly go over the steps of making a gamepass for Pls Donate:
- Access the Roblox Creator Hub via your browser.
- Enter your “Place” and navigate to “Passes.”
- Create the gamepass, and don’t forget to add a price.
- Launch Pls Donate, claim your Stand, and add the Pass.

