Skip To...
If this is your first rodeo, you should know that every FFXIV expansion features a long MSQ that players need to experience in order to unlock every new piece of content, and Dawntrail isn’t the exception. There are 100 quests in Dawntrail, and you’ll need 40 to 50 hours to see everything. So, if you want to see when the next dungeon unlocks or how far you are from the end, we have the complete list of all new quests in FFXIV Dawntrail.
(Updated on July 30, 2024 – Added new quests and images).
Main Quest (Tuliyollal)
Players will begin the FFXIV Dawntrail MSQ at Tuliyollal. You’ll have five introductory quests that’ll take you across the new city. During this, we recommend attuning to every Aetheryte and setting a new home point in case you fall in battle.
A New World to Explore
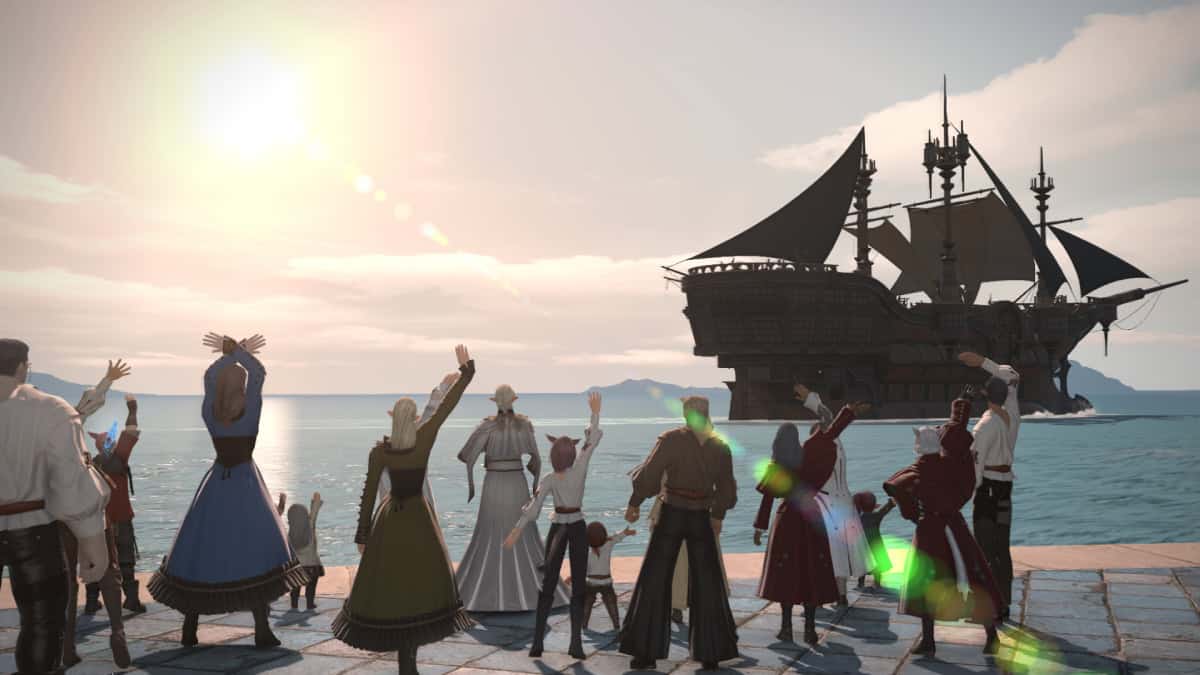
- Wait at the designated location.
- Speak with Erenville.
- Speak with shipmates.
- Speak with Krile.
- Speak with Erenville.
The Nation of Tuliyollal
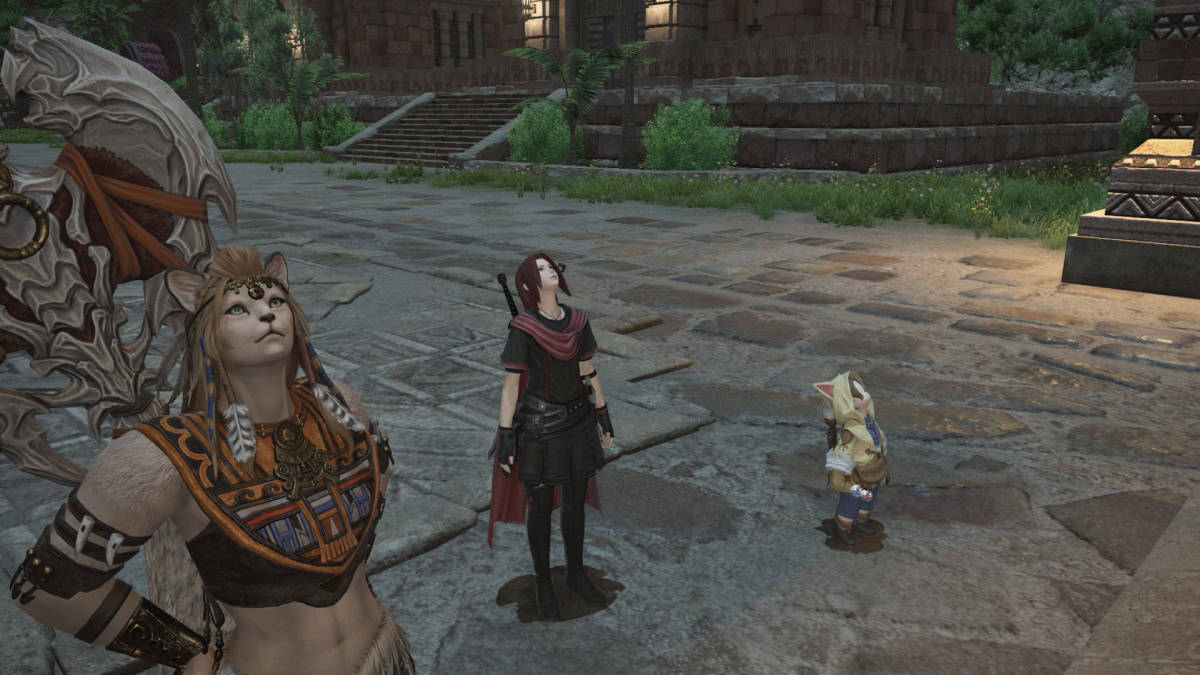
- Speak with Wuk Lamat as you visit different areas of Tuliyollal.
- Speak with Krile.
A City of Stairs
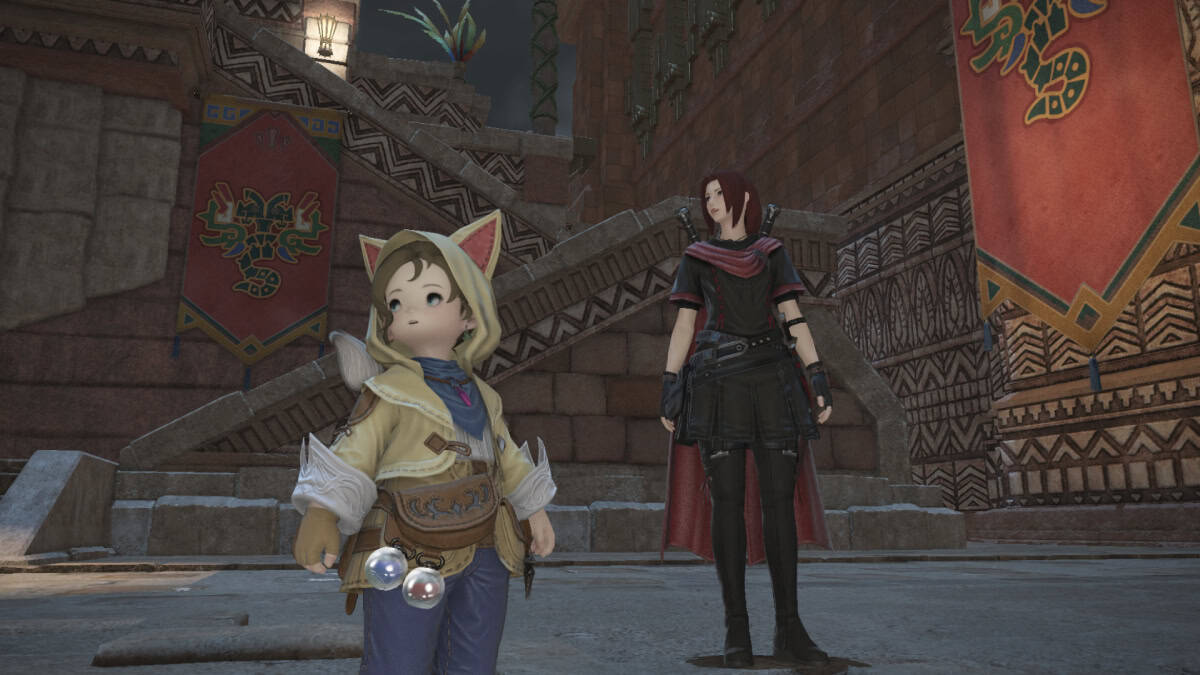
- Speak with Krile.
- Visit the last locations of Tuliyollal.
- Speak with Wuk Lamat.
A Saga in Stone
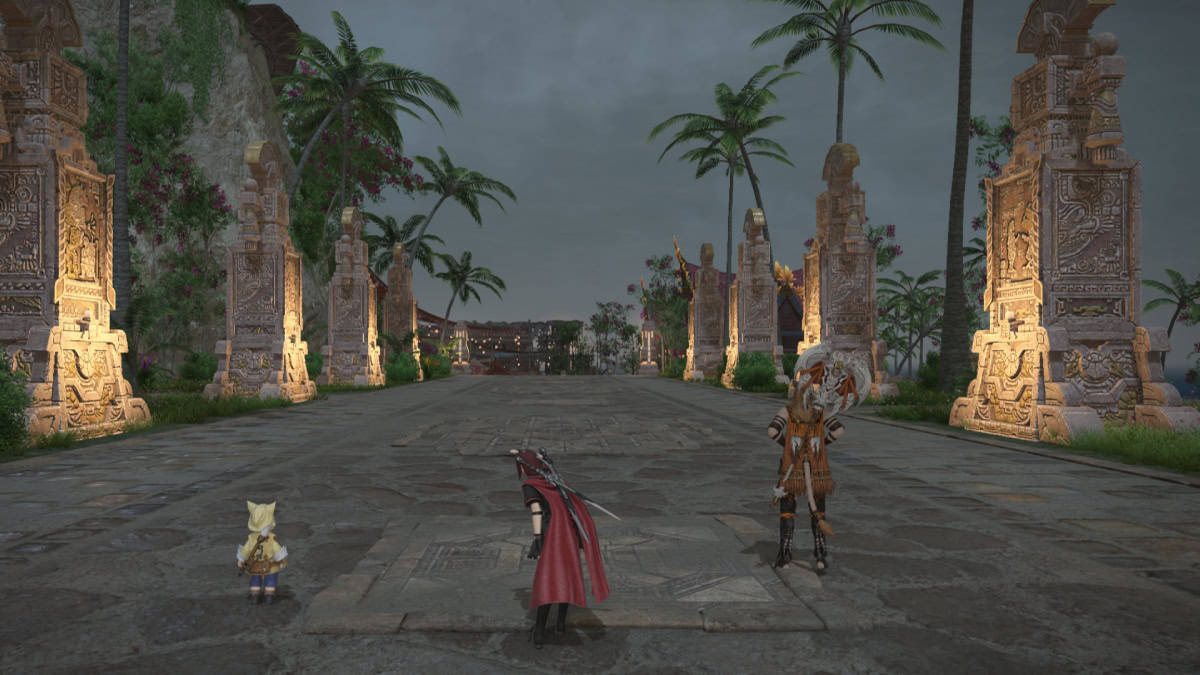
- Speak with Wuk Lamat.
- Inspect all stones.
- Speak with Br’uk Evu
- Speak with Wuk Lamat.
The Rite of Succession
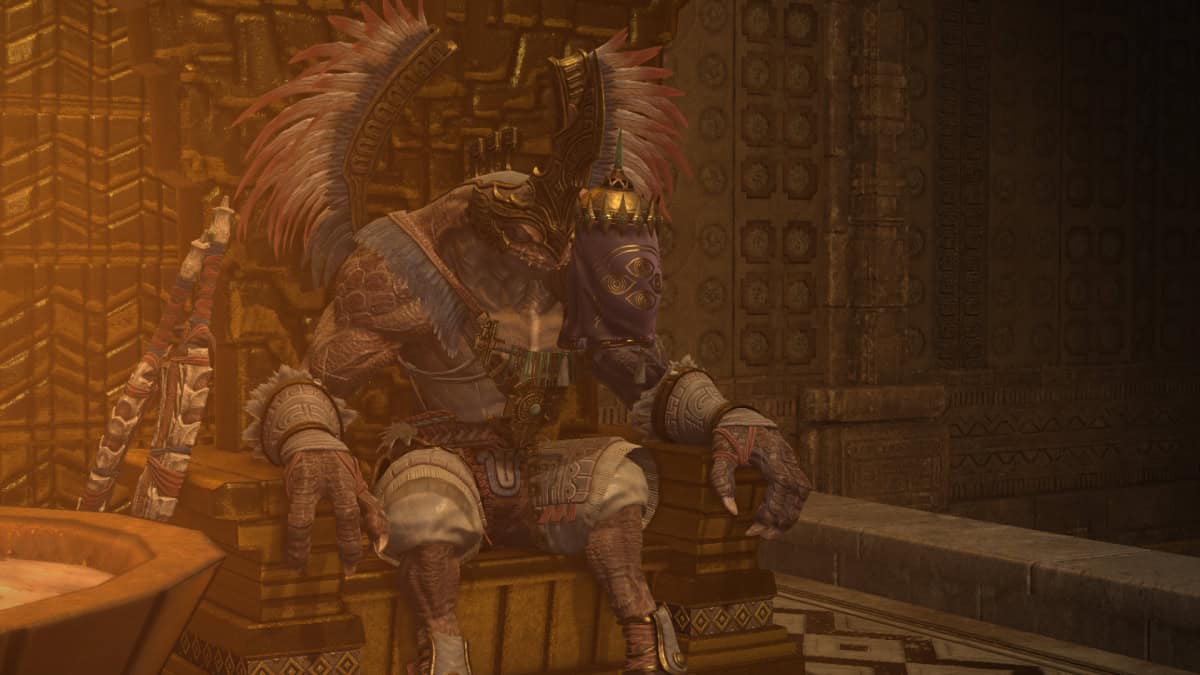
- Speak with Wuk Lamat.
- Speak with Alphinaud.
- Speak with Erenville.
- Watch the cutscenes.
- Speak with Wuk Lamat again.
After this quest, you’ll get to pick between two destinations: Urqopacha and Kozama’uka. It doesn’t matter in which order you make them, but since we picked Urqopacha, we’ll list those quests first.
Urqopacha Quests
One of the first areas Warriors of Light will visit during the MSQ of FFXIV Dawntrail is Urqopacha. Like in previous expansions, remember to get that Aether Compass out to start working on the currents so you can fly as soon as you finish all quests here.
To Urqopacha
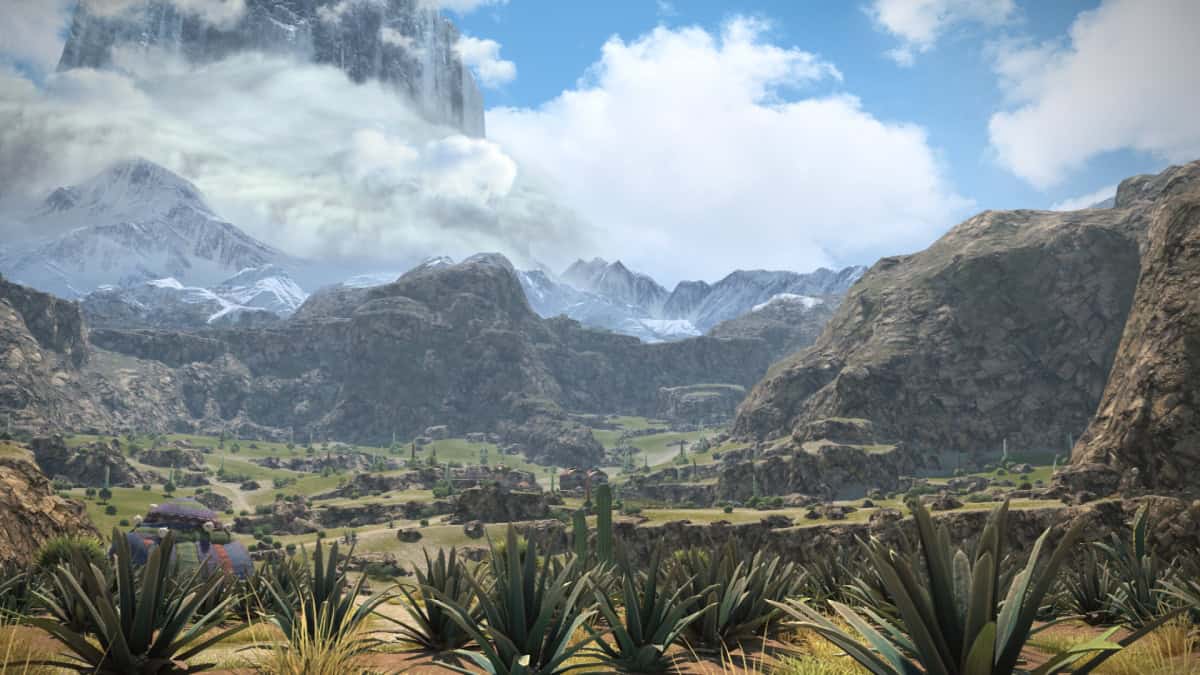
- Speak with the Approachable Pelu.
- Speak with Erenville.
Traders of Happiness
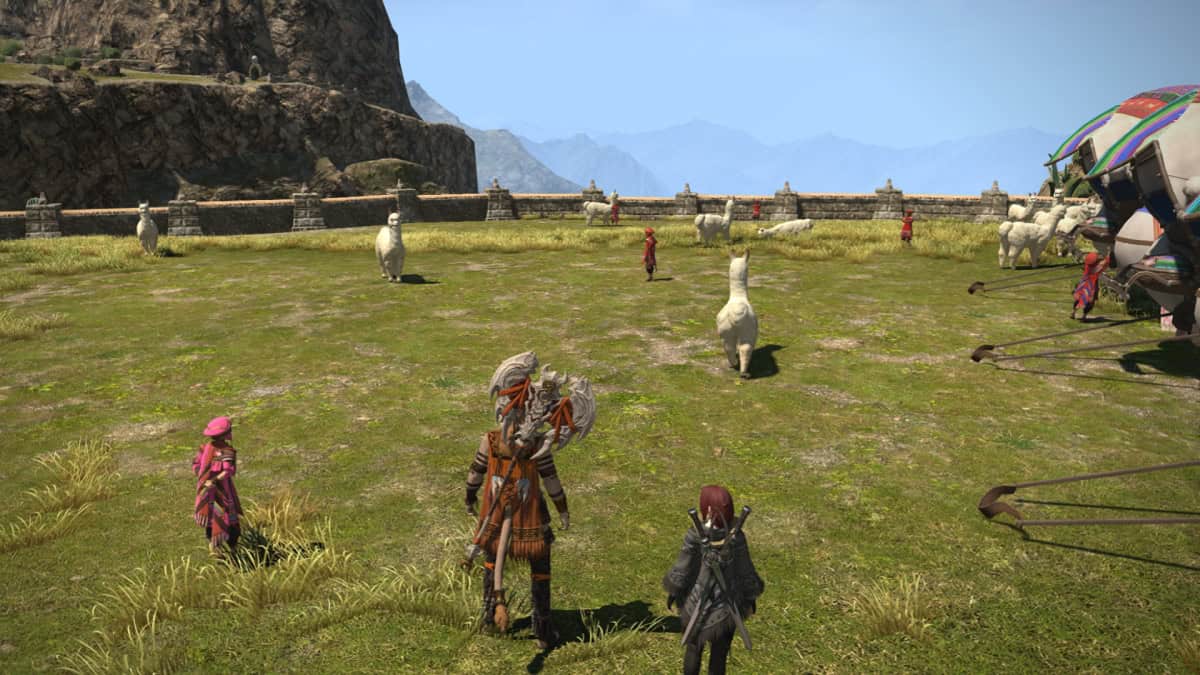
- Gather information at the distillery.
- Speak with Wuk Lamat.
- Speak to the Ranch Hands.
- Find the elector. The correct answer is the diligent ranch hand.
The Feat of Gold
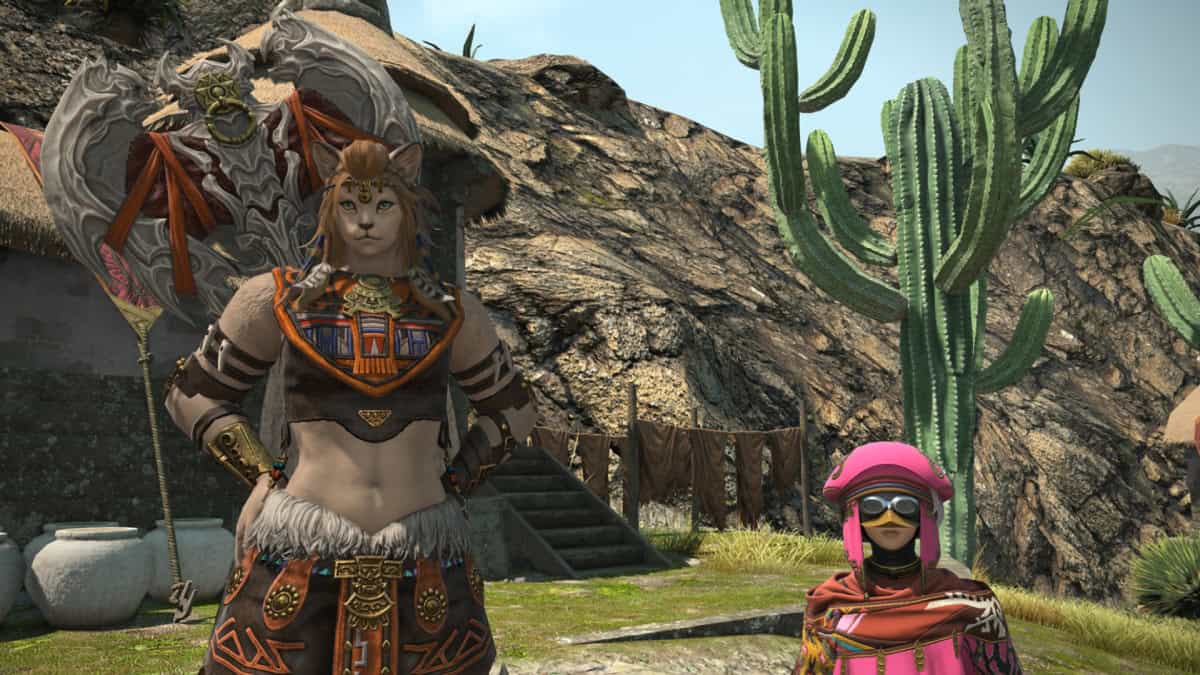
- Speak with Havli.
- Speak with Mablu and select the Disconcerted Hoobigo.
- Speak with Mablu again.
Mablu’s Dream
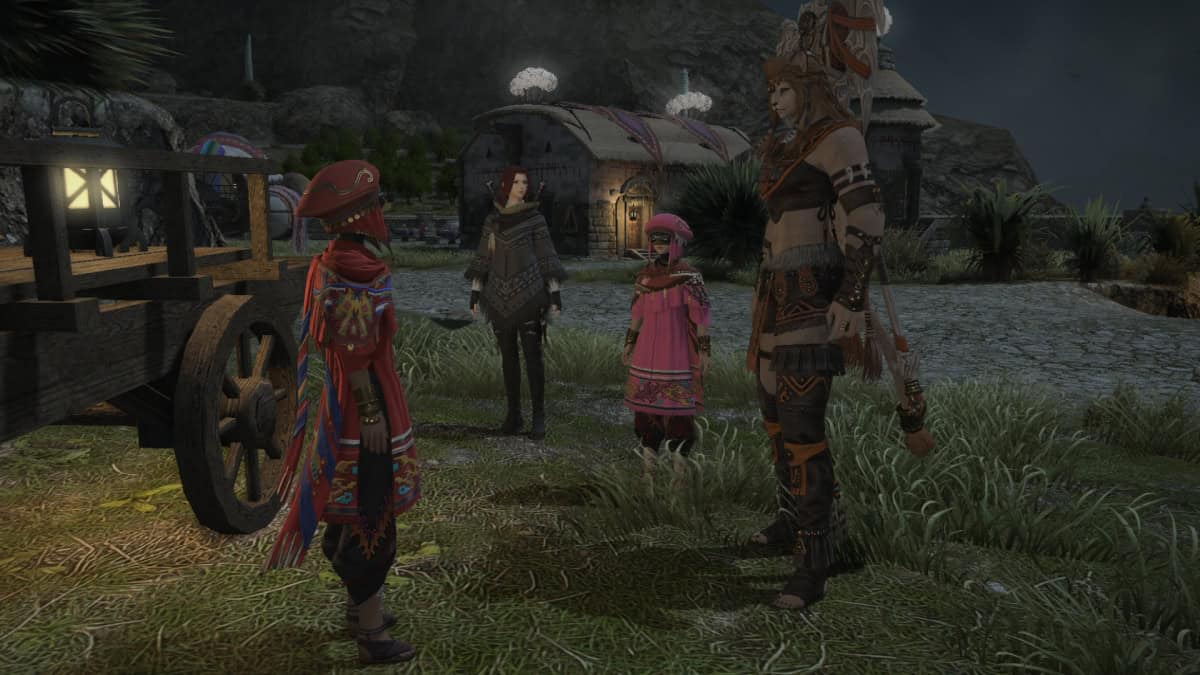
- Speak with Mablu.
- Give the hatchet to Wuk Lamat.
- Gather mate leaves.
- Deliver the mate leaves.
A Premium Deal
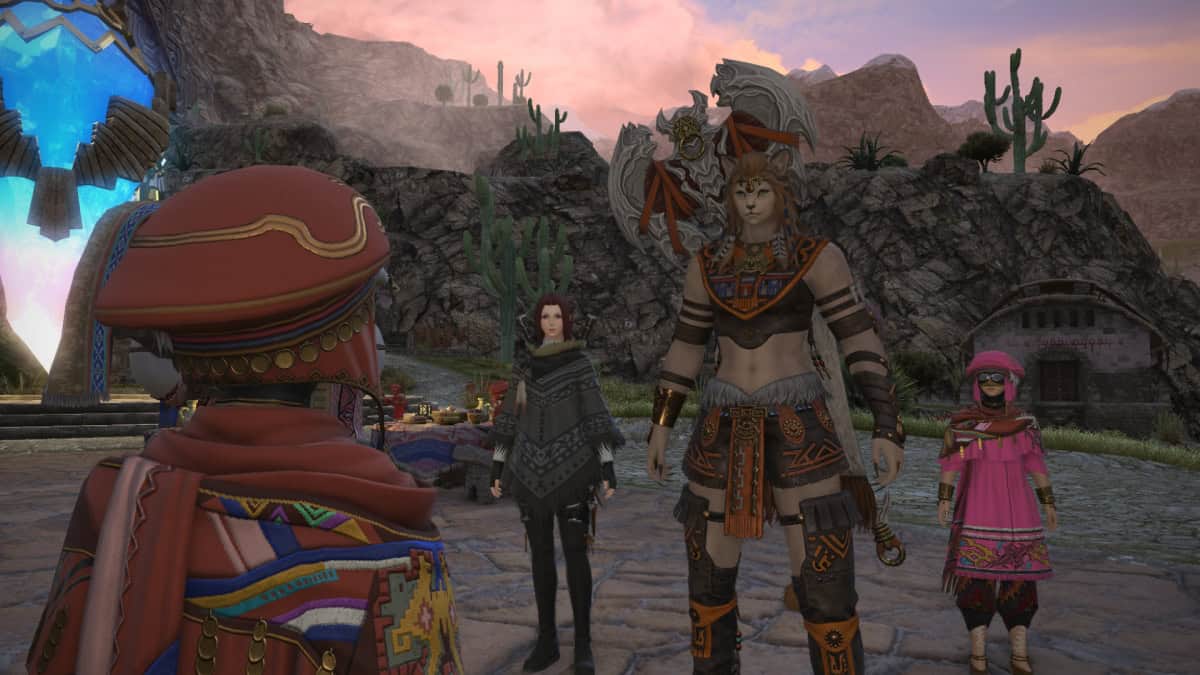
- Gather information at the distillery.
- Survey the area.
- Defeat the enemies.
- Speak with Mablu and hand over the leaves.
Wuk Lamat at the Saddle
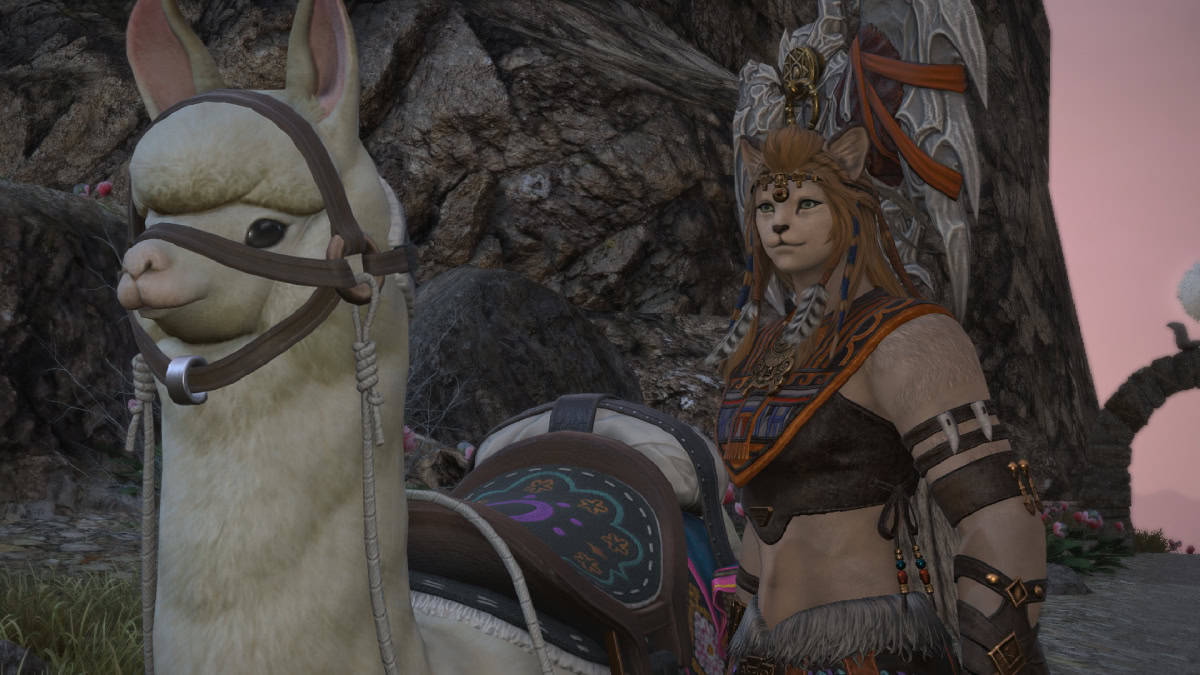
- Give the Mezcal to Wuk Lamat.
- Speak with Alphinaud.
- /cheer on Wuk Lamat.
- Speak with Mablu.
Knowing the Pelupelu
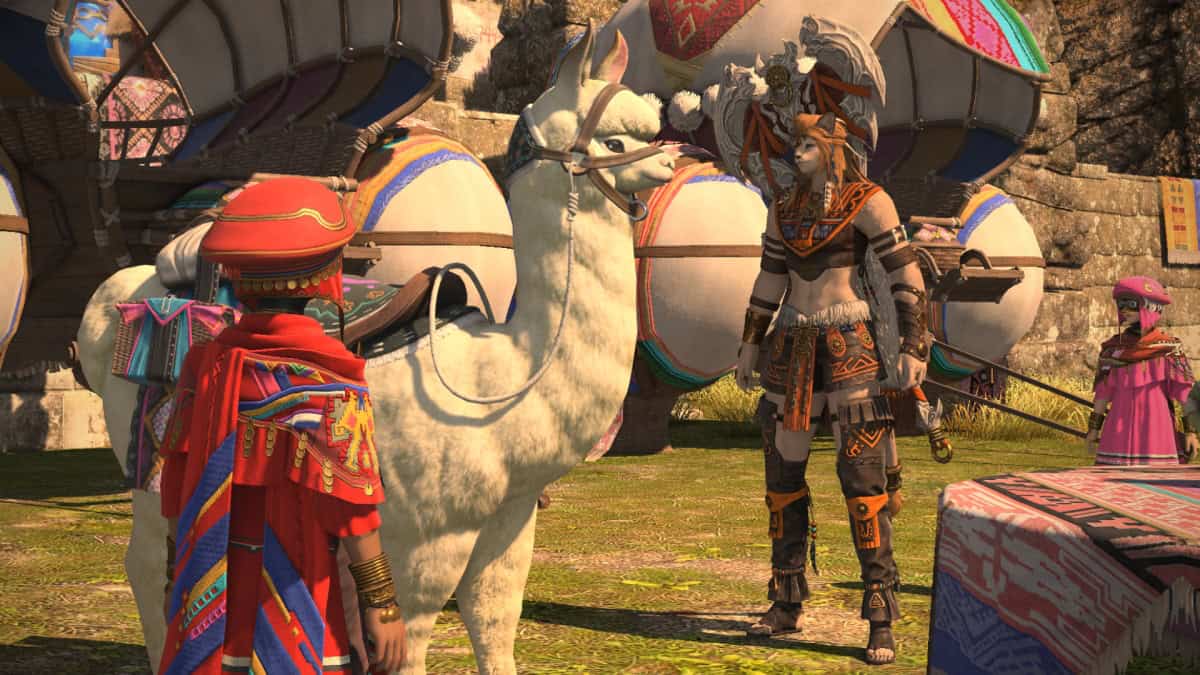
- Speak with Mablu.
- Speak with Wuk Lamat.
- Return to Tuliyollal.
This concludes the first part of the quests in Urqopacha. Once you’re back in Tuliyollal, you can pursue the other questline you didn’t pick previously.
Kozama’uka Quests
The other zone you can pick when starting the MSQ in FFXIV Dawntrail is Kozama’uka. It also serves as an introduction to another culture as well as the search for another elector. Regardless of which zone you pick first, here are the quests you’ll find in Kozama’uka.
To Kozama’uka
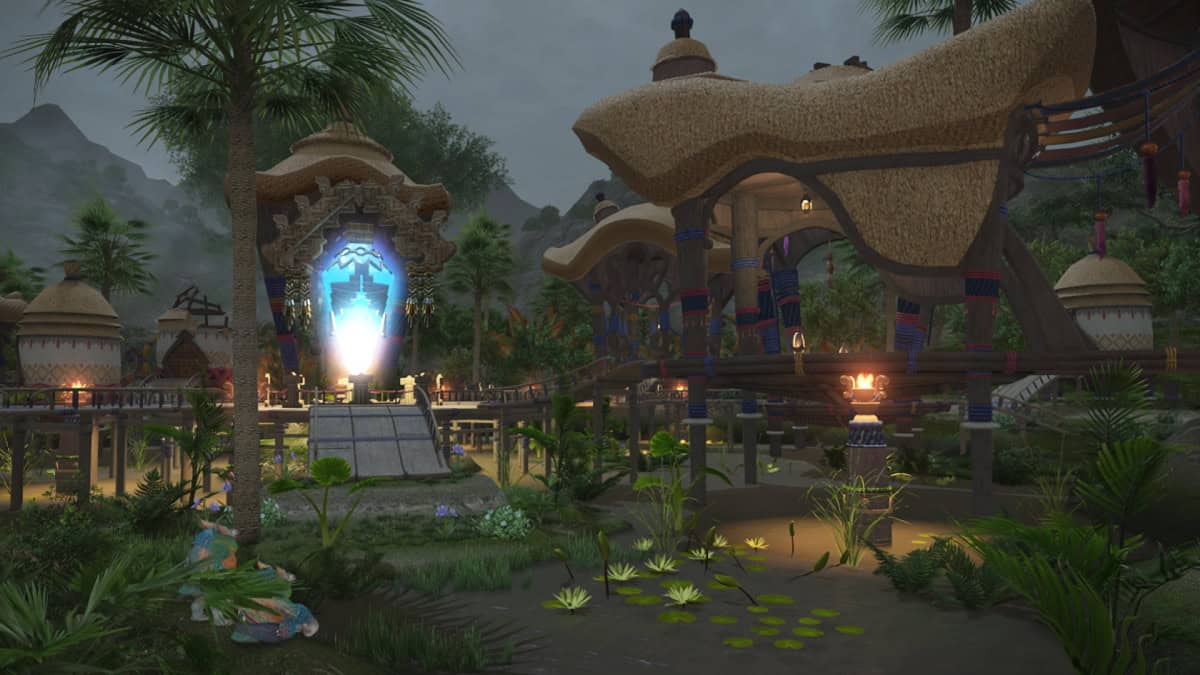
- Speak with Wuk Lamat.
- Speak with Krile.
- Speak with Erenville
A Festive People
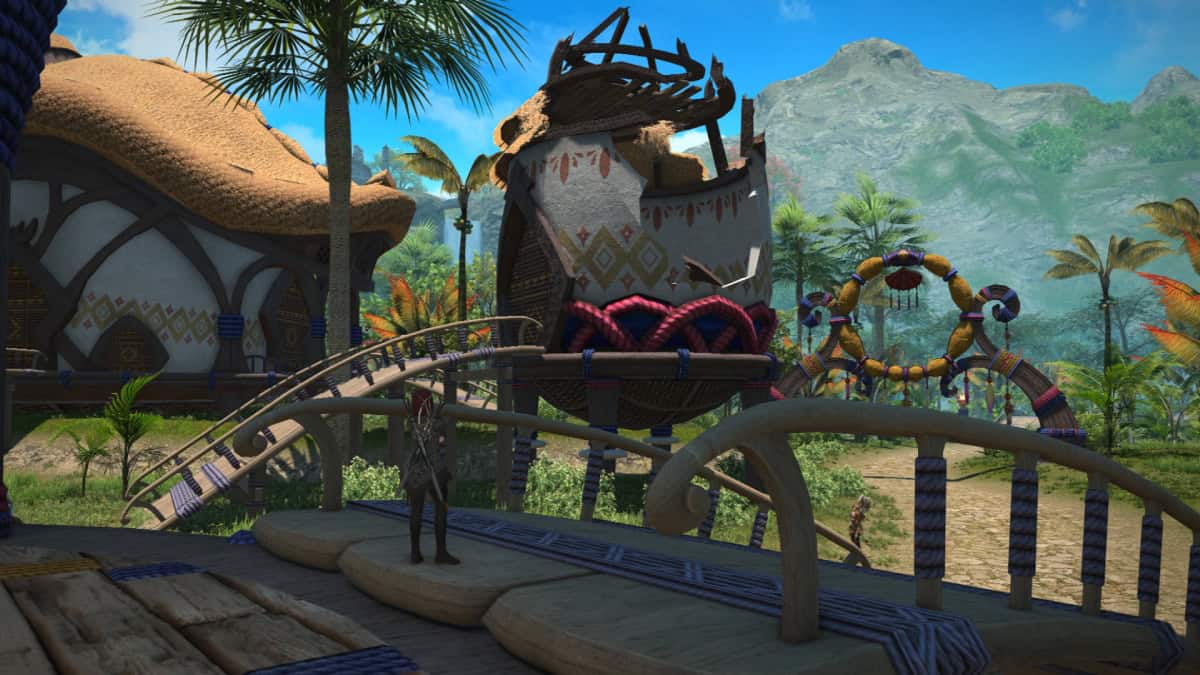
- Look around Ok’hanu.
- Speak with Wuk Lamat.
- Continue looking around Ok’hanu.
- Speak with Alphinaud.
The Feat of Reeds
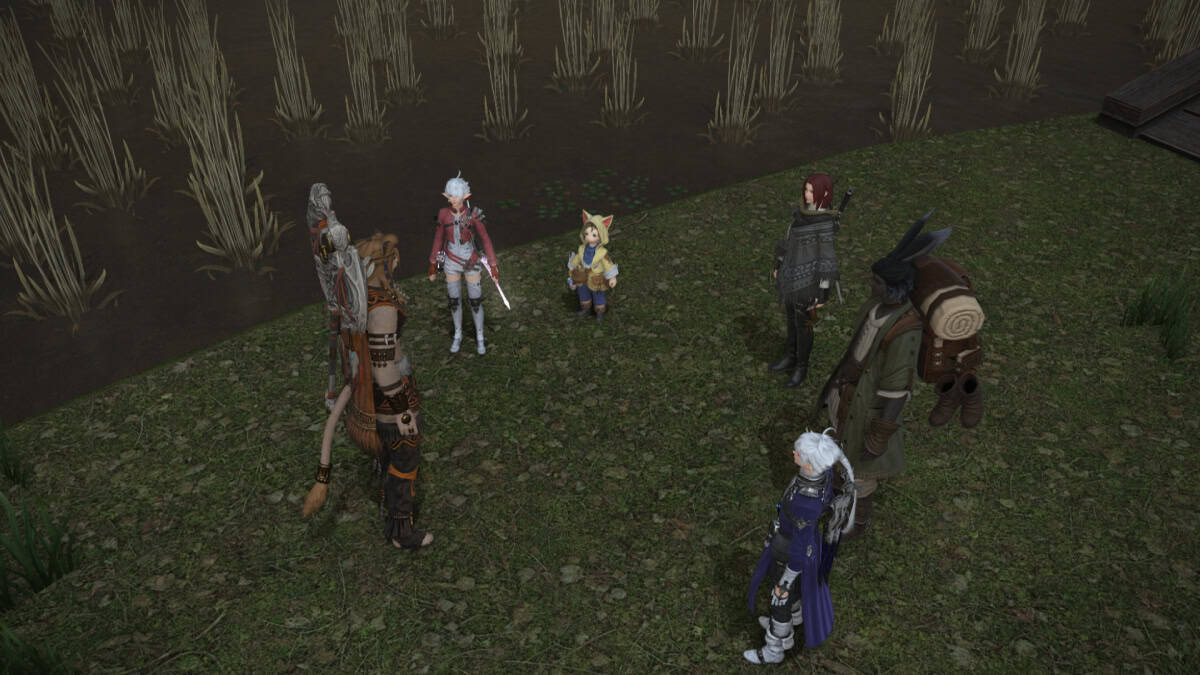
- Speak with Wuk Lamat.
- Investigate the Fields of Gold.
- Speak with Wuk Lamat.
- Inspect the float.
- Speak with Krile.
A Well-mannered Shipwright
- Speak with Linuhanu.
- Speak with the shipwright.
- Speak with Linuhanu.
- Speak with Krile.
- Speak with Linuhanu.
- Search Cave Kikitola and obtain raw abokixa.
- Show the raw abokixa to Linuhanu.
The Lifting of Wings
- Speak with Wuk Lamat.
- Survey the designated area and defeat any hostile wildlife.
- Survey the next designated area and defeat any hostile wildlife.
- Survey a third designated area and defeat any hostile wildlife.
- Wait at the designated location.
Knowing the Hanuhanu
- /say Ohokaliy to greet the villagers.
- Speak with Wuk Evu.
- Speak with Wuk Lamat.
- Speak with Wuk Lamat again.
- Return to Tuliyollal.
This is the final quest in Kozama’uka for now. As you can see, there are still undiscovered parts of the map, so you’ll return eventually. However, you’re now on your way to unlocking Dawntrail‘s first dungeon and other features of this expansion.
The Success of Others
- Speak with Wuk Lamat and have her accompany you.
- Speak with Ropli while Wuk Lamat is accompanying you.
- Search for Fonjeantaine.
- Speak with Wuk Lamat.
For All Turali (Level 91 Dungeon Unlock)
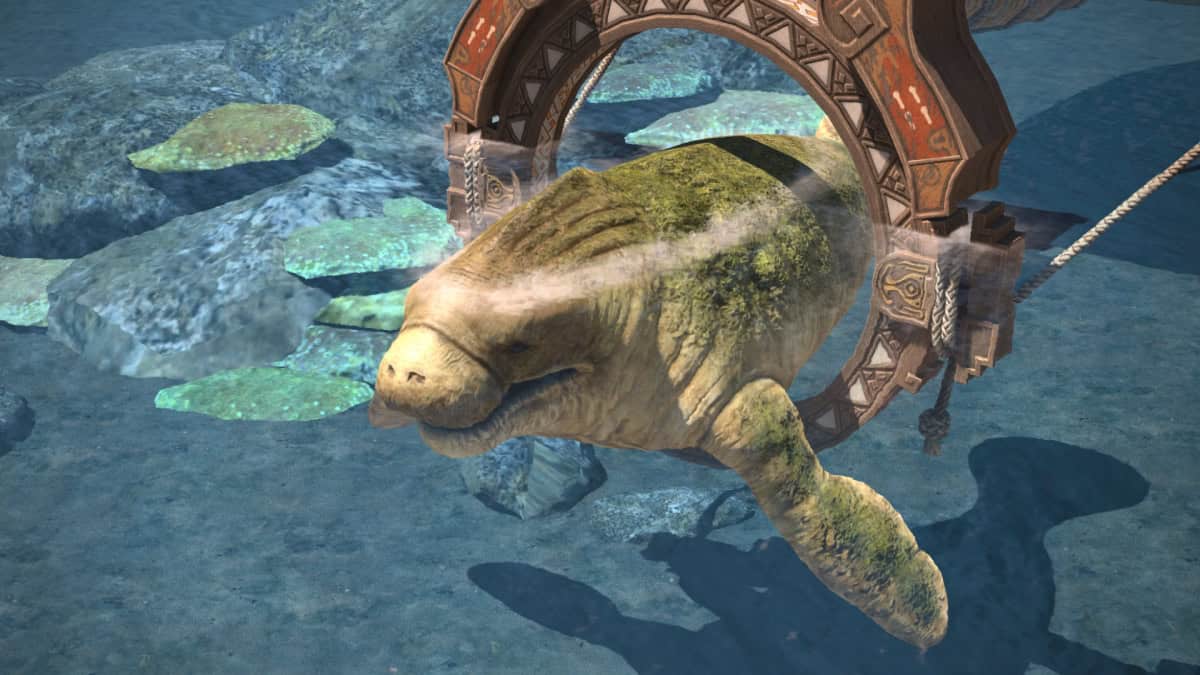
- Speak with Fonjeantaine.
- Speak with Erenville.
- Enter Ihuykatumu.
- Speak with Wuk Lamat.
- Speak with Alphinaud.
- Speak with Wuk Lamat.
After finishing this quest, you’ll have unlocked Dawntrail‘s first dungeon, which you can now grind to level up your jobs. You can do this by going to the Duty Finder or taking NPCs as part of the Trust and Duty Support systems.
A Leaking Workpot
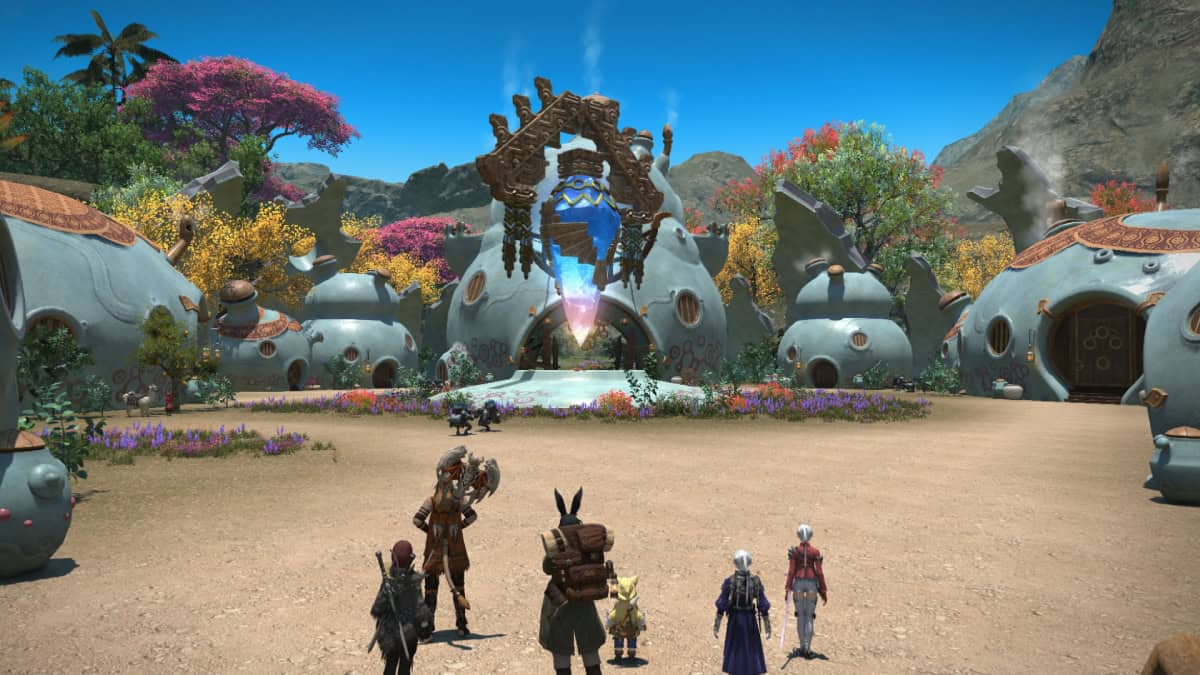
- Speak with Wuk Lamat.
- Speak with Erenville.
- Speak with Rakorok.
Lending a Helphand
- Speak with Wuk Lamat.
- Inspect the interior of the Workpot.
- Speak with Rakorok
- Look around for a tunnel from the vantage point.
- Search for a draftyshard.
- Deliver the draftyshard to Rakorok.
- Speak with Rakorok.
The Feat of Pots
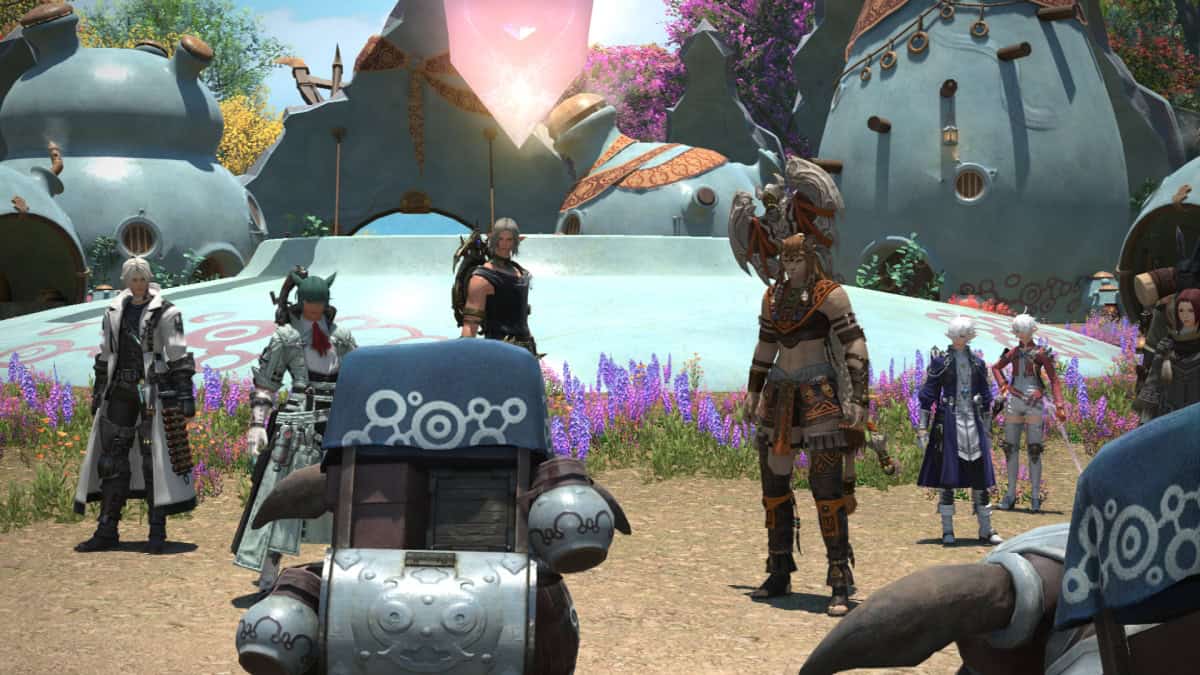
- Speak with Rediroq.
- Speak with Wuk Lamat.
- Speak with Ropli.
- Speak with Fonjeantaine.
- Speak with Wuk Lamat.
A Father First (Solo Instance)
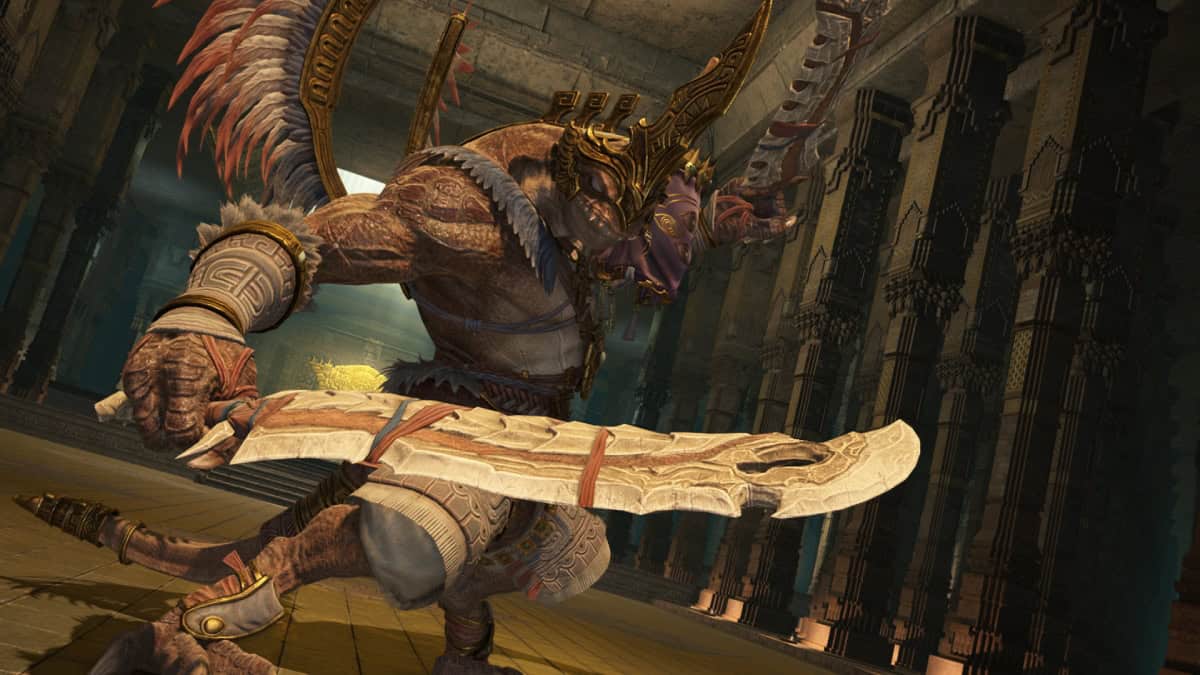
- Speak with Peshekwa.
- Speak with the Sunperch Guard.
- Speak with Wuk Lamat.
- Note: This quest features a solo instance, which is quite challenging.
The Shape of Peace
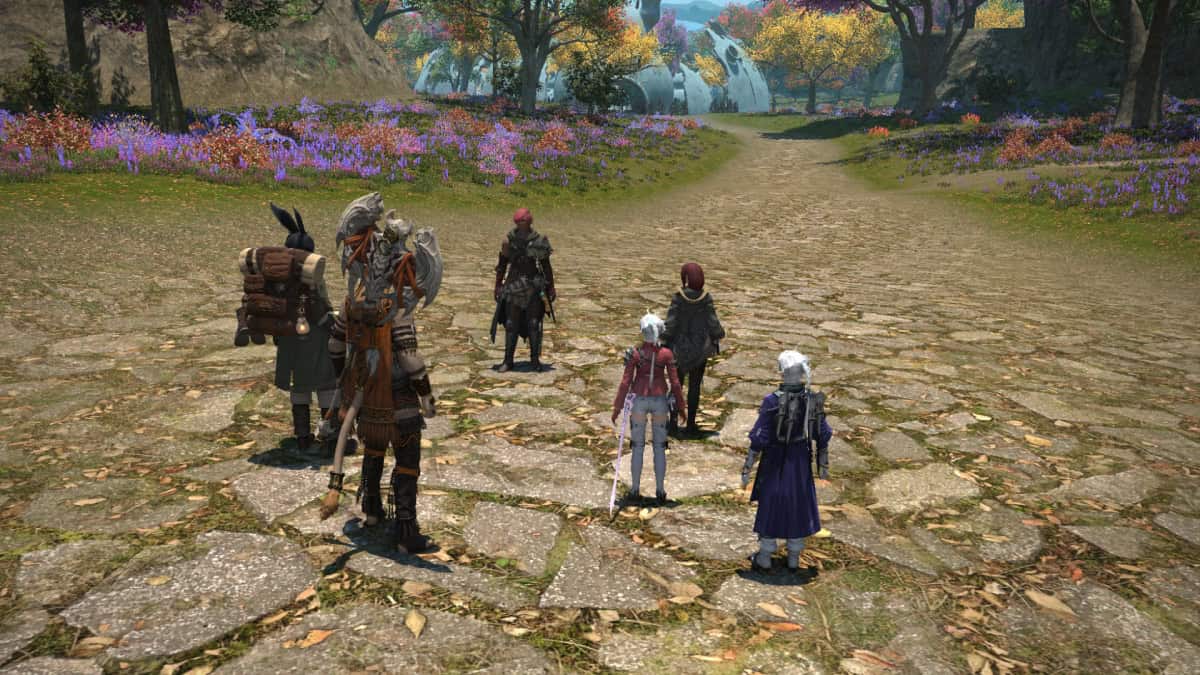
- Wait at the designated location.
- Travel to Kozama’uka.
- Speak with Wuk Lamat.
- Speak with Wuk Lamat again.
- Wait at the designated location.
- Wait at the designated location again.
- Wait at the designated location once more.
- Speak with Rediroq.
Lost Promise
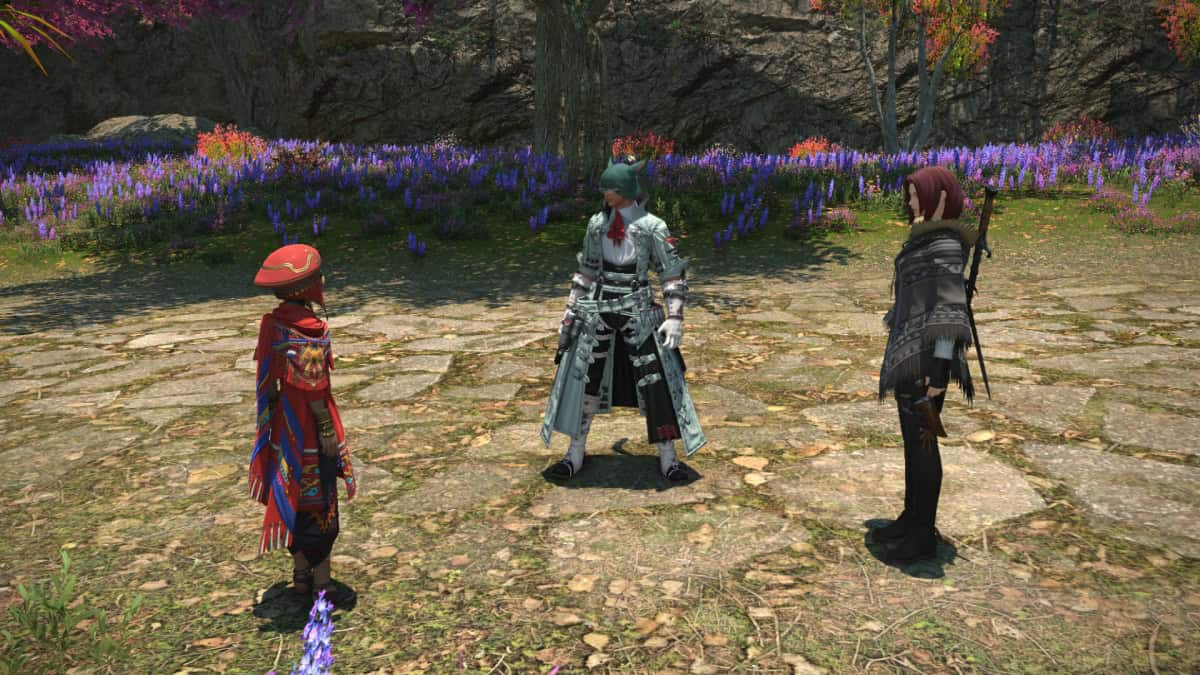
- Speak with the Earthenshire sentry.
- Speak with the waylaid peddler.
- Speak with Koana and follow his lead.
- Use /happy on all three NPCs.
- Speak with Koana.
A Brother’s Duty
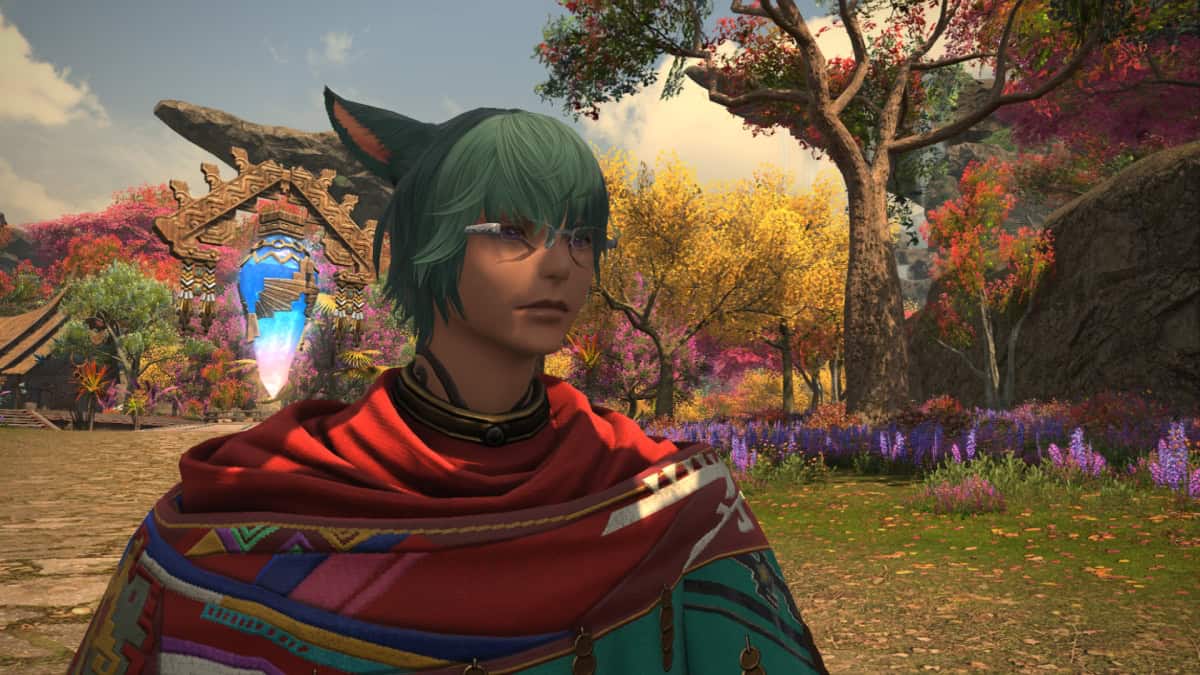
- Wait at the designated location.
- Defeat the bandits.
- Speak with Koana.
- Survey the area from the vantage point.
- Follow Wawkesa without being seen.
- Follow the shady Hoobigo without being seen.
- Speak with Koana.
Feeding the River
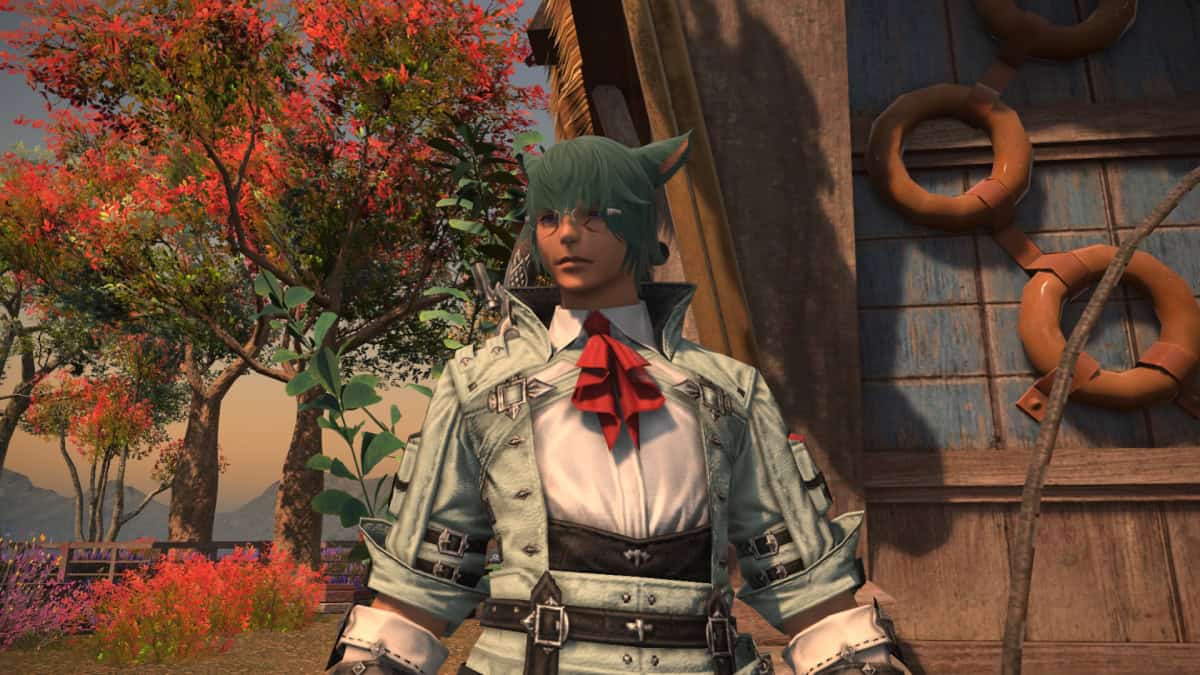
- Speak with Erenville.
- Scatter the punutiy feed at the two designated locations.
- Speak with Erenville.
- Speak with Koana.
Sibling Rescue

- Speak with Wuk Lamat.
Urqopacha Quests (Cont.)
After finishing the previous questlines, you’ll return to Urqopacha’s previously inaccessible area to continue with the MSQ of FFXIV Dawntrail. Besides unlocking the remaining parts of this area, you’ll also unlock a new dungeon and the expansion’s first trial.
History’s Keepers
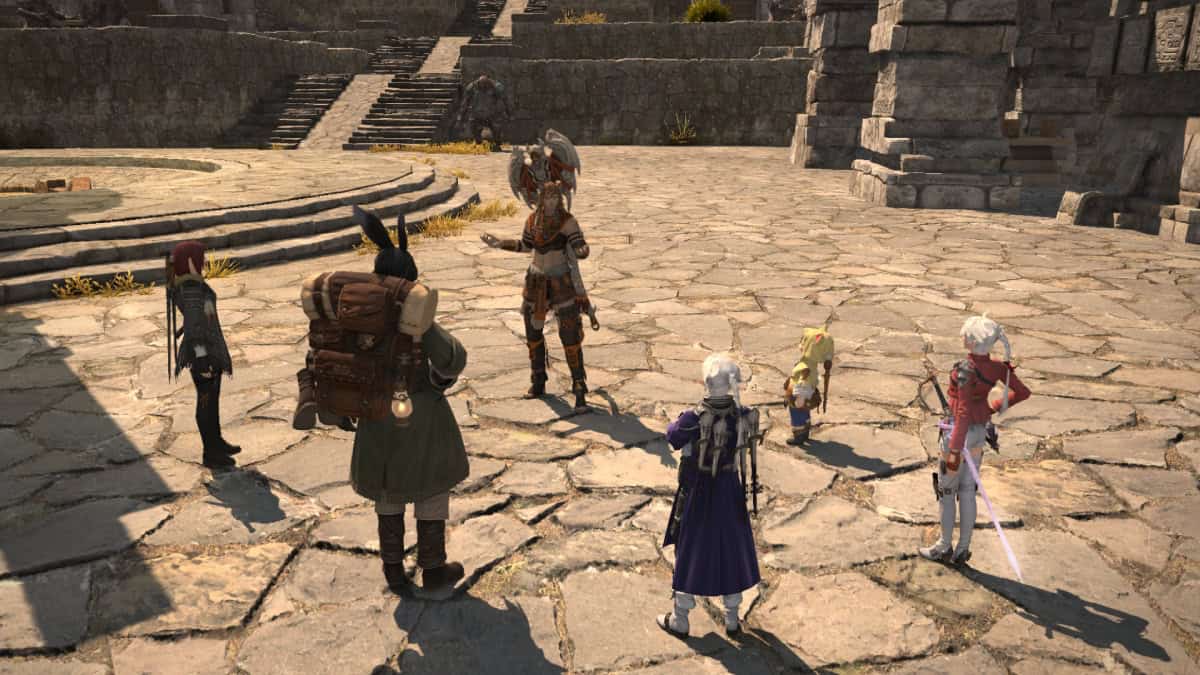
- Speak with Wuk Lamat.
- Speak with Erenville at Ten Thousand Steps.
- Speak with Wuk Lamat.
- Speak with Wuk Lamat again.
- Speak with Wuk Lamat once more.
The Feat of Proof
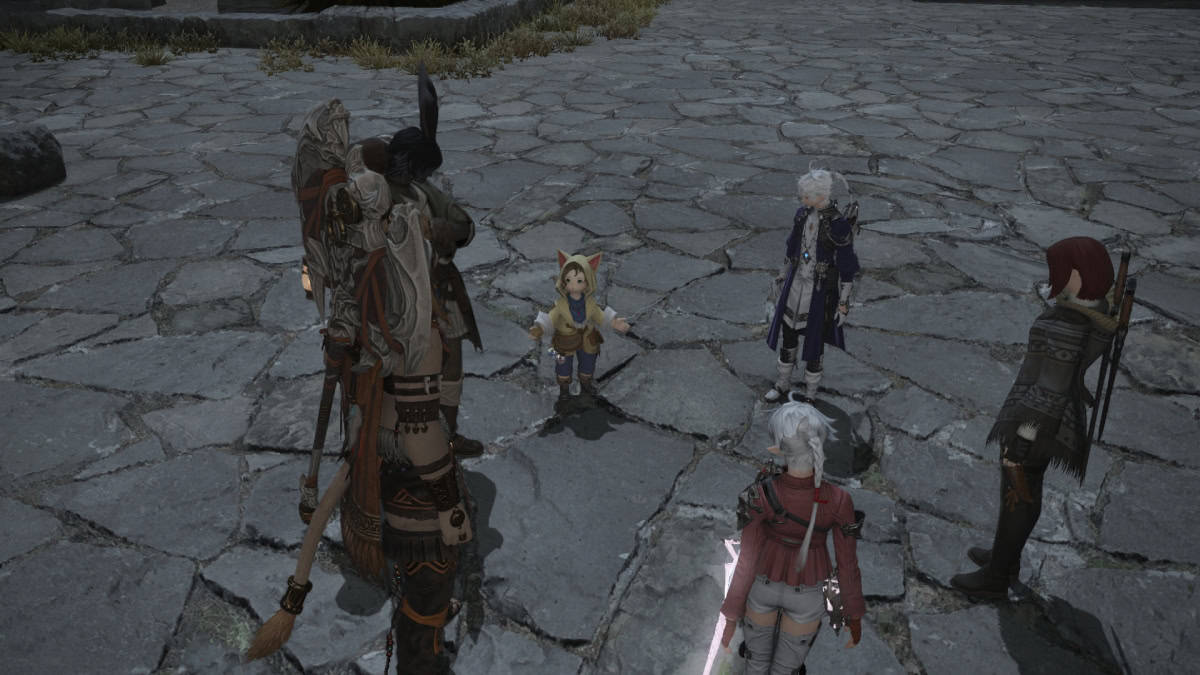
- Gather information in Worlar’s Echo.
- Wait at the designated location.
- Speak with Krile.
- Speak with Erenville.
- Speak with Wuk Lamat.
- Speak with Wuk Lamat again.
- Speak with Alisaie.
- Speak with Wuk Lamat.
The High Luminary (Dungeon Unlock)
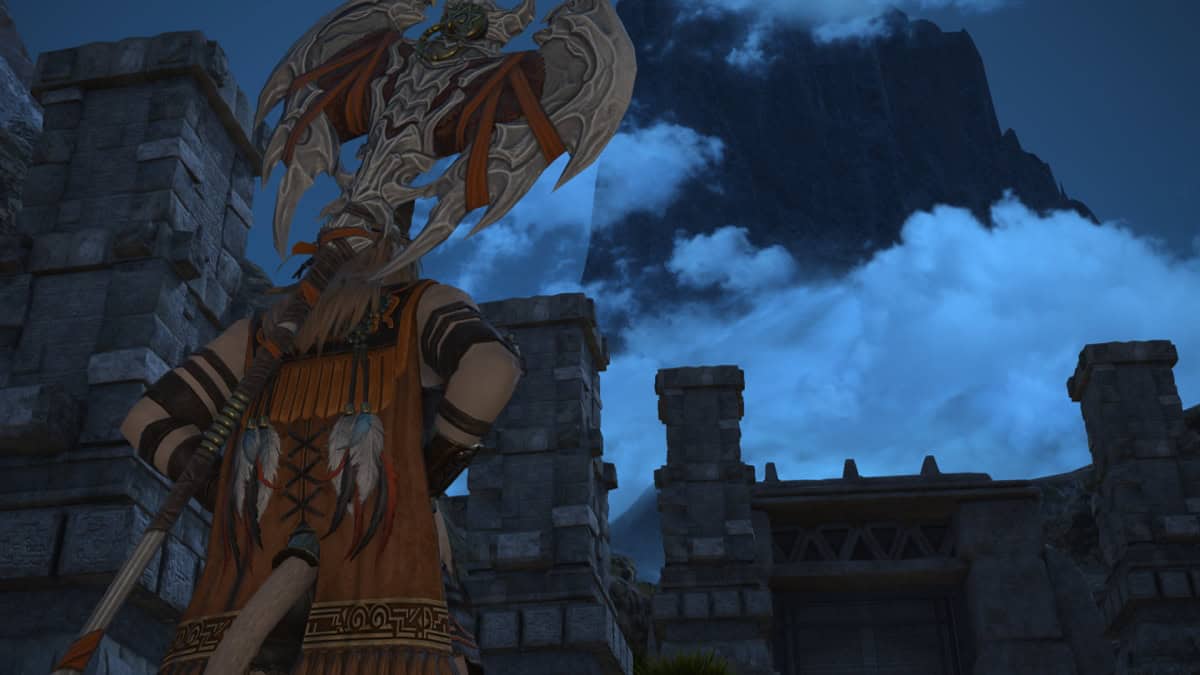
- Enter Worqor Zormor.
- Speak with Alphinaud.
An Echo of Madness
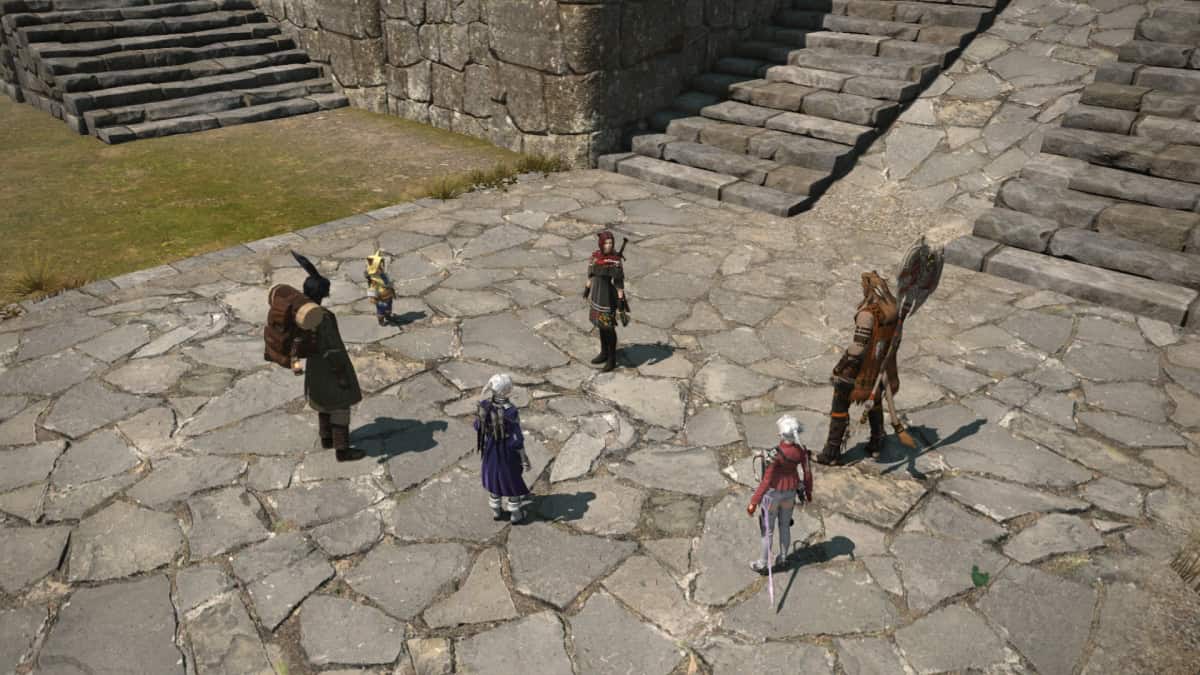
- Speak with injured Yok Huy in Worlar’s Echo.
- Wait at the designated location.
- Speak with the temple guard.
- Speak with Wuk Lamat.
Pointing the Way
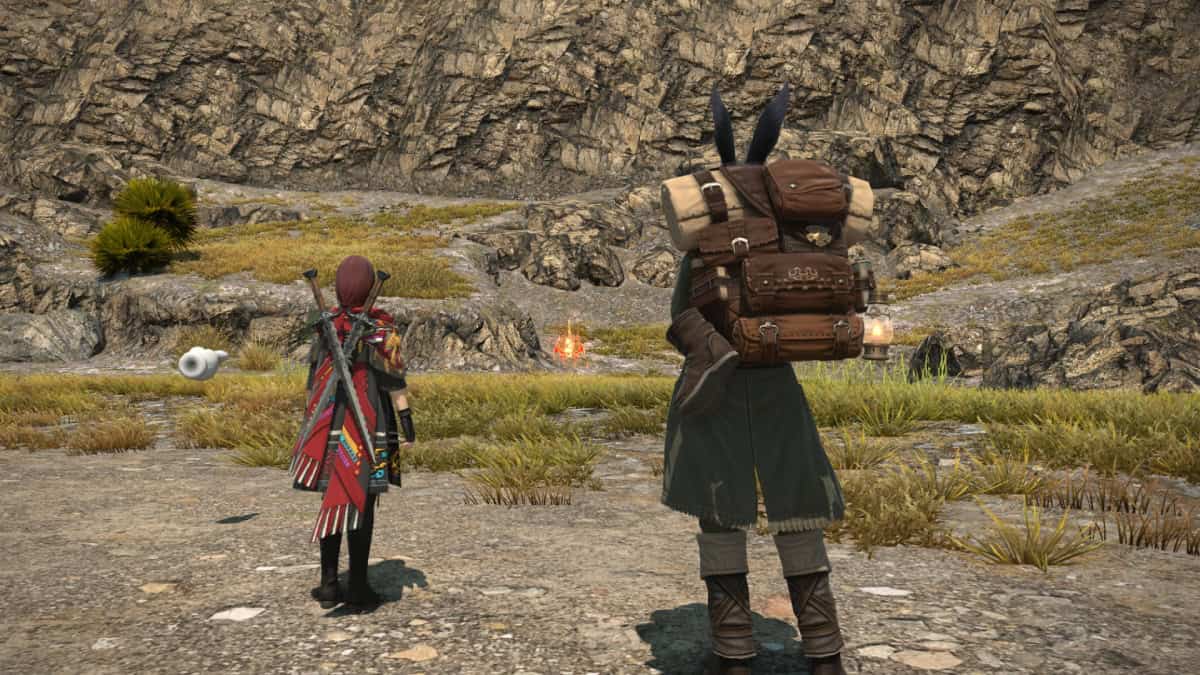
- Speak with Erenville.
- Follow the aether seeker while Erenville accompanies you.
- Defeat the fire sprite.
- Speak with Erenville.
- Follow the aether seeker while Erenville accompanies you.
- Defeat the molten phoebad.
- Speak with Erenville.
- Follow the aether seeker while Erenville accompanies you.
- Speak with Erenville.
The Skyruin (Trial Unlock)
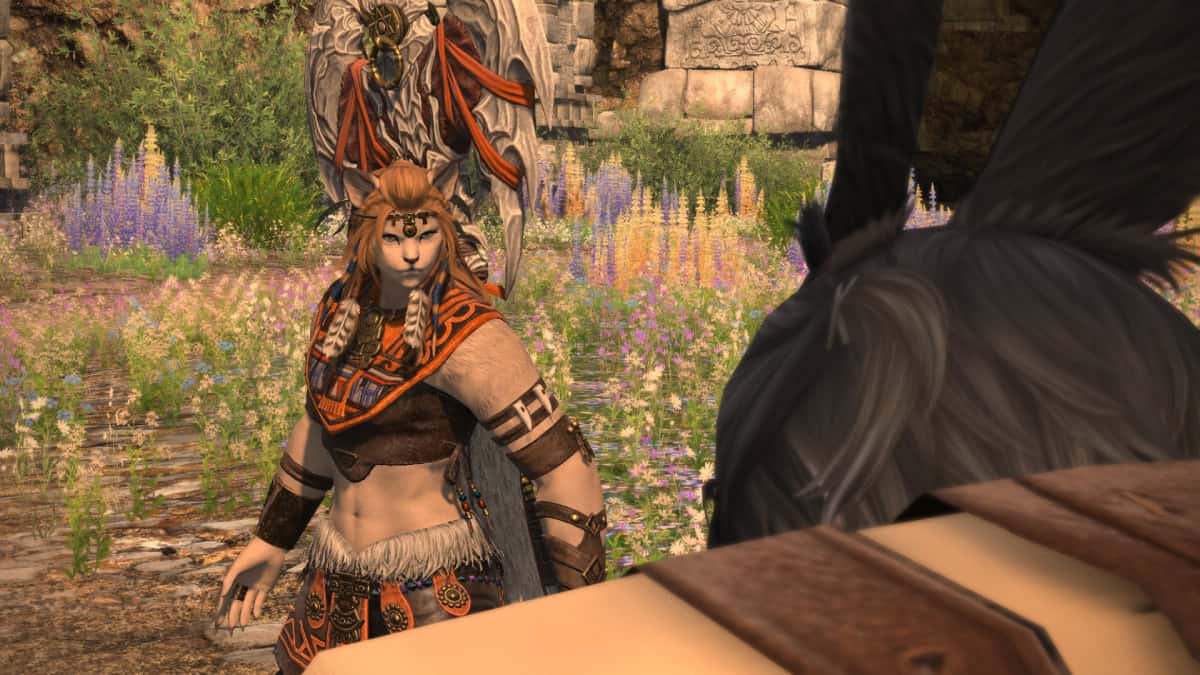
- Speak with Erenville.
- Speak with Erenville again.
- Speak with Erenville once more.
- Confront Valigarmanda in Worqor Lar Dor.
- Speak with Erenville.
The Feat of Ice
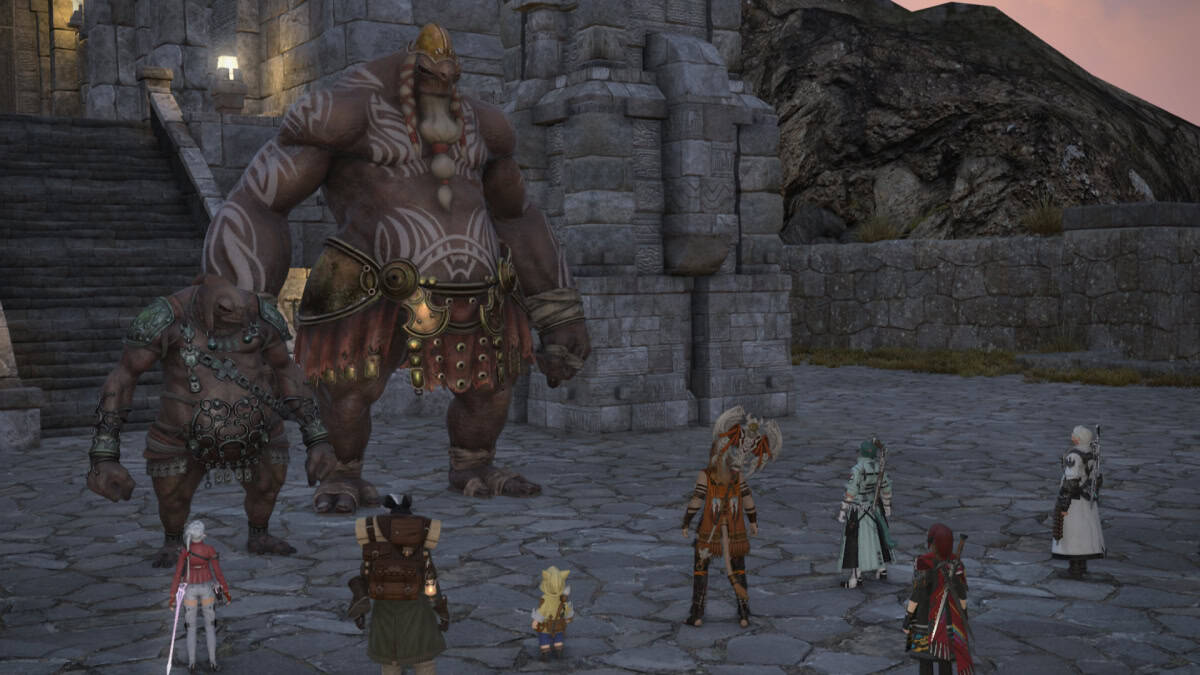
- Speak with Wuk Lamat.
- Speak with Wuk Lamat again.
The Promise of Peace
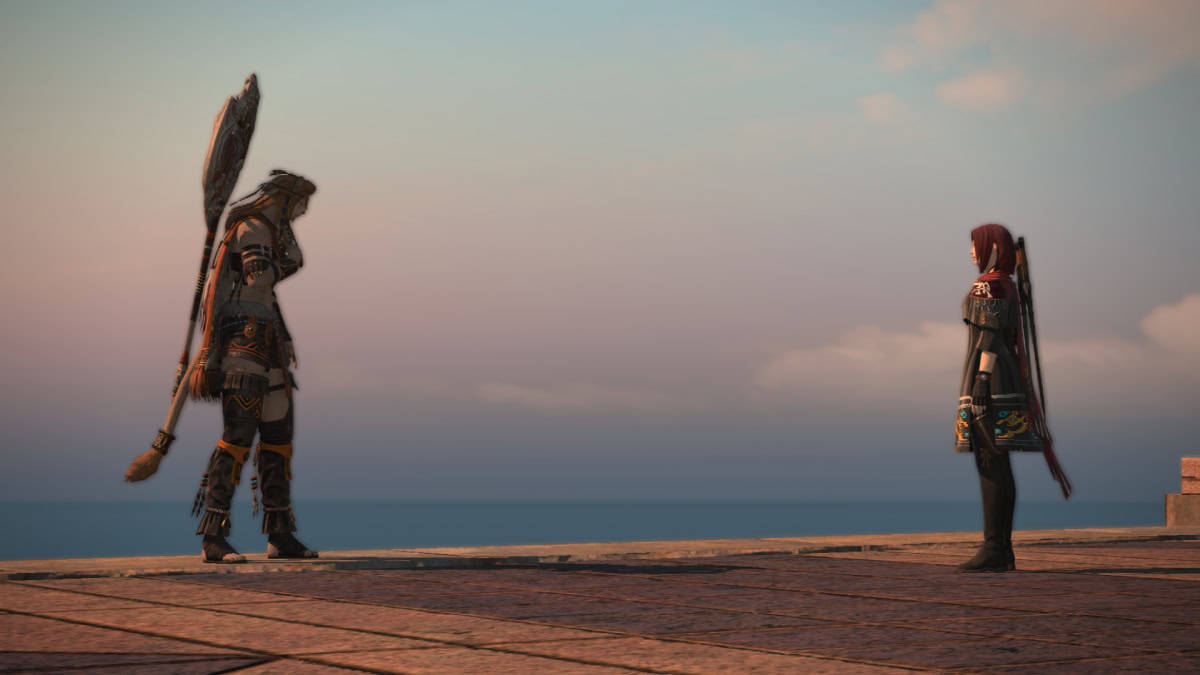
- Speak with Erenville.
- Speak with the cabin attendant.
- Speak with Wuk Lamat.
- Speak with Wuk Lamat again.
- Speak with Alphinaud.
Yak T’el Quests
A new zone, new quests, and new aether currents to unlock. Remember to equip your compass and start searching for them. This zone is quite big, and it’s split into two sections, so don’t try to get all of them in one go.
The Leap to Yak T’el
- Speak with the dirigible attendant.
- Speak with Erenville.
- Speak with Erenville again.
- Speak with Alphinaud.
Village of the Hunt
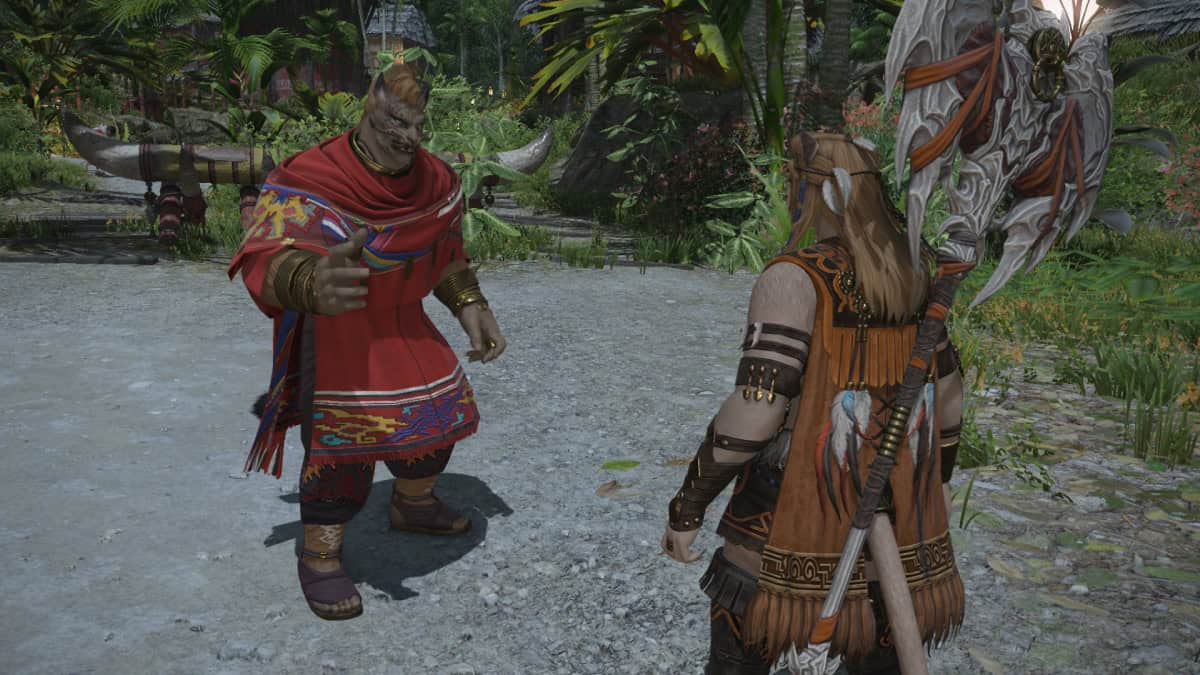
- Speak with Koana.
- Search for clues in Iq Br’aax.
- Meet at the designated location.
- Speak with Wuk Lamat.
A History of Violence
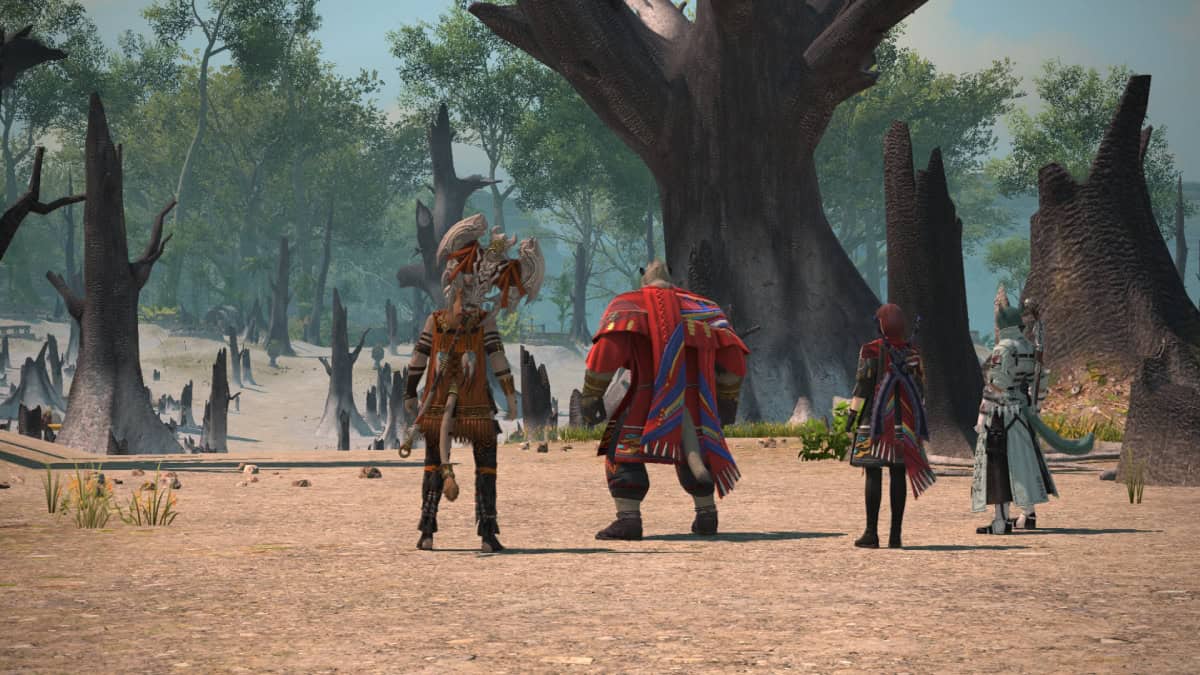
- Speak with the cheerful cook.
- Speak with Koana.
- Speak with Wuk Lamat.
- Speak with Wuk Evu.
- Speak with Wuk Lamat.
The Feat of Repast
- Speak with Wuk Evu.
- Speak with Koana.
- Wait at the designated location.
- Speak with Wuk Lamat.
A Father’s Grief
- Search for villagers of middle age and older.
- Speak with Hunmu Rruk.
- Speak with Hunmu Rruk again.
- Speak with Hunmu Rruk yet again.
Taking a Stand (Solo Instance)
- Speak with Wuk Lamat.
- Defeat Bakool Ja Ja.
- Speak with Wuk Lamat again.
Into the Traverse
- Speak with Erenville.
- Speak with Krile.
- Speak with Alphinaud.
- Speak with Erenville.
- Use the pairing stone on the glowing rock.
- Speak with Erenville.
City of Silence
- Gather information in Mamook.
- Speak with Wuk Lamat.
- Speak with Wuk Lamat again.
- Speak with Alphinaud.
- Speak with the dignified lady.
Blessed Siblings
- Speak with Wuk Lamat.
- Speak with Alisaie.
- Speak with Wuk Lamat.
- Speak with Wuk Lamat again.
- Speak with Wuk Lamat once more.
Scale of Trust
- Show the blessed scale to Mamook’s citizens.
- Speak with Wuk Lamat.
- Show the blessed scale to the workers in Golmajiik Grove.
- Wait at the designated location.
- Speak with Wuk Lamat.
Mamook Speaks
- Speak with the gathered citizens.
- Speak with Wuk Lamat.
- Speak with Wuk Lamat again.
- Gather samples of meteorite shards.
- Deliver the meteorite shards to Koana.
- Speak with Wuk Lamat.
The Feat of the Brotherhood
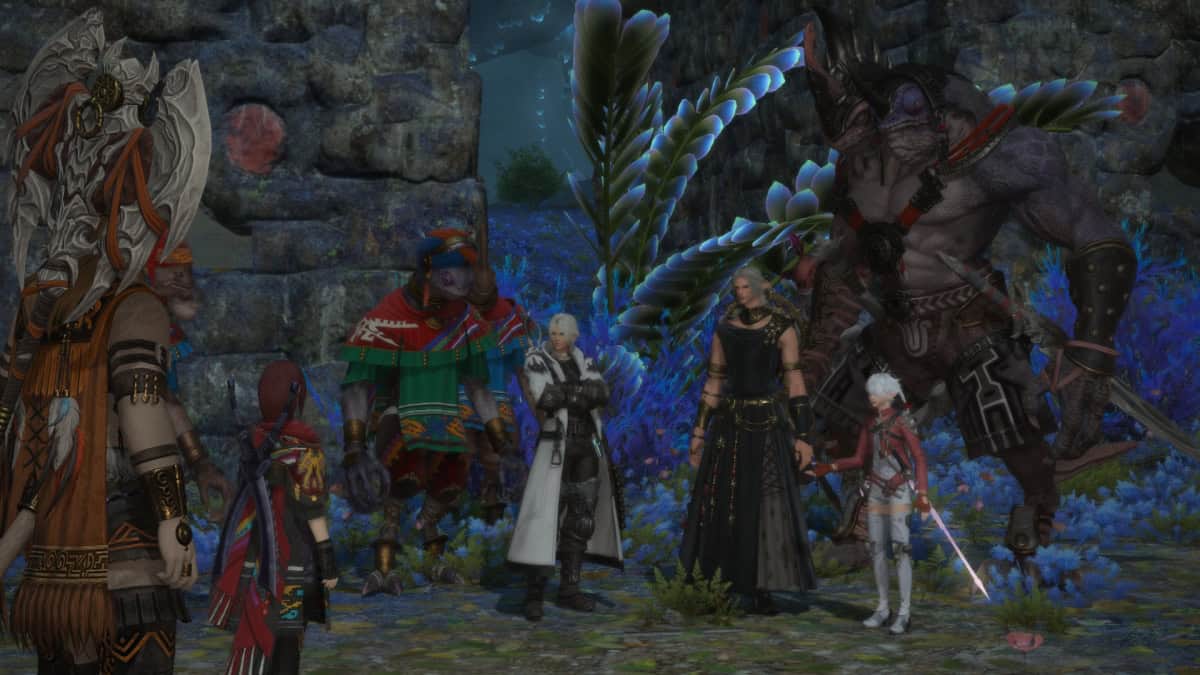
- Wait at the designated location.
- Speak with Erenville.
- Speak with Wuk Lamat.
- Defeat Gulool Ja Ja’s Glory.
- Speak with Wuk Lamat again.
Road to the Golden City (Dungeon Unlock)
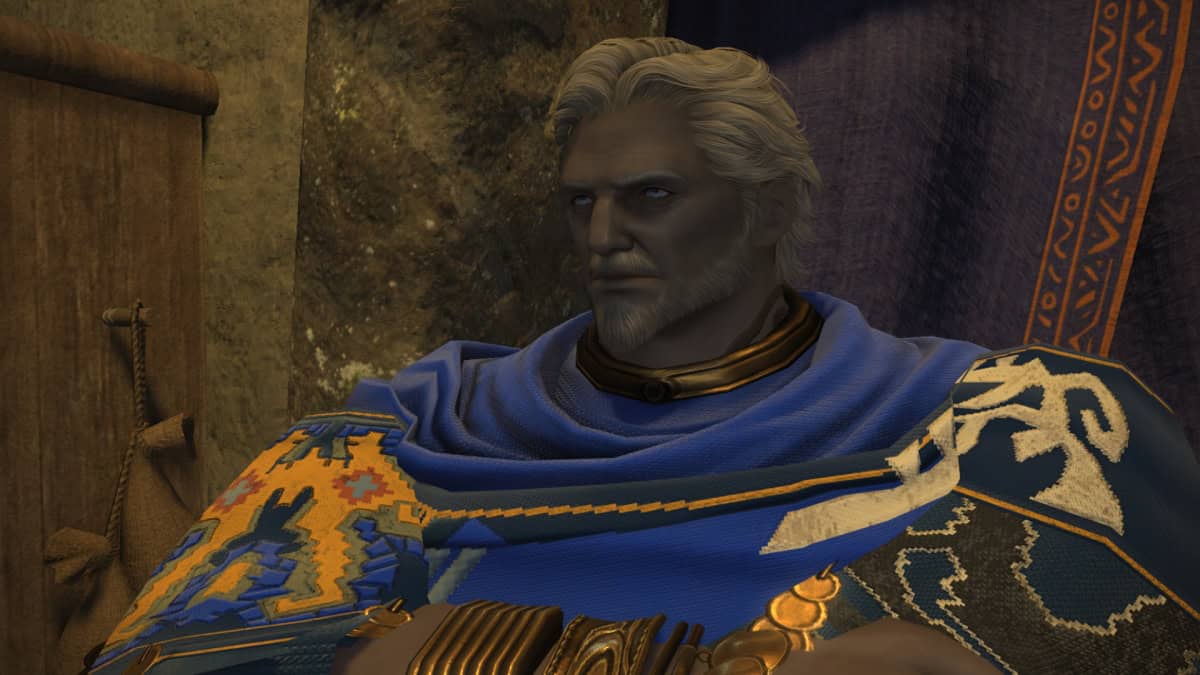
- Speak with Wuk Lamat.
- Speak with Erenville.
- Wait at the designated location.
- Ride the imposing beast.
- Enter The Skydeep Cenote.
- Speak with Alphinaud.
Dawn of a New Tomorrow
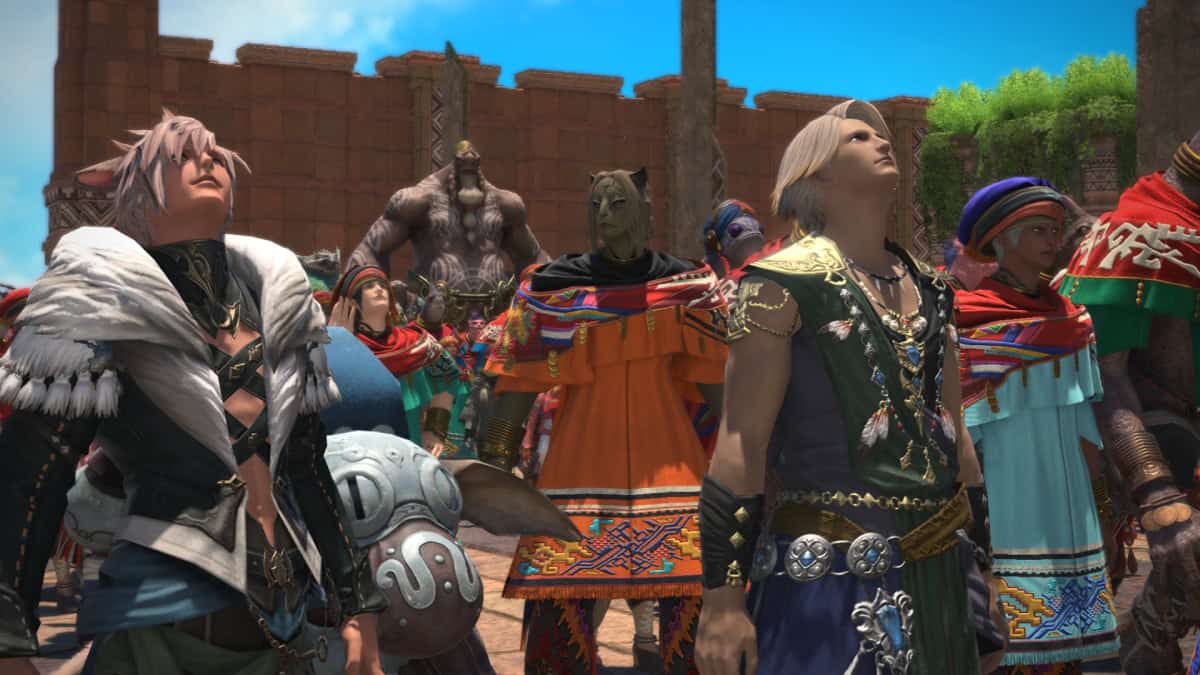
- Speak with Krile.
Ever Greater, Ever Brighter
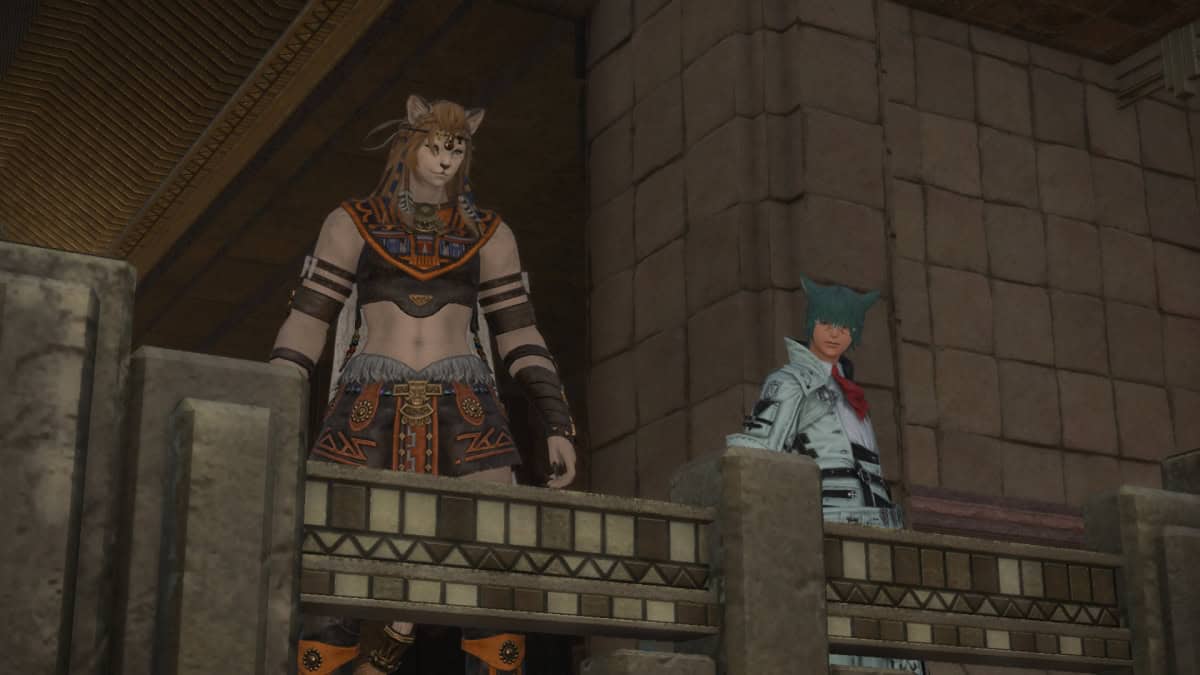
- Speak with Wuk Lamat and have her accompany you.
- Speak with Wuk Evu while accompanied by Wuk Lamat.
- Speak with Fonjeantaine while accompanied by Wuk Lamat.
- Speak with Hunmu Rruk while accompanied by Wuk Lamat.
- Speak with Krile while accompanied by Wuk Lamat.
- Speak with Erenville.
Xak Tural Quests
With the Rite of Succession now over, it is time to retake the adventurer’s life and search the remaining parts of Tural. For this, Erenville is ready to accompany our Warriors of Light to the last zones of FFXIV Dawntrail and continue this long MSQ.
The Long Road to Xak Tural
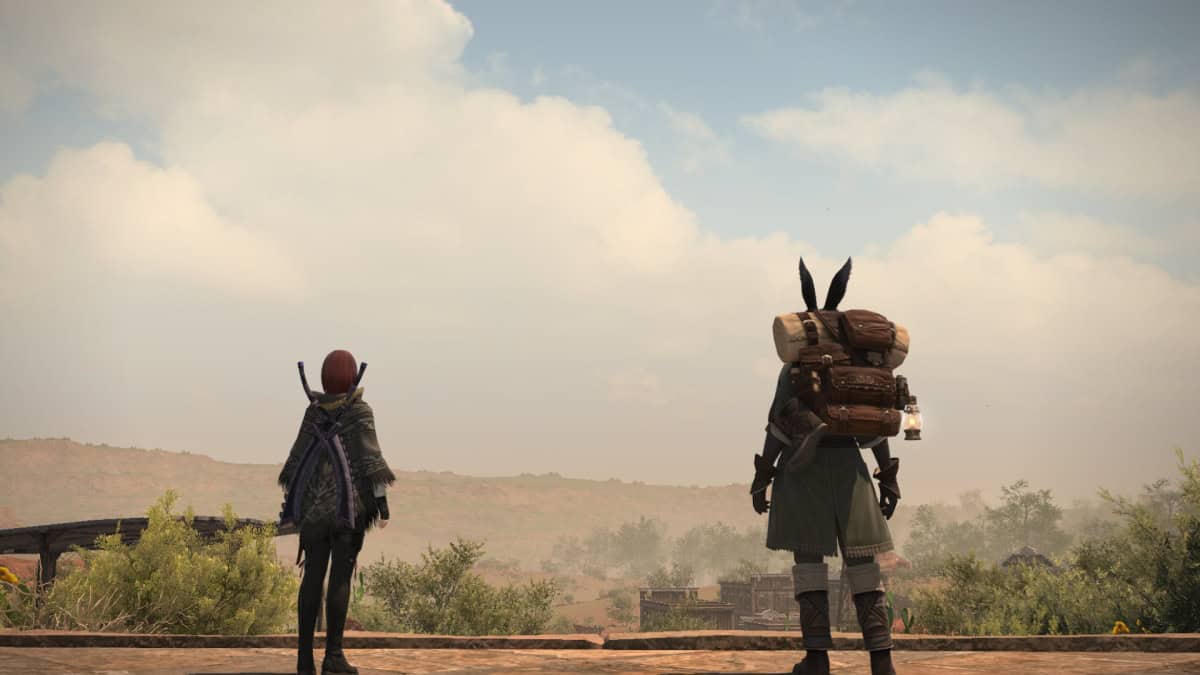
- Speak with the Landsguard gate sentry.
- Speak with Erenville.
- Speak with Erenville again.
- Speak with Erenville once more.
Saddled Up
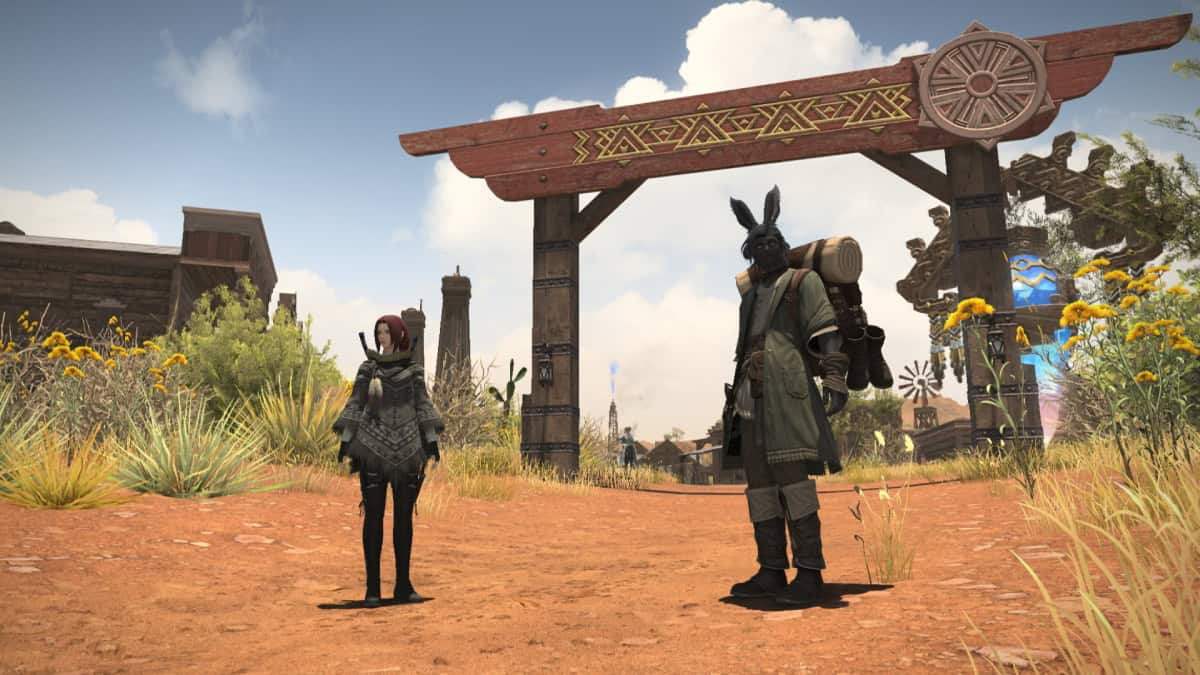
- Speak with the good-natured stableman.
- Speak with the good-natured stableman again.
- Find the blue-haired Shetona.
- Speak with Erenville.
- Defeat the bandits.
- Search for Namikka.
- Speak with Iyaate.
Braced For Trouble
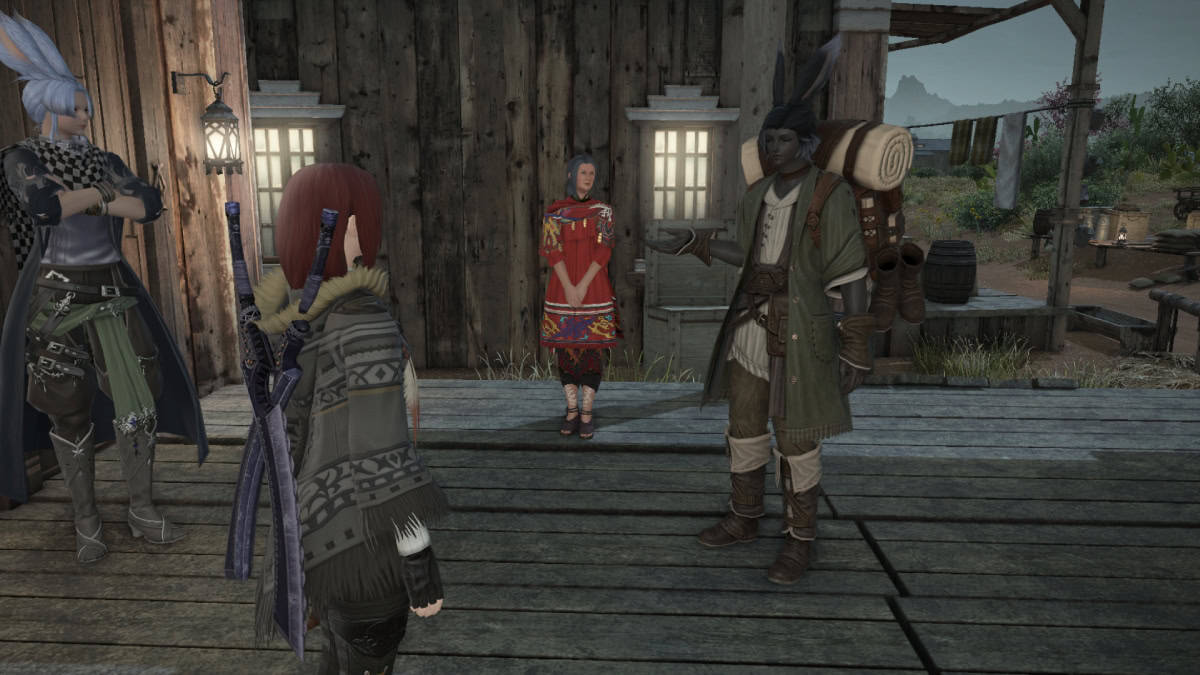
- Speak with Erenville.
- Investigate the designated locations.
- Speak with Erenville.
- Speak with Erenville again.
- Collect yeheheceyaa leavings.
- Deliver the pouch of yeheheceyaa leavings to Erenville.
- Speak with Erenville.
Blowing Smoke
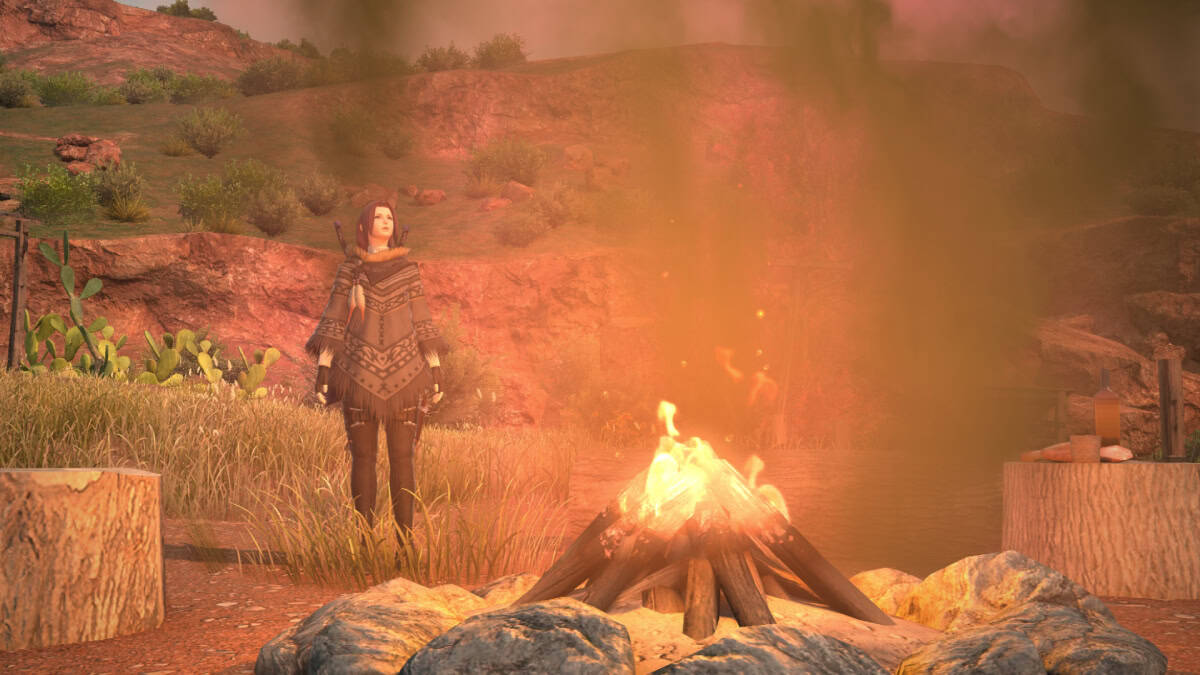
- Use the pouch of foul-smelling attractant at the designated location.
- Speak with Erenville.
- Speak with Zekowa.
Law of the Land
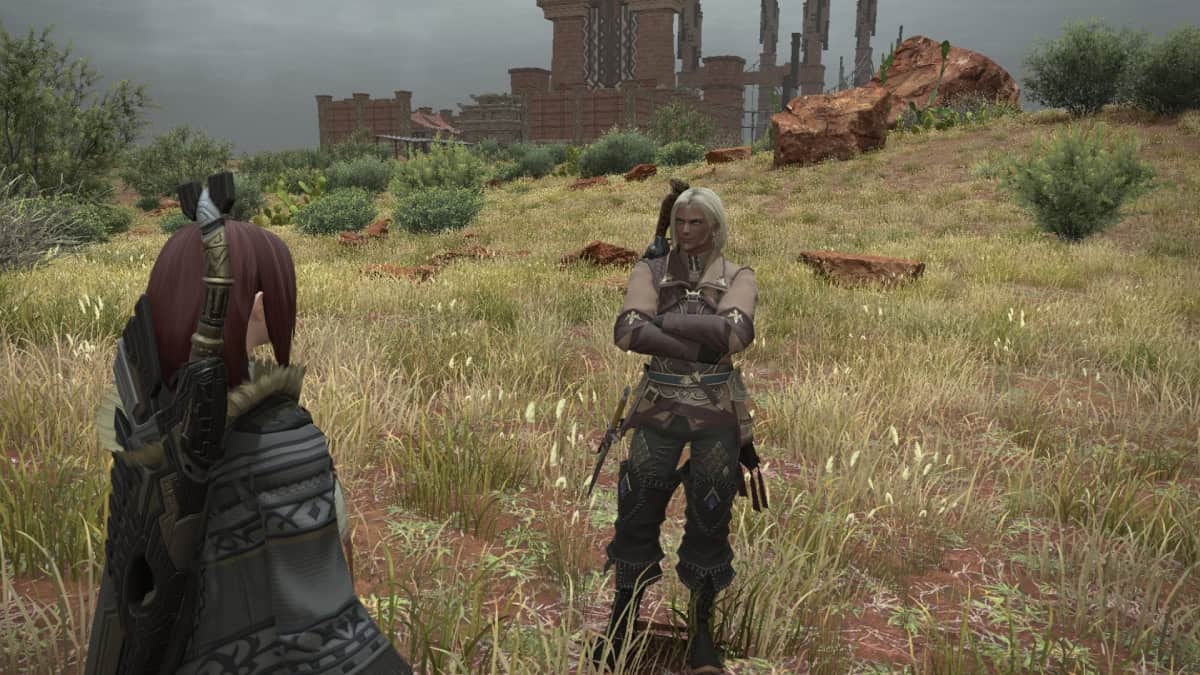
- Speak with Wihuwte.
- /poke Wihuwte and have him accompany you.
- Survey the designated location while Wihuwte is accompanying you.
- Head to the designated location while accompanied by Wihuwte and then speak with him.
- Speak with Erenville.
On Track
- Speak with Namikka.
- Speak with Erenville.
- Speak with Erenville again.
One With Nature
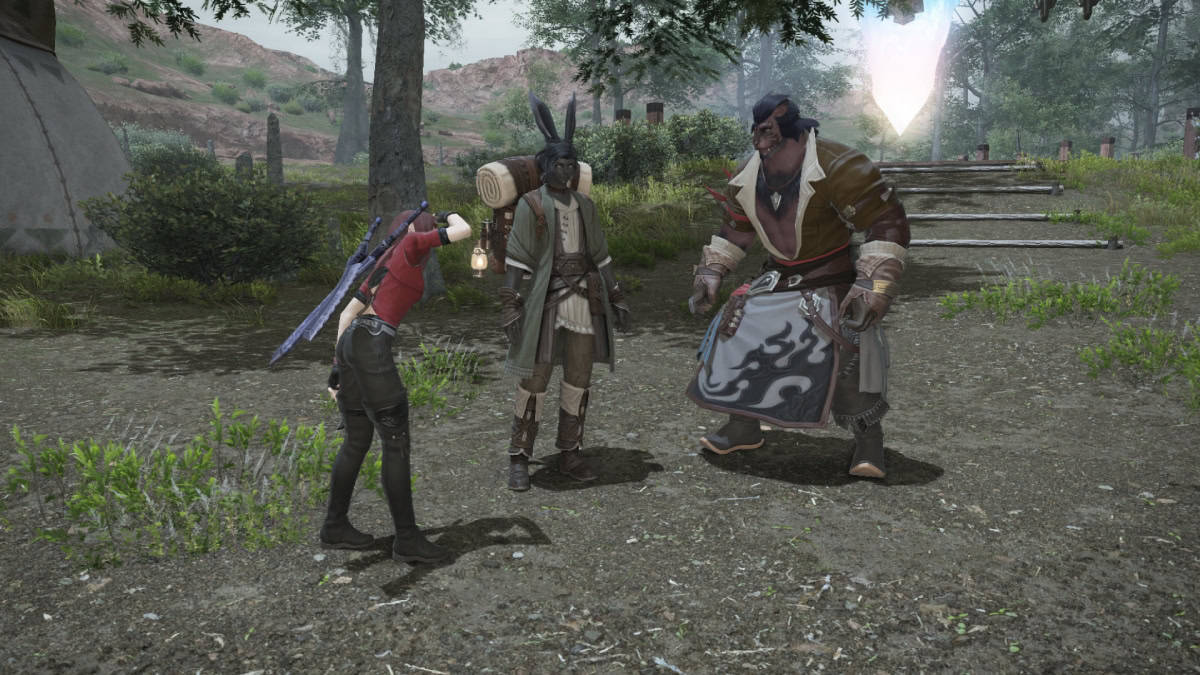
- Speak with Erenville.
- Speak with Wawlika.
- Speak with Hhwato.
- Speak with Wawlika.
And the Land Would Tremble
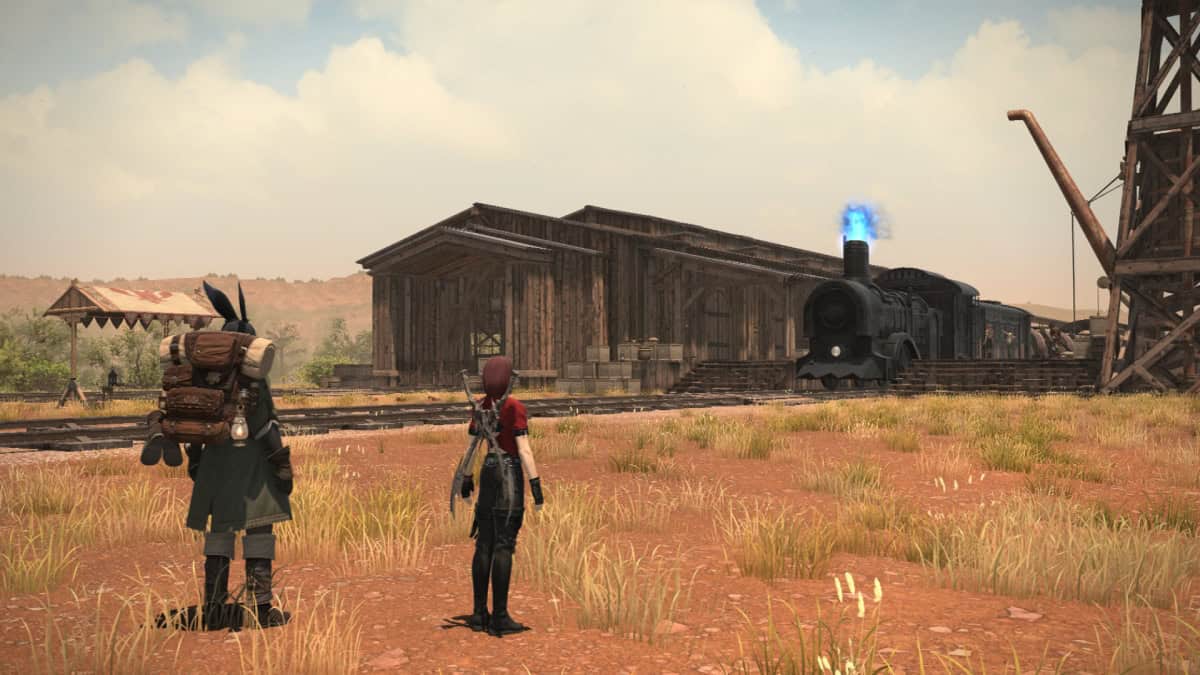
- Pick up the crate of rough-cut timber.
- Carry the crate of rough-cut timber to the designated location.
- Speak with Erenville.
- Speak with Wuk Lamat.
No Time for Tears
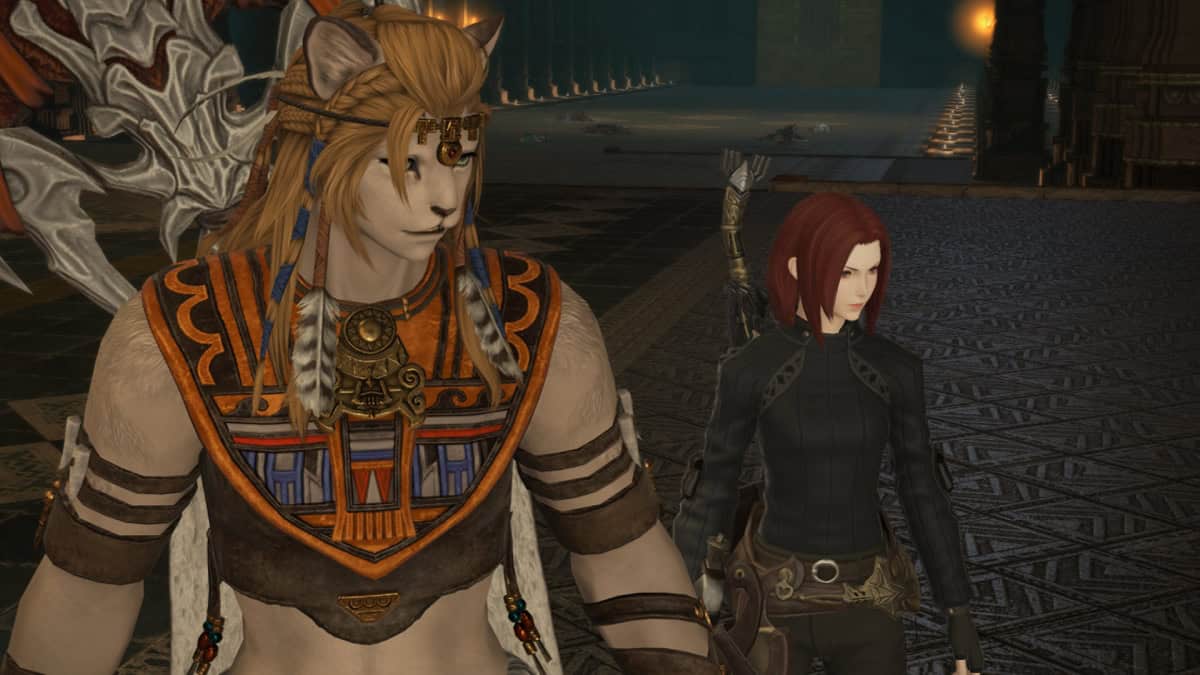
- Speak with Wuk Lamat.
- Help the citizens of the Resplendent Quarter.
- Speak with Wuk Lamat.
- Survey the designated locations for damage.
- Speak with Alisaie.
- Search for Wuk Lamat.
- Speak with Wuk Lamat.
- Speak with Alisaie.
Pick up the Pieces
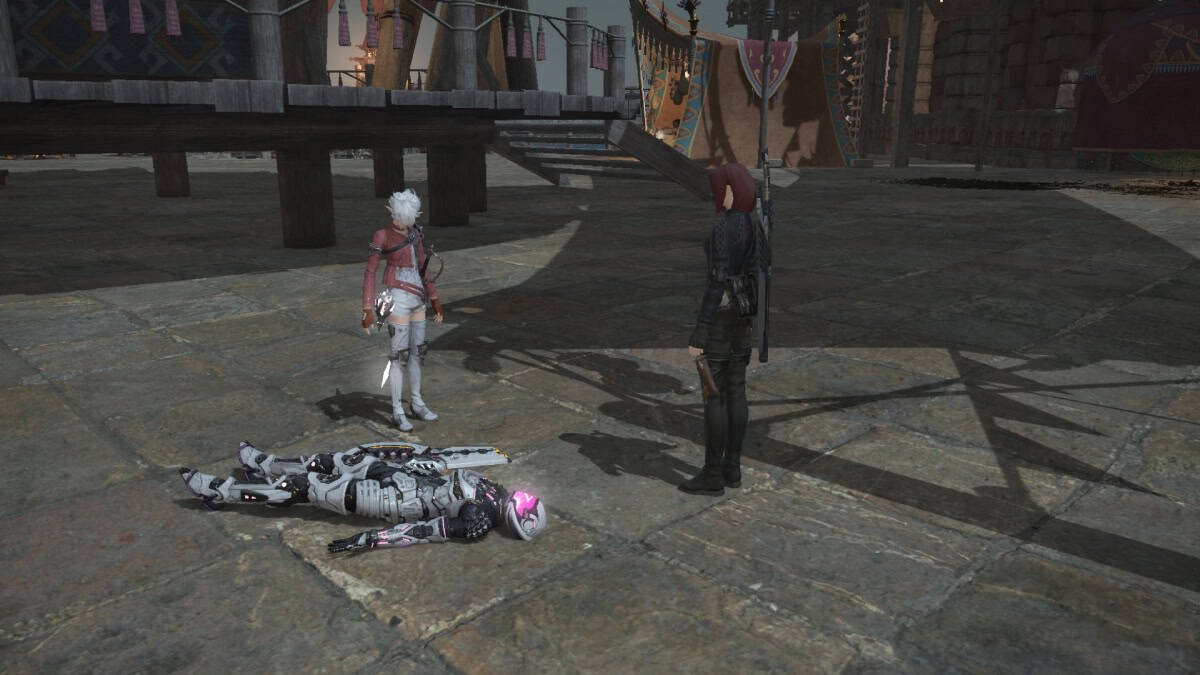
- Inspect the fallen soldier.
- Speak with Alisaie.
- Speak with Wuk Lamat at Sunperch.
Together as One
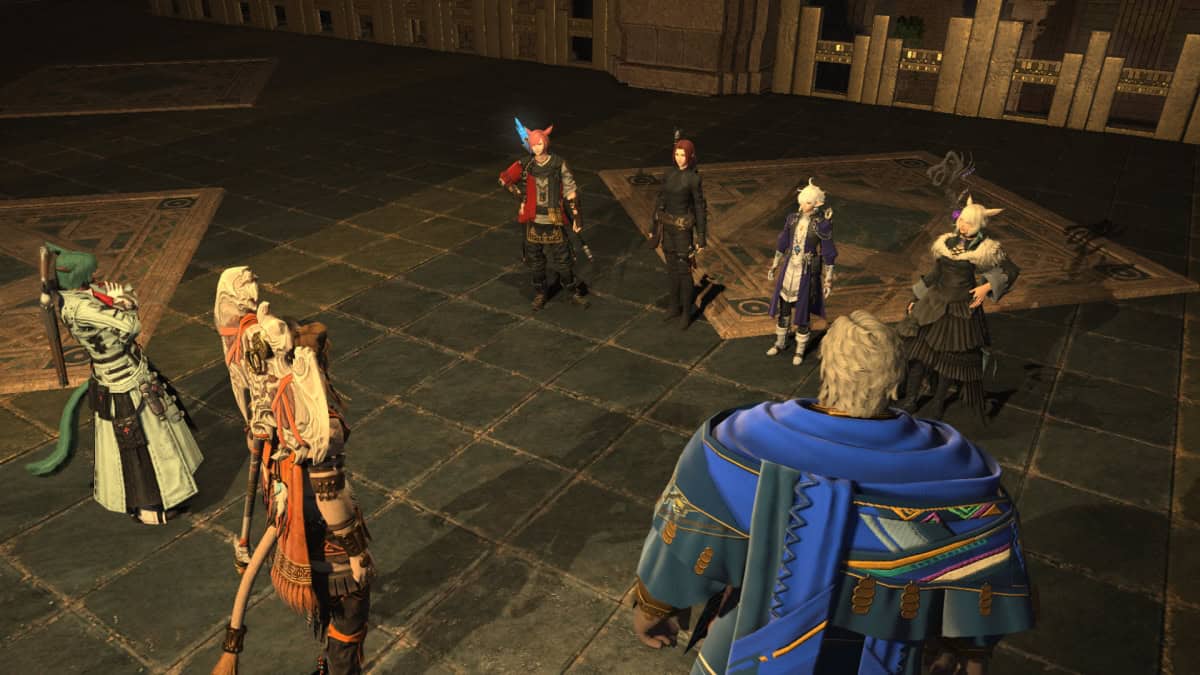
- Search for distressed citizens in the Resplendent Quarter.
- Search for more distressed citizens.
- Speak with Wuk Lamat.
- Speak with G’raha Tia.
In Yyasulani’s Shadow
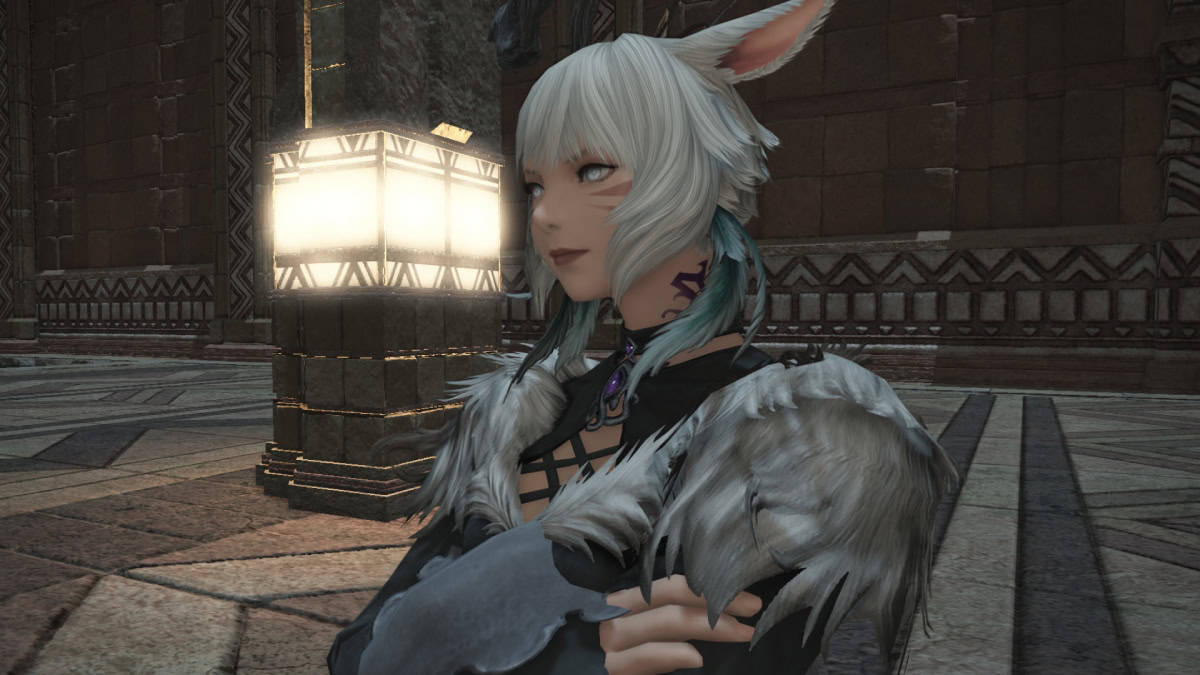
- Speak with Wuk Lamat.
- Speak with Kemakka in Hhusatahwi.
- Speak with Wuk Lamat.
- Inspect the fallen soldier.
- Speak with Iyaate.
- Speak with an employee of Xak Tural Railing.
- Speak with Wuk Lamat.
- Speak with Y’shtola.
- Speak with Wuk Lamat.
Putting Plans into Locomotion
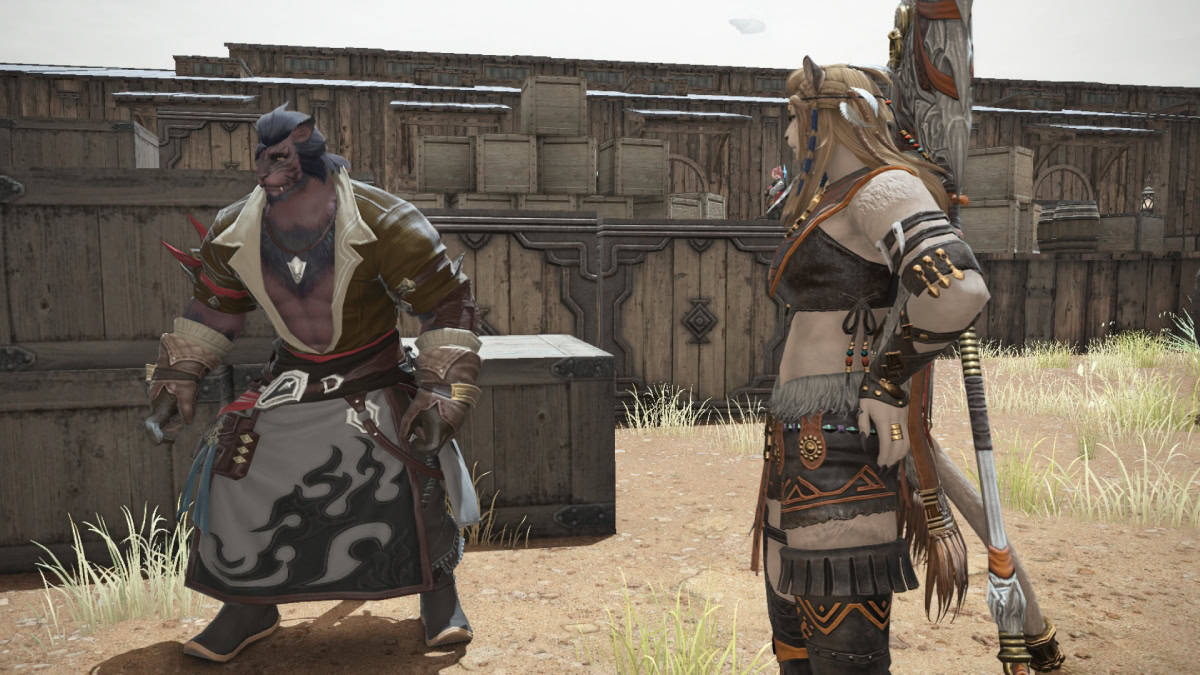
- Speak with Wawlika.
- Speak with Wuk Lamat.
- Speak with Shenza.
- Speak with Iyaate.
A Hot Commodity
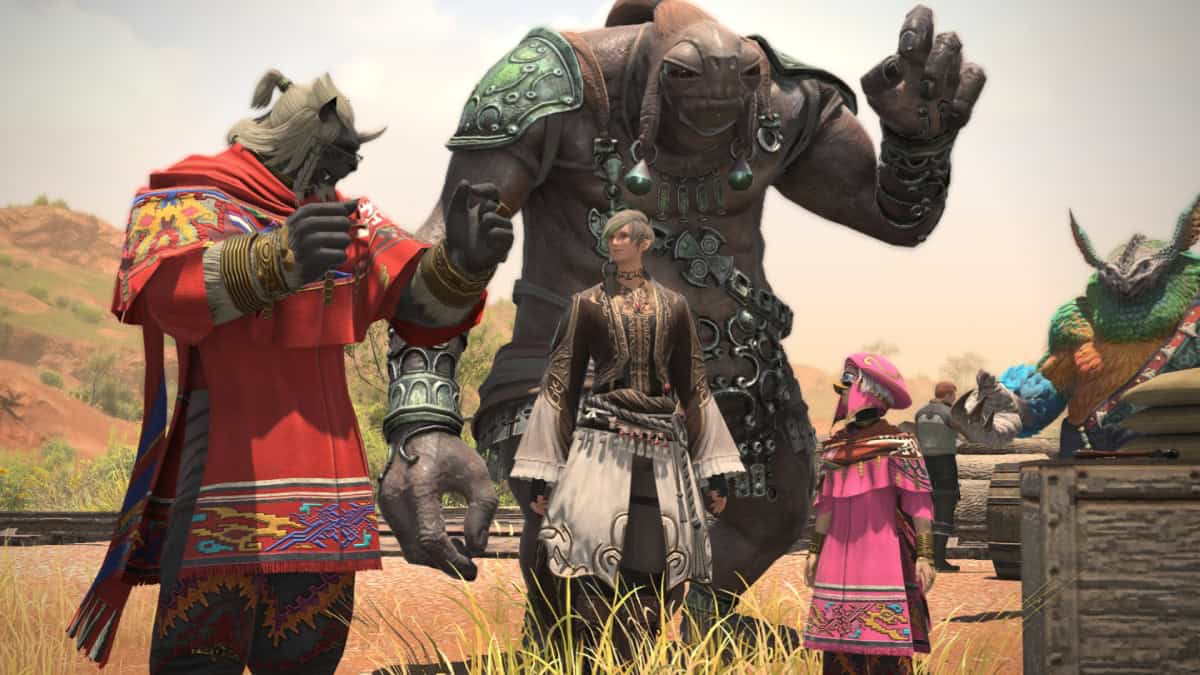
- Speak with Iyaate.
- Survey the designated location and slay any blazing cerule creatures that appear for clear fire crystals.
- Deliver the clear fire crystals to Iyaate.
- Speak with Wuk Lamat.
- Speak with Wawlika.
Heritage Found Quests
The next area featured in the MSQ of FFXIV Dawntrail is Heritage Found. It combines sci-fi and modern elements with Turali architecture to create an amazing zone that is a blast to explore. To enter it, you’ll have to go through one of the game’s most fun dungeons to date.
All Aboard (Dungeon Unlock)
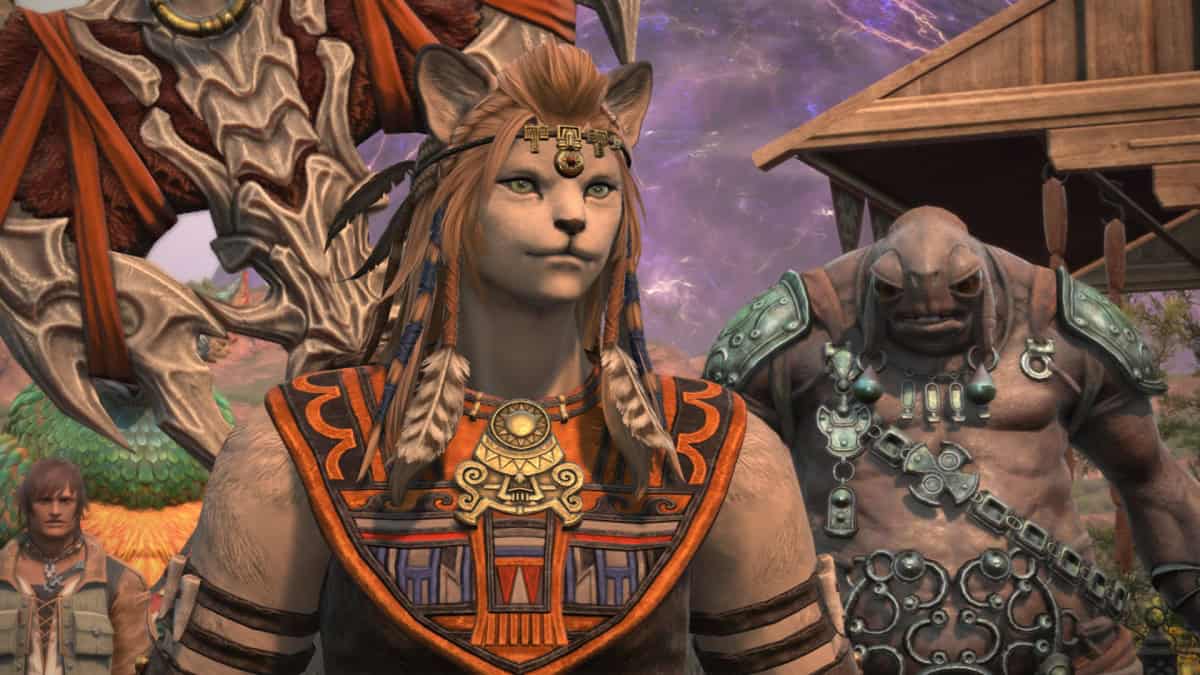
- Wait at the designated location.
- Enter Vanguard.
- Speak with Wuk Lamat.
The Land of Levin
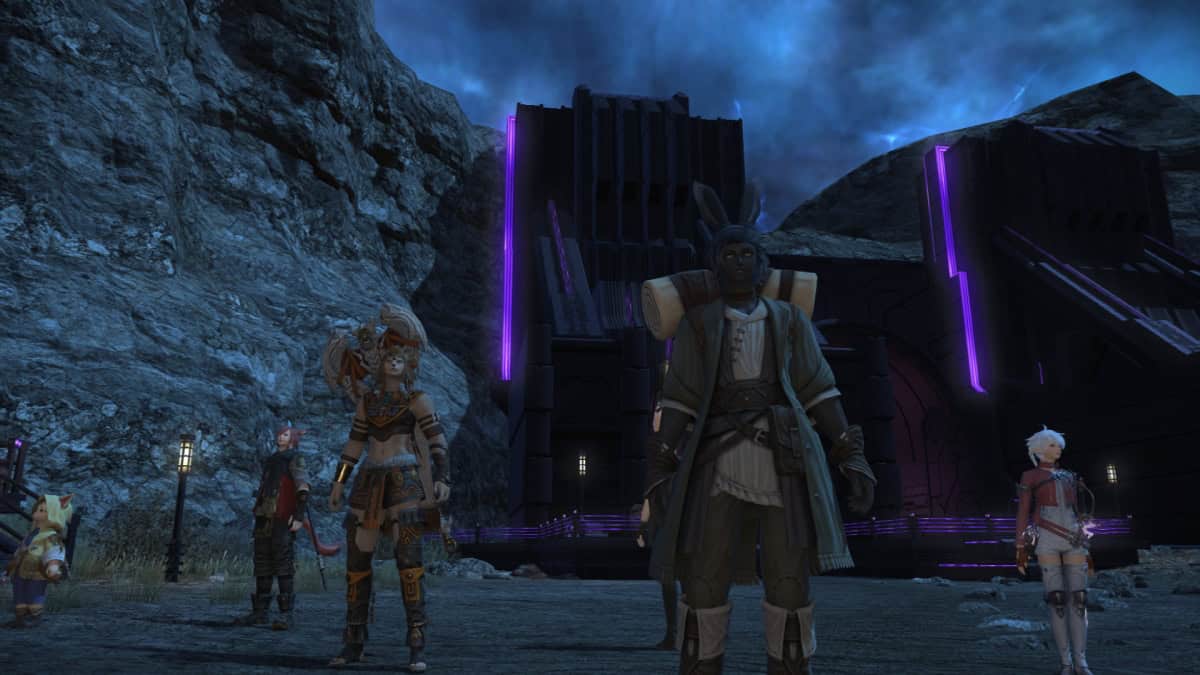
- Speak with Alisaie.
- Speak with Wuk Lamat.
- Gather information at Yyasulani Station.
- Speak with Wuk Lamat.
- Speak with G’raha Tia.
- Speak with G’raha Tia again.
- Speak with Erenville.
- Speak with Alisaie.
A Royal Welcome
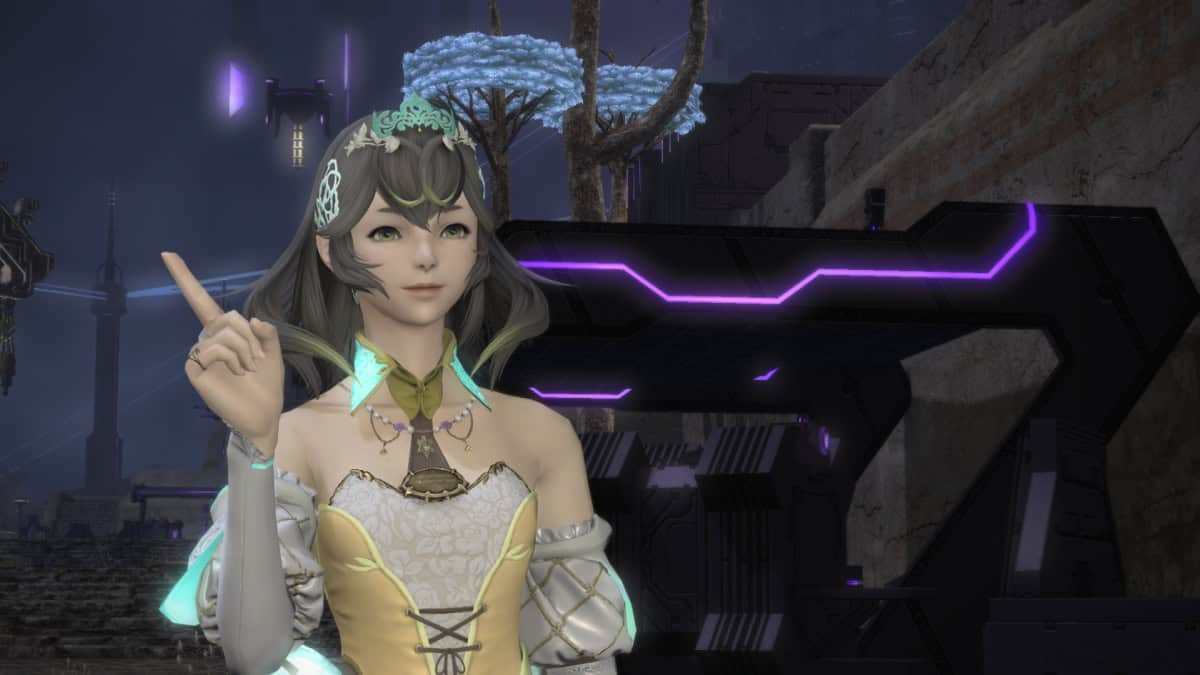
- Speak with Sphene.
- Speak with Sphene again.
- Speak with Sphene once more.
A Day in the Life
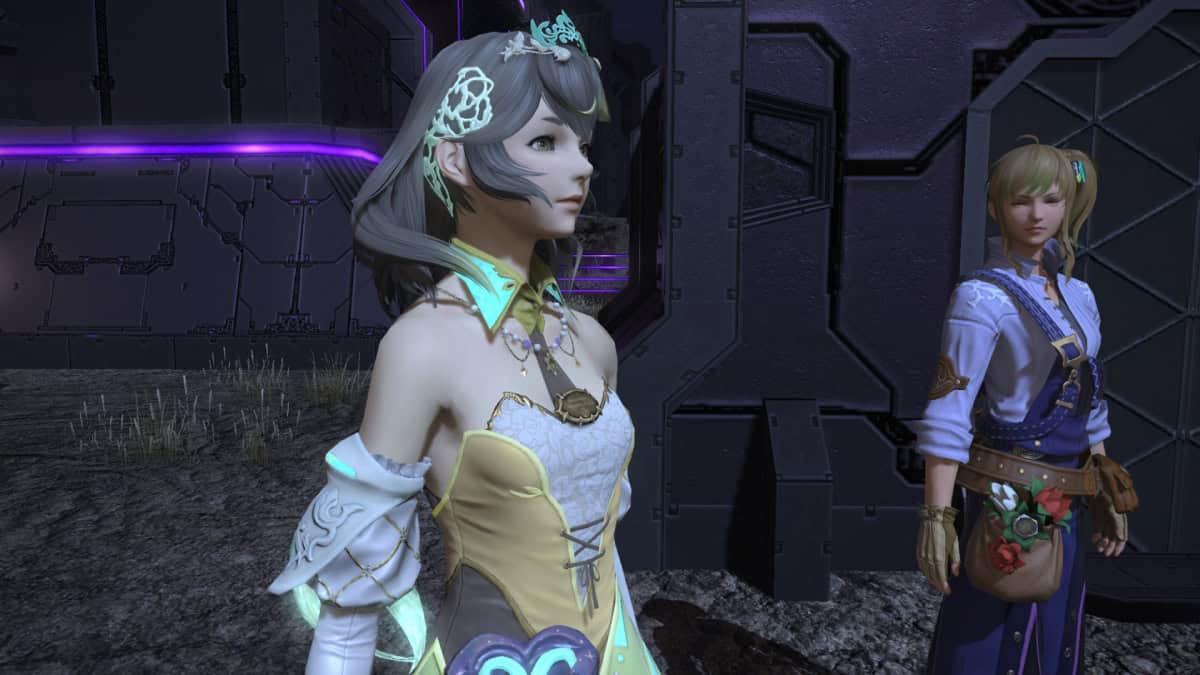
- Speak with Mahuwsa.
- Speak with the farmers.
- Speak with Sphene.
- Survey the designated locations and defeat any enemies that appear.
- Speak with Sphene.
On the Cloud
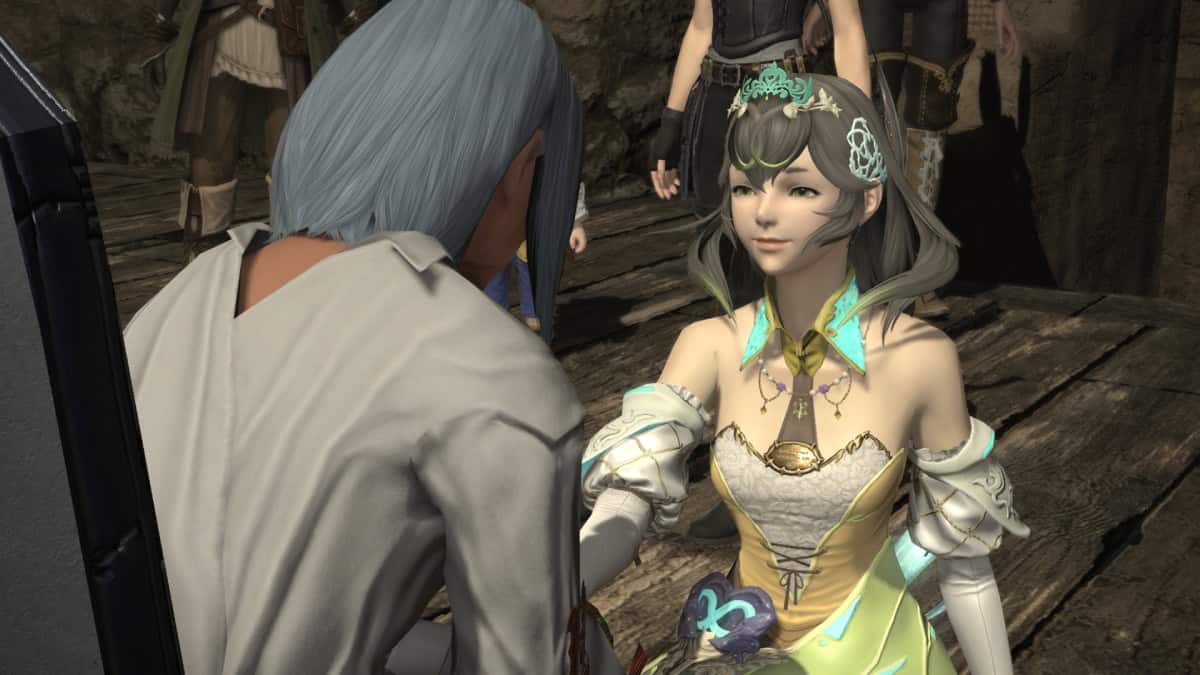
- Speak with Wuk Lamat.
- Speak with Wuk Lamat again.
- Speak with the people of the outskirts.
- Wait at the designated location.
- Survey the designated location.
- Speak with Erenville.
- Speak with Erenville again.
- Speak with Erenville in the Earthen Sky hideout.
Gone and Forgotten

- Speak with Cahciua.
- Speak with Strika.
- Survey the designated location and defeat any enemies that appear.
- Survey the designated location.
- Speak with Wuk Lamat.
Embracing Oblivion
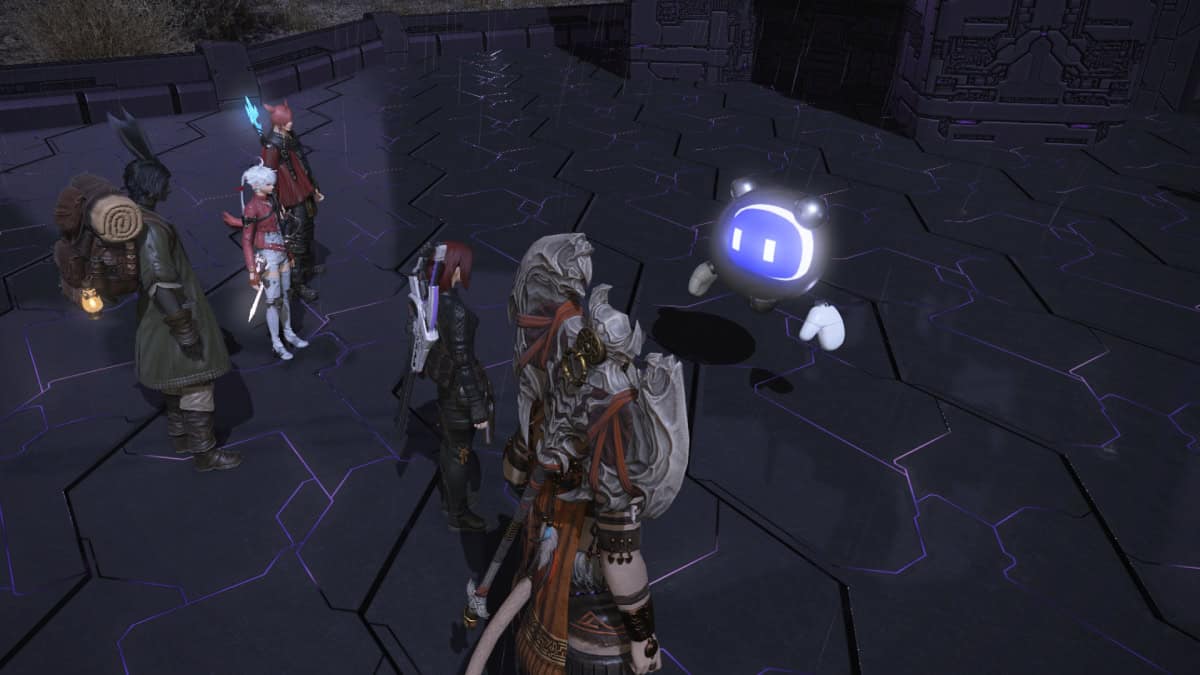
- Speak with Wuk Lamat.
- Speak with Cahciua at the Earthen Sky hideout.
- Speak with Geode.
Solution Nine Quests
The time has finally come. We have the MSQ quests that unlock the second player hub in FFXIV Dawntrail. Prepare your modern outfits and get ready to step into one of the flashiest and slickest zones in the MMO, and one you’ll likely visit often during endgame and subsequent Dawntrail patches. Also, after a few of these quests, you’ll return to Heritage Found to conclude its storyline.
Solution Nine
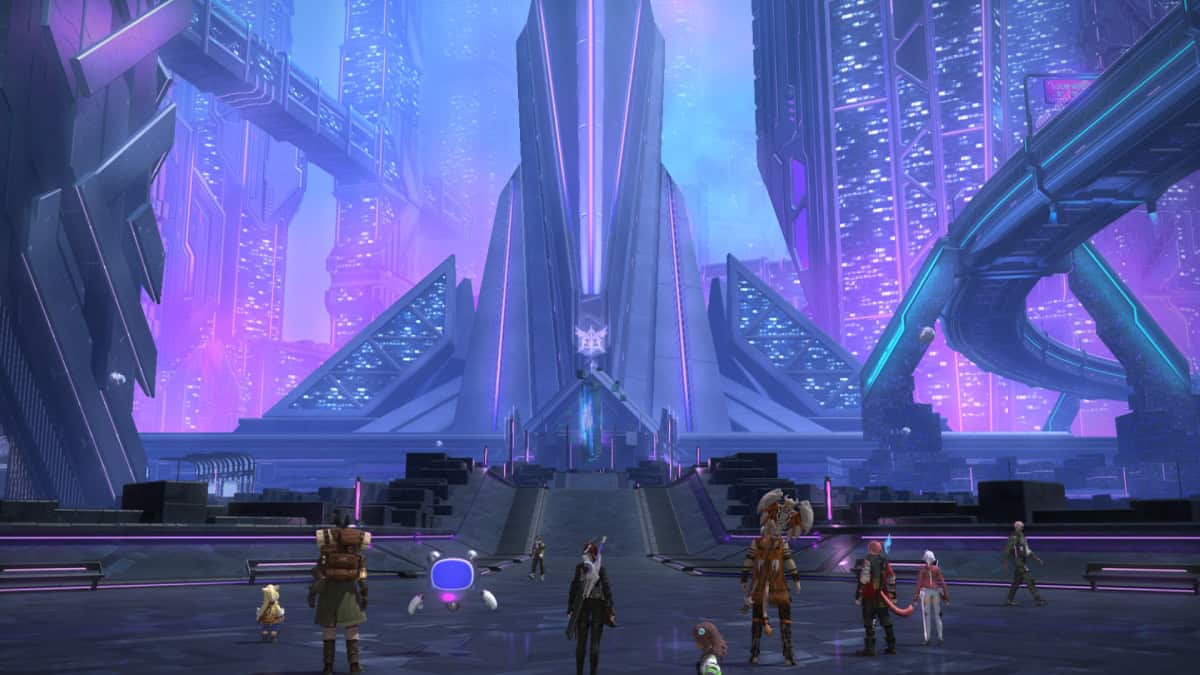
- Speak with Cahciua in front of Everkeep.
- Speak with Wuk Lamat.
- Speak with Wuk Lamat again.
- Speak with Wuk Lamat yet again.
The Queen’s Tour

- Speak with Sphene.
- Choose a foodstuff.
- Speak with Wuk Lamat.
- Speak with Sphene and have her accompany you.
- Speak with Sphene at the designated location while Sphene and Wuk Lamat are accompanying you.
- Speak with Sphene again at the designated location while Sphene and Wuk Lamat are accompanying you.
- Speak with Sphene yet again at the designated location while Sphene and Wuk Lamat are accompanying you.
- Speak with Sphene.
Her People, Her Family

- Speak with Sphene.
- Speak with Sphene again.
- Speak with Wuk Lamat.
- Speak with Wuk Lamat again.
Scales of Blue
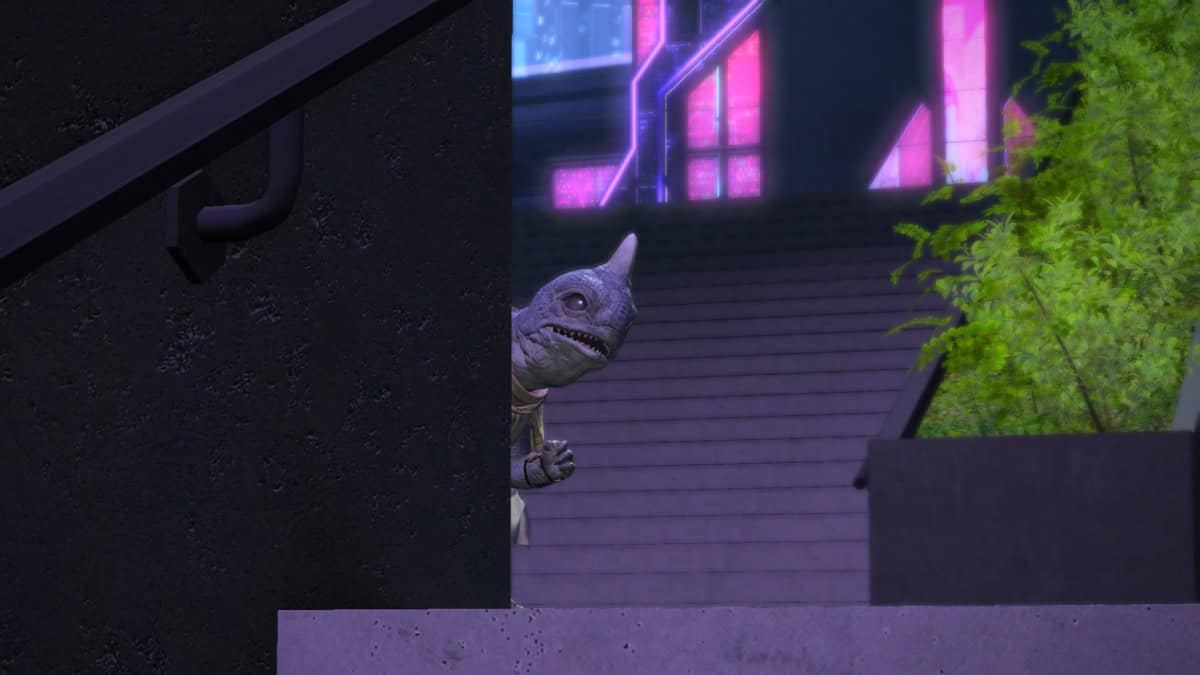
- Speak with Wuk Lamat.
- Survey the designated location.
- Speak with the blue-scaled Hoobigo child and follow their lead while accompanied by Wuk Lamat.
- Follow the blue-scaled Hoobigo child while accompanied by Wuk Lamat.
- Speak with Wuk Lamat.
Gives You Teeth

- Speak with Genolt.
- Speak with Philomon.
- Give the energy tonic voucher to Philomon.
- Drink your energy tonic in front of Philomon.
- Deliver the energy tonic to Genolt.
- Speak with Wuk Lamat.
Little Footfalls
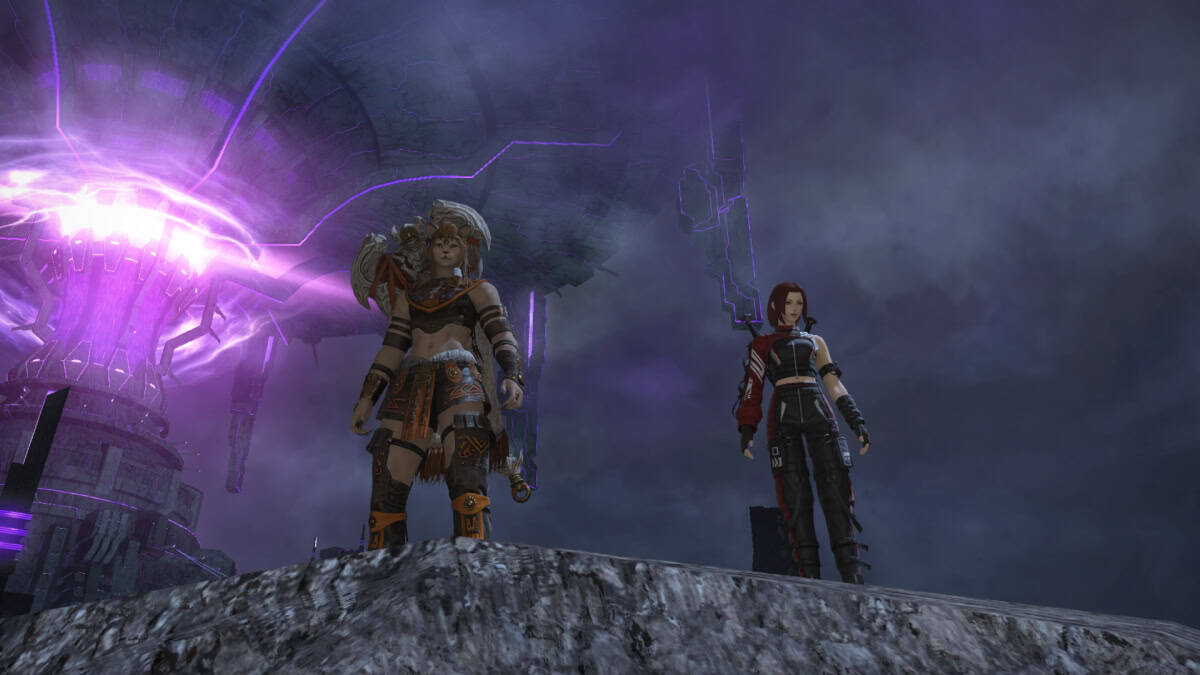
- Speak with Wuk Lamat in front of Everkeep.
- Survey the designated location.
- Speak with Wuk Lamat.
- Speak with Wuk Lamat again.
Drowned Vestiges
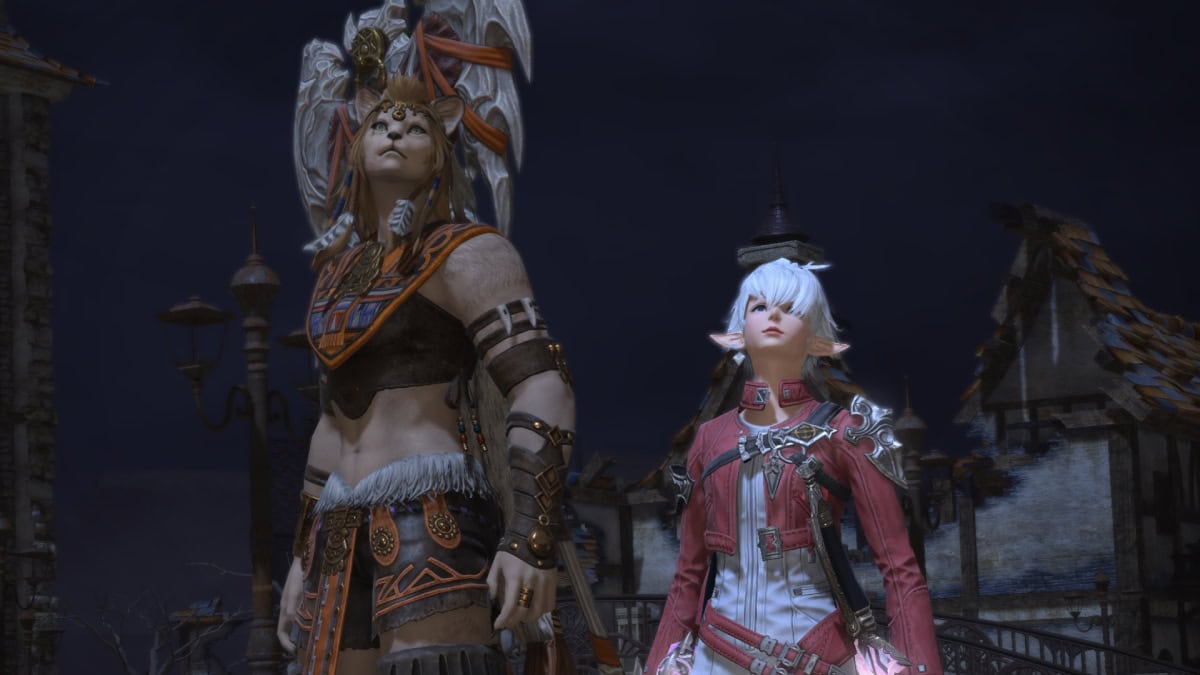
- Speak with Wuk Lamat.
- Survey the designated location.
- Follow Gulool Ja without being seen.
- Speak with Otis.
- Survey the designated area and slay a young woolback for its meat.
- Deliver the woolback loin to Otis.
Memories of a Knight
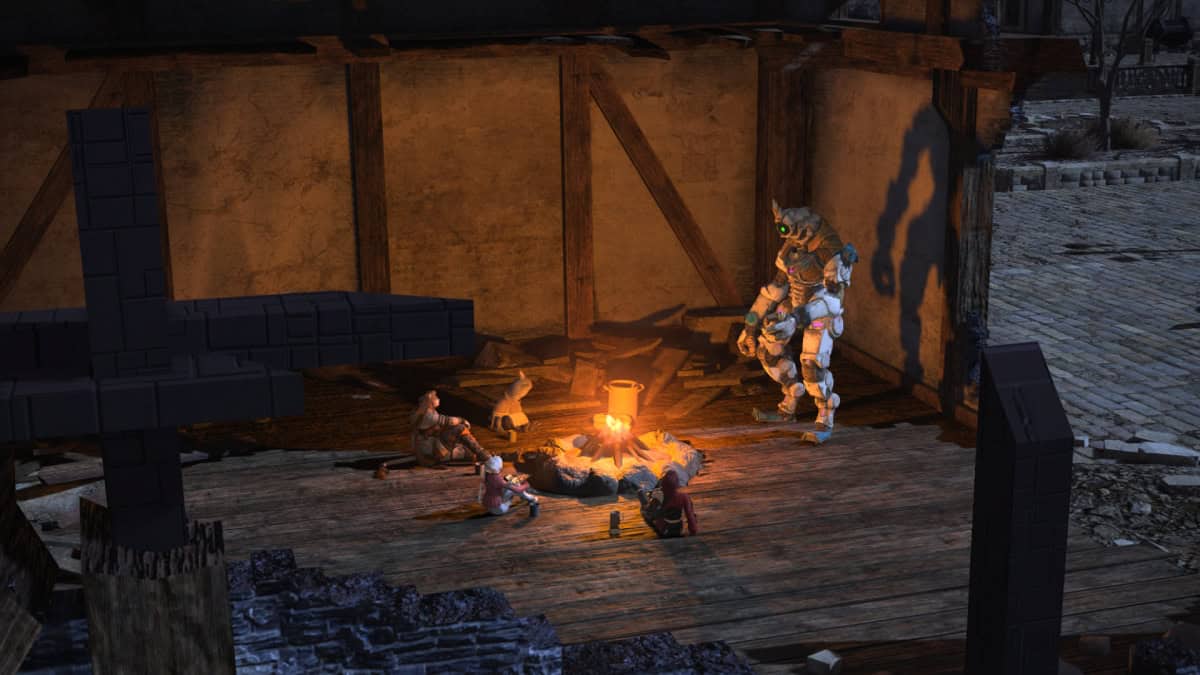
- Gather pieces of processed electrope.
- Deliver the pieces of processed electrope to Gulool Ja.
- Speak with Otis.
- Speak with Wuk Lamat.
At a Crossroads
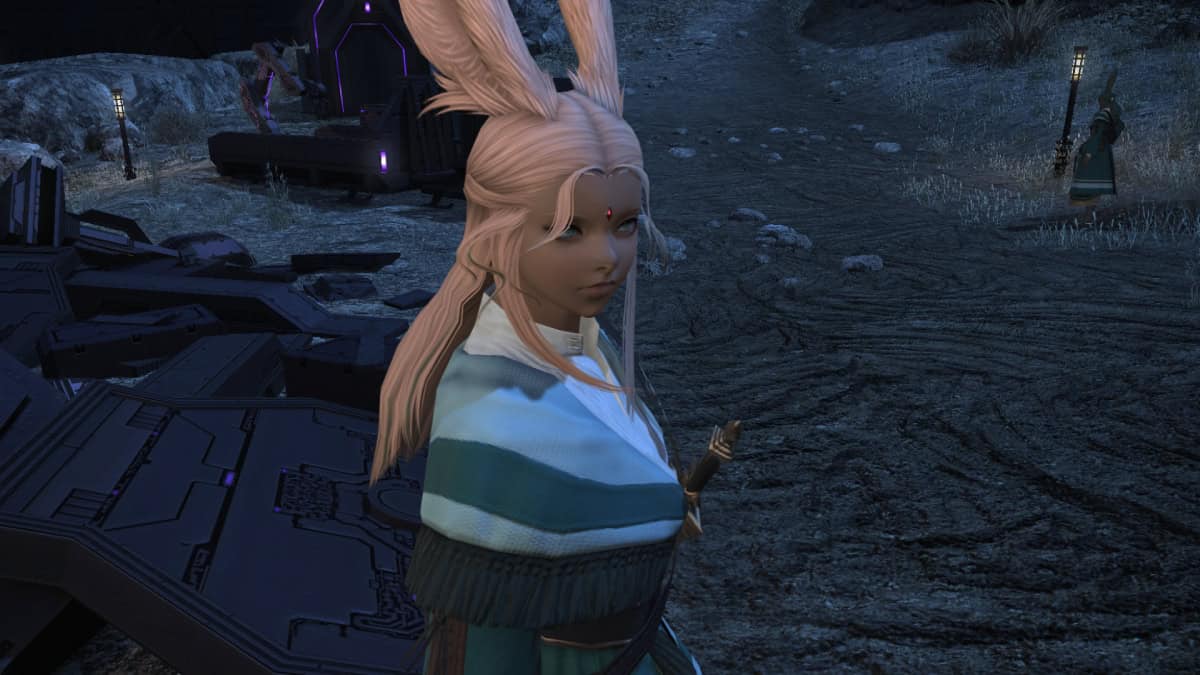
- Speak with Wuk Lamat.
- Speak with Taapu.
- Speak with Otis.
- Speak with Wuk Lamat.
The Protector and the Destroyer (Solo Instance)
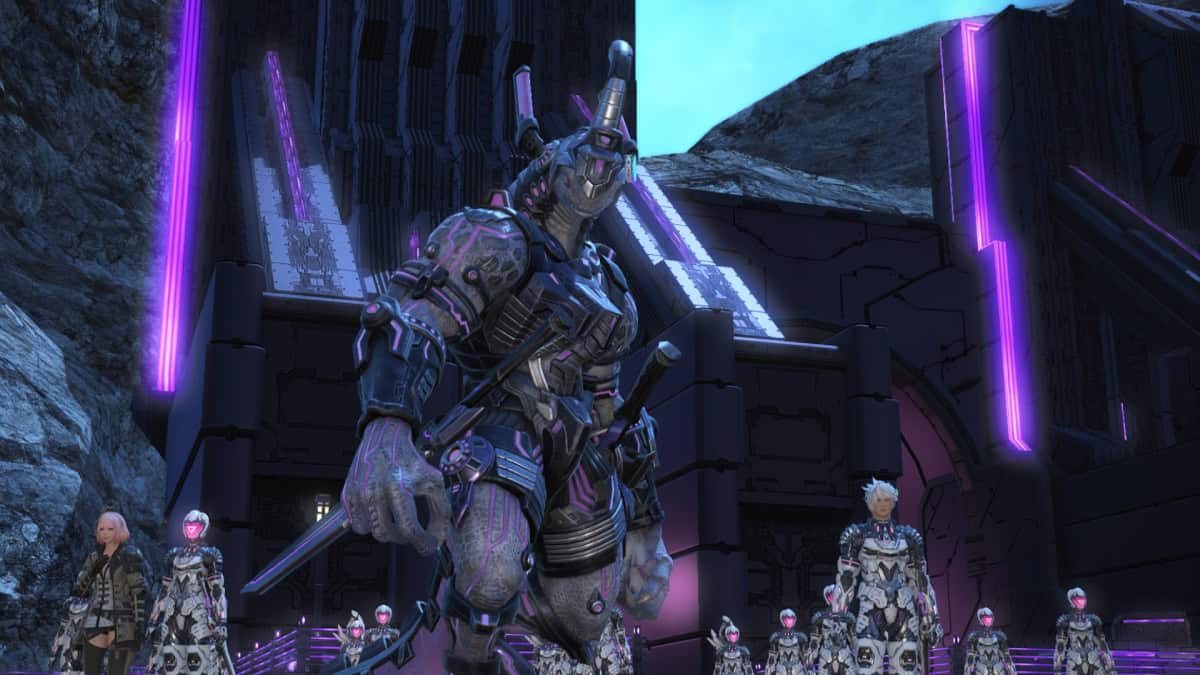
- Speak with Wuk Lamat.
- Speak with Wuk Lamat again.
- Speak with Wuk Lamat on True Vue.
A Comforting Hand

- Comfort the civilians.
- Speak with Wuk Lamat in the Backroom.
- Speak with Gulool Ja.
- Speak with Wuk Lamat.
- Speak with Cahciua.
Unto the Summit

- Speak with Erenville.
- Speak with Cahciua in front of Everkeep.
The Resilient Son (Dungeon & Trial Unlock)
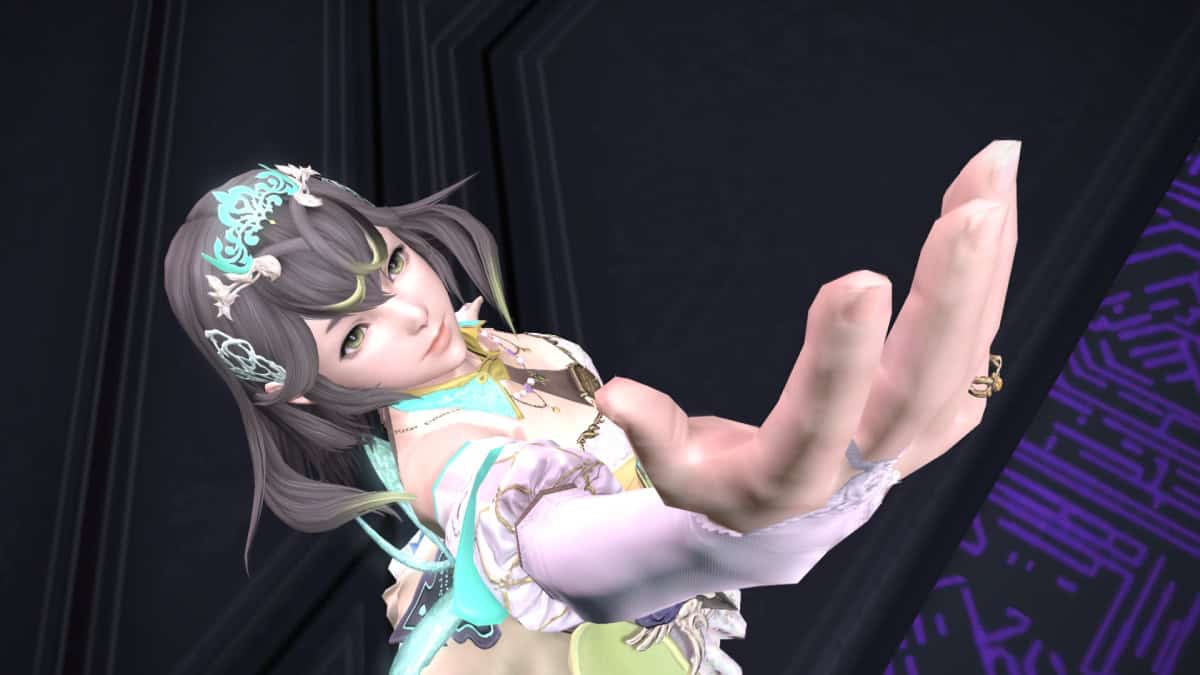
- Speak with Cahciua.
- Enter Origenics (Dungeon).
- Confront Zoraal Ja in Everkeep (Trial).
- Speak with Y’shtola.
- Speak with Cahciua.
- Speak with Wuk Lamat in the Backroom.
A New Family
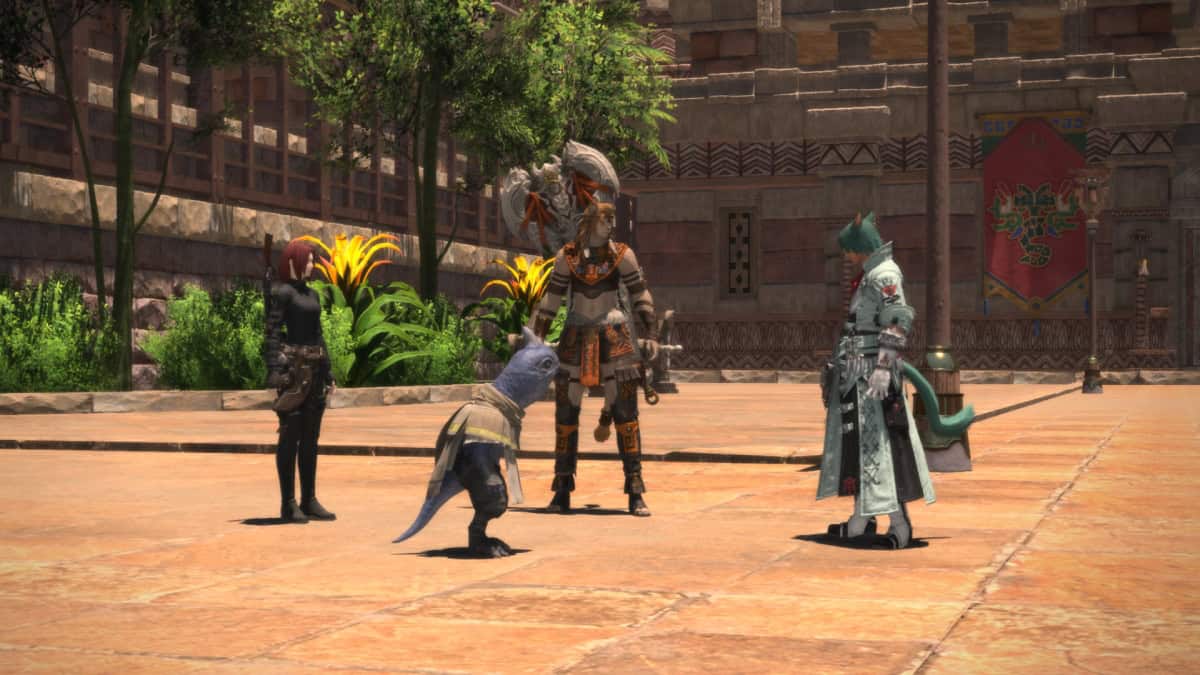
- Wait in front of the palace in Tuliyollal.
- Speak with Wuk Lamat.
- Speak with Wuk Lamat again.
- Speak with Wuk Lamat yet again.
- Speak with Koana.
- Speak with Koana again.
In Pursuit of Sphene (Artifact Gear Unlock)
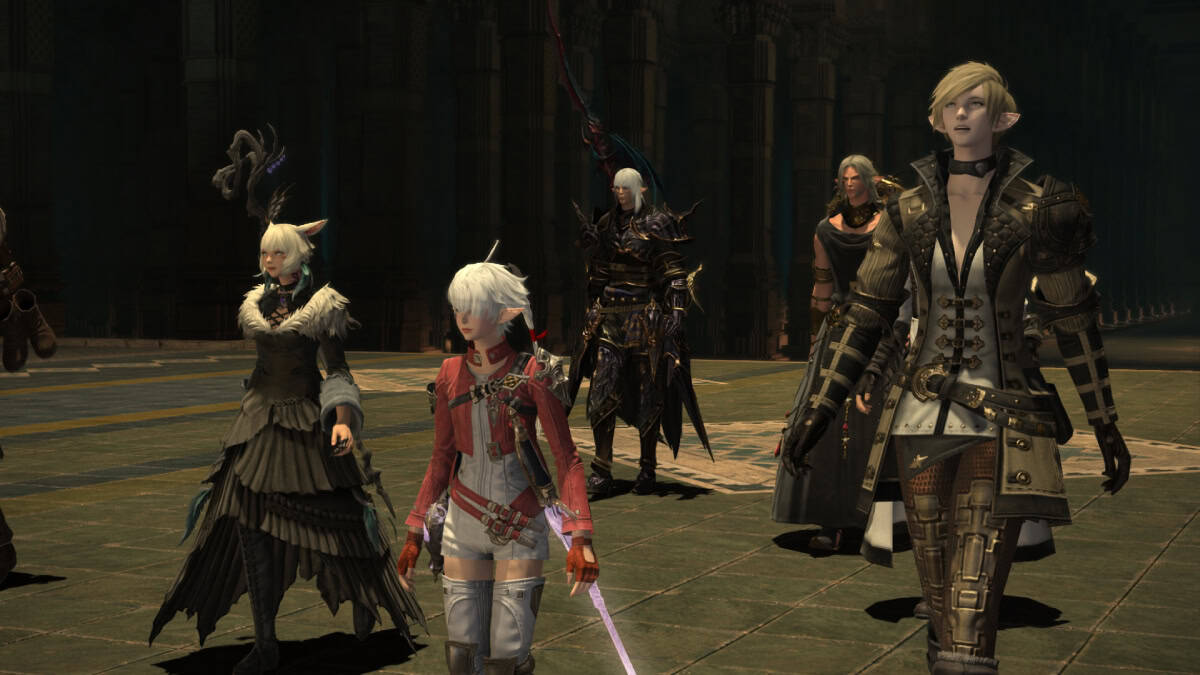
- Speak with Koana.
- Speak with Koana again.
Alexandria Quests
Here we are, my fellow Warriors of Light, the last stretch of the MSQ in FFXIV Dawntrail. The journey has been quite long, but it is finally time to see this adventure reach its conclusion.
Through the Gate of Gold
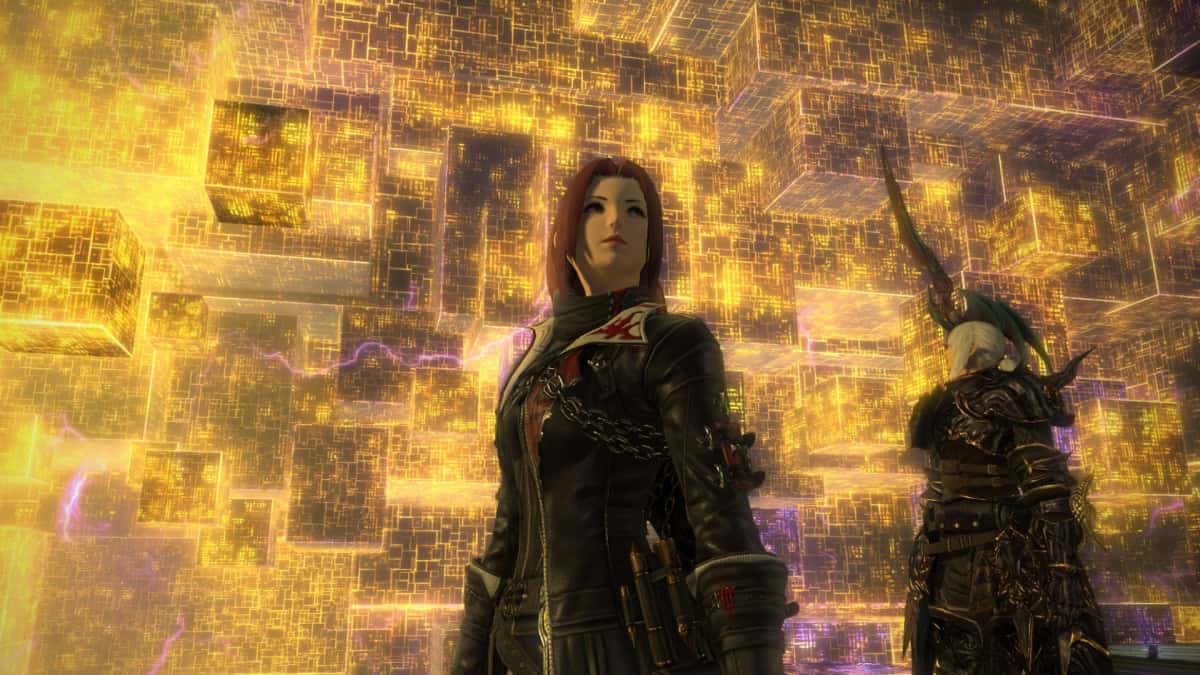
- Speak with Wuk Lamat at the entrance to the Skydeep Cenote.
- Speak with Wuk Lamat.
- Speak with Wuk Lamat at the Gate of Remembrance.
- Speak with Wuk Lamat again.
- Speak with Wuk Lamat yet again.
- Speak with Wuk Lamat once more.
Those Who Live Forever
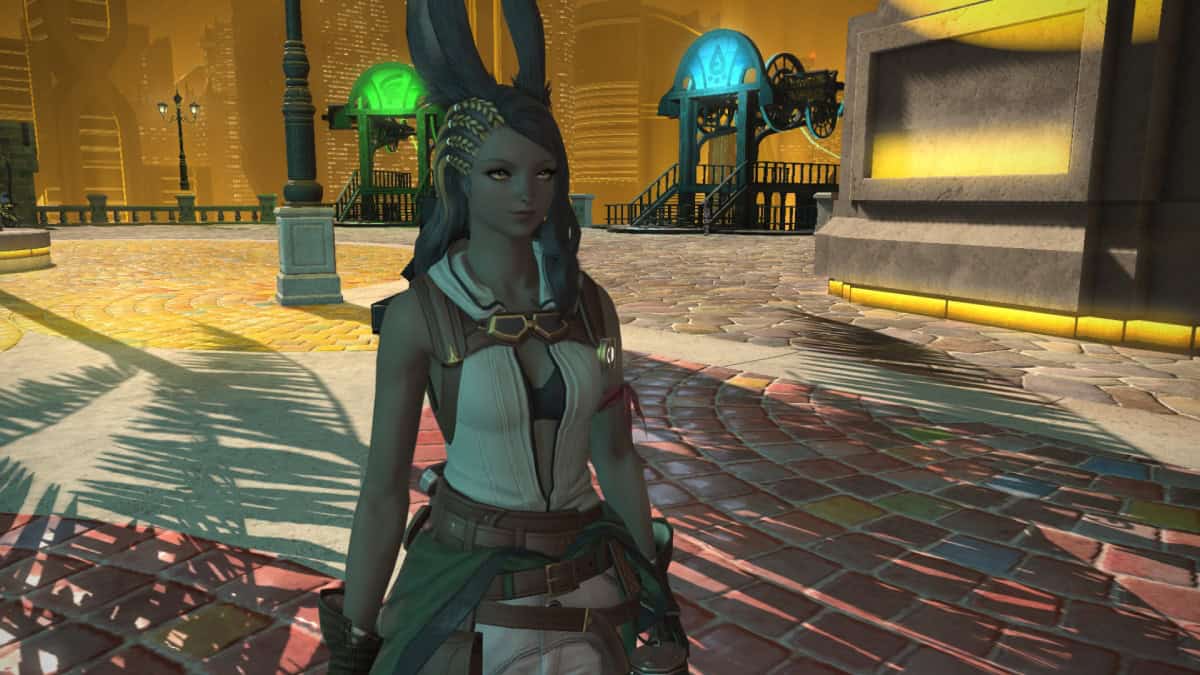
- Stand lookout at the designated location.
- Speak with the Canal Town guard.
- Speak with Cahciua.
- Speak with Endless.
- Speak with Erastus.
- Speak with G’raha Tia.
In Serenity and Sorrow
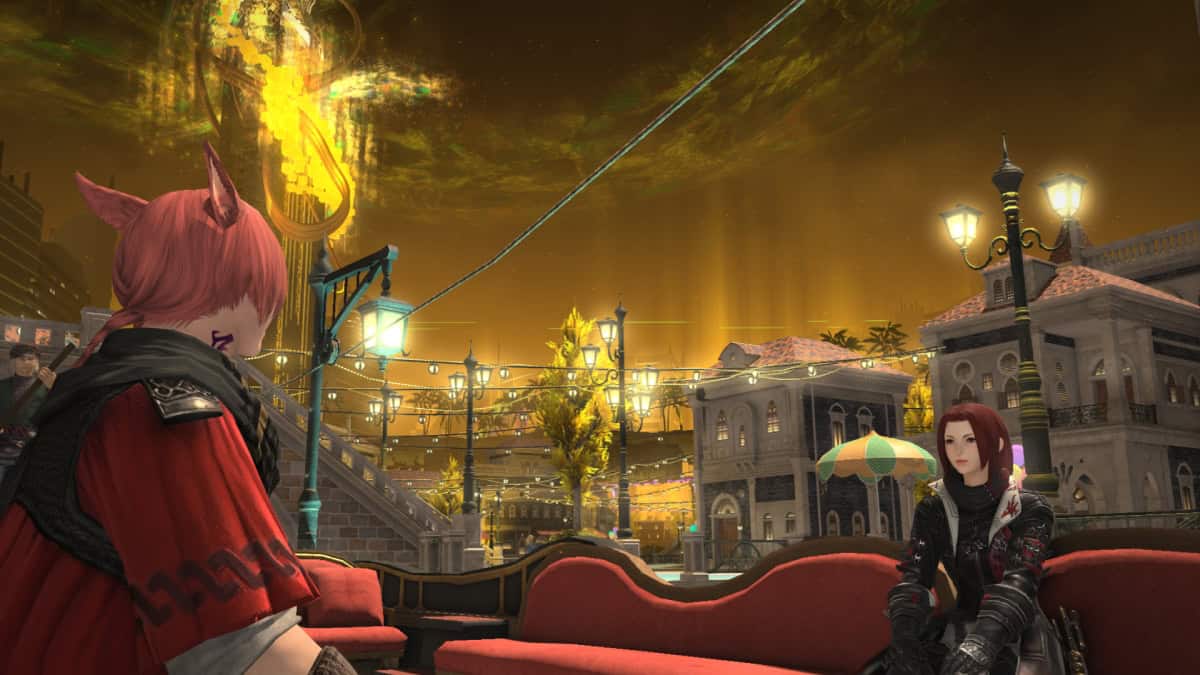
- Search for the fair-haired man.
- Survey the designated location and defeat the fiend to obtain the stolen engagement ring.
- Deliver the stolen engagement ring to the fair-haired man.
- Speak with the gondolier.
- Speak with G’raha Tia.
- Speak with Wuk Lamat.
- Channel aether into the dilapidated control units.
- Speak with Cahciua.
- Speak with Wuk Lamat.
- Speak with Wuk Lamat again.
The Land of Dreams
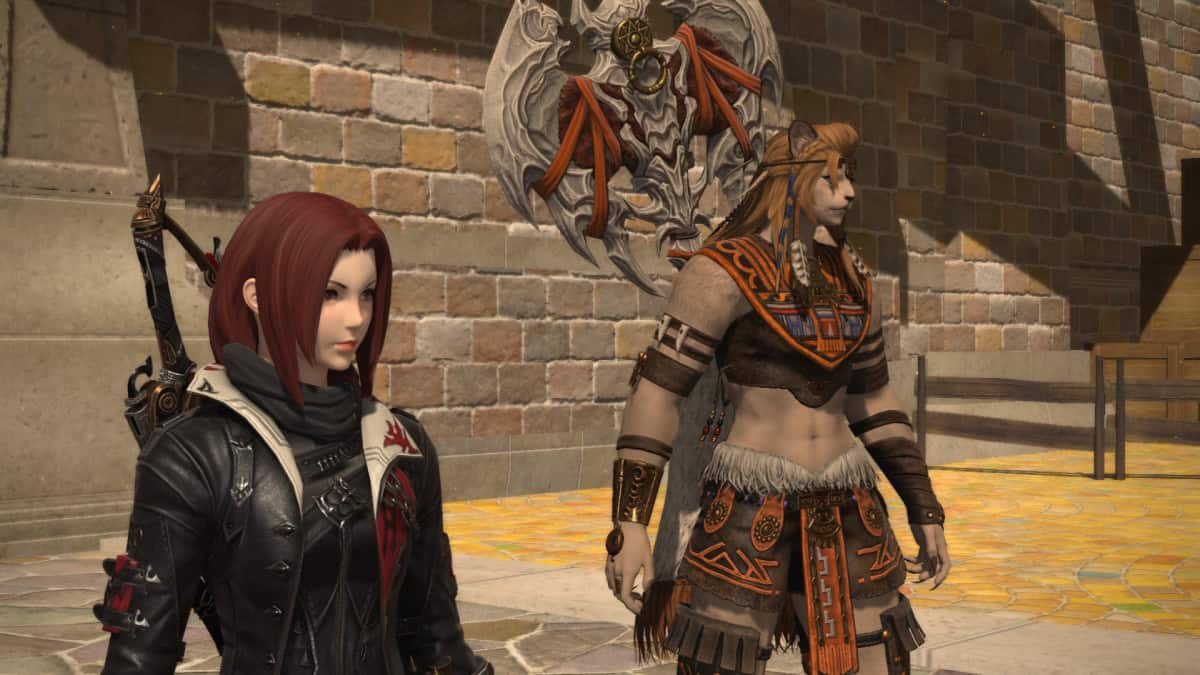
- Speak with the Yesterland guard.
- Gather information at the starglass.
- Survey the designated location.
- Defeat the fiend.
- Speak with the old-fashioned knight.
- Speak with Wuk Lamat.
A Knight of Alexandria
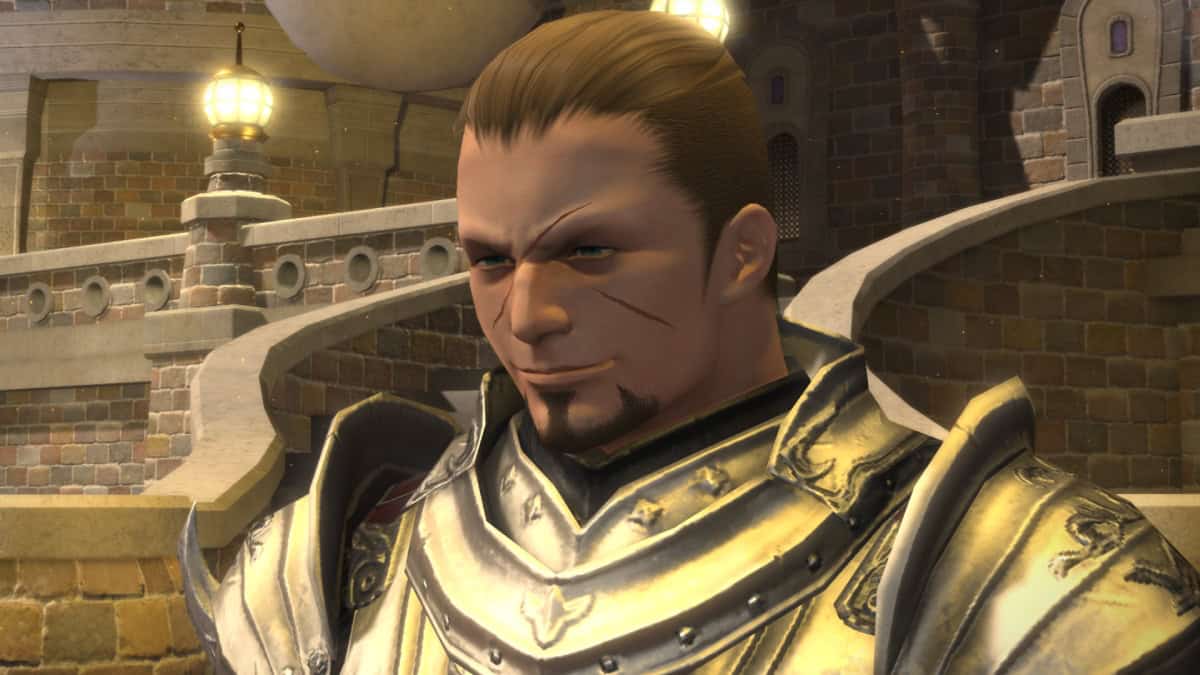
- Search for Otis.
- Speak with Otis.
- Speak with the children while wearing your costume.
- Speak with Otis.
- Wait at the designated location.
- Speak with Wuk Lamat.
- Speak with Wuk Lamat again.
The Sanctuary of the Strong
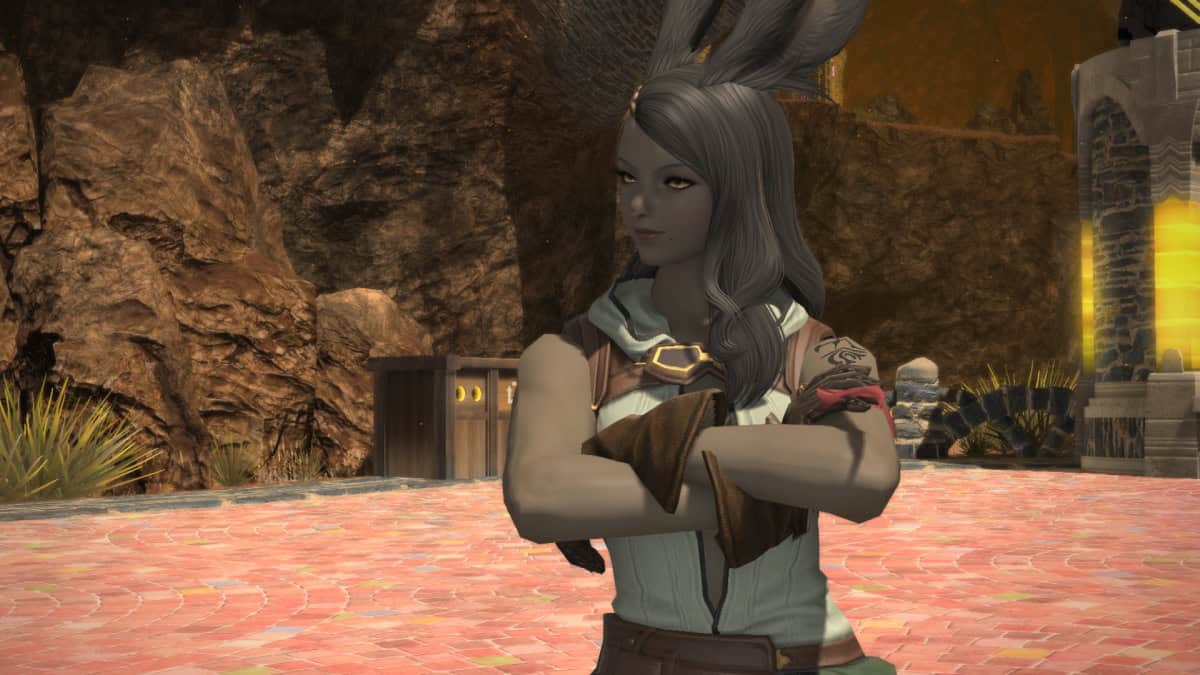
- Speak with the Asyle Volcane guard.
- Speak with Wuk Lamat.
- Speak with Cahciua.
- Speak with Krile.
The Taste of Family
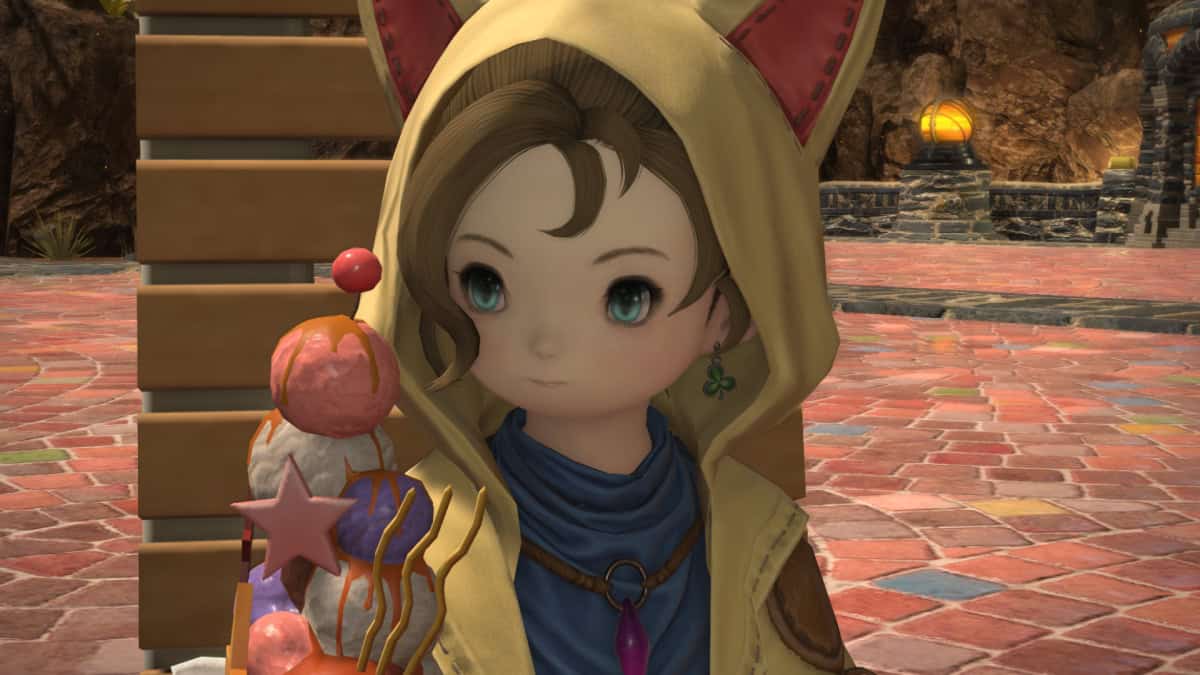
- Speak with Krile.
- Speak with G’raha Tia.
- Gather information at leynode pyro.
- Speak with Wuk Lamat.
- Speak with the ice cream vendor.
- Deliver the gold star ice cream to Krile.
- Speak with Krile.
Leafing Through the Past
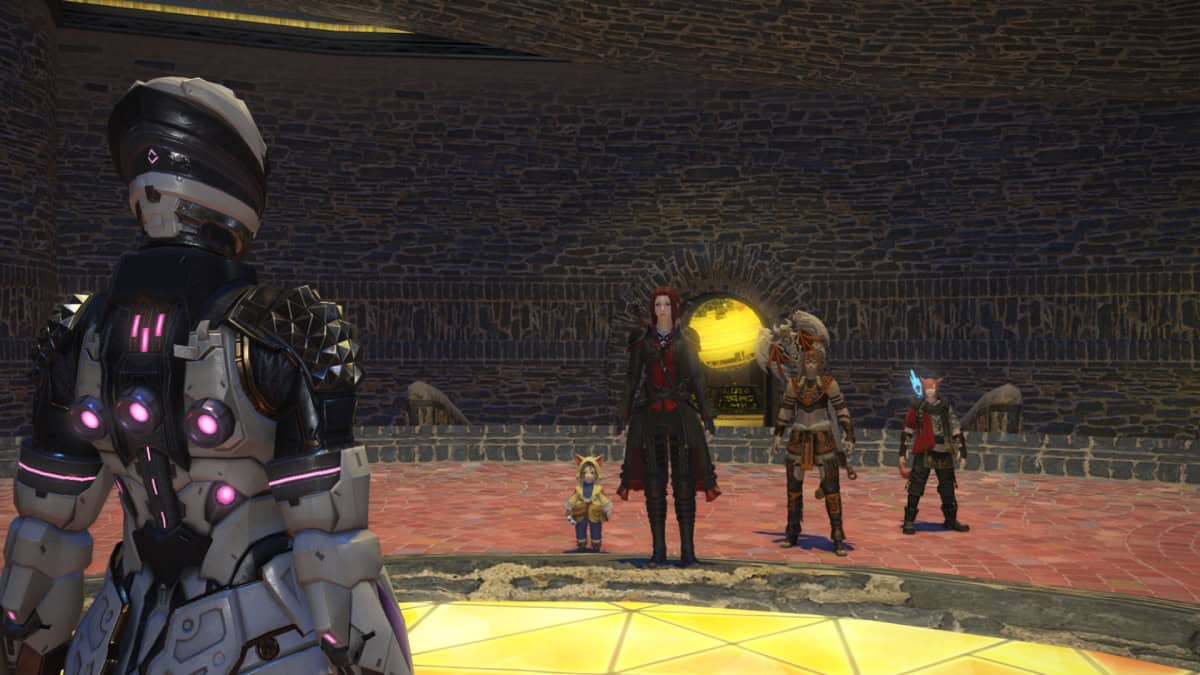
- Survey the designated location.
- Speak with the mechanical guide.
- Speak with the mechanical guide after lighting the correct braziers.
- Speak with the mechanical guide.
- Speak with the mechanical guide again.
- Speak with Krile.
- Speak with Cahciua.
- Speak with Wuk Lamat.
An Explorer’s Delight
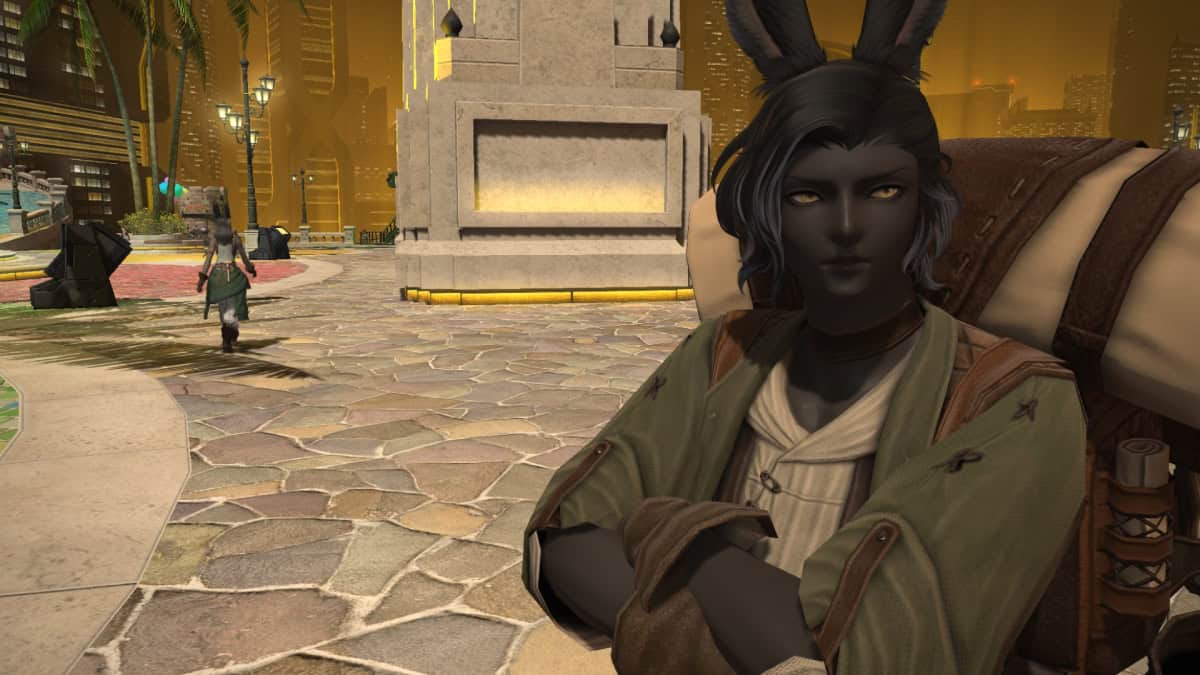
- Speak with Cahciua.
- Speak with the Windspath Gardens guard.
- Speak with Cahciua.
- Speak with Cahciua again.
In Search of Discovery
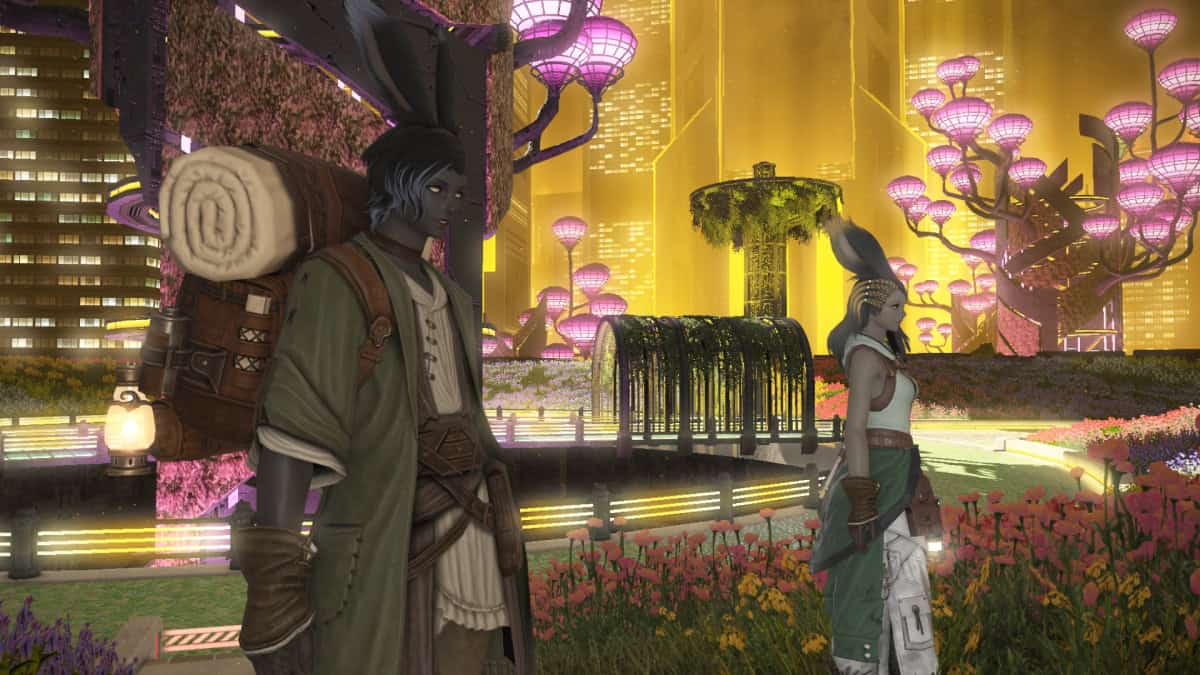
- Gather information at Blooms of Discovery.
- Speak with Cahciua.
- Survey the designated location.
- Speak with Cahciua.
A Journey Never-ending
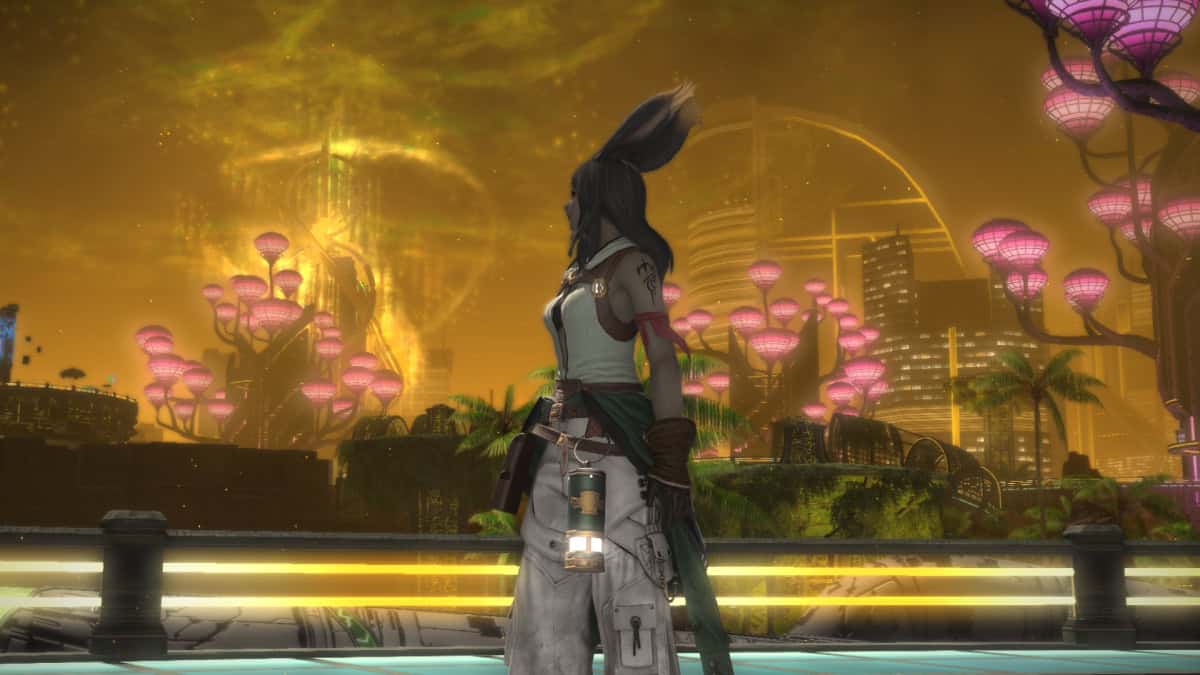
- Speak with the museum curator.
- Speak with Erenville.
- Speak with Cahciua.
- Speak with Wuk Lamat.
- Speak wit Wuk Lamat again.
Dawntrail (Dungeon & Trial Unlock)
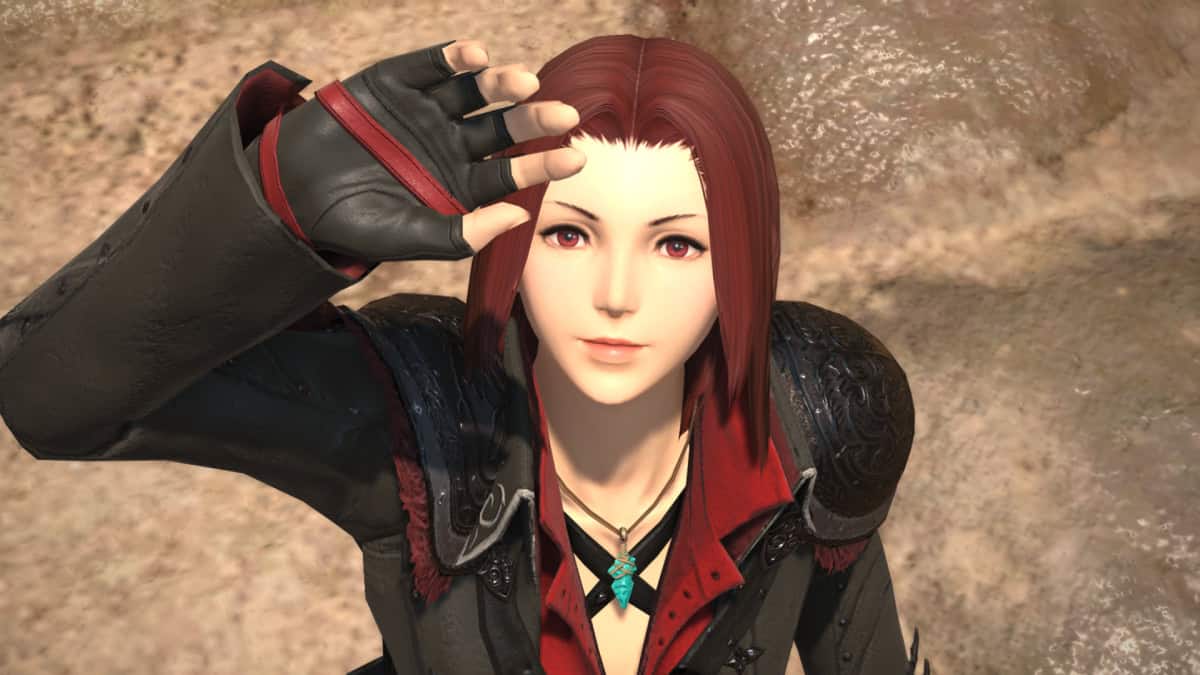
- Speak with Wuk Lamat.
- Enter Alexandria.
- Confront Sphene in The Interphos.
- Speak with Wuk Lamat.
While the base MSQ of FFXIV Dawntrail is over, that doesn’t mean it is the end. As you know, there are more patches coming throughout the expansion, and you bet we’ll update this article with the post-Dawntrail MSQ as it releases.

