
After the big semi-open-world portion of Act 2, Act 3 of Gears of War: E-Day is a bit more linear, yet has many more collectibles to obtain. And while there is also a part where you’ll have to do some open-field exploration, this Act makes finding the elusive items a lot easier. Still, if you want some help with locating them, here’s a guide for all Act 3 collectibles in Gears of War: E-Day.
Act 3 – Chapter 1 (5 Collectibles)
This Act’s first chapter is pretty straightforward, as you’ll have to make your way to an abandoned base to escape the creepy forest. Still, since some parts of this level can be a bit tricky, finding all collectibles can be a bit hard.
COG Army Knife
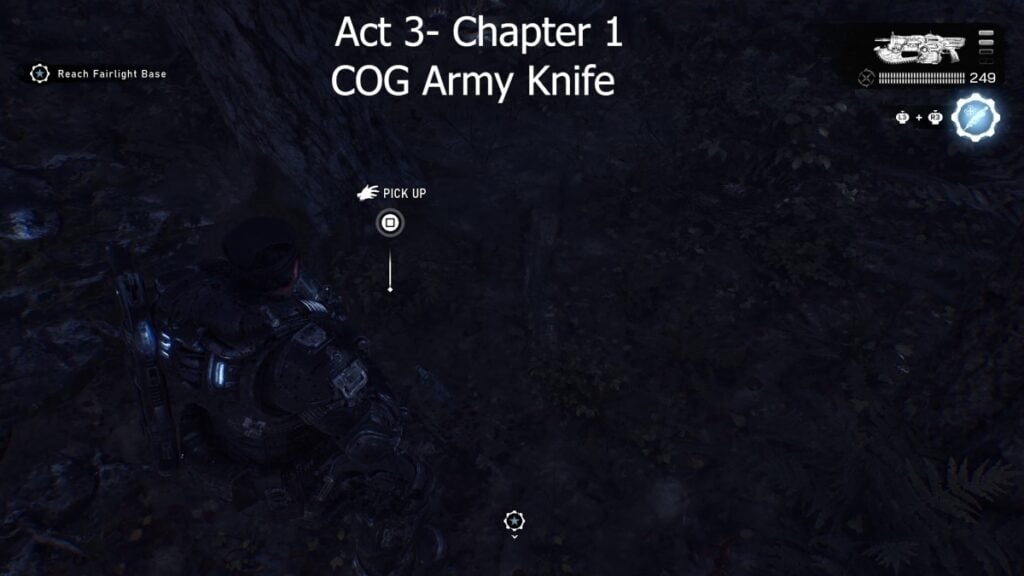
After inspecting the first mauled body, turn left to find the army near a tree.
Fairlight Rifle Range Sign
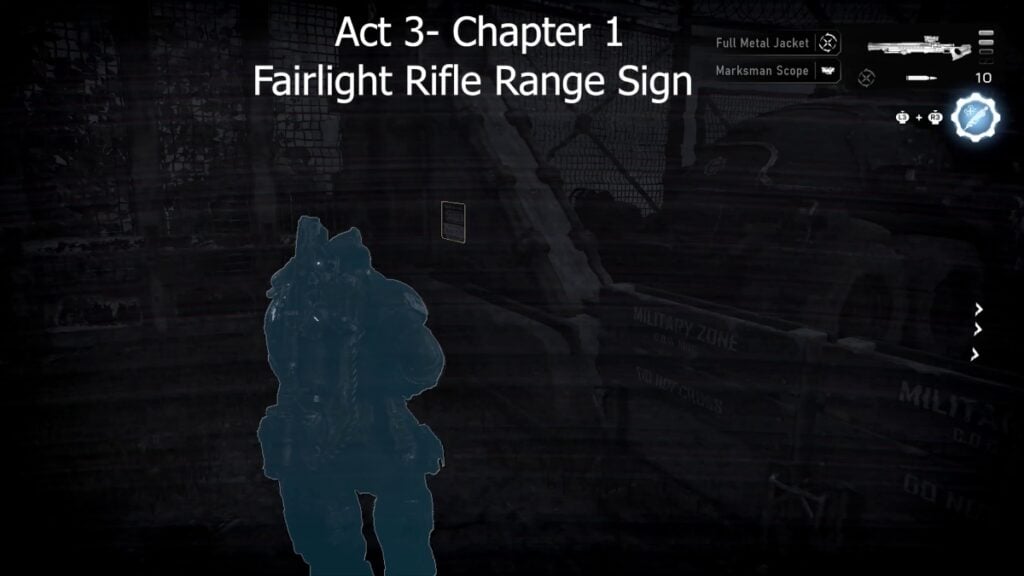
Hop the fence and turn right where the tank is to find the sign on a wall.
Gut-Puncher Grenade Rounds
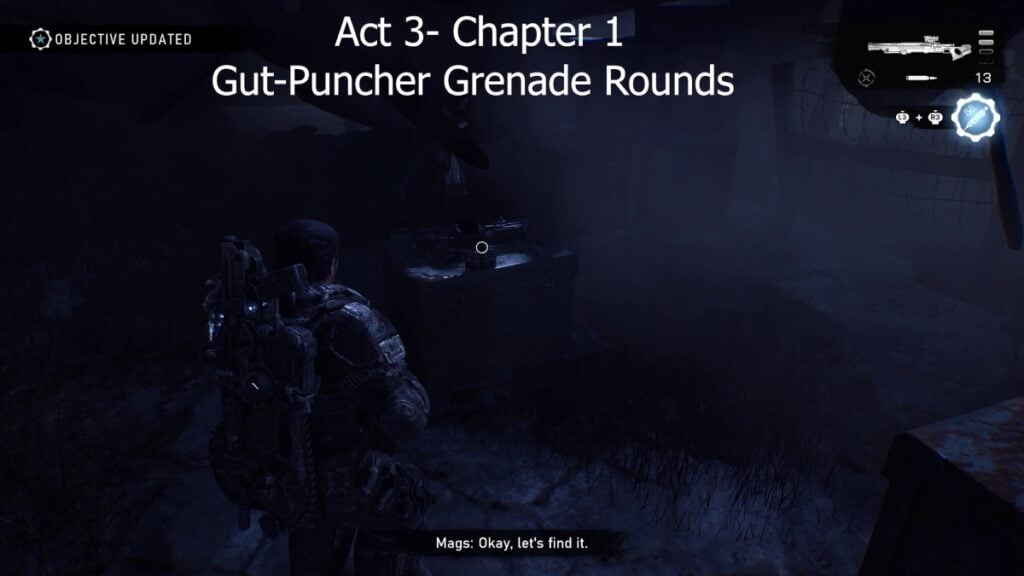
Head toward the first supply cache inside the airfield to find the collectible next to it.
UIR Soldier Shooting Target
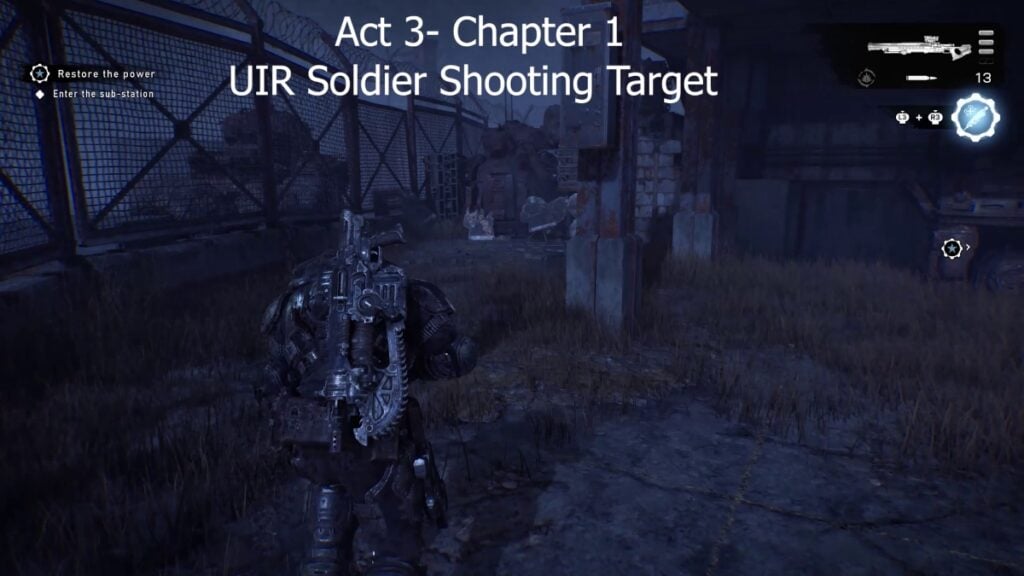
Before the final portion of the level, look to the left to find the broken shooting target.
Prepper’s Scavenging Map
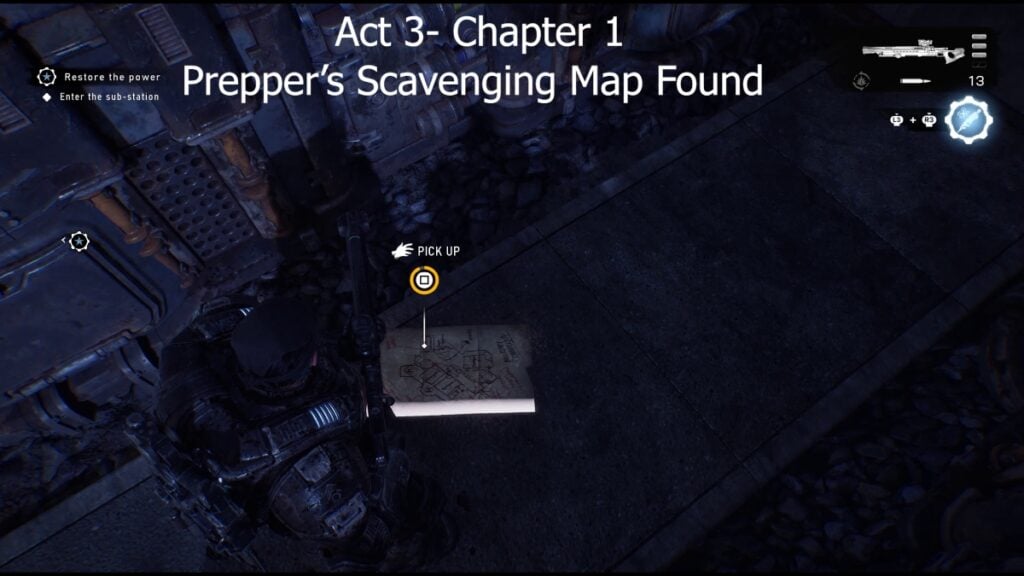
From the above collectible, turn right and look for the map tucked between two generator-like objects.
Act 3 – Chapter 2 (6 Collectibles)
This one is another linear chapter, with only a handful of collectibles. Most of them are easy to find, with the exception of the last ones, as you make your way back to the surface.
Damaged Gnasher Shotgun
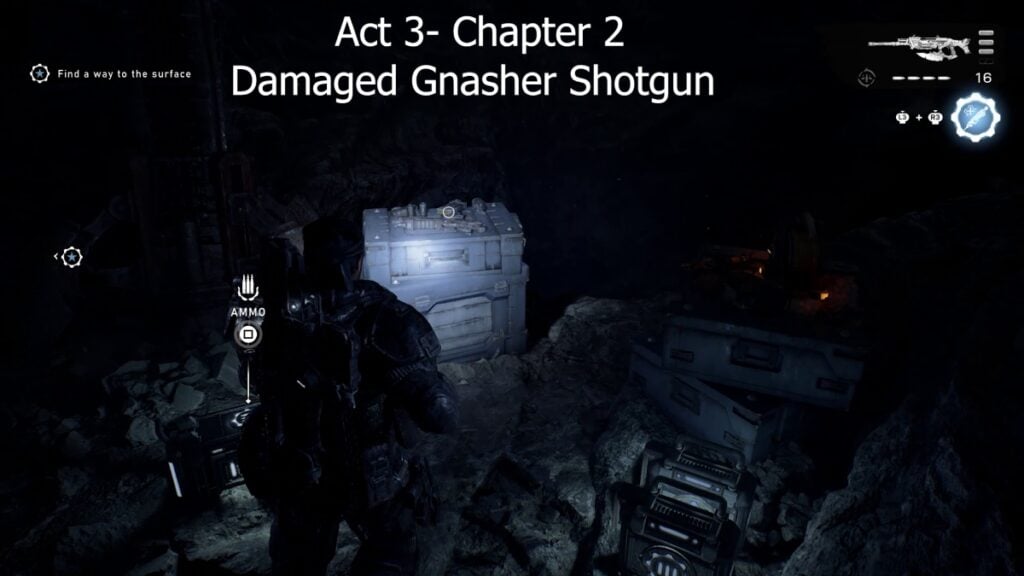
After the initial cutscene, keep walking straight, and you’ll find the collectible on a crate.
Parchment and Powder Pouch
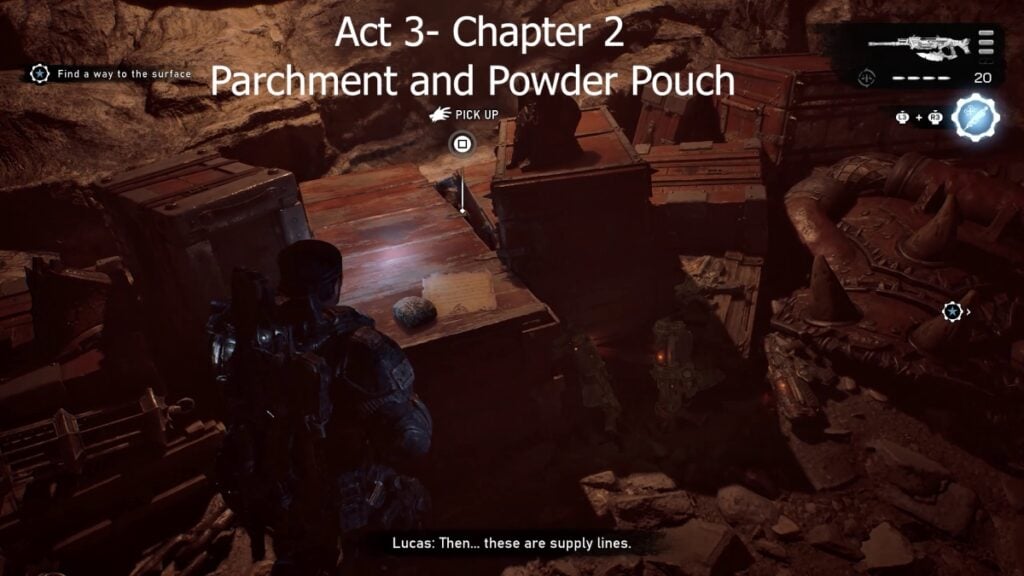
You’ll find it near Locust supplies with a bunch of weapons to grab.
Parchment with Indecipherable Writing
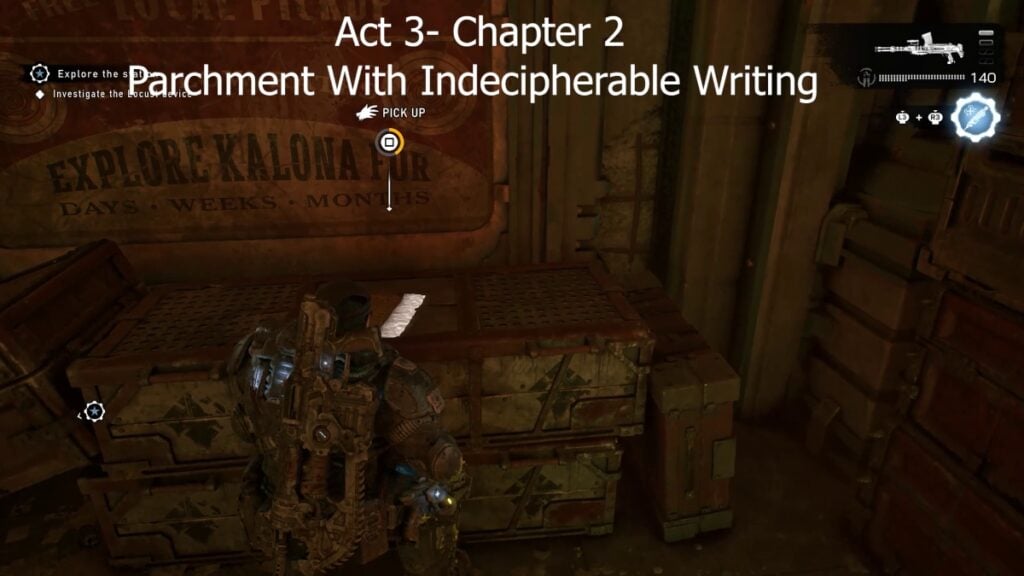
After the train station combat section, look below the stairs on the right side.
COG Tags of Private Beth Avila
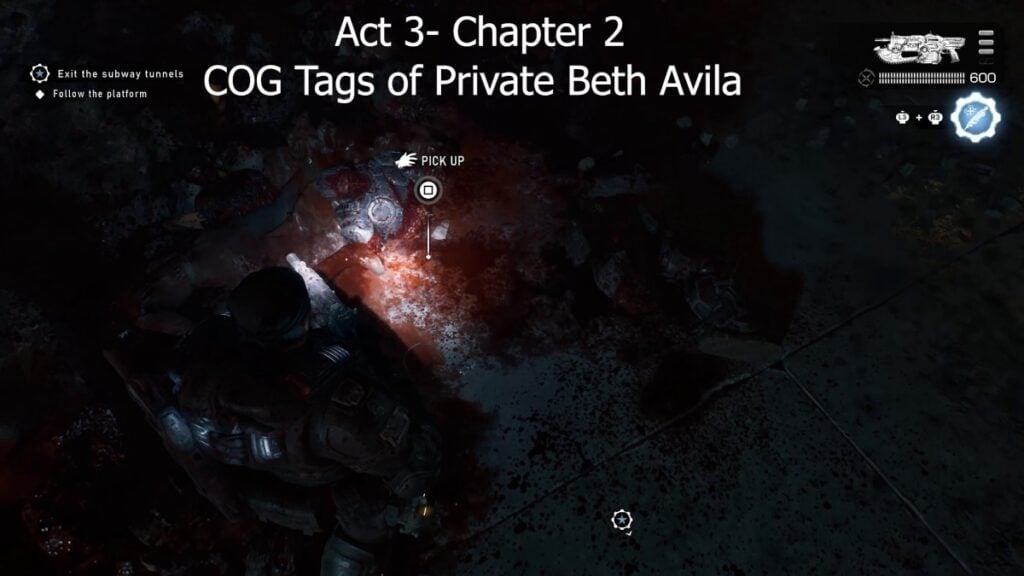
Reach the broken trains and look below the first one to find the body and tags.
Maintenance Worker’s Bloodied Flashlight
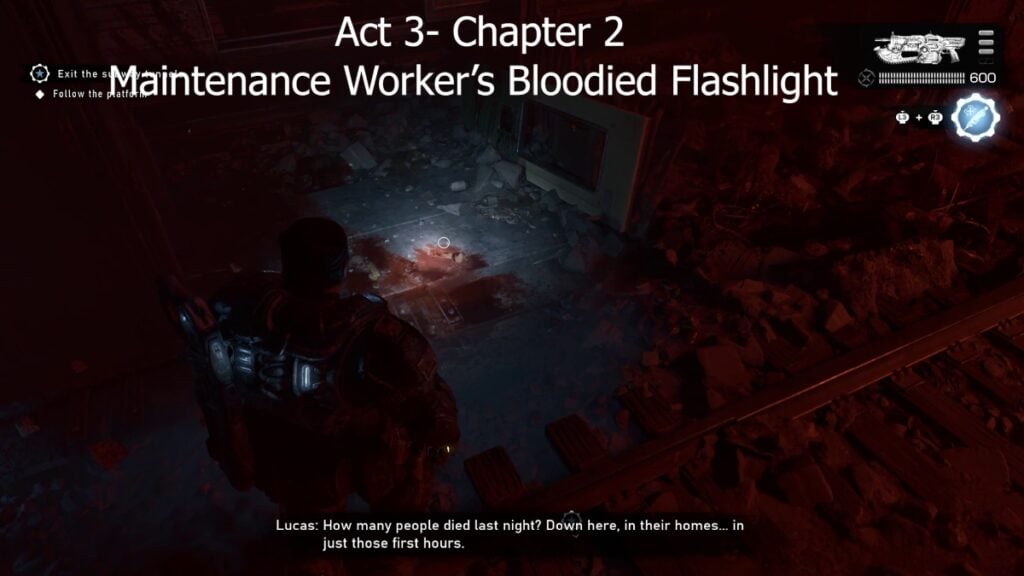
Instead of following the tracks to the objective, take the other route and look for the flashlight at the end of the tunnel.
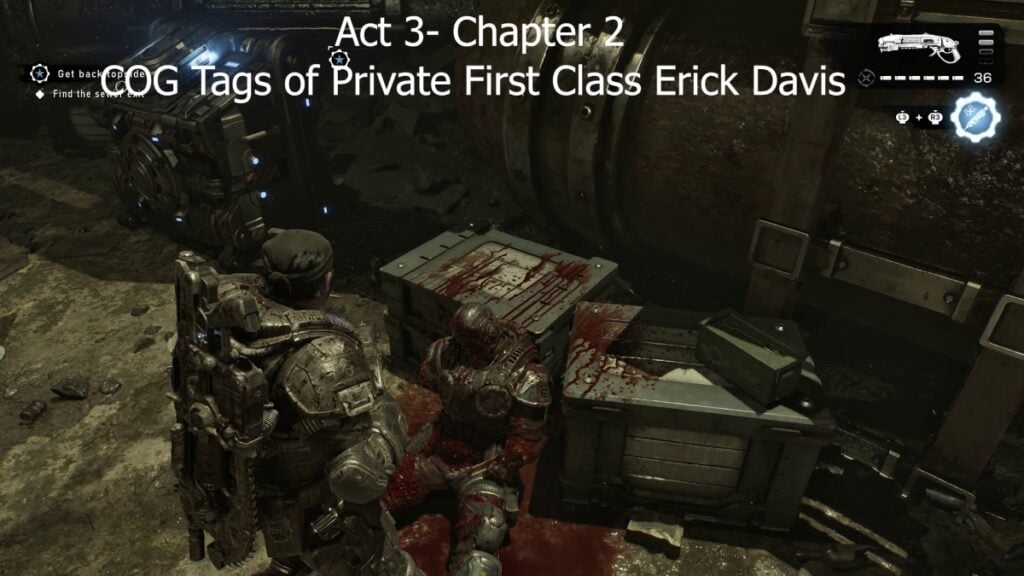
COG Tags of Private First Class Erick Davis
Act 3 – Chapter 3 (14 Collectibles)
And we’re back to a semi-open-world part, which means you’ll get to see collectibles marked on your map.
COG Tags of Sergeant First Class Robin Hamill
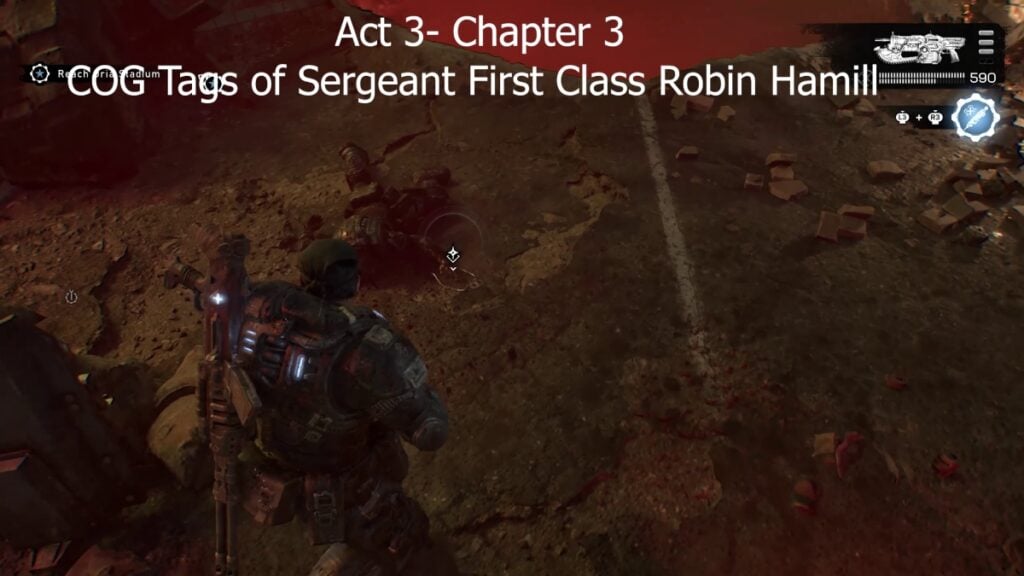
Reach the surface and look for the big E-hole where the body is.
COG Tags of Corporal Tracy Moore
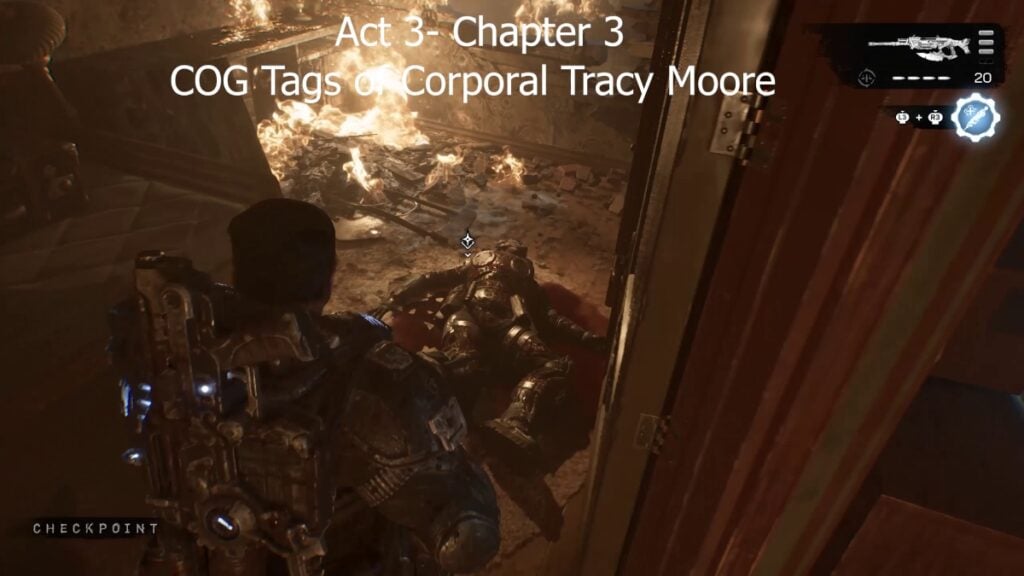
Enter the destroyed apartment on your way to the objective.
Colonel Trench’s VIP List
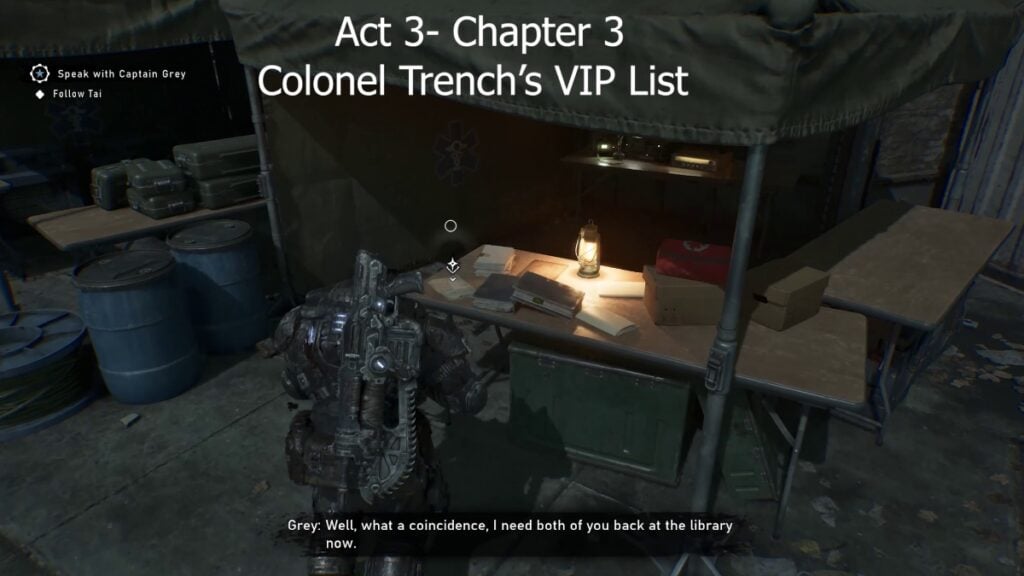
Reach the outpost and head to the tents on the right side.
COG Tags of Private Luis Garcia
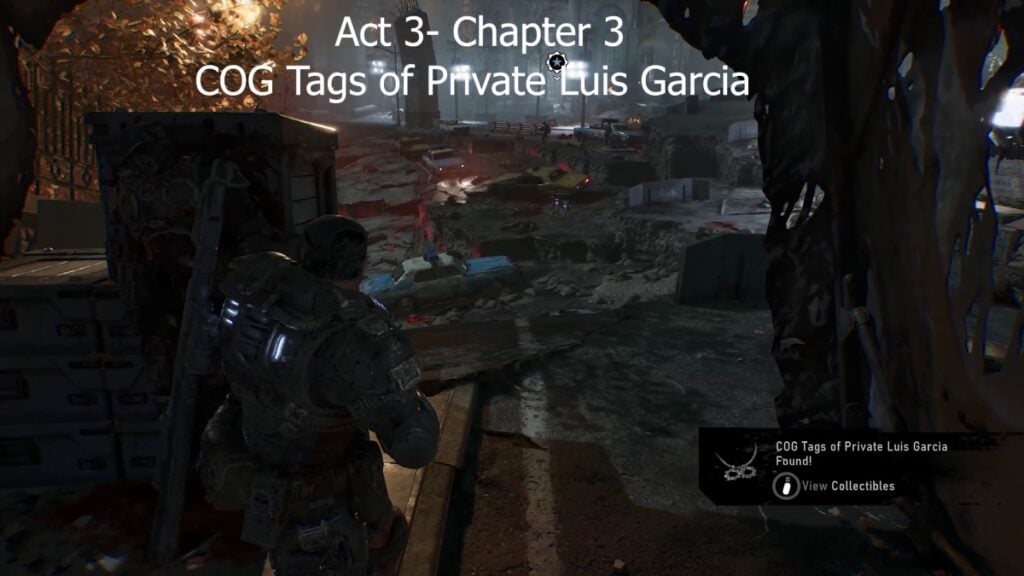
Finish the combat outside the outpost, then look behind it for the tags.
Captain Grey’s Field Journal
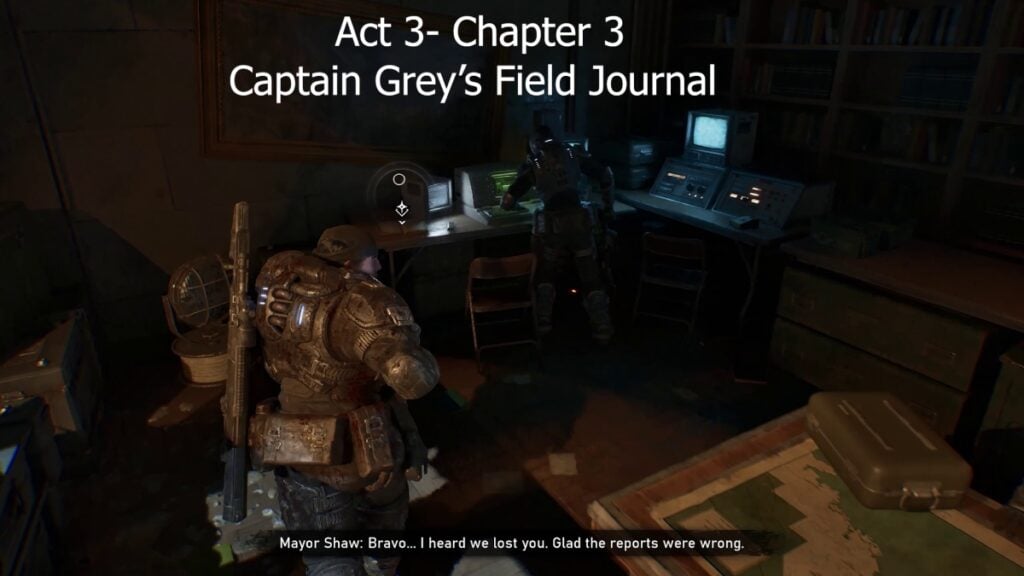
Reach the next outpost and look for the journal on the desk.
Landa Memorial Hospital Evacuation Order
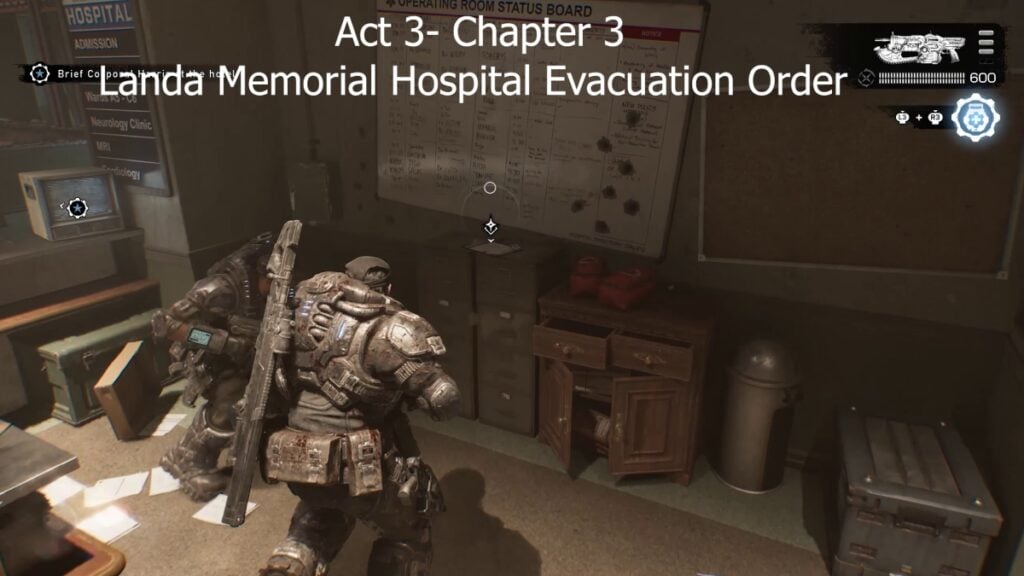
In the hospital’s first floor at the front desk.
COG Tags of Specialist Rachel Carnahan
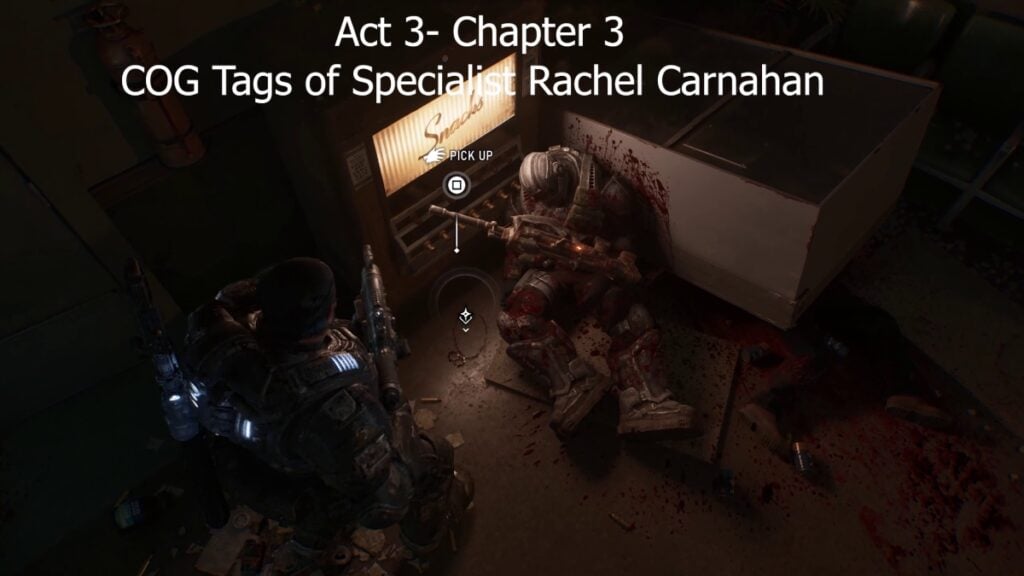
On the hospital’s second floor.
COG Tags of Private Terrance Sander
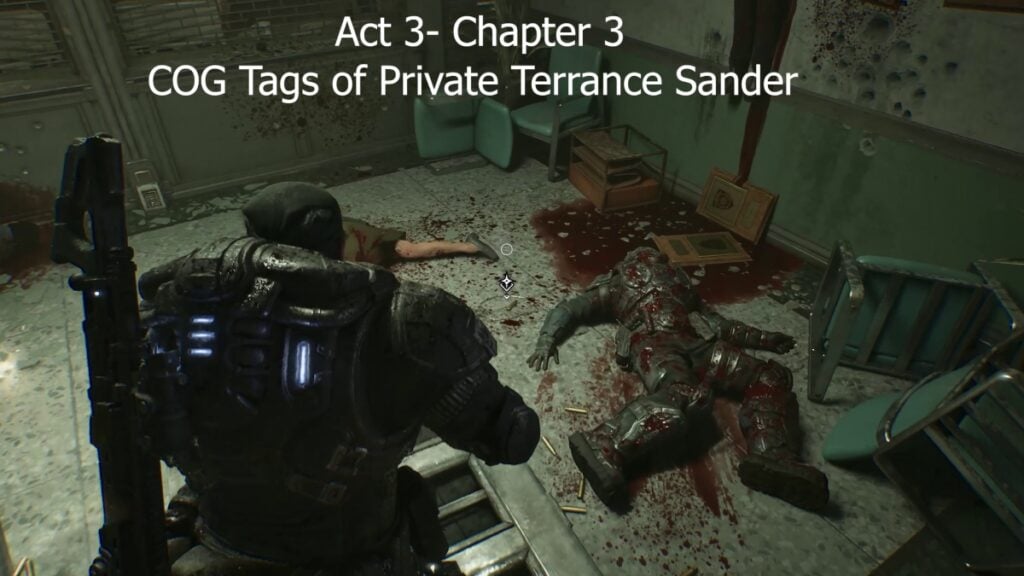
In the building in front of the loading bay, where you defend civilians as a side mission.
COG Tags of Private Oded Bay
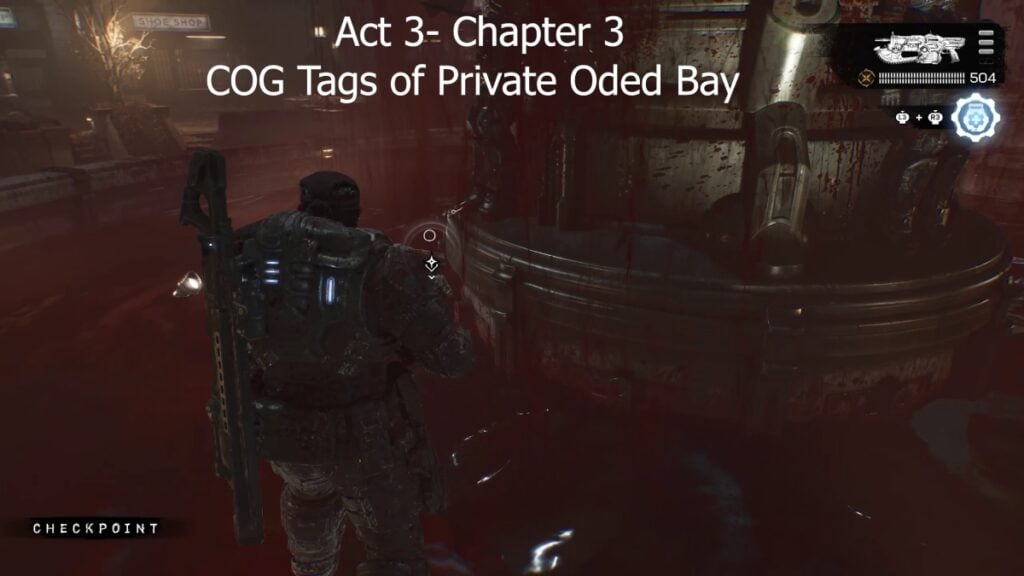
At the bloody fountain where you get ambushed in Act 2.
Locust Pistol Ammunition
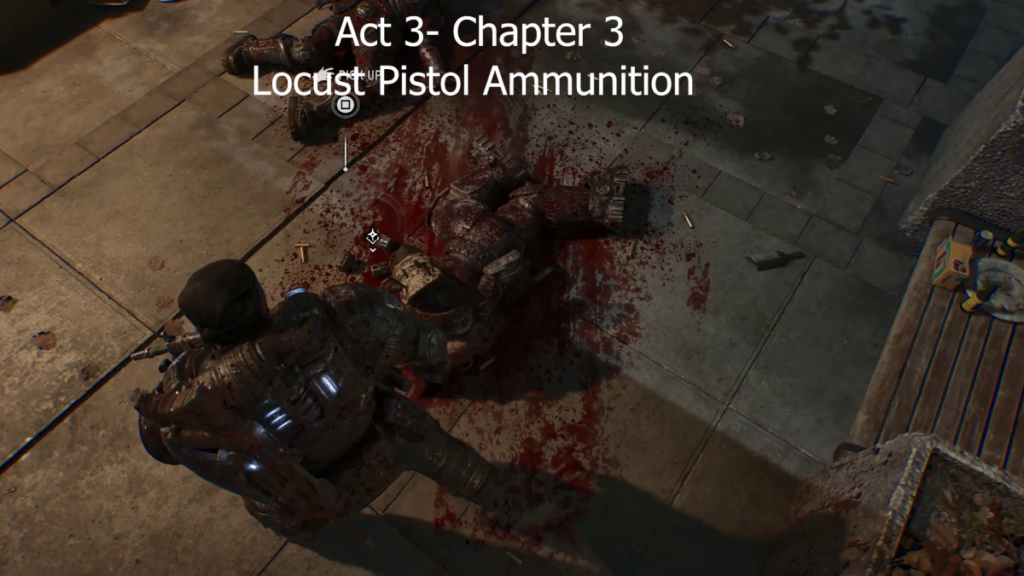
Find the bodies near the river.
COG Tags of Specialist Bernard Havelock
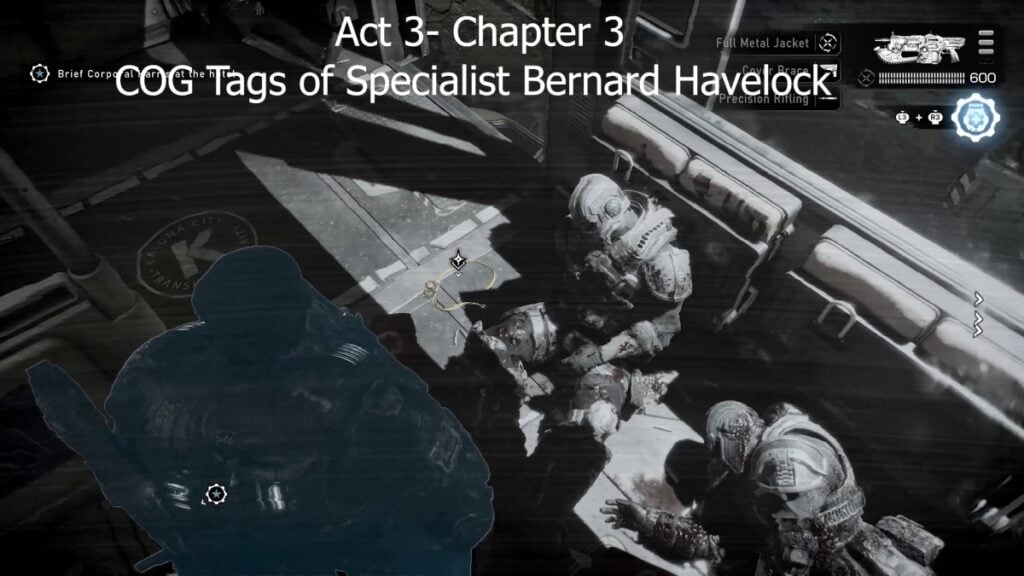
Inside the destroyed train cart.
COG Tags of Private First Class John Carnahan
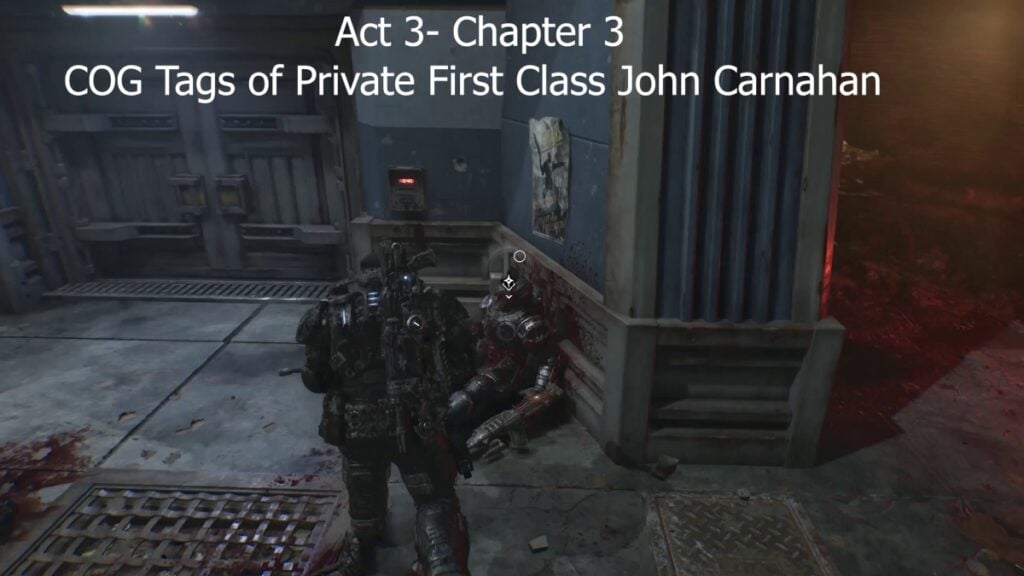
Outside of a building on your way to the final objective.
Damaged Heavy Locust Helmet
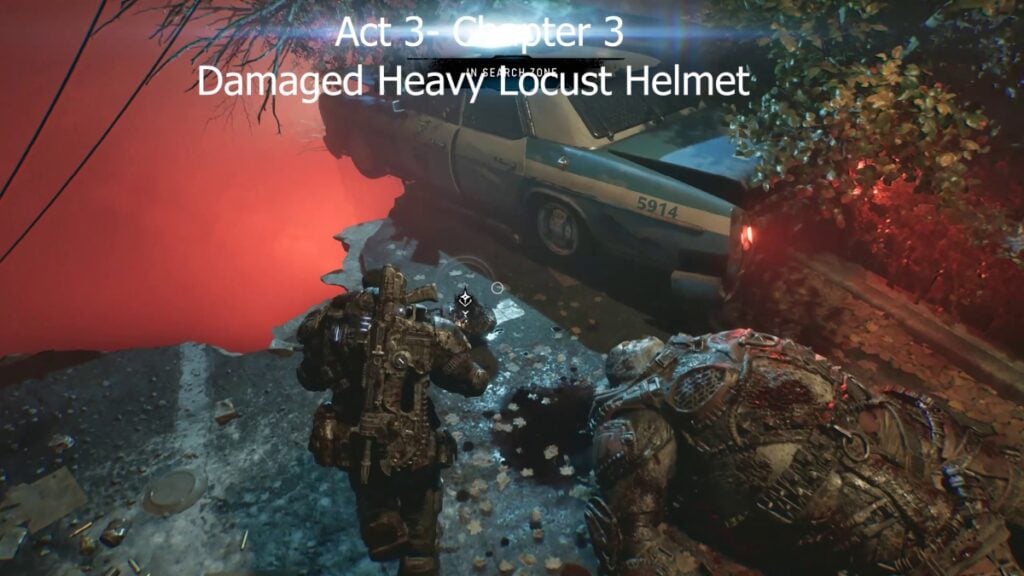
Outside of the park while doing the side mission where you need to find someone’s friend.
Blade-like Projectiles
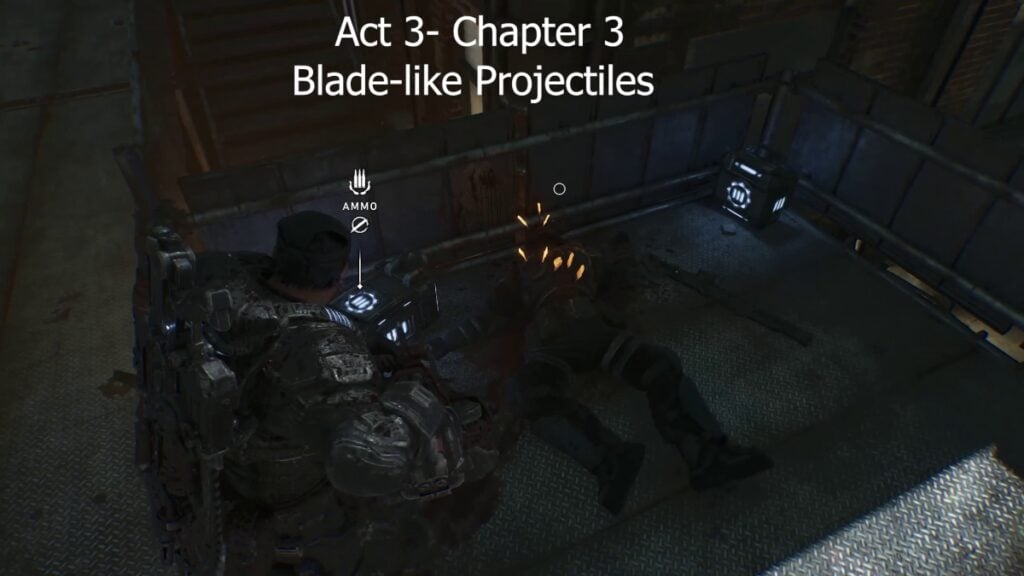
You can only get this collectible by starting the final side mission in Act 3 – Chapter 3 of Gears of War: E-Day. The mission triggers after defeating the new flying enemy in the main quest.
Act 3 – Chapter 4 (3 Collectibles)
An extremely linear chapter with only a handful of collectibles that can be easy to miss.
COG Tags of Private Rudy Bartholomew
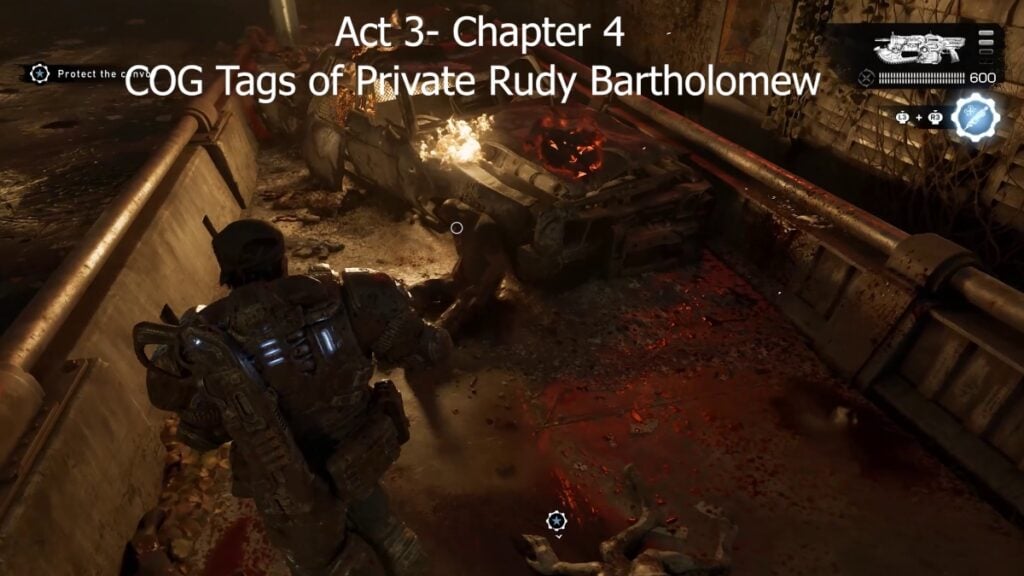
After starting the level and finishing the first encounter, hop to the left lane and walk back to find the body near a burning vehicle.
Locust Crest
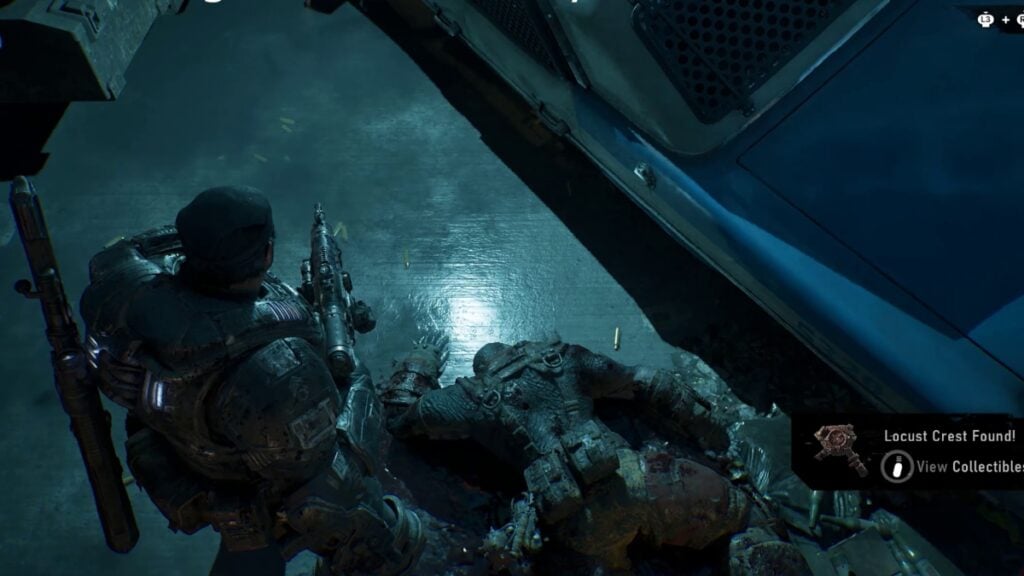
After the bridge’s first encounter, drop down and look for the Locust body near the police vehicle.
COG Tags of Corporal Kevin Garbor
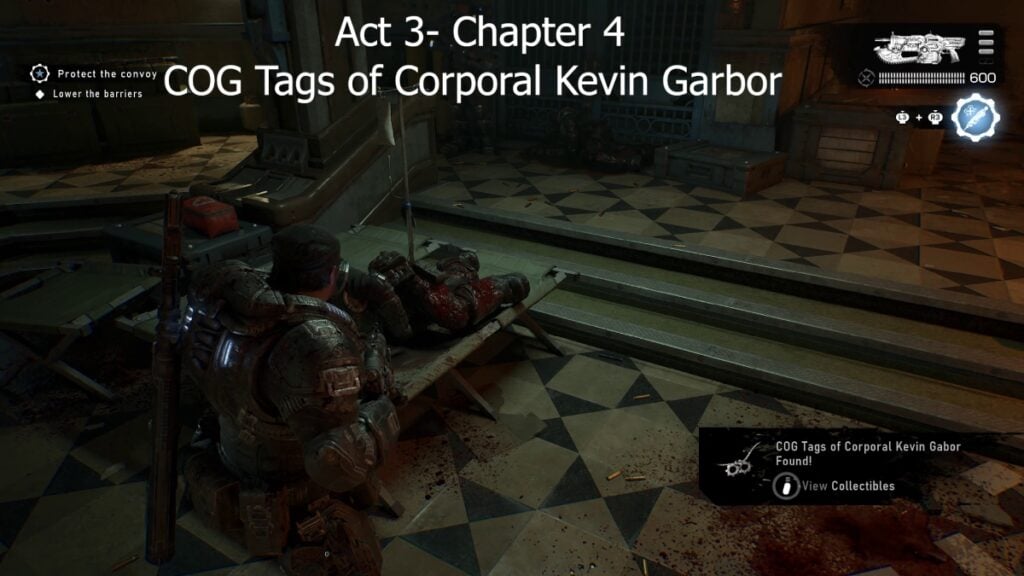
In the center of the control room.
Act 3 – Chapter 5 (5 Collectibles)
This chapter is longer than the above ones, but also has just a few collectibles, which aren’t that hard to find.
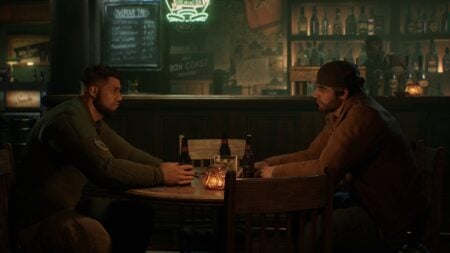
A bottle of Iron Coast Beer
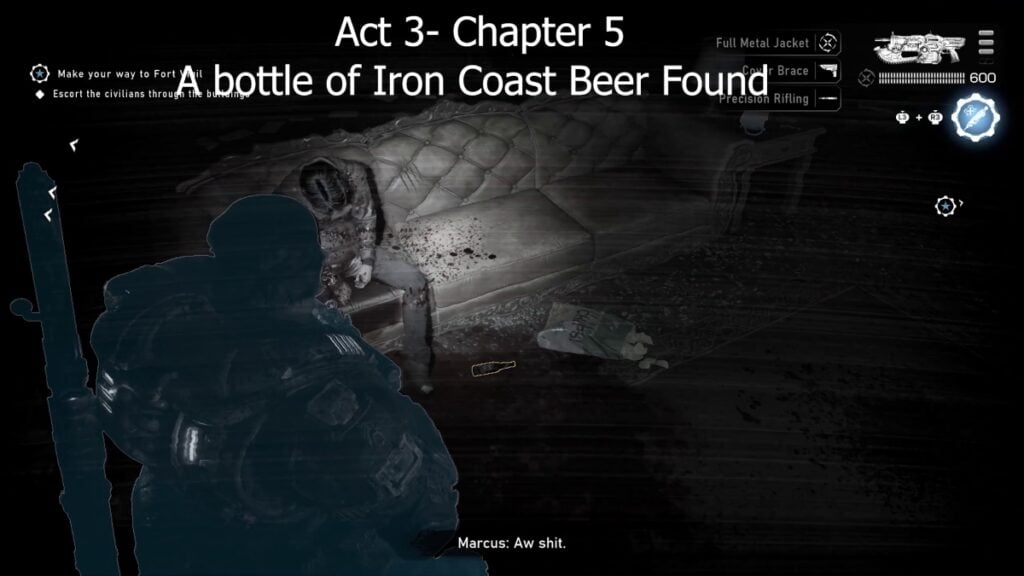
Enter the first apartment and head to the room on the right to find a body and the bottle.
Portrait of Chairman Jacob Monroe
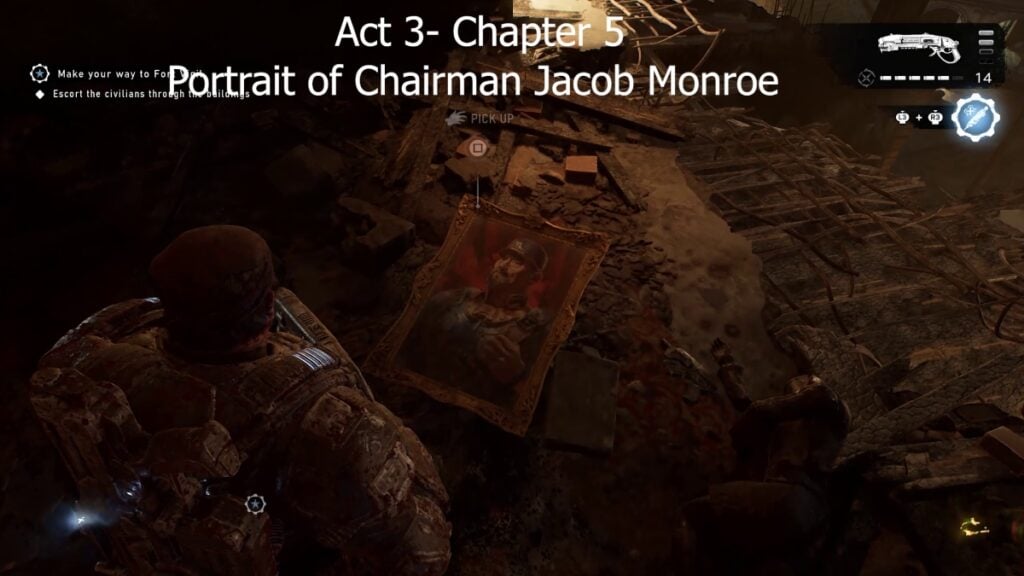
Defeat the Wretches in the apartment hall, then crawl under the hole on the left.
Sanctum of the Fallen Memorial Ceremony Program
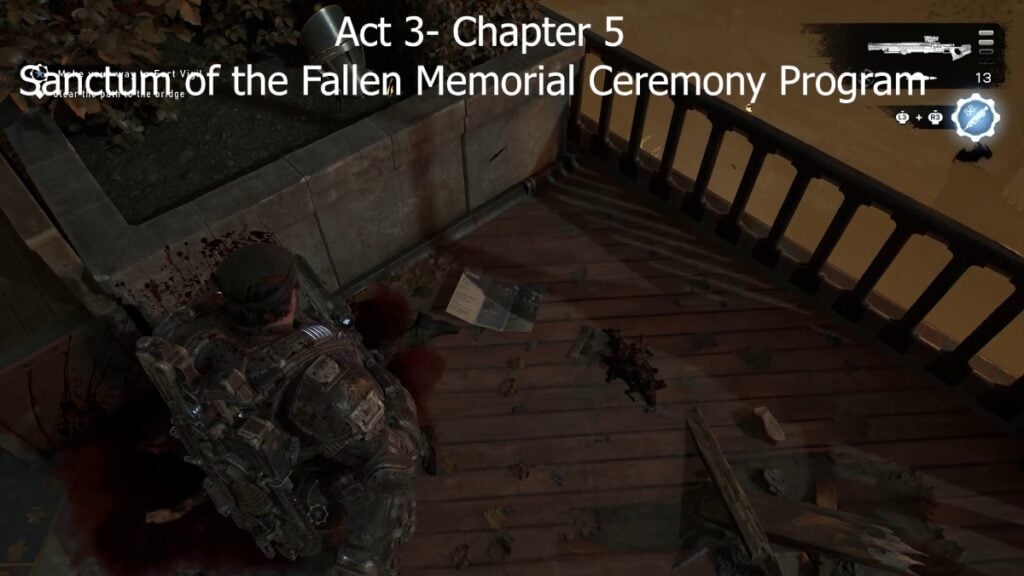
Reach the rooftops and look for the program next to a planter.
Locust Spiked Shoulder Pad
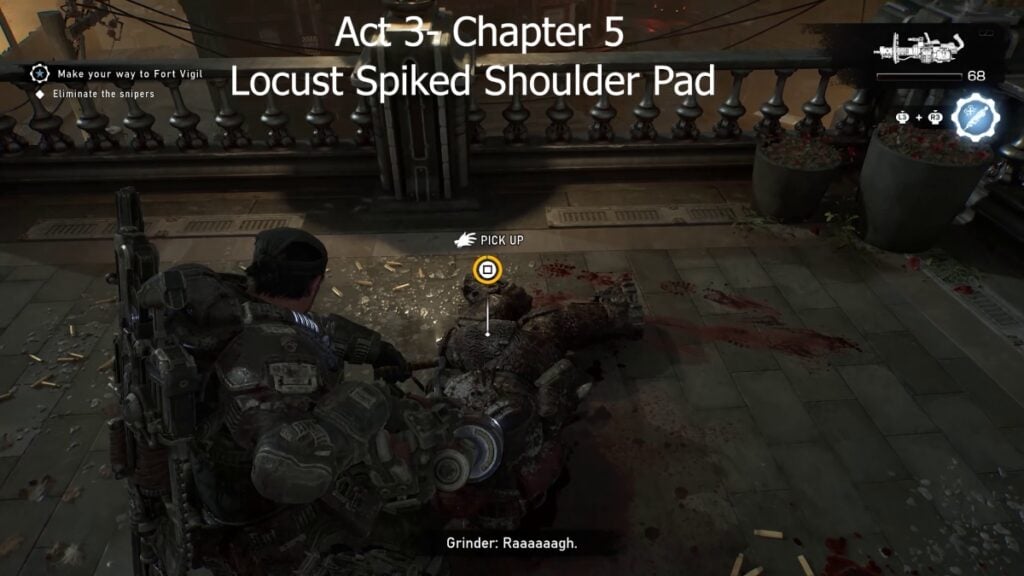
Keep making your way to the street level, and you’ll find the Locust body.
Explosive Bolt
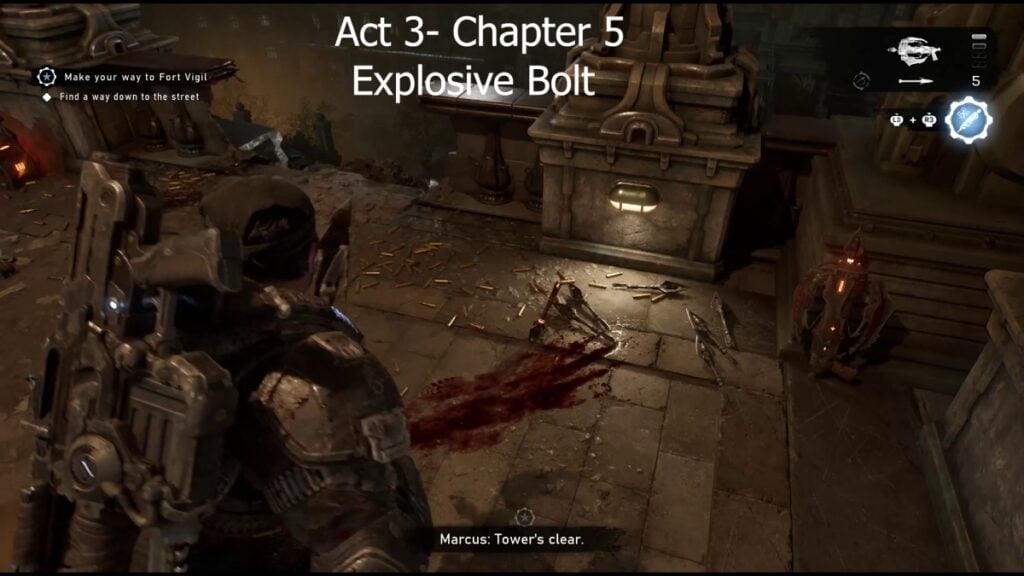
Head to the top of the tower where you defeated the Locust with the Torque Bow.
Act 3 – Chapter 6 (3 Collectibles)
And to wrap up Act 3 of Gears of War: E-Day, we only have 3 collectibles to find.
Torn Flag of Tyrus
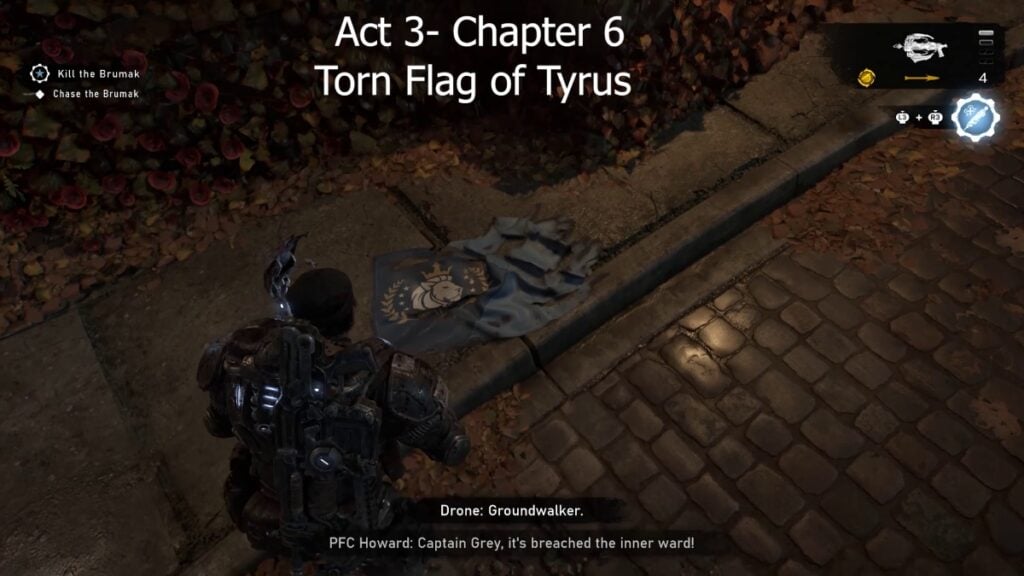
Reach the outpost and head to the far right side to find the flag next to a blocked tunnel.
Morith Harbor Snow Globe
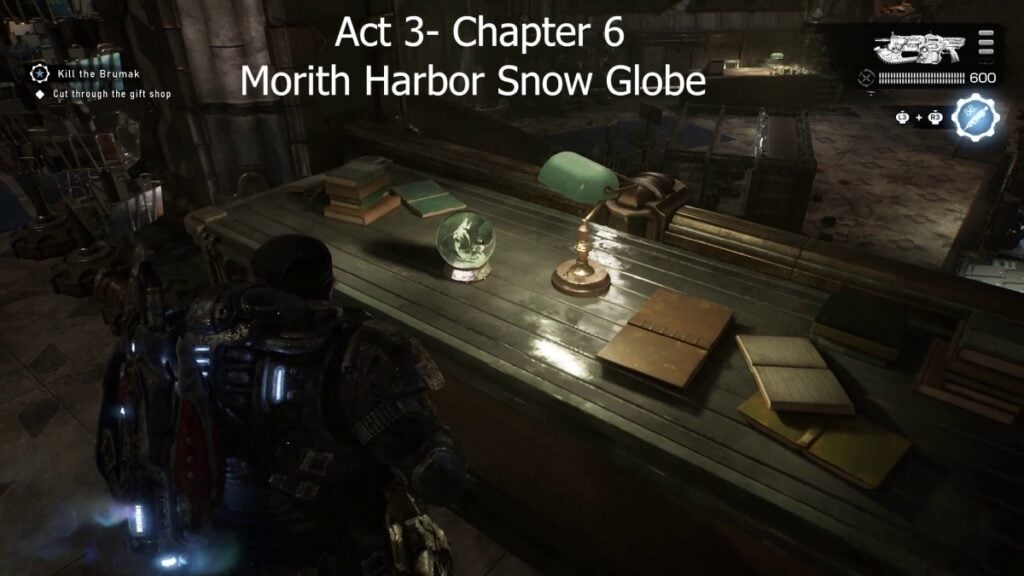
You will find the snow globe on a desk inside the gift shop while chasing the boss.
Commander’s Letter Home
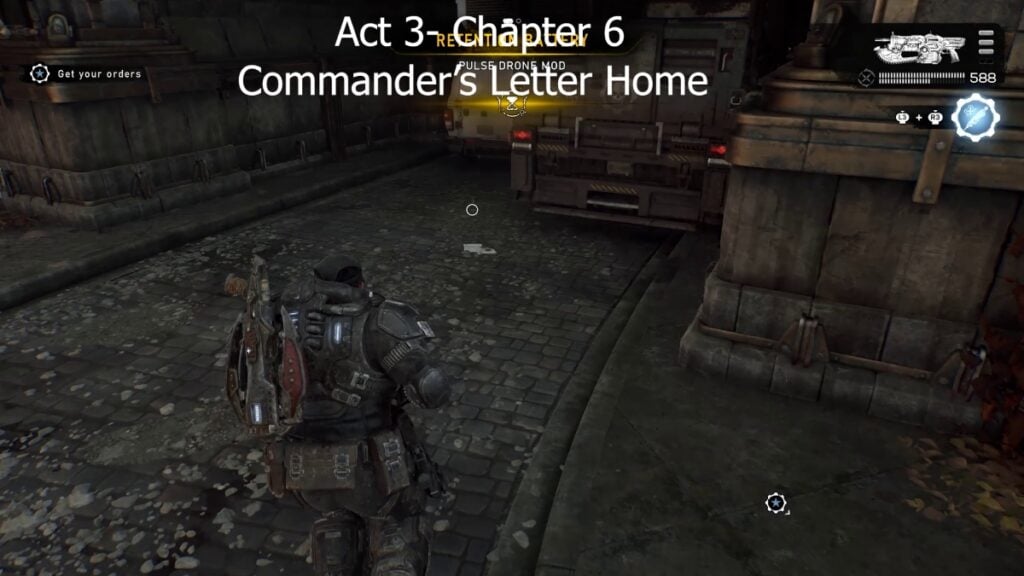
You’ll actually get this one during Act 4. Start the act and turn left to find the letter next to a truck.
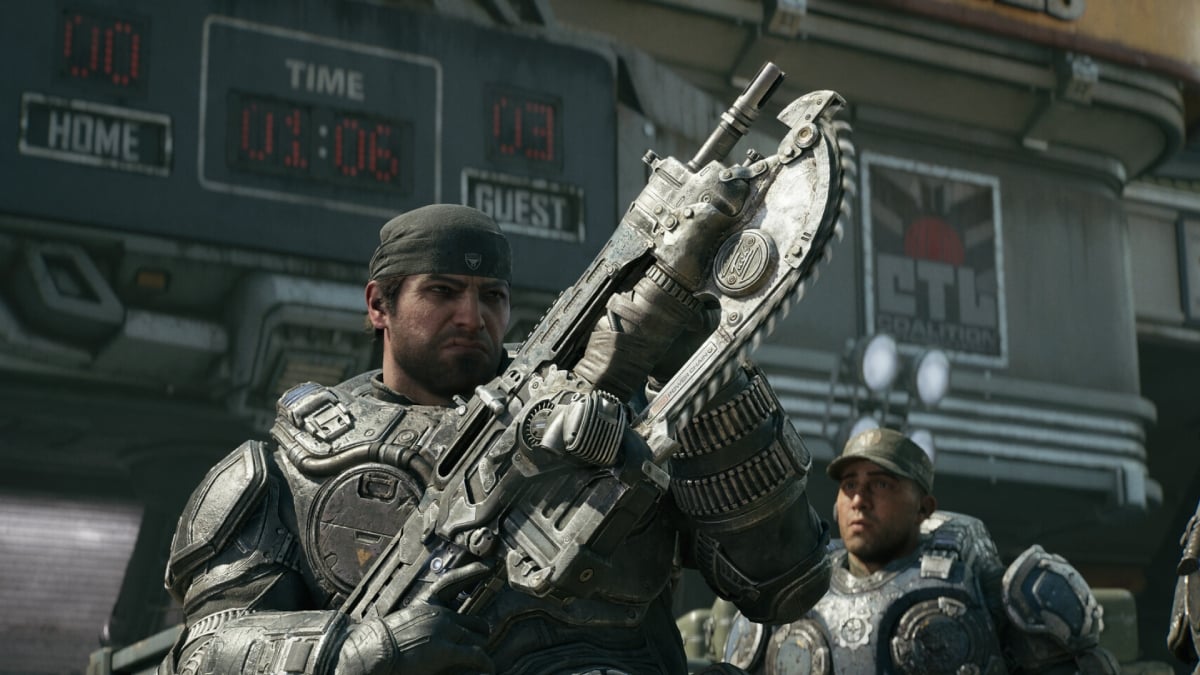
As you can see, Act 3 of Gears of War: E-Day is quite long, and it has several collectibles that can be a bit hard to find, especially in the linear levels. Fortunately, if you miss any, you can always restart the chapters, which are easy to replay.