
Ashes of the Damned is an improvement over what we meant by “Aura” in the modern CoD Zombies, and it actually does give the Sentinel Artifact and Richtofen a run for their money in terms of boss fight difficulty. But to reach the boss that you fight with the Wunderwagen, Ashes of the Damned puts one of the most challenging easter egg quests ahead of you in Black Ops 7 Zombies.
Ashes of the Damned Zombies Main Easter Egg Guide
Before we head into the steps and where to start the game, there are a few items you’d need to have to optimize your quest run so that you don’t have to waste salvage and money on items. What you need in your loadout is Stun Grenades, Frenzied Guard field upgrade, and a Tomahawk.
Also, the game does actually tell you exactly where to go and what to do to acquire Ol’ Tessie, turn on the power, and craft the Pack-A-Punch machine, so we’re not diving into those. The guide below is optimized with a mix of different sections of the easter egg quest so that you can reach the boss fight as early as possible in the game. No high round risks.
Quick Tip: Start turning on the power from Blackwater Lake and pick the Jar of Spores item you see in the image above.
Step 1: Early Items
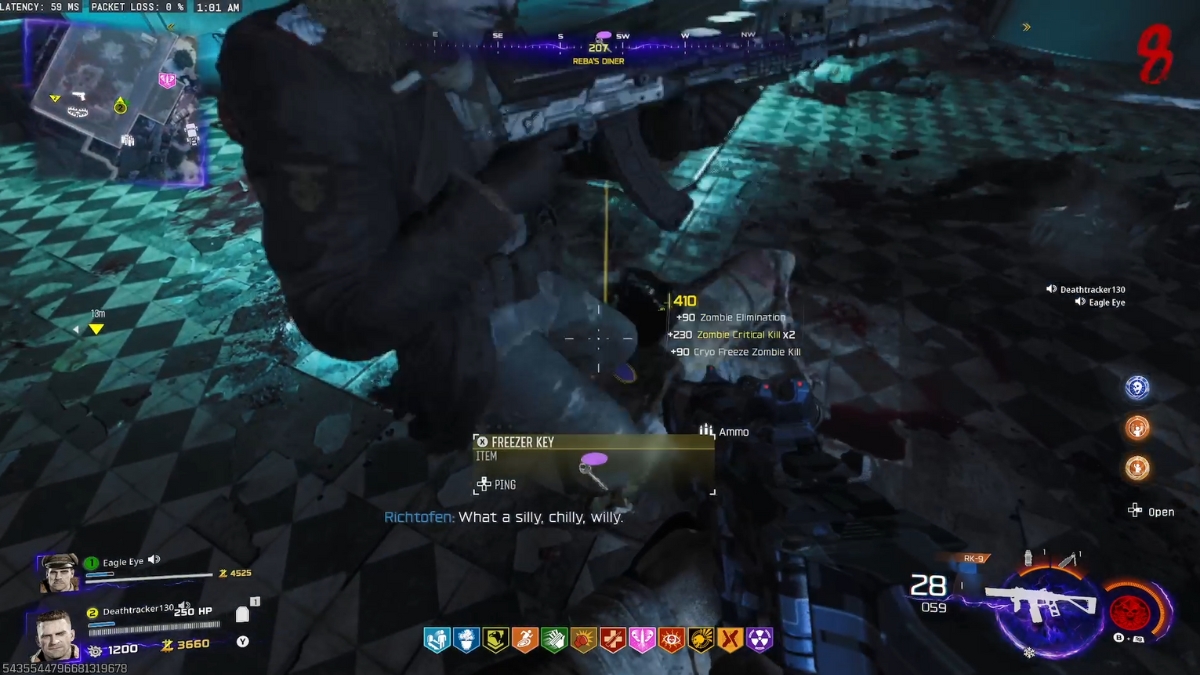
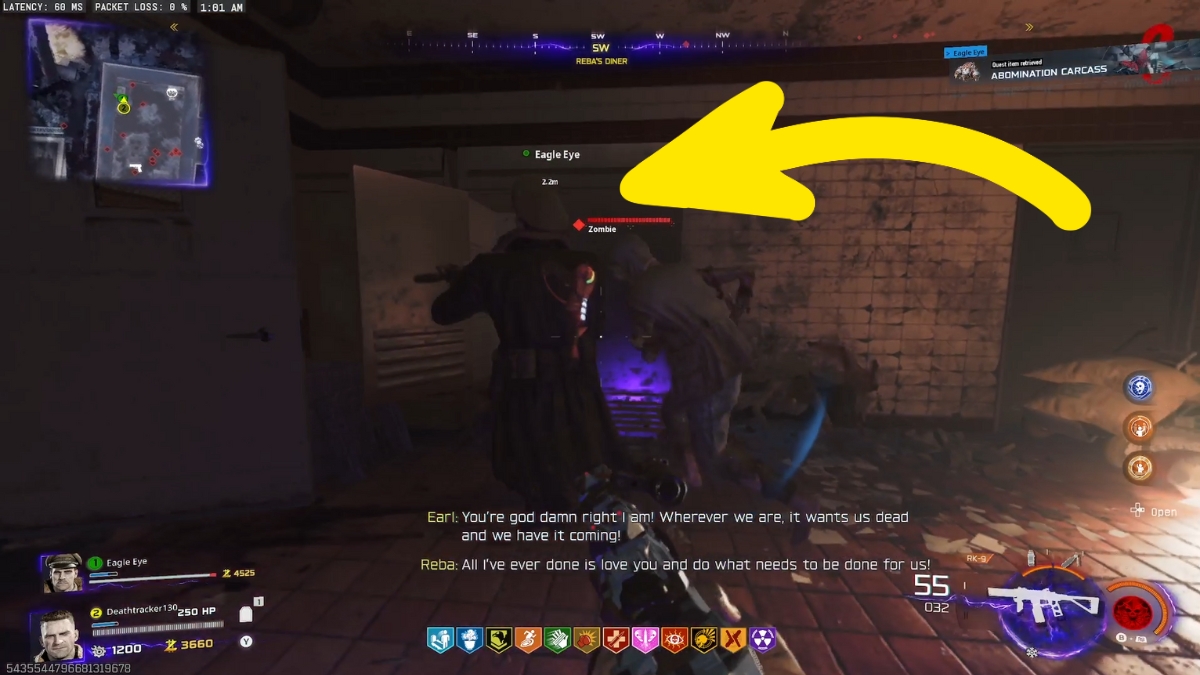
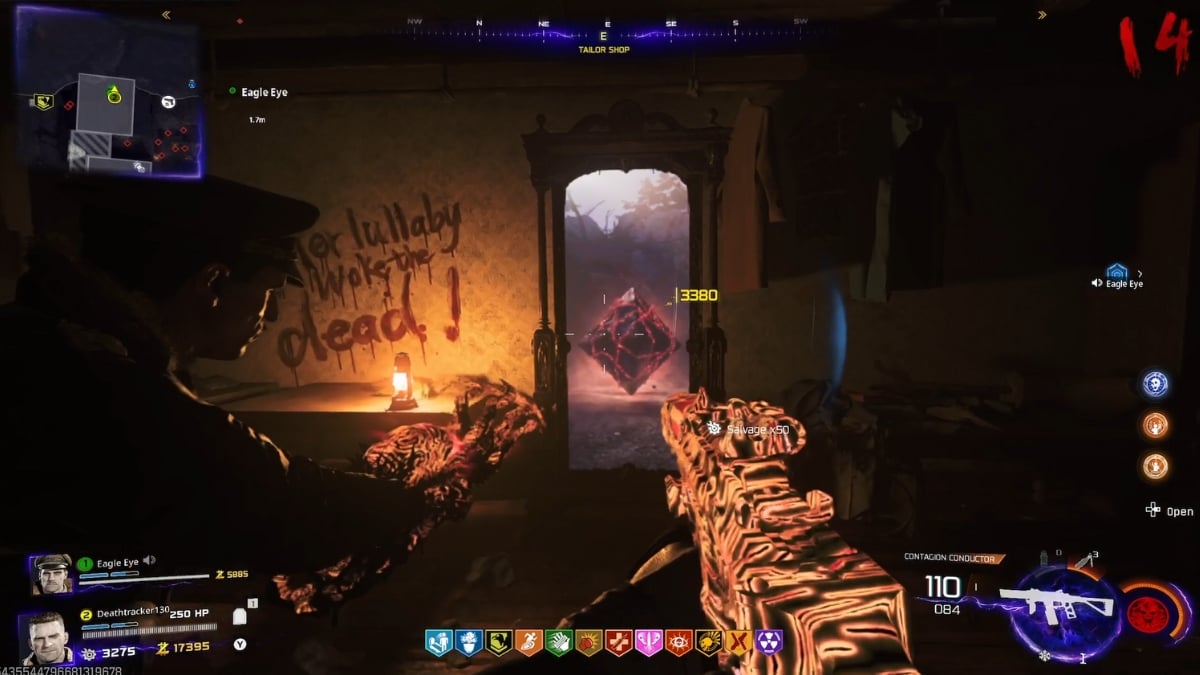
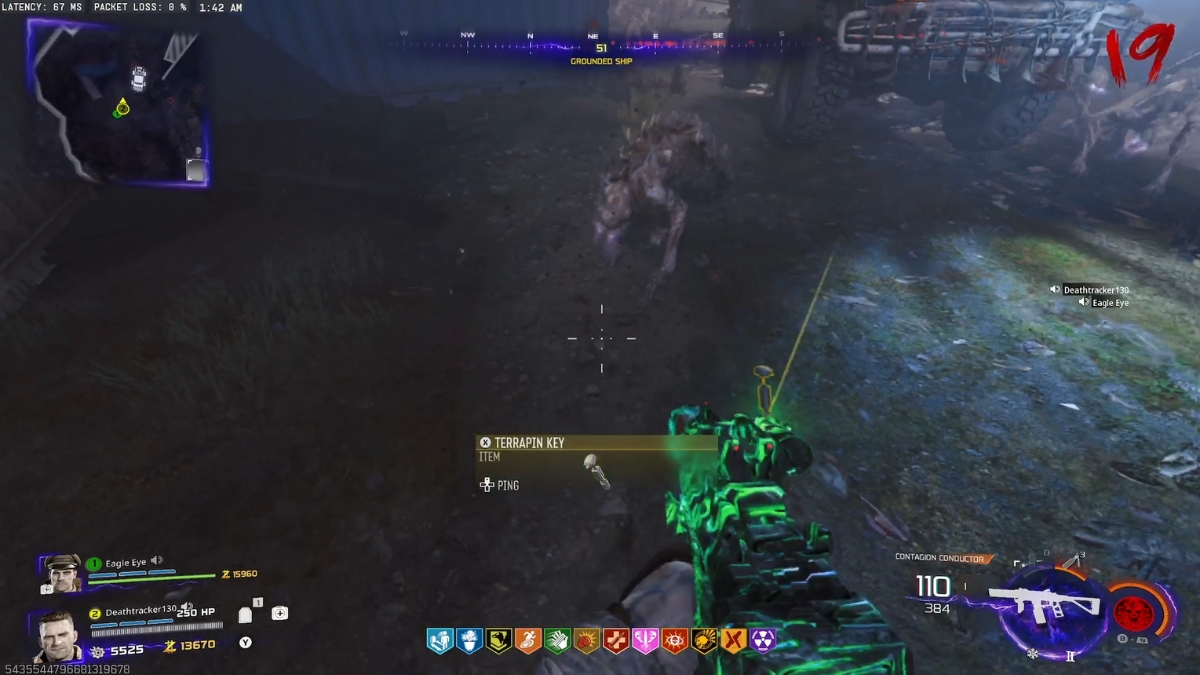
There are a couple of items you can pick early in the game that’ll help you throughout the quest, one of which is the key to Mega Abomination heads in Exit 115’s diner. A Zombie named the Cook is in this place, and once you kill the guy, he drops the key you see in the image above.
Bring the key to the freezer here and open it to obtain the heads. Next time you’re in Ashwood, put Ol’ Tessie on the station and interact with the upgrade table to install the Mega heads on its front.
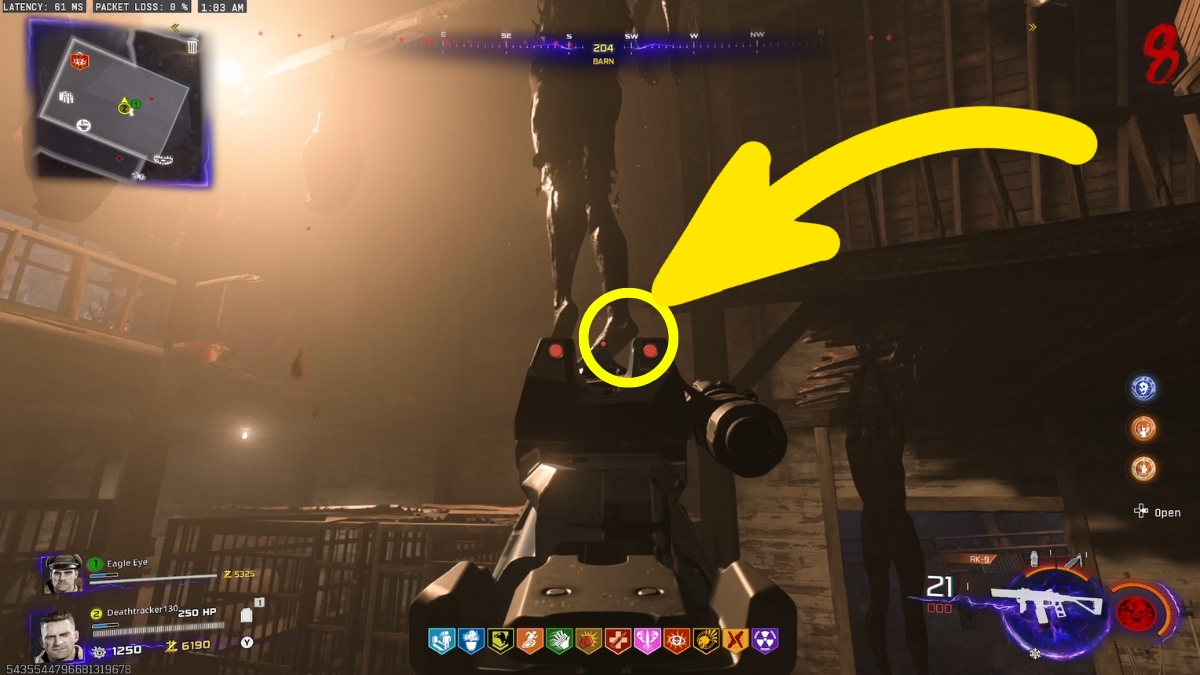
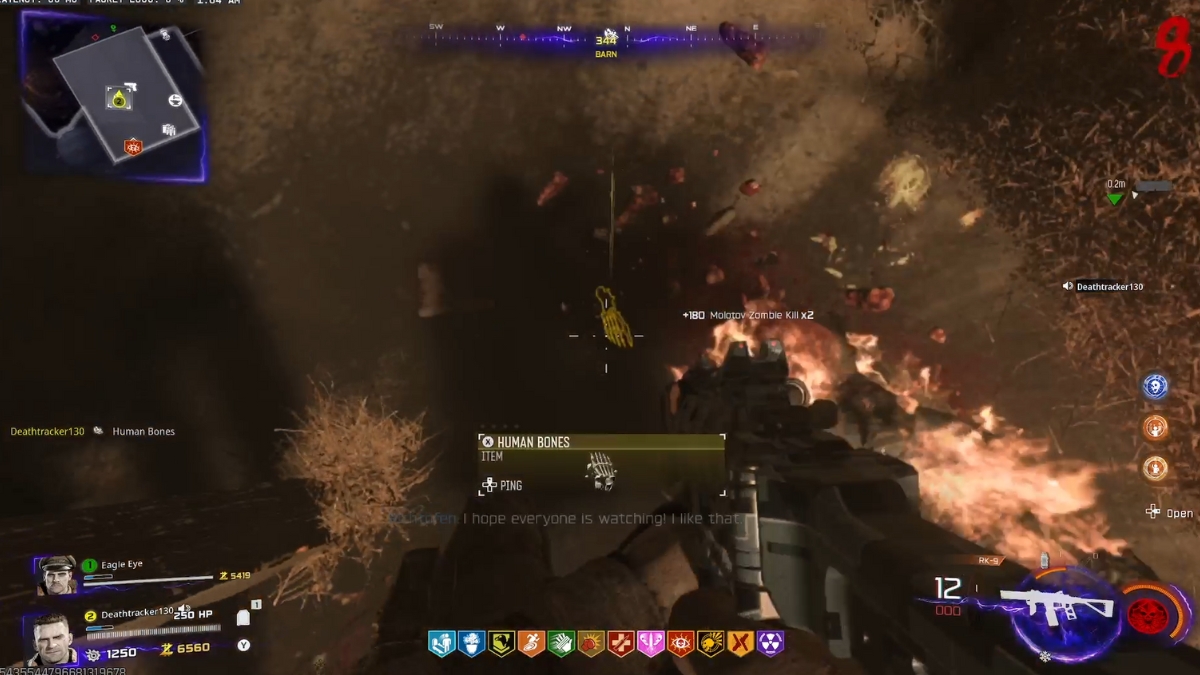
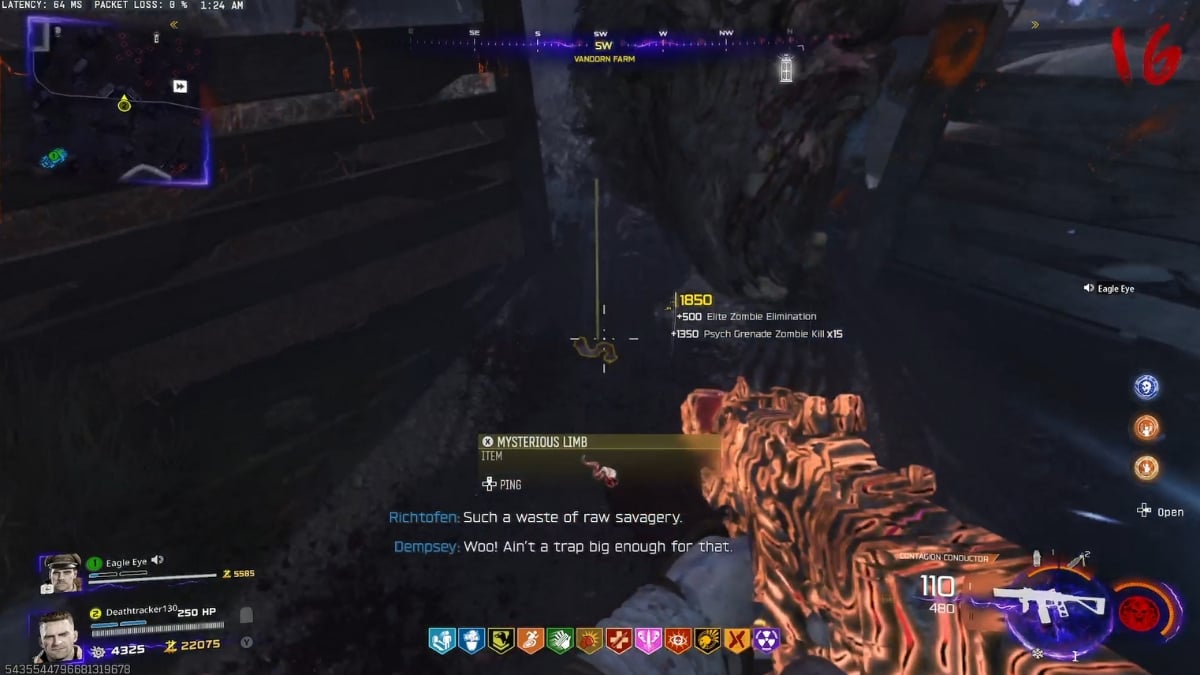
Now head to Vandorn Farm, and inside the barn, you need to check the hanging bodies. One of these has a foot that’s slightly stretched, and you’ll then have to cut it using your Tomahawk. There’s a crafting table on the back. Grab a Molotov and burn the cut foot to obtain the bone.
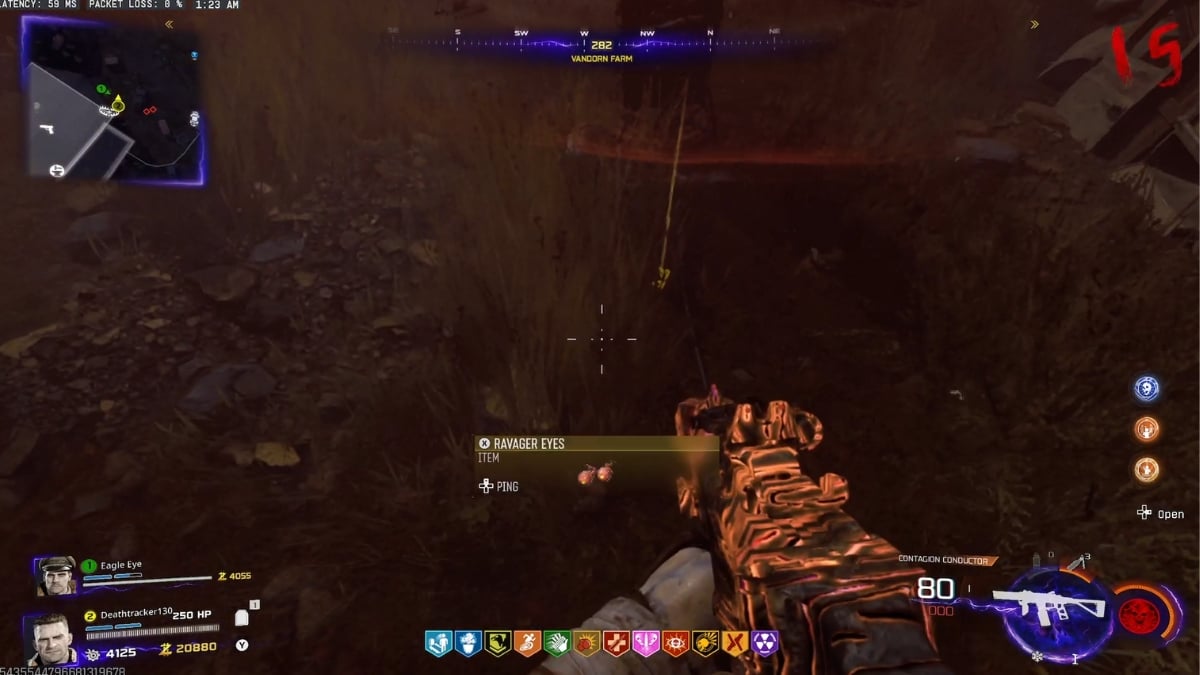
Also, while you’re in Farm, wait for the Ravagers round, and once they’re chasing you, turn on the SAW Blade trap just outside the barn. The first kill will drop a pair of ravager eyes, and you need to pick those.
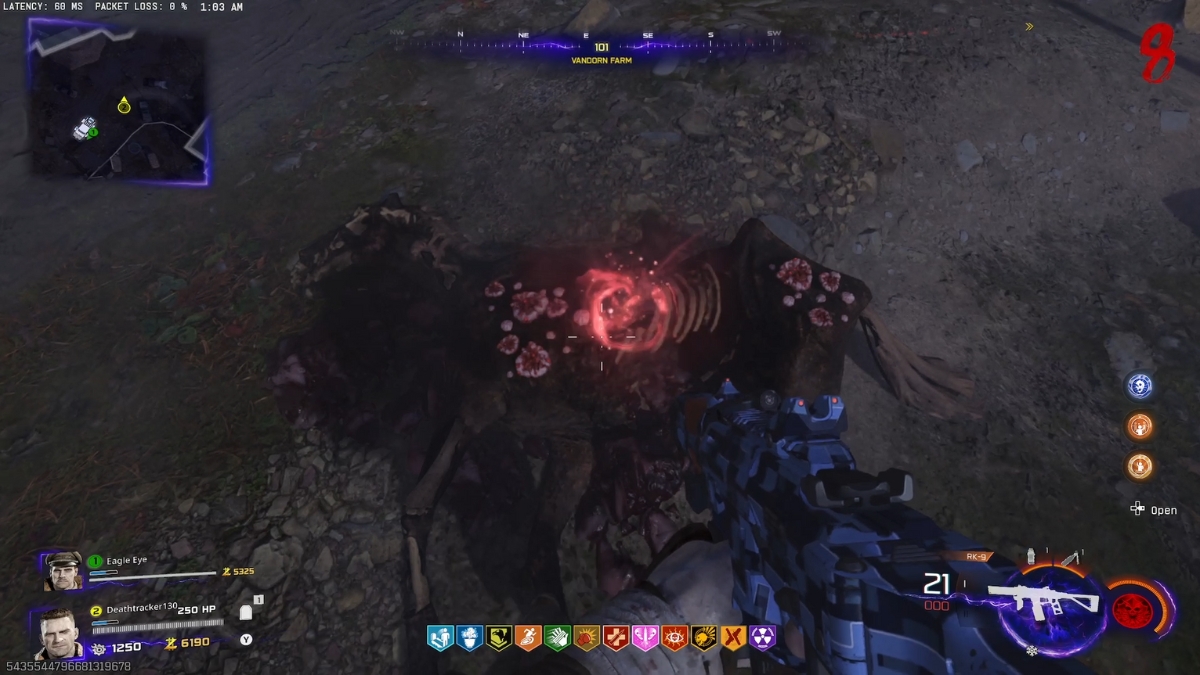
Interact with this dead cow to put the Jar of Spores you obtained earlier. You’ll thank me later.

Another item you need is on the roads in between the different locations of the Ashes of the Damned map. There are giant purple mushroom-looking things around here that you can laser beam and destroy with the Mega Abomination heads on Ol’ Tessie. Break them, and you’ll obtain another quest item.
Step 2: Build The Necrofluid Gauntlet
Building the Necrofluid Gauntlet takes a bit of time, but it’s not that hard. Here’s a full guide on exactly how you can get this unique wonder weapon, or you can watch our guide video above.
Step 3: Magic Mirror and The Bear
With the Necrofluid Gauntlet and the Wisp Tea perk-a-cola, head over to Ashwood and get inside the building on the right side of the Vulture Aid perk machine. There’s a mirror here, and you need to kill zombies near it until your Wisp Tea perk works and spawns a spirit.
This would reveal the magic mirror’s mystery, and you can shoot it with your Necrofluid Gantlet. This will drop you another item you need for a later easter egg.
Last item to pick, and we need a bear for it. Wait until a Zursa bear is spawned, and drain its HP bar to anything near 10 to 20 percent. Now bring in the wonder vehicle into play and shoot the bear with Mega Abomination laser beams. This will drop an item we need.
Step 4: Ritual At The Rocket Station
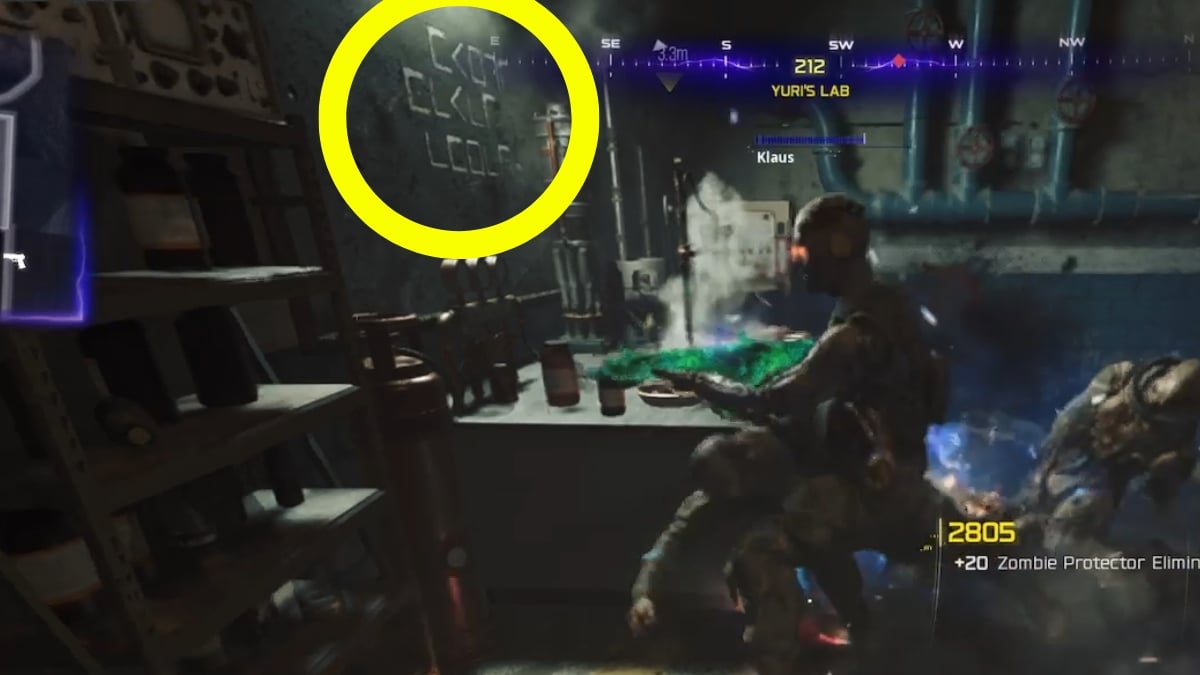
For the next step, you need to head over to Farm, pick up the Jar of Spores you placed on the dead cow, and then make your way to the Zarya Cosmodrome. Open the door to Yuri’s Lab. The items you see on the table are the exact ones you gathered at the beginning of this guide, and now we want to start a ritual with them.
First, interact with the ash and the board, and it’ll reveal a secret. Take the 3 first three letters of the mystery words and translate them with this cheat sheet. Once you’ve figured out the code, you need to interact with the right items on the table in order to make the ritual work.
If you interact with the wrong items, the ritual fails, and you’ll see dark smoke. But if you do it right, you can then interact with the bottle in the middle and donate some blood. But remember, only the player who has the Necrofluid Gauntlet should interact with this and start the ritual. The ritual drains your HP bar to less than 50, so without the gauntlet, you won’t survive the lockdown.
The lockdown itself isn’t that hard to pass, especially if you’ve got Kazimir grenades and a friendly Klaus bot on your side.
Step 5: Secure The Keys!
There are a total of 3 keys you need to obtain for the next step, which rewards you with the mid-quest cutscene. Each key will nerf you while you have it, and to make things worse, all 3 are in the roads between the main locations of Ashes of the Damned. Here’s where to find them.
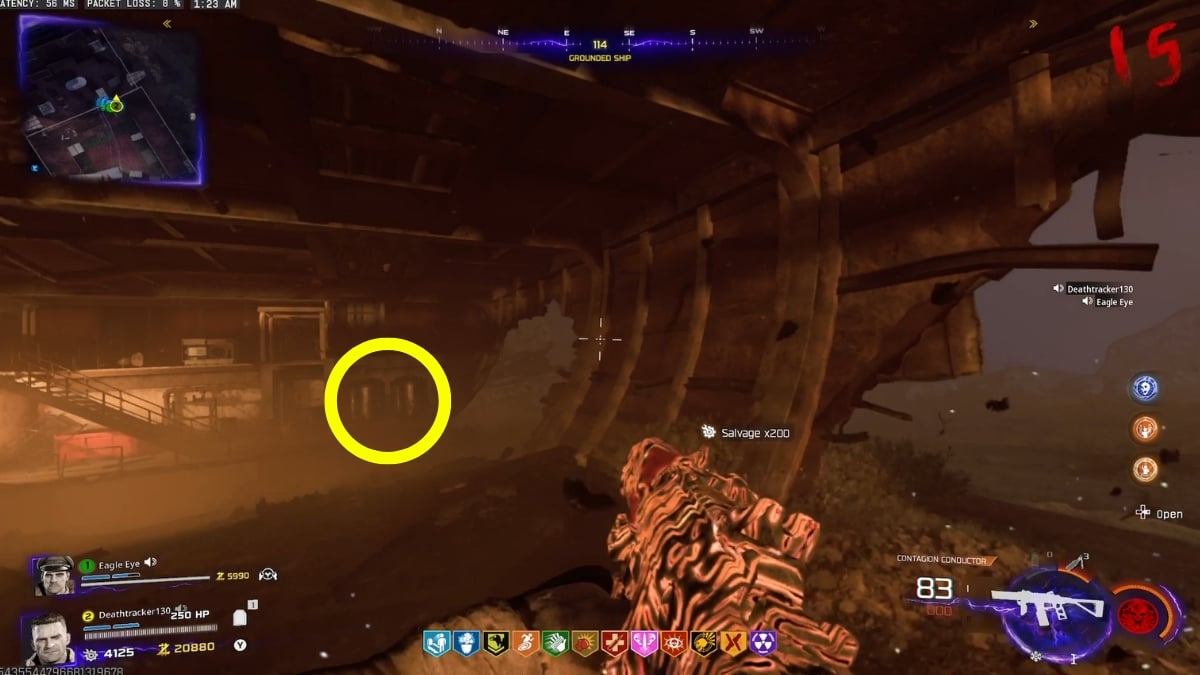
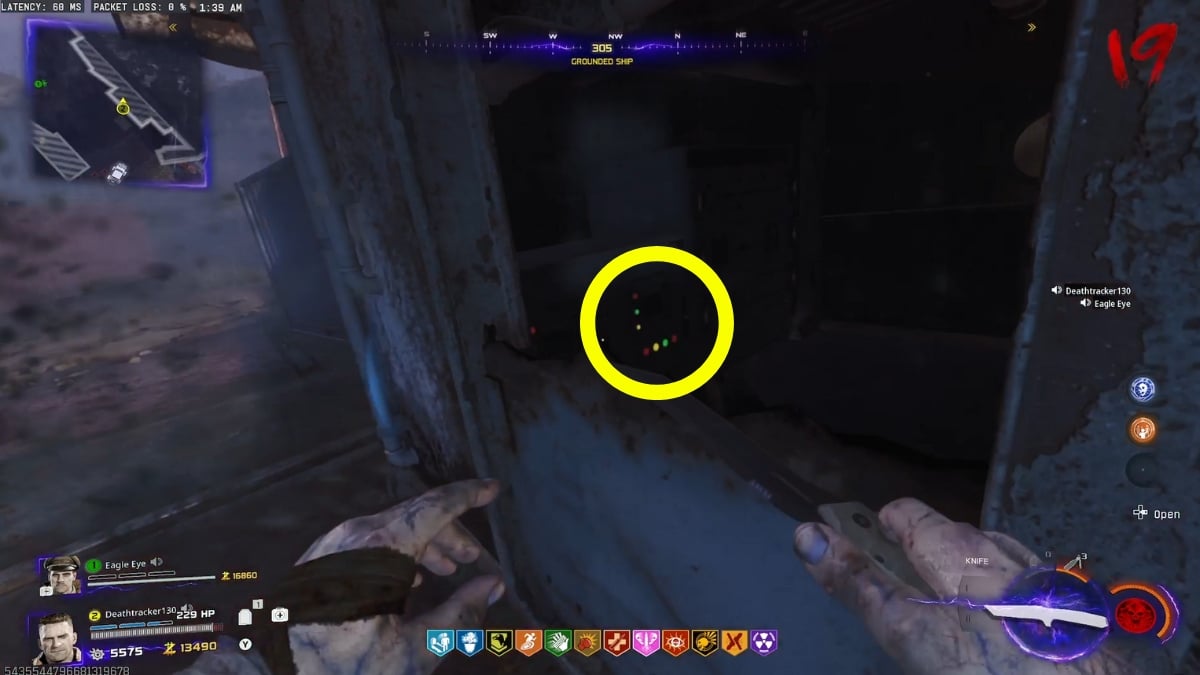
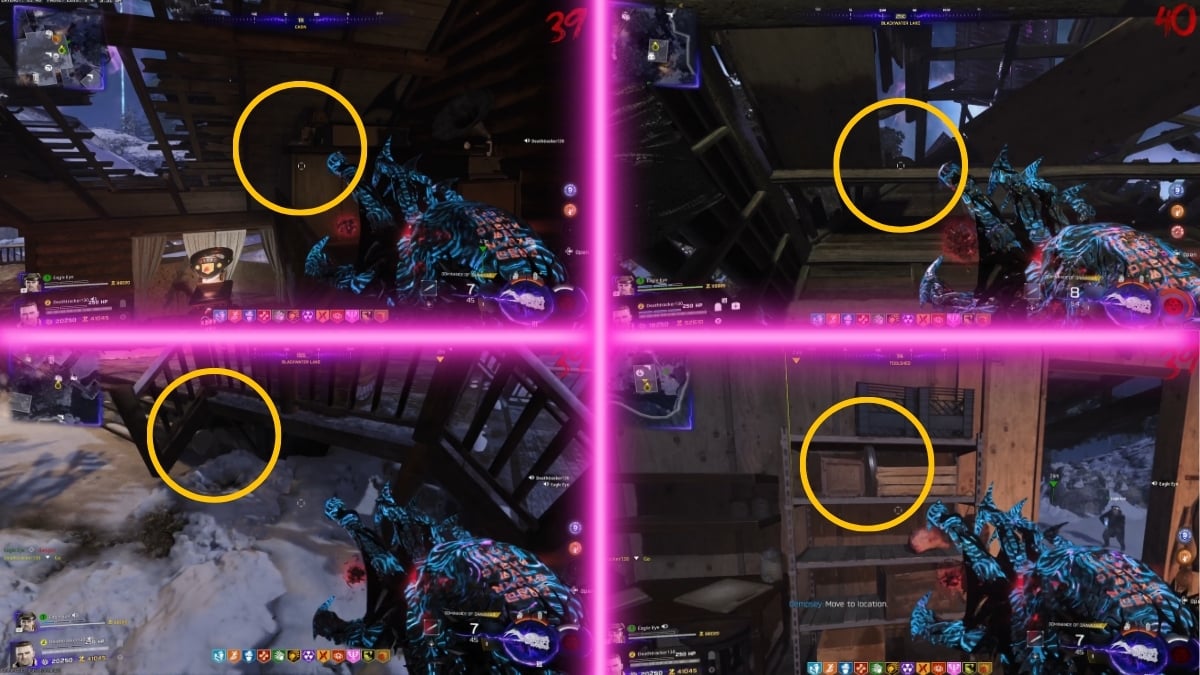
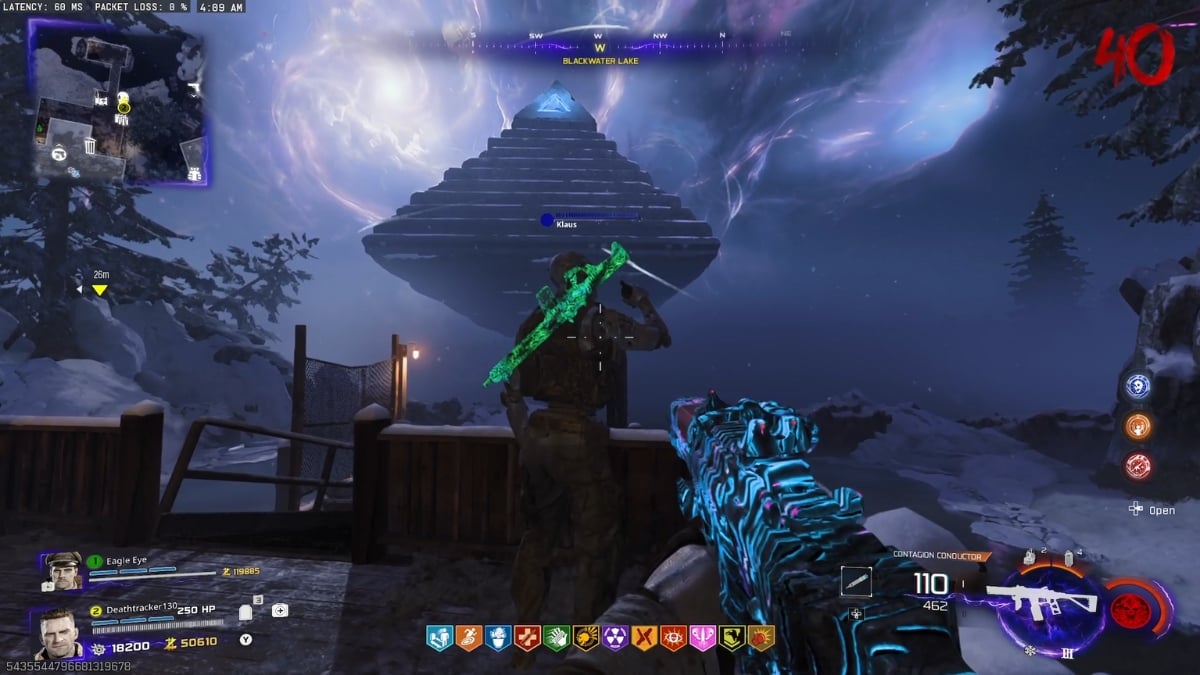
Slowing Key: This key is in the road between Ashwood and Vandorn Farm. You’ll find it under the ship, inside a window on the ship, or lying in a container. You need to use the Necrofluid Gauntlet to shoot and drag these keys out. Keep Ol’ Tessie beside you for a quick escape, and once you have the key, make your way to Ashwood and use the zipline beside the garage. Go straight to the floating pyramid and interact with it to place the key.
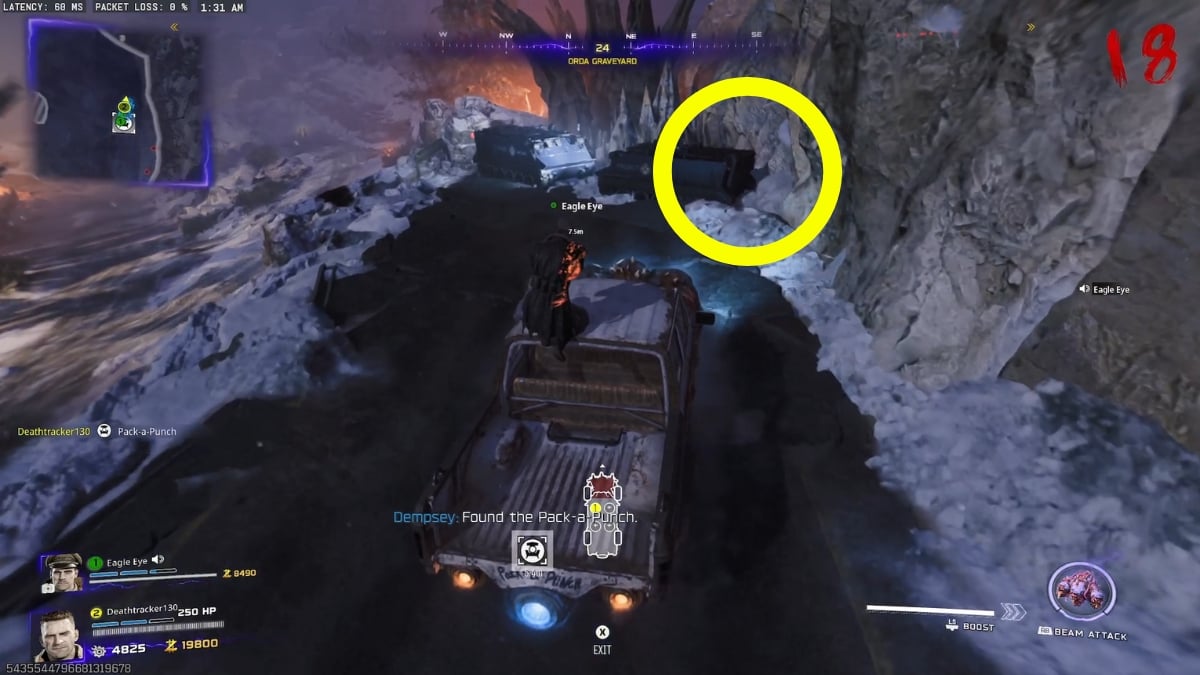
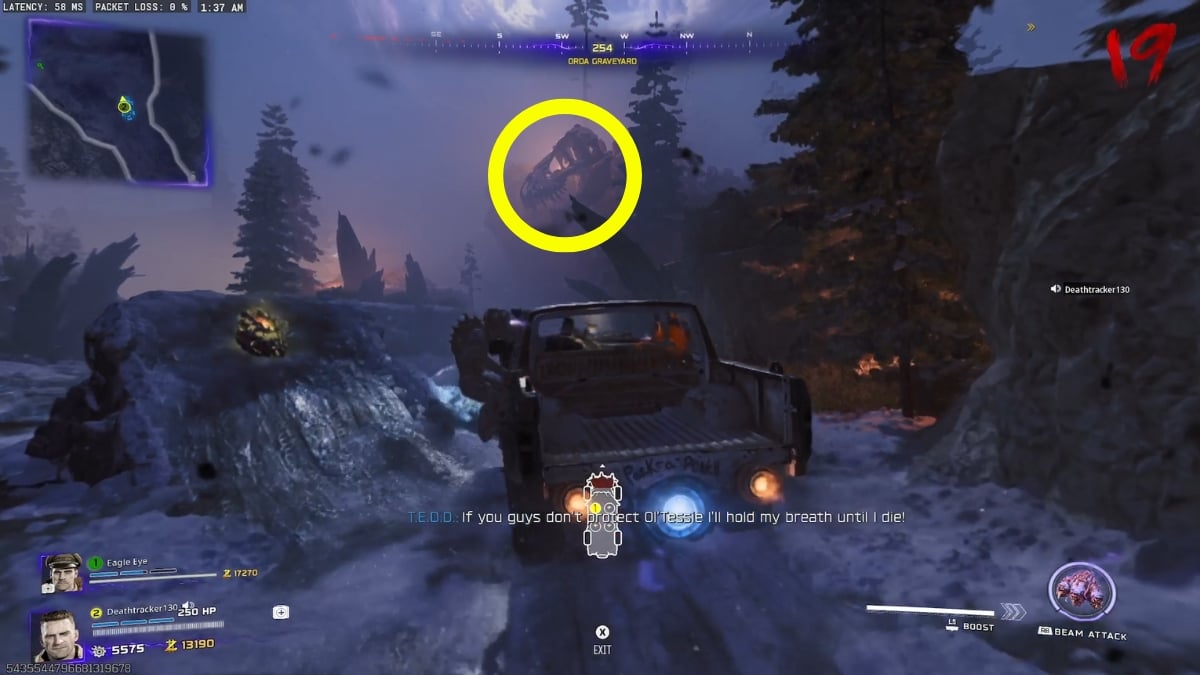
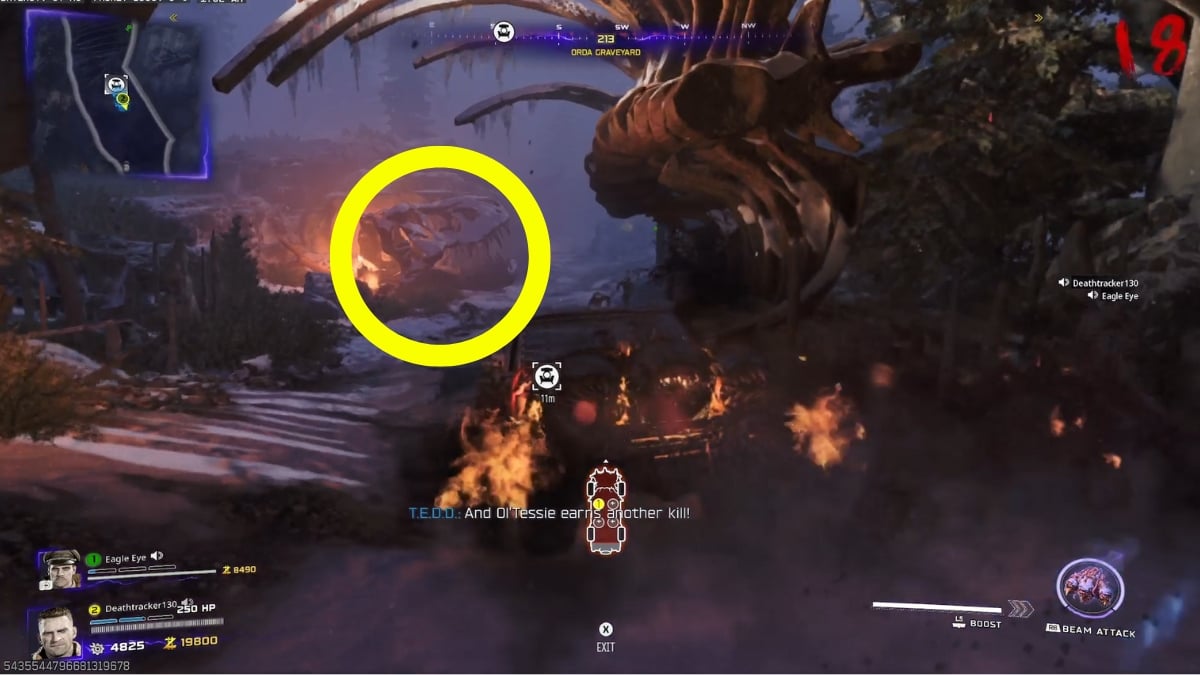
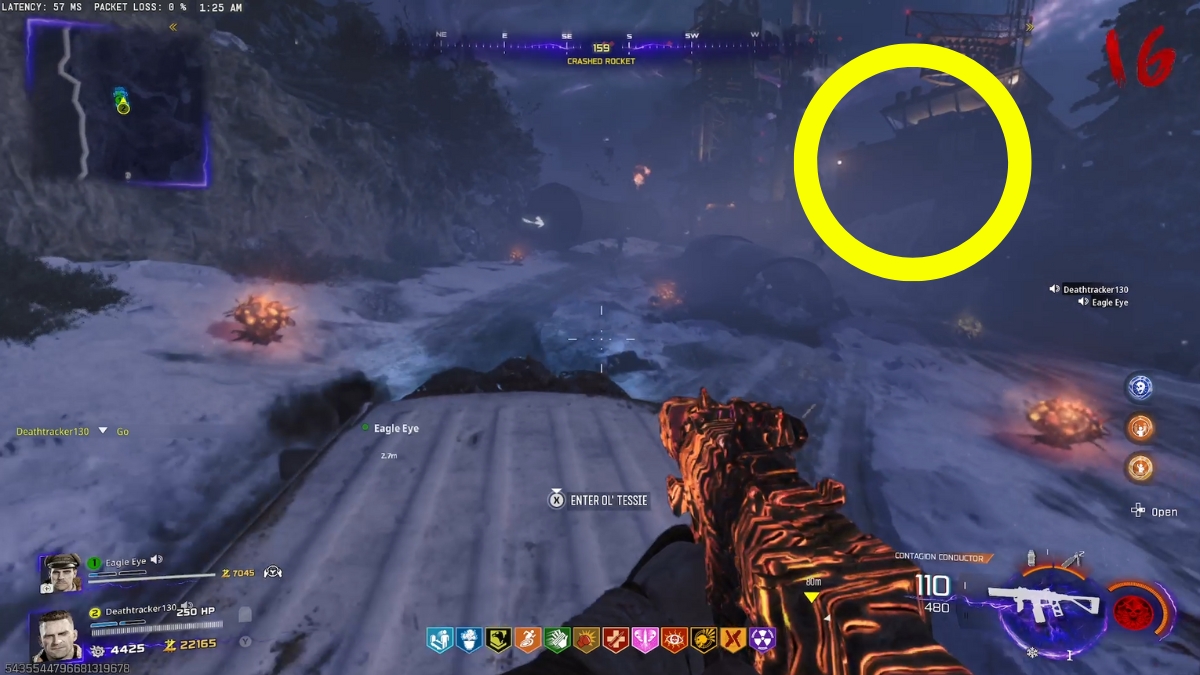
HP Drain Key: The Next key is located on the road between Ashwood and Exit 115. Simply look for the 2 dinosaur skeleton heads and shoot them with the Necrofluid Gauntlet. One of them has the key; if not, go forward to reach this Janus Tower vehicle to find the 3rd spawn location for this key. Now, once you pick this one, you’ll go 1 HP, so you’re basically 1-2 hits away from Valhalla. Jump to Ol’ Tessie and deliver the key to the pyramid; not easy.
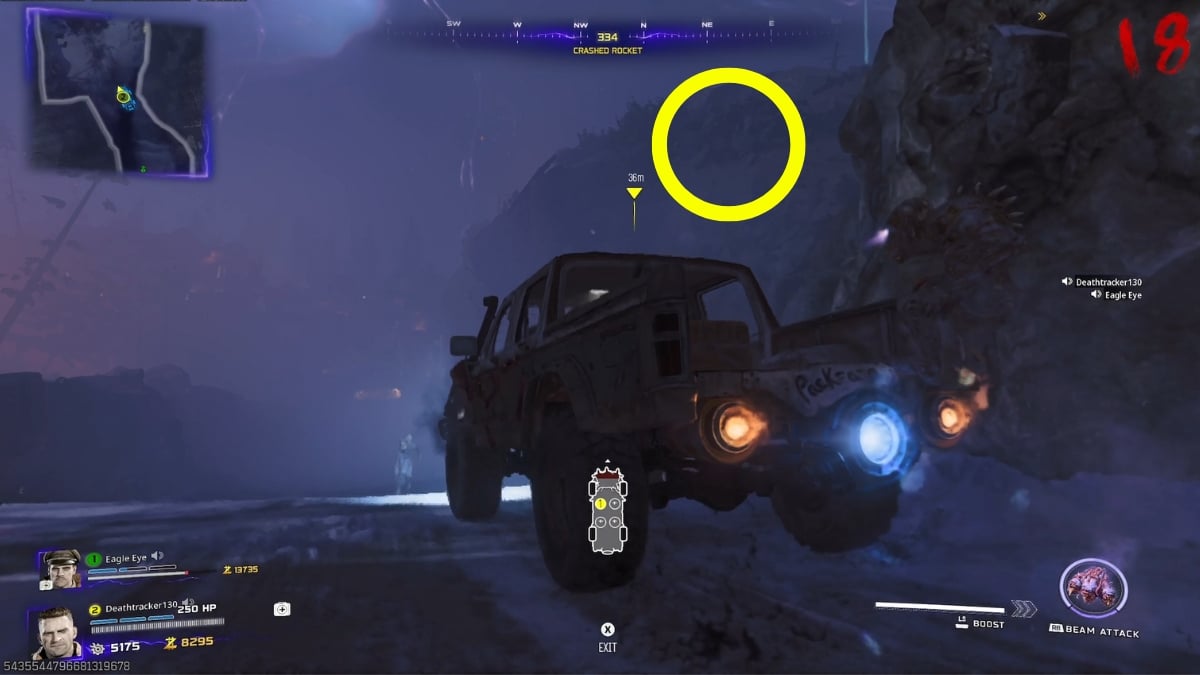
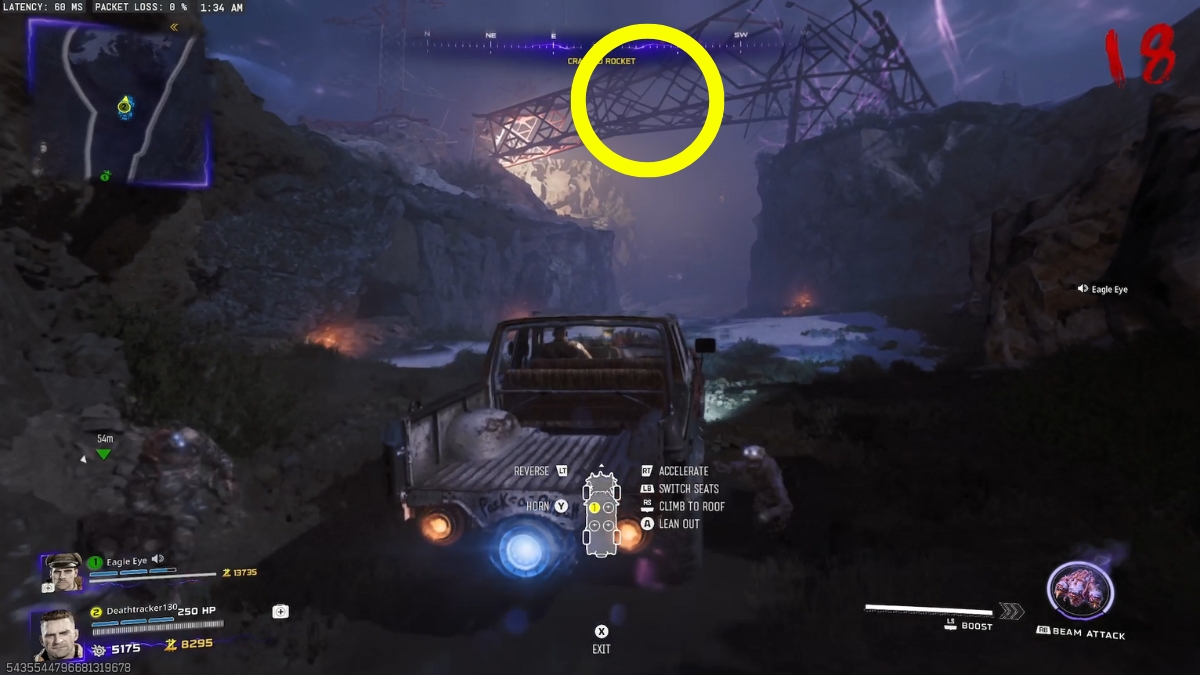
Final Key: The 3rd key is in one of the 3 possible spawn locations on the road from Ashwood to Zarya Cosmodrome. One spawn location is on top of the mountain to the left. The other is on top of this pylon. And the last place you find this key is on a wall to the right before you reach Zarya Cosmodrome.
Obtaining the keys doesn’t have any specific order, and once you deliver all 3 to the floating pyramid in Ashwood, you can enjoy the mid-quest cutscene.
Step 6: Soul Quests
The Entity in the cutscene gives you the Wunderwaffe turret that can be placed on top of Ol’ Tessie, and we’re going to need that for the rest of the Ashes of the Damned main easter egg.
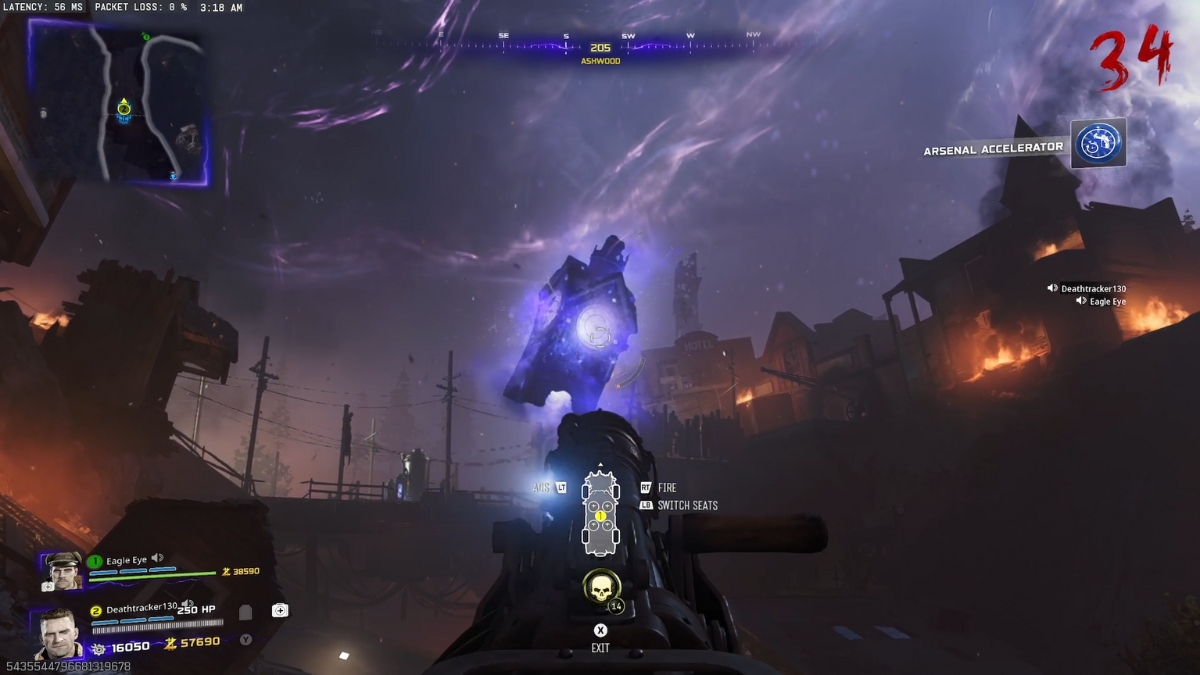
Put Ol’ Tessie on the platform in the garage and install the turret. Now, if you look above you, the floating clock is glowing purple, and you need to shoot it with the turret. Park the car on a high ground near the Ashwood entries, and shoot the clock.
With the Necrofluid Gauntlet, shoot the clock once and then hold L2/LT button to recharge. The gauntlet should be glowing purple right now. Now you need to complete 3 soul quests:
Zarya Cosmodrome Soul Quest
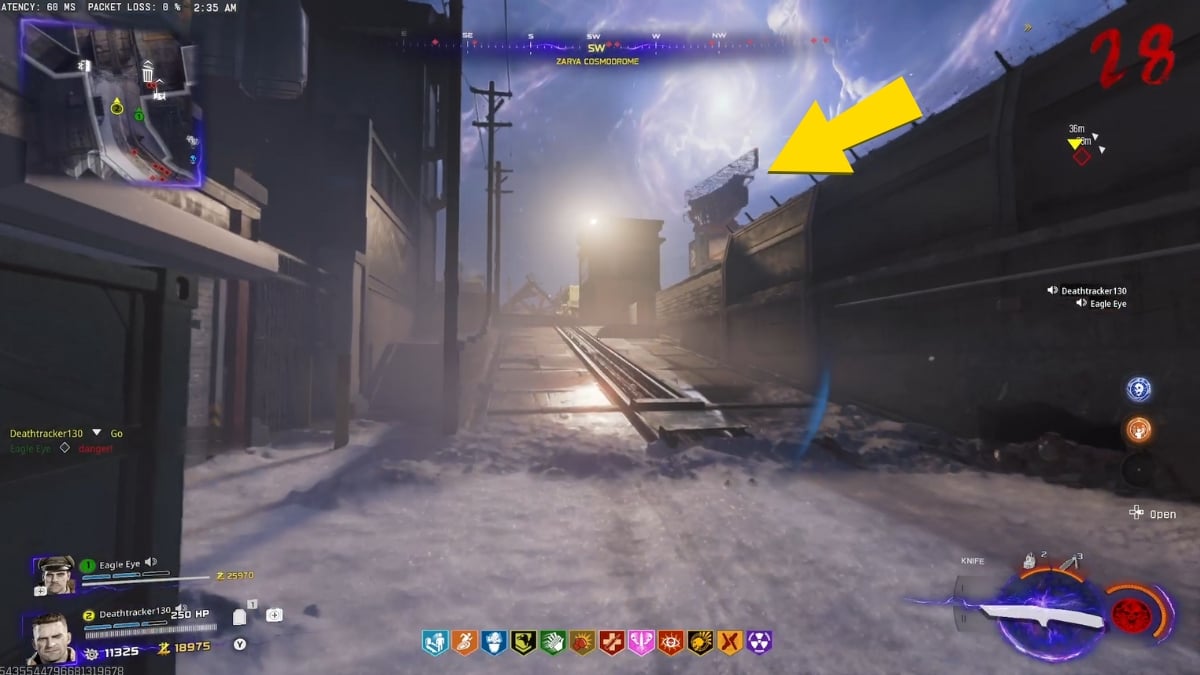
Head to the cosmodrome with the purple charged gauntlet, and shoot one of the two radars. You need to do the same for the other radar as well by going back to Ashwood and recharging the Necrofluid Gauntlet by firing at the clock from another angle.
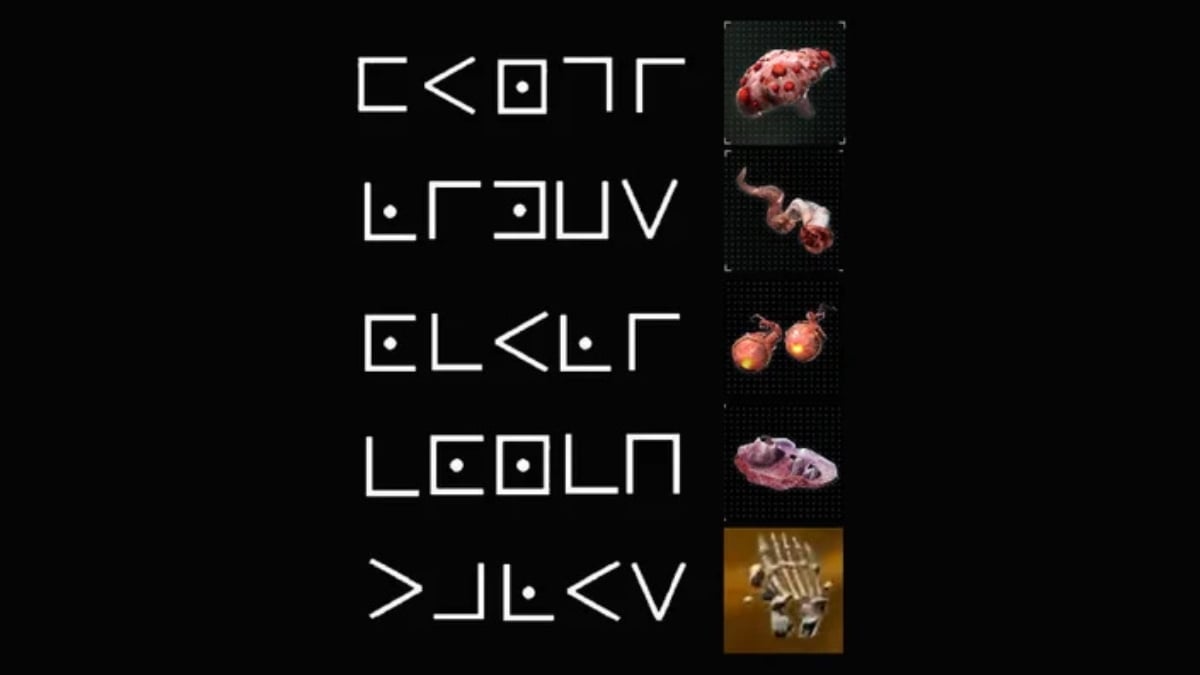
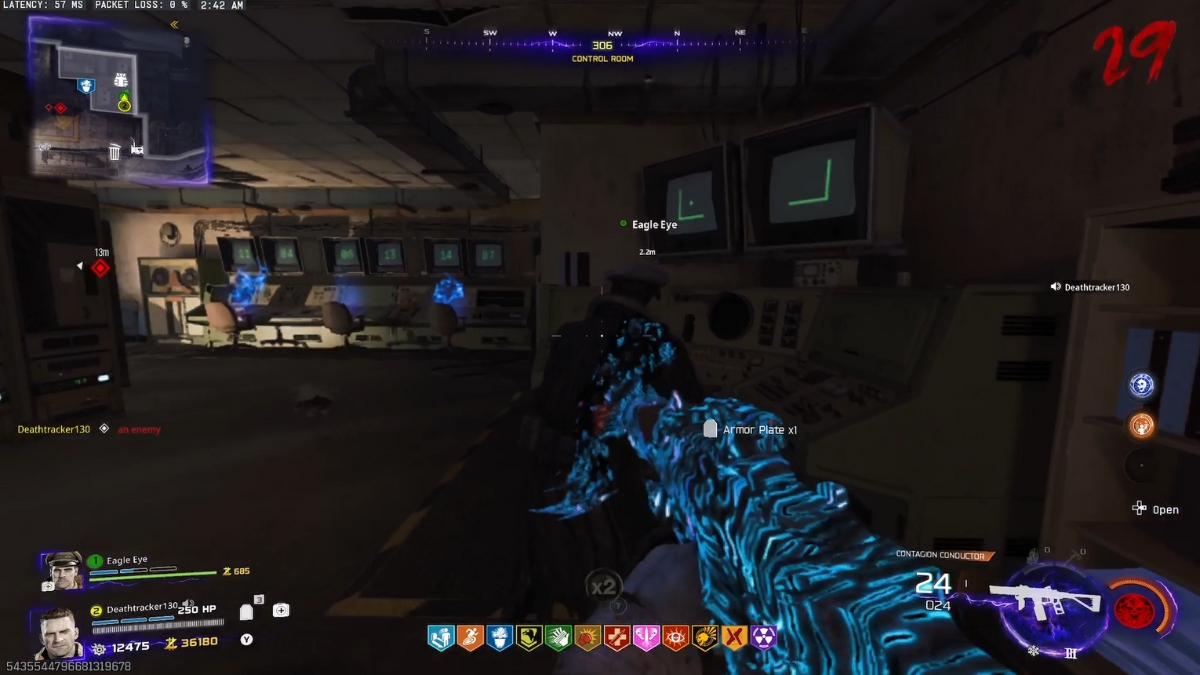
Once both radars are hit with Dark Aether energy, they slow down, and the monitors inside the room near the Klaus radio start showing some symbols. Check this code sheet and find the word that the monitors are showing, it’s going to be different every game, and well, every round.
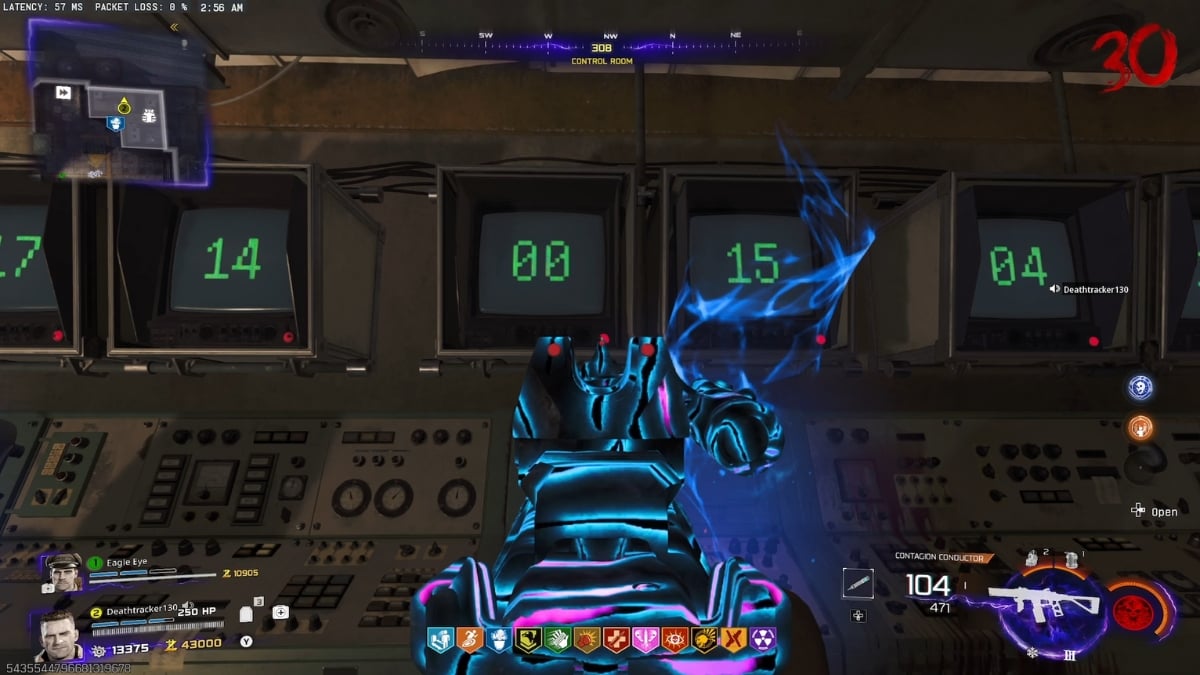
Once you know the word, you need to enter the right code. Each one of the 4 words matches a different set of numbers, which you have to enter on the monitors to your left.
There’s a teeny tiny red button below each monitor, and once the number on the screen matches the one for your word, you need to shoot the red button with a bullet weapon to submit it. Enter the right code from left to right, and the Ascension rocket will release.
The nostalgia vibes hit hard when the music from The Moon’s background music is played as you watch the rocket go.
Exit 115 Soul Quest

Here, there are 3 special zombies that must walk into 3 lightning bolts. That’s the best way to describe this one in short, trust me.
Once you see lightning in the sky at Exit 115, you can start this easter egg. As always, you need to charge the Necrofluid Gauntlet by firing at the clock at Ashwood, and then head back to Exit 115 to shoot this clock on top of the gas station.
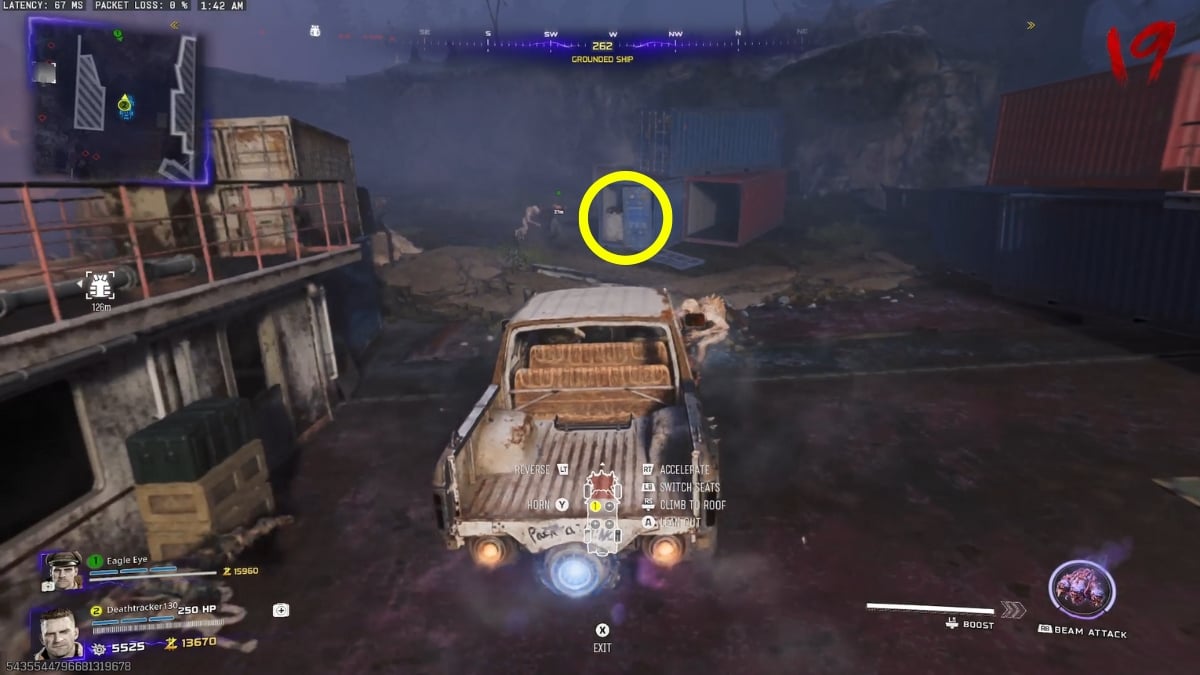
If you shoot the clock when lightning is in the sky, the bolts stop and make a beautiful scene. Now you need to buy a Klaus – best if you have one already – and order him to wake up the zombie that’s near the car in the garage. This zombie must be stuck in the yellow lightning, so make sure you drag him there.
Next is the zombie that’s on the left side of the truck. Simply ram the truck with Tessie, and he’ll wake up seeking revenge. Drag our guy to the red lightning, and you’re good to go to the next step.
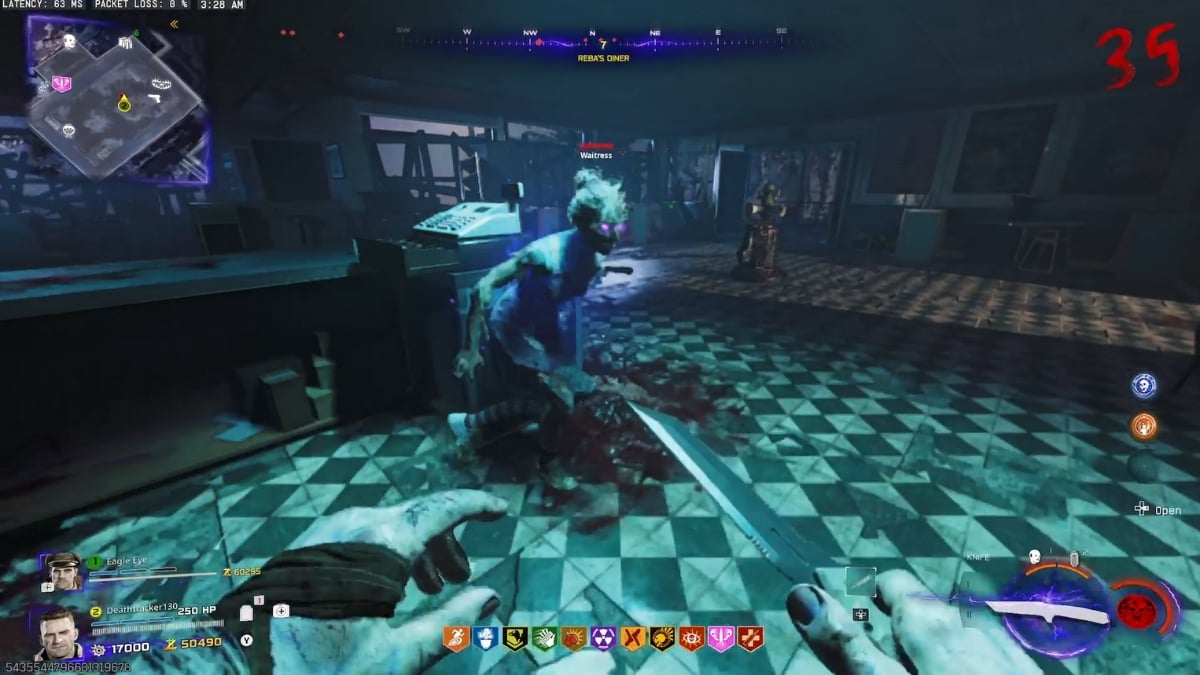
This time, you need to head inside the Diner and melee the register. This will wake up the zombie Waitress, and you need to make her follow you to the blue lightning above the Diner. Once all 3 zombies are hit with the right lightning, the Entity starts talking to mark your success on the quest.
Don’t worry, it might take several attempts to solve this one step of the easter egg, and you don’t have to wake each zombie every time.
Vandorn Farm Soul Quest
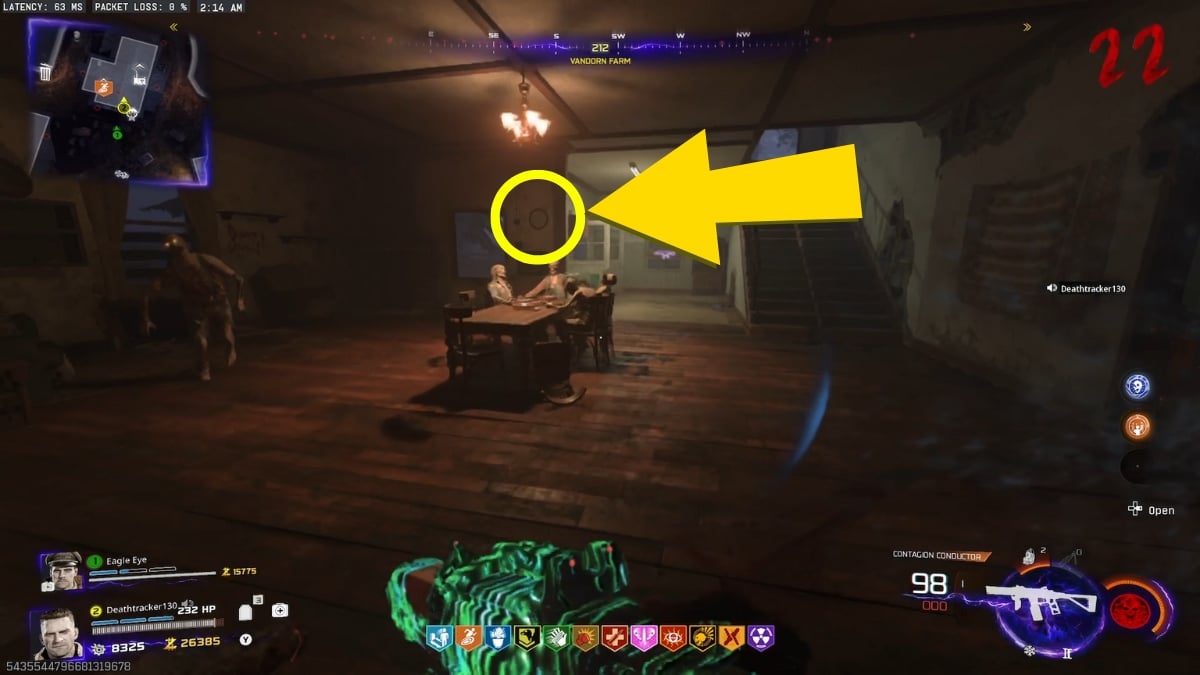
With Necrofluid Gauntlet charged, head to Vandorn Farm and get inside the Stamin-Up building. Here you’ll find a clock behind the father of the family at the table. The clock is in Roman numerals, and you need to find the number of the hour on the floor around the table.
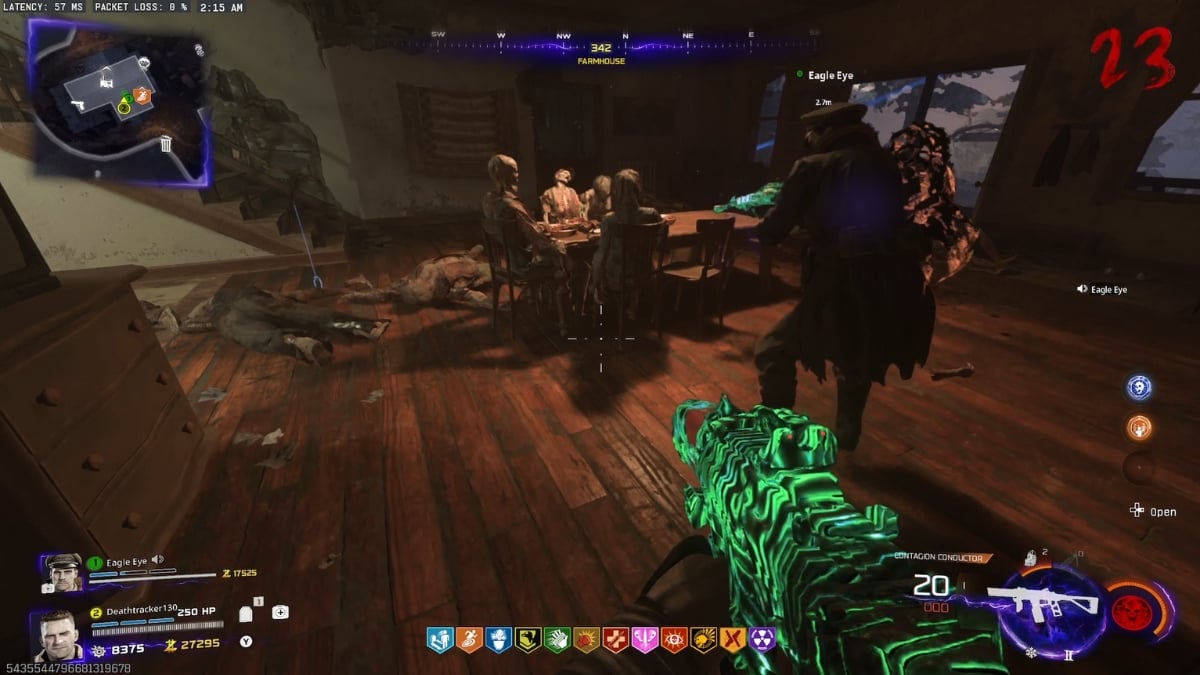
This step is quite simple; you just need to imagine a circle around the table as a clock. Now, if you stand on the right number, the father’s head will tilt toward you. Shoot it with the gauntlet once he’s done turning his broken neck, and then head outside to find 4 separated items for a ritual.
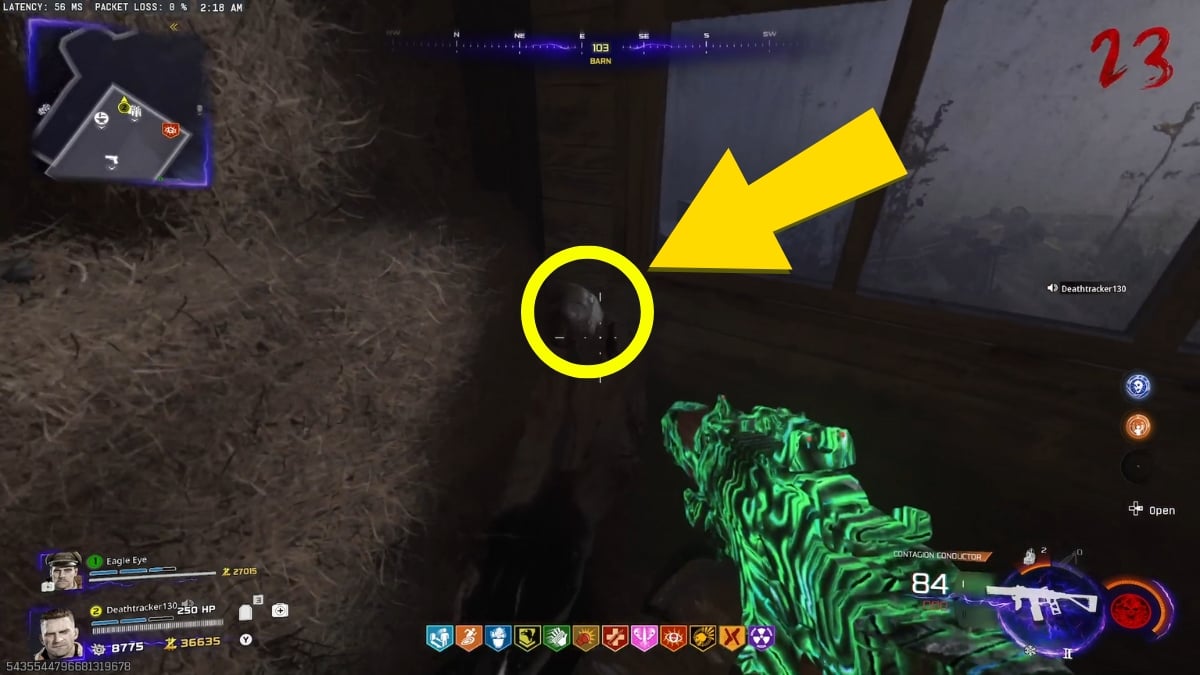
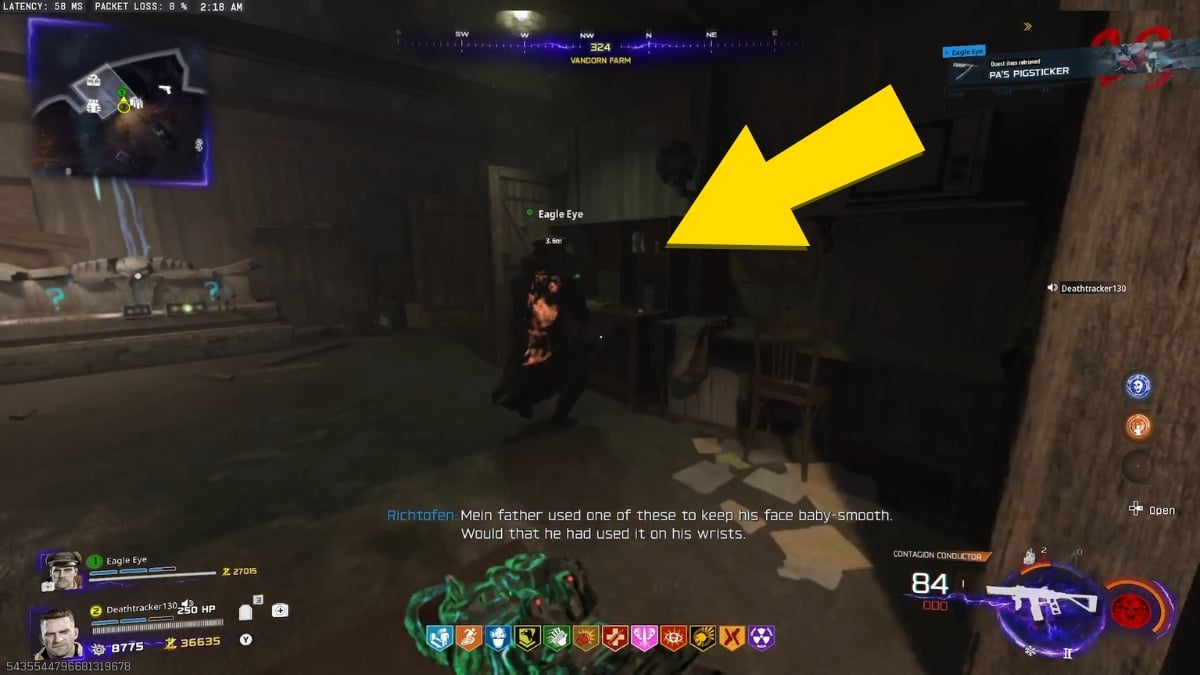
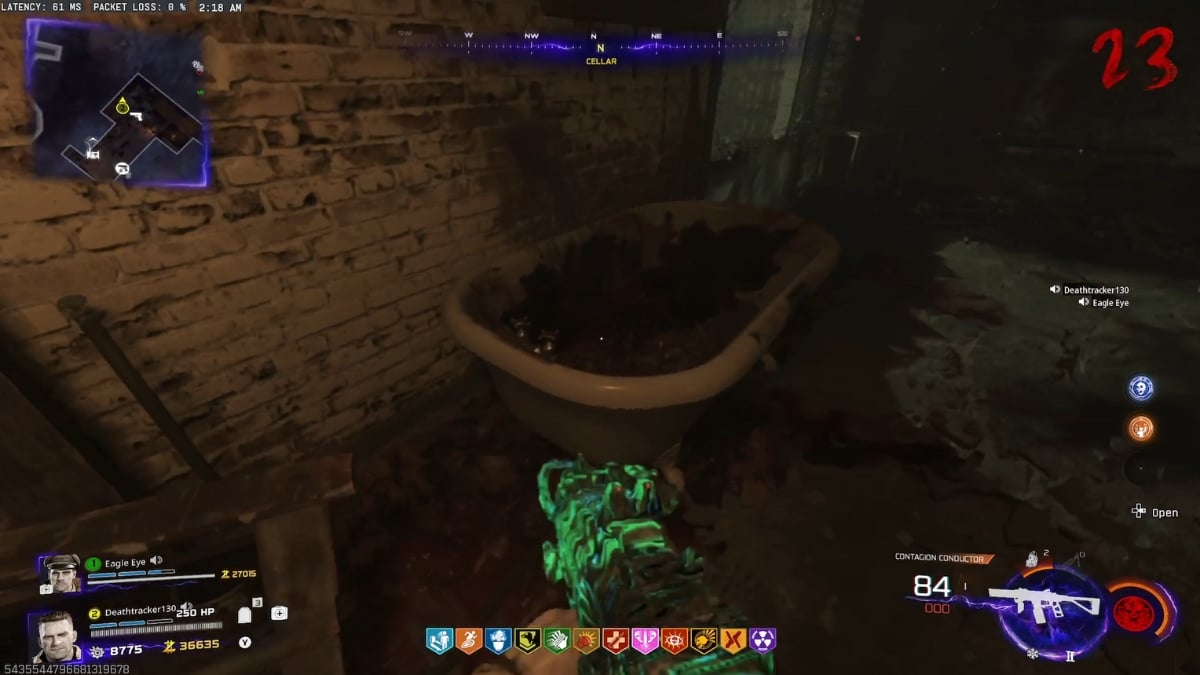
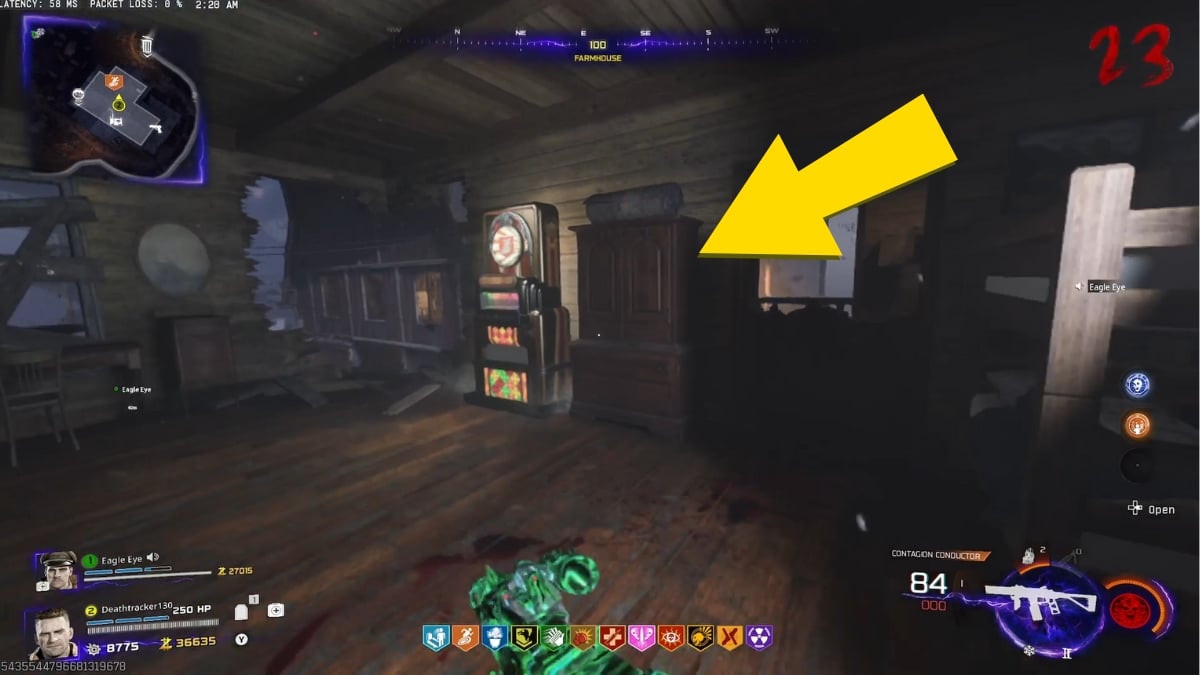
One of them is right on the second floor in the closet beside the Stamin-Up perk machine. The second one is on the working bench in the Mystery Box room. You’ll find the 3rd item on the second floor of the barn. And last but not least, the final item is in a tub underground.
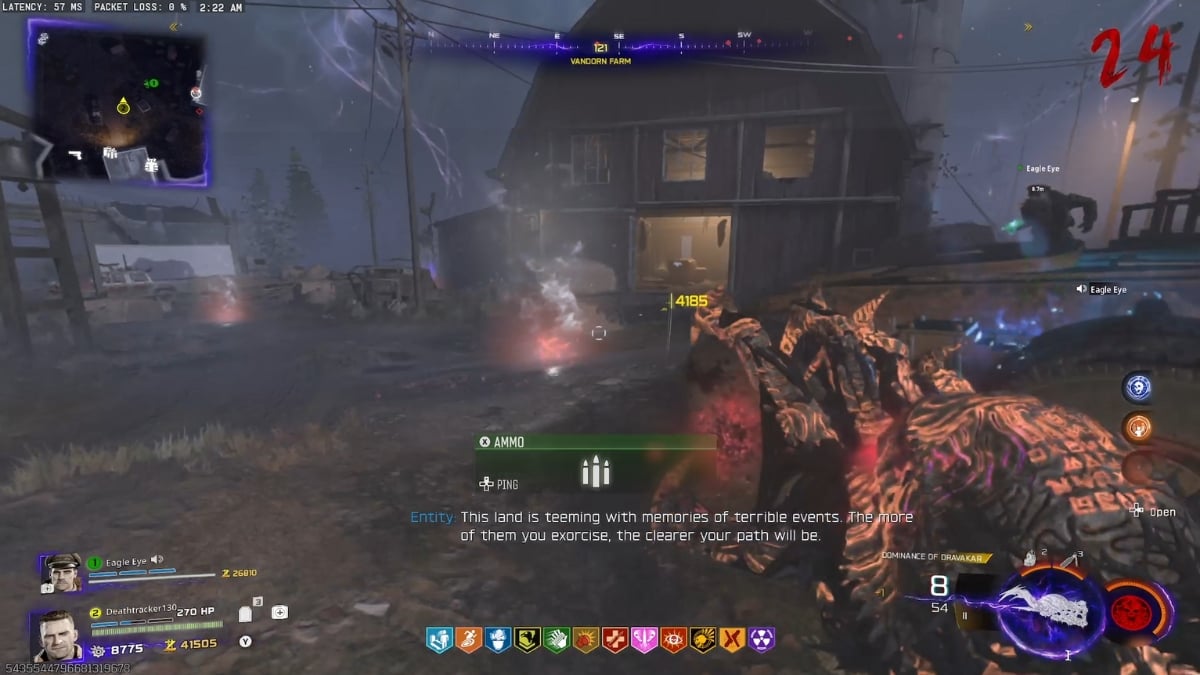
Place all items on the floor in the Farm in their locations and interact with them to start the ritual. Loads of zombies will attack you in the lockdown, and you have to defend the items at all costs. If you fail, you can do it again in the next round.
Step 7: Blackwater Lake Horror

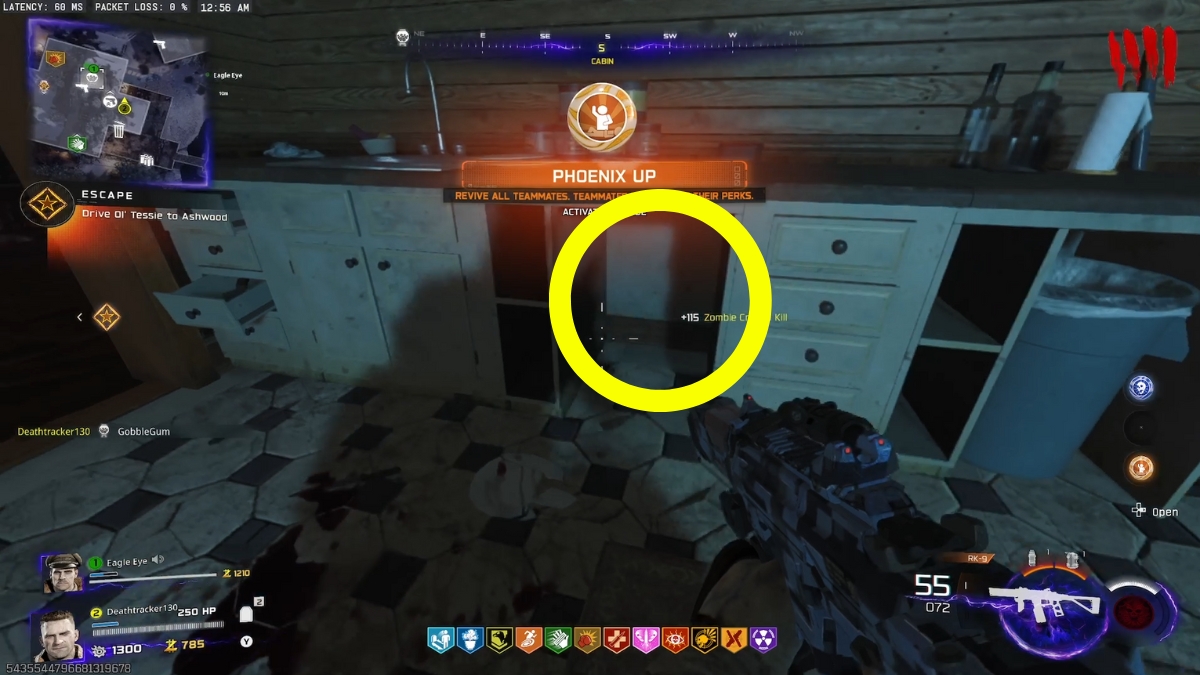
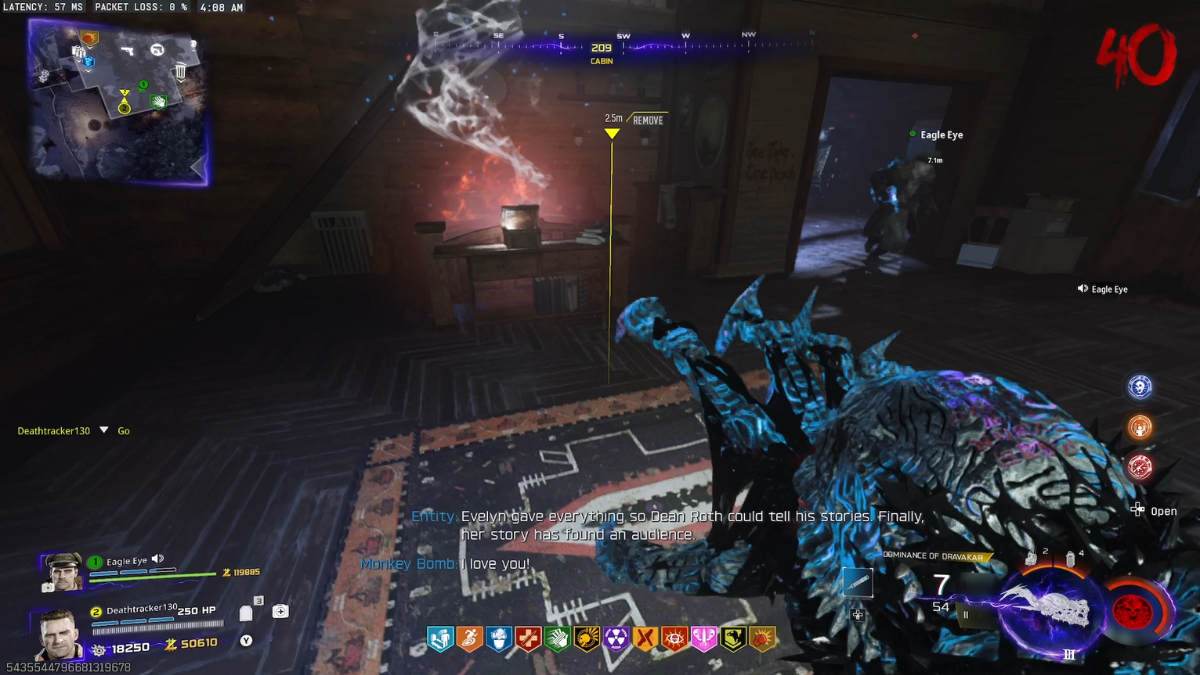
This is one of the final steps of the Ashes of the Damned easter egg guide, so make sure you’re prepared. Head to the Blackwater Lake with Dark Aether charged Necrofluid Gauntlet, and interact with the soul that’s right beside the Mystery Box spawn location.
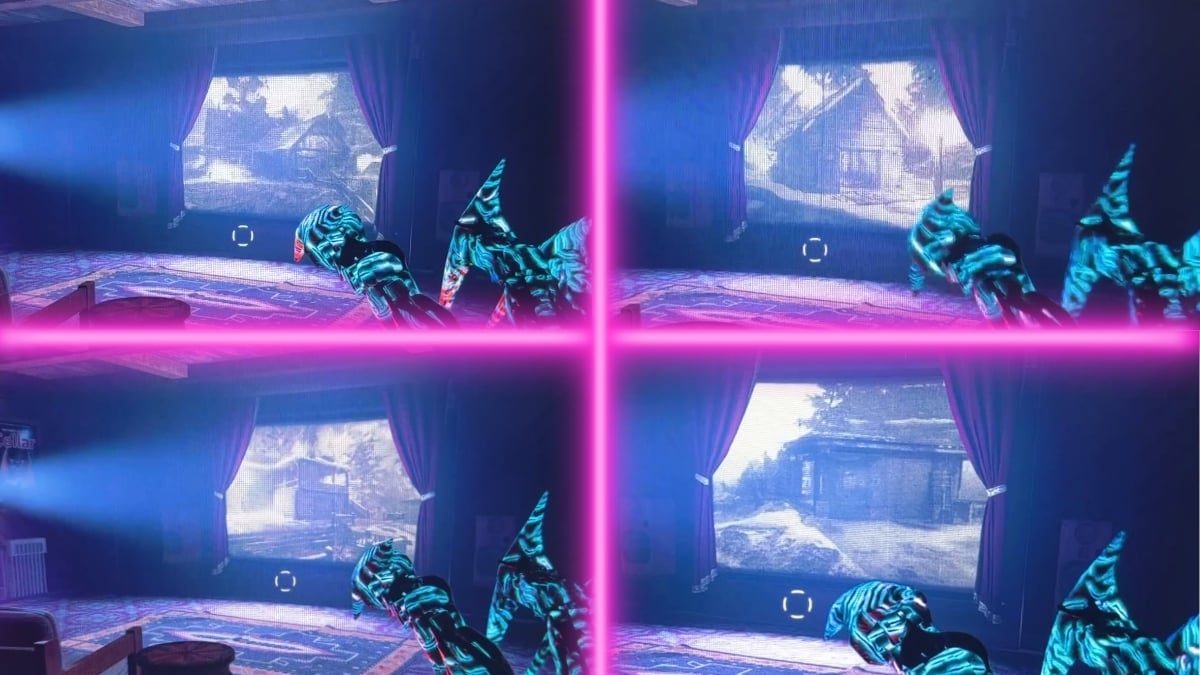
Now you need to shoot the projector inside the cabin with the Necrofluid Gauntlet’s Dark Aether energy, and immediately start capturing the 4 images on the screen. This cheat sheet will help you find each film’s location, and you need to shoot each one of them in the exact order the game shows to pass this quest.
Remember that you need to shoot these items with the Necrofluid Gauntlet, and if a jumpscare appears, it means that you’ve failed the easter egg and have to try again next round.
But if you’ve done the easter egg steps correctly, a dialogue plays, and you need to buy a Klaus bot and order him to stand right here near this bed. You need to interact with this item, and then order Klaus to stay on this corner.
Now, if you interact with Klaus here, the final step of the Ashes of the Damned easter egg quest activates. Make sure that you have PAP 3 weapons and wonder weapons, of course, fully upgraded before you start.
Final Step: Road To Boss Fight
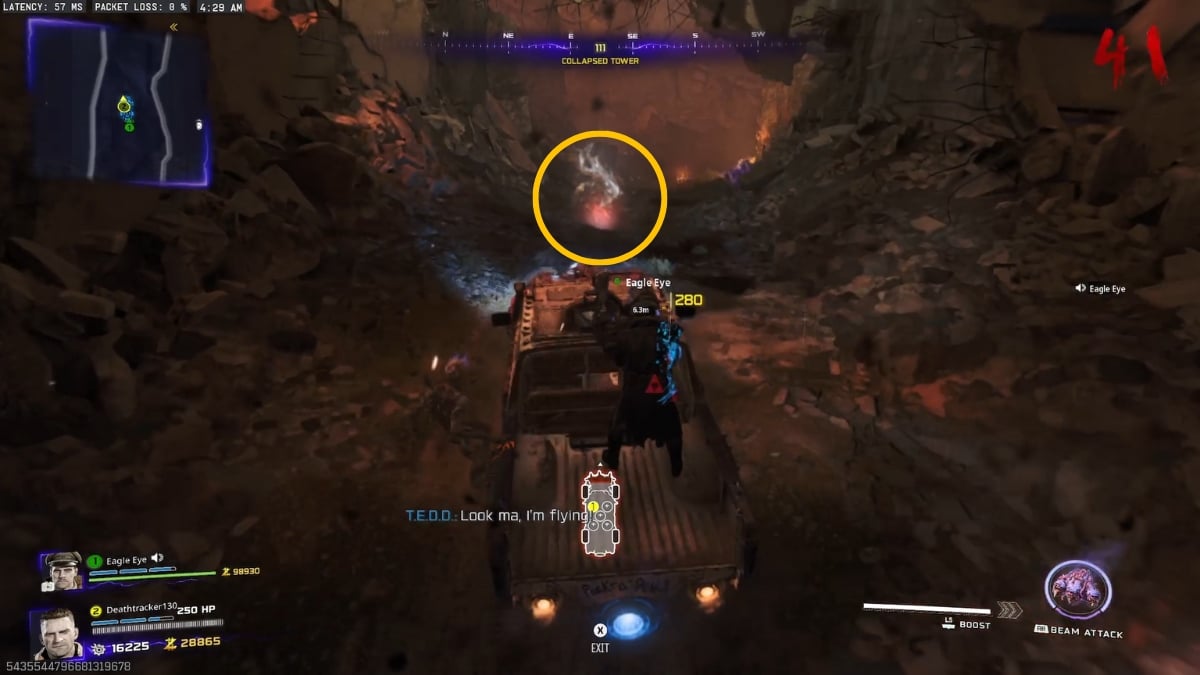
Once you interact with Klaus and all team members vote to agree on it, the final quest before reaching the boss fight begins. What you need to do here is collect 3 souls from 3 roads between Blackwater Lake, Janus Tower Plaza, and Ashwood.
Wait for 30 seconds in Blackwater Lake, and then hit the road toward Janus Tower Plaza with Tessie. Once you’ve got all 3 souls, hit the road again from Janus to Ashwood, and then Ashwood to Blackwater Lake. If you collect all 3 souls on the road – 9 in total – the game flashes, and you enter the boss fight.
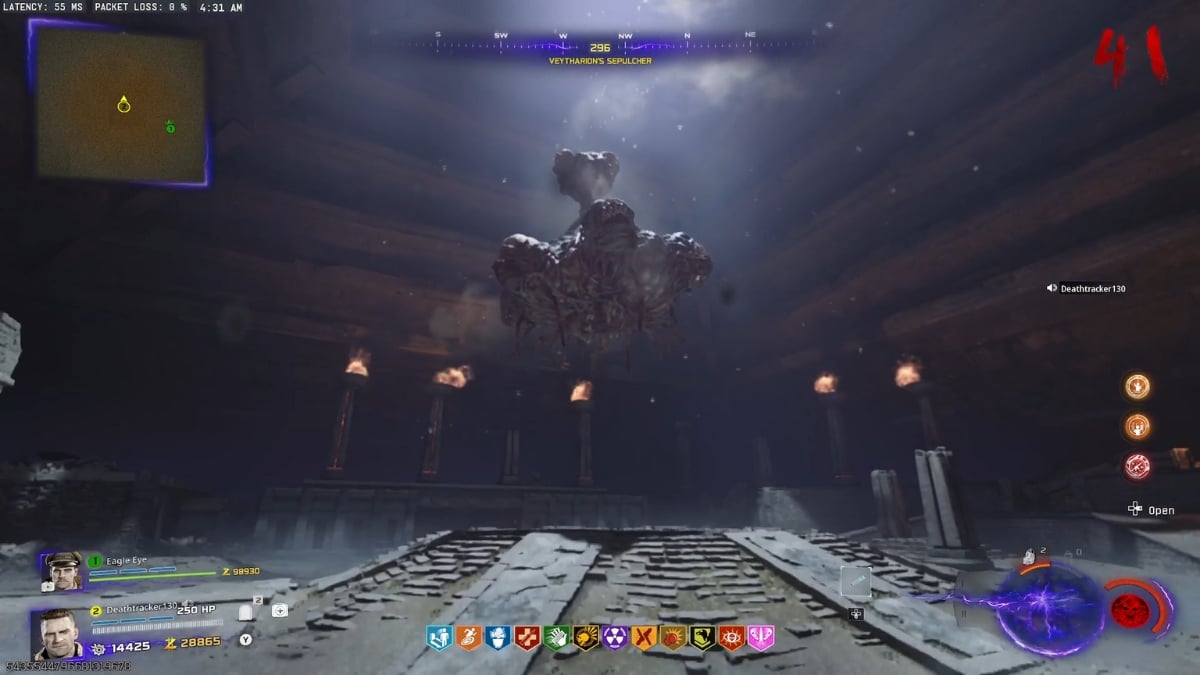
Ashes of the Damned Zombies Boss Fight
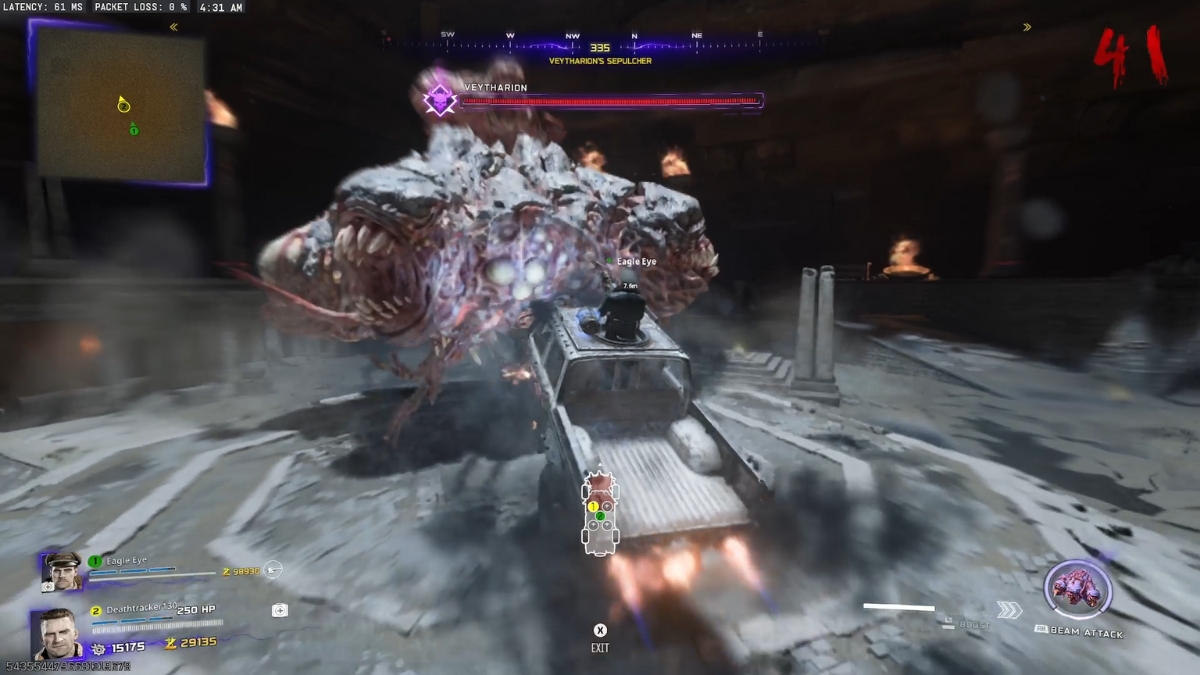
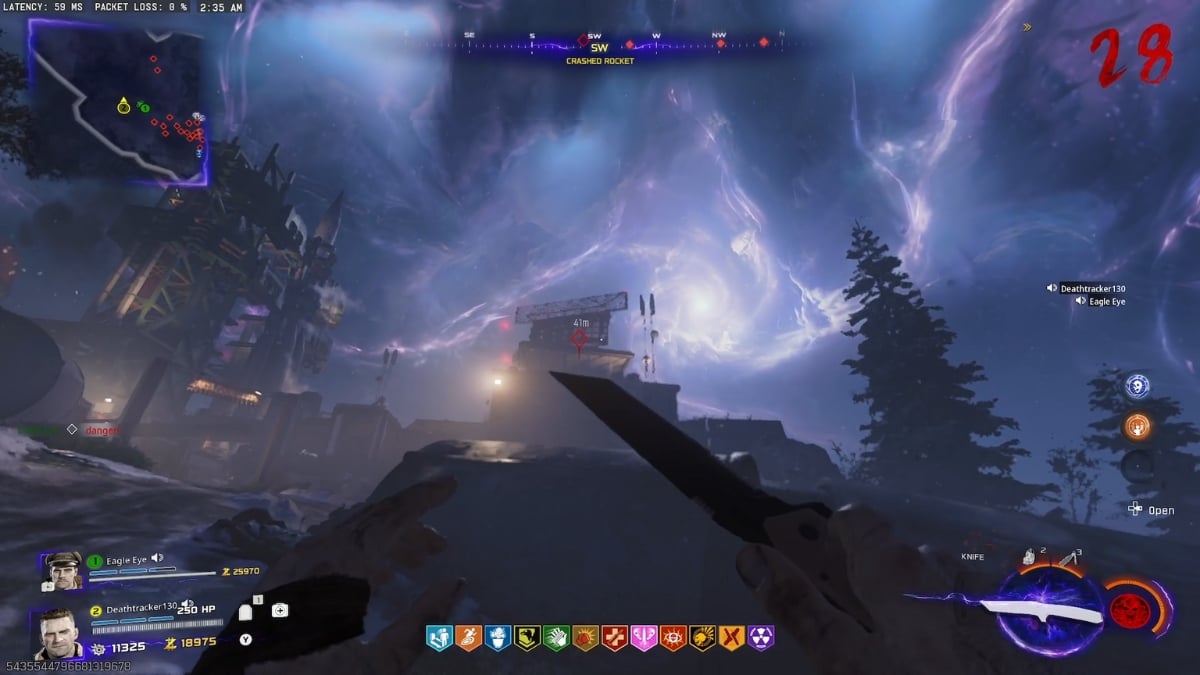
Whatever the modern Zombies CoDs lack in aura and classic systems, they make up for with boss fights, and Ashes of the Damned has done that masterfully. The boss is a gigantic sphere of heads, spinning and throwing rockets at you. The interesting part about this boss fight is that you can only stun and deliver high damage to the boss using the Ol’ Tessie wonder vehicle.
For playing co-op, the boss fight is hard, and players must take turns driving, firing at the Wunderwaffe turret, and escaping the rockets and lasers. But playing it solo, so far, I’ve done 5 unsuccessful attempts.


