
Skip To...
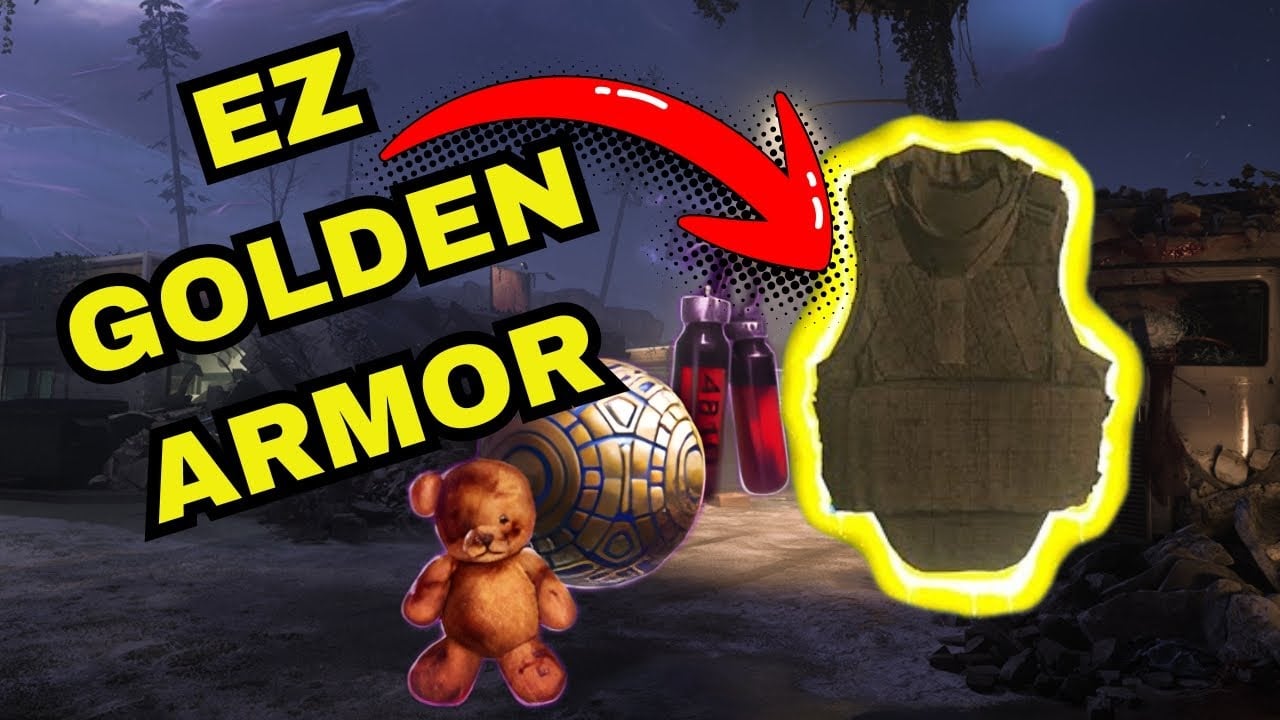
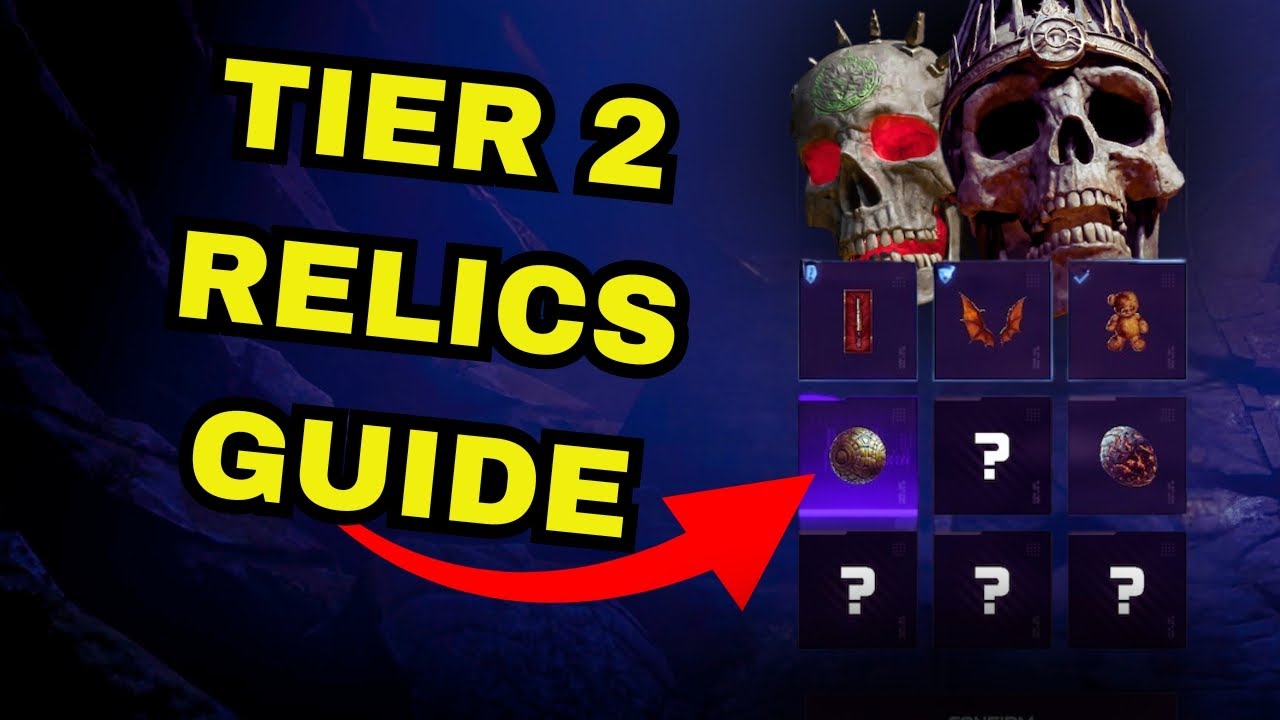
Call of Duty: Black Ops 7 Zombies isn’t just a camo grind and main easter egg quest this year, as players are faced with the challenges of the old via finding Relics. Survive with just four perks and no ammo caches, and you’ll earn Ultra weapon rarity, Level 4 Pack-A-Punch, and the coveted Golden Armor! Finding Relics in Black Ops 7 Zombies Ashes of the Damned Cursed mode might sound like a tough experience that only the undead nerds can overcome, but this guide will help you find your path inside the Dark Aether.
Tip! There are nine Relics in total, separated into three Tiers that contain three items each.
How To Get Golden Armor In Black Ops 7 Zombies – Ashes of the Damned Tier 1 Relics Guide
The first three Relics you unlock in Cursed mode will reward you with the Golden Armor, but first, there are challenges to overcome. For each Relic, you need to find items, complete tasks, and endure the final trial.
Tip #2! Tier 1 Trials can only be activated on Round 20+, Tier 2 on Round 40+, and Tier 3 on Round 60+!
How To Unlock Lawyer’s Pen Relic In Ashes of the Damned Zombies

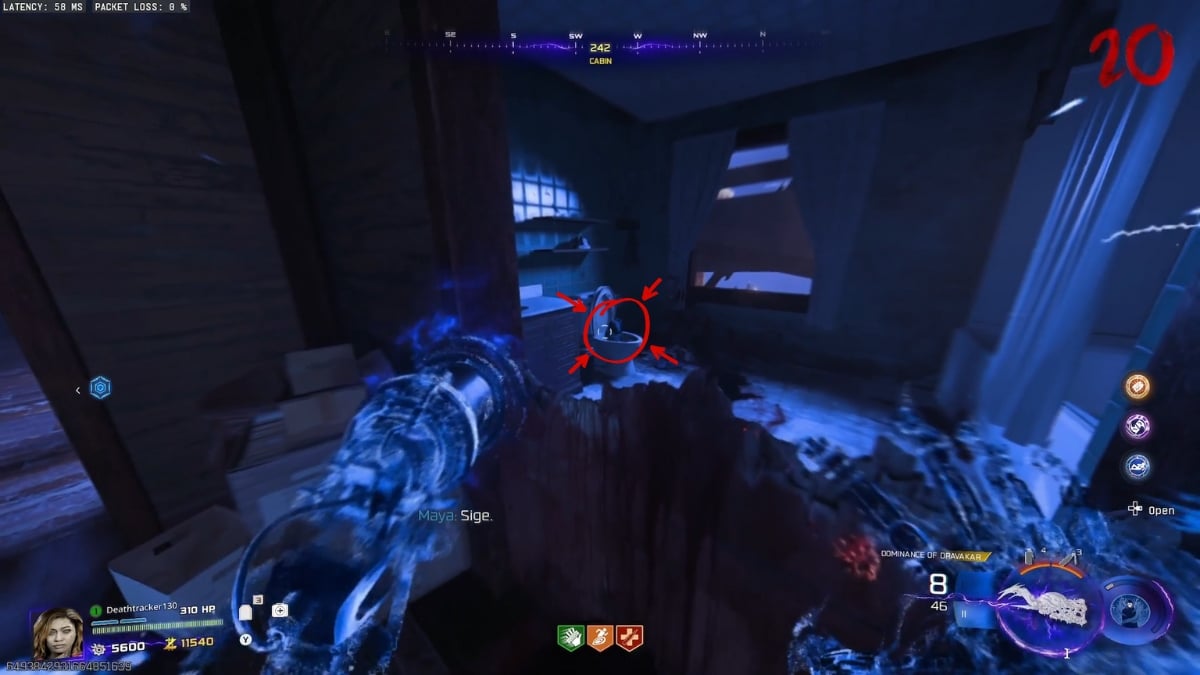
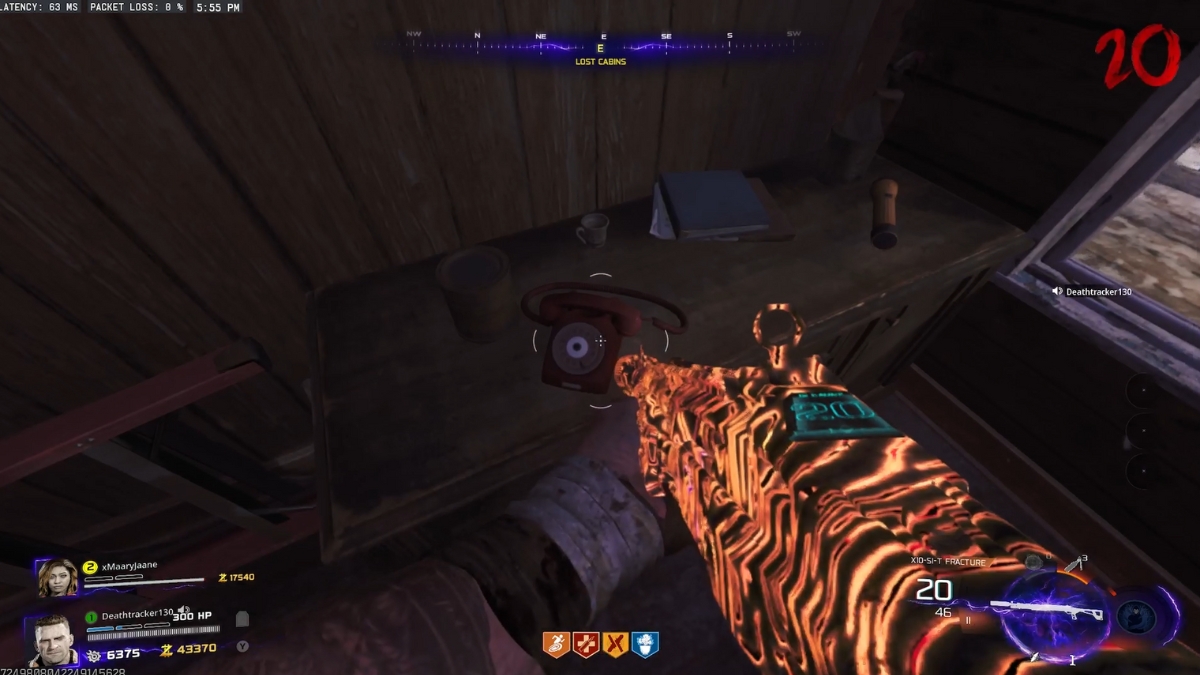
Heading for the first Tier 1 Relic, you must be on round 20, and then look for three candles around the map. The task is to light the candles, and you can do so with the Napalm Burst ammo mod or Molotov. There’s no certain order for lighting the candles, but remember that you need to light all three in a single round.
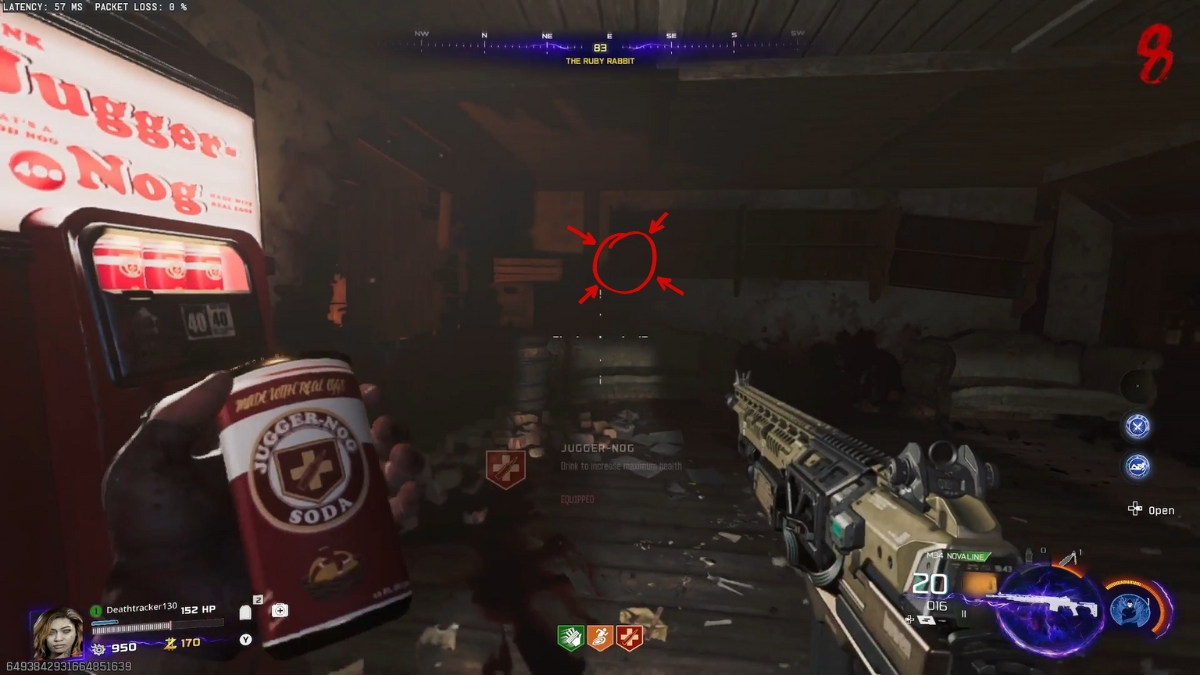
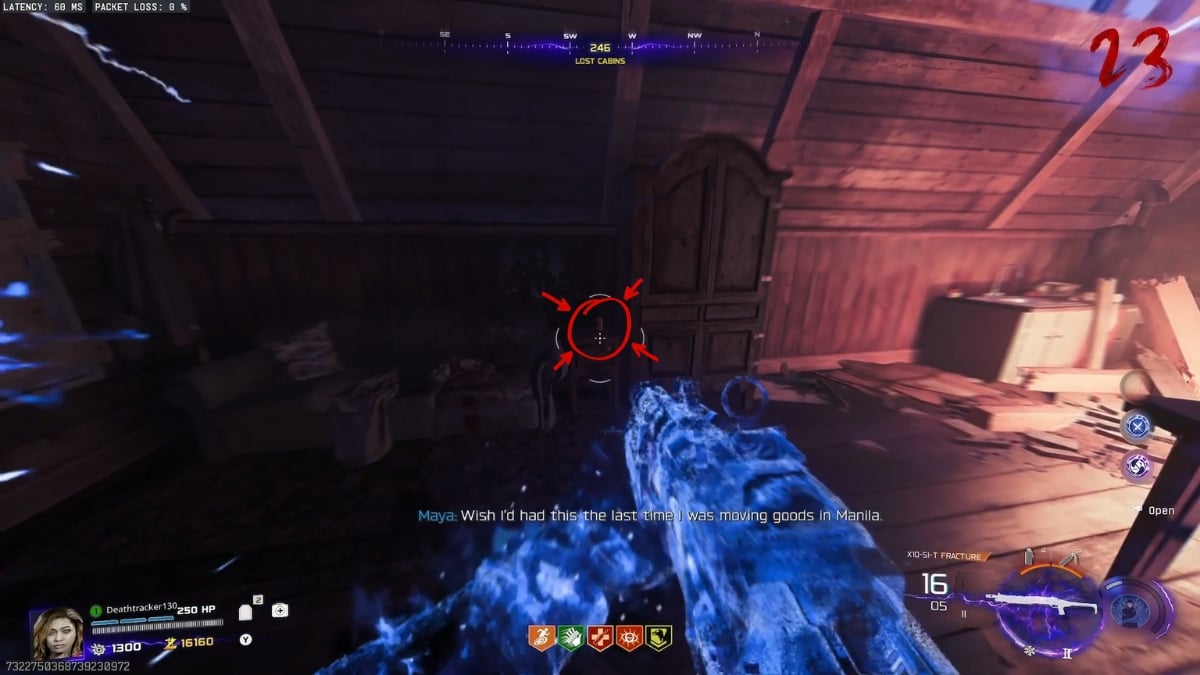
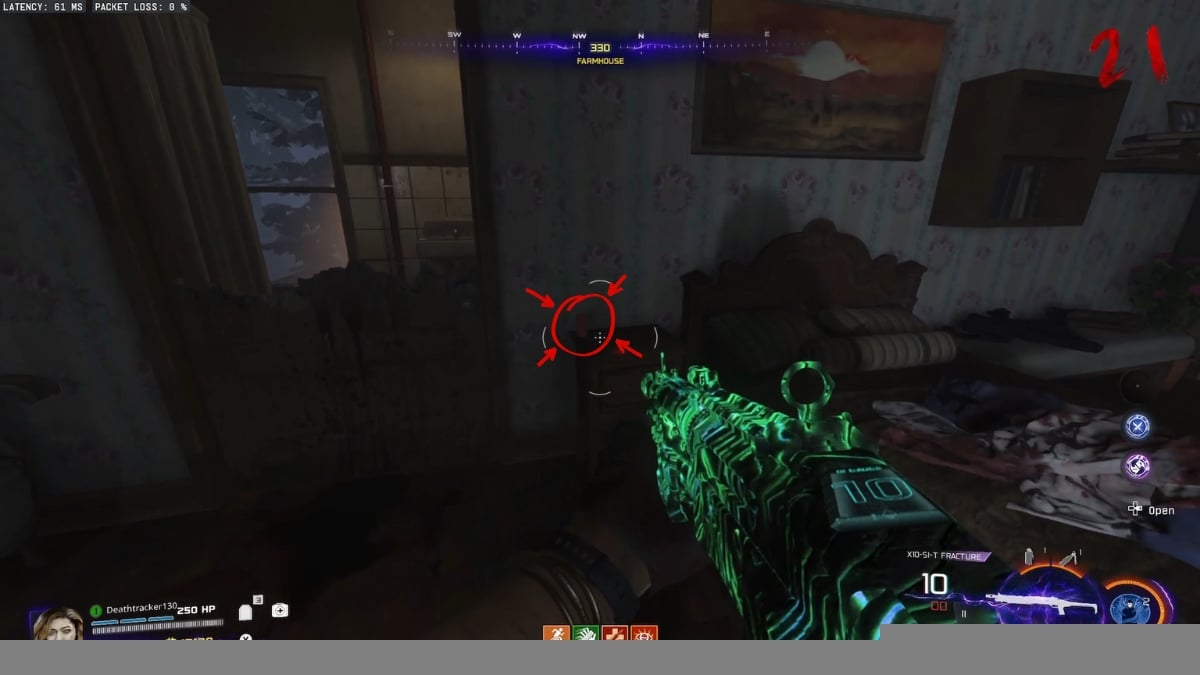
The first candle you find is in Ashwood near the Juggernog machine. You’ll find the second one in the Lost Cabins, which is on your left inside a hut as you leave Ashwood towards the Janus Tower Plaza. And the last candle is in Vandorn Farm, right in front of the Stamin-Up perk machine.
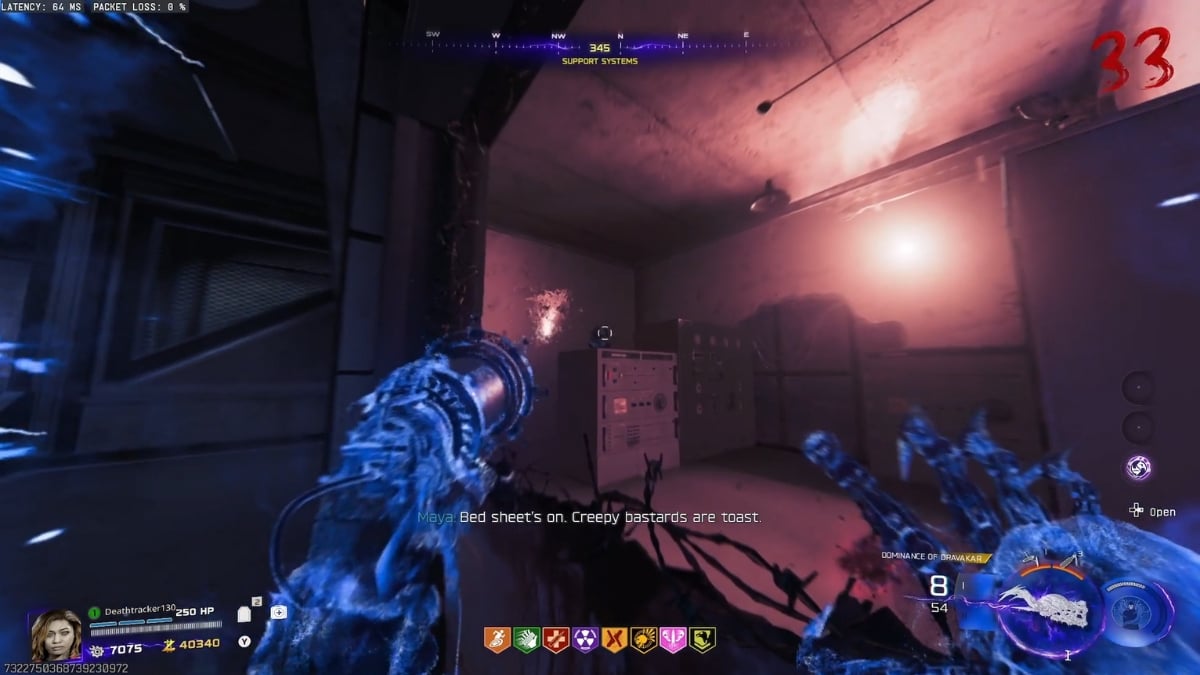
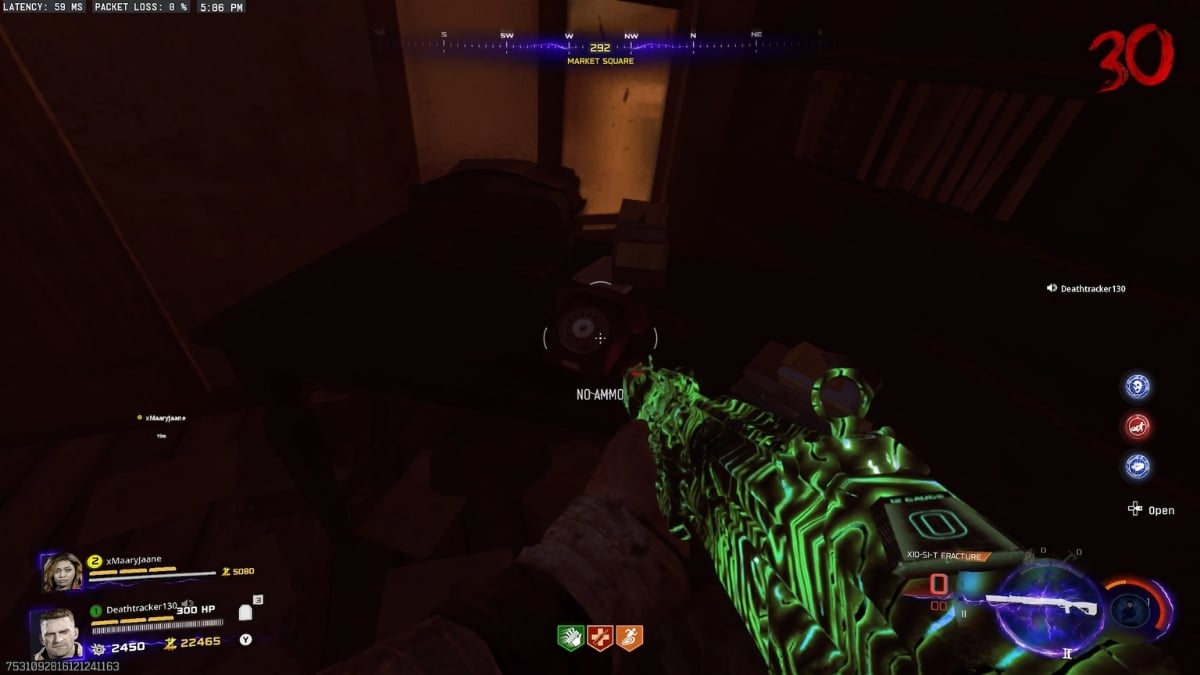
Once you hit all three with Molotov or Napalm Burst ammo mod, a portal appears on the side of the Barn in the farm, and you can interact with it to start the Trial. Remember to bring in your best guns, Pack-A-Punch them to at least level 2, and if you’ve got a Ray Gun or Ray Gun MKII, then that’d be a lifesaver.

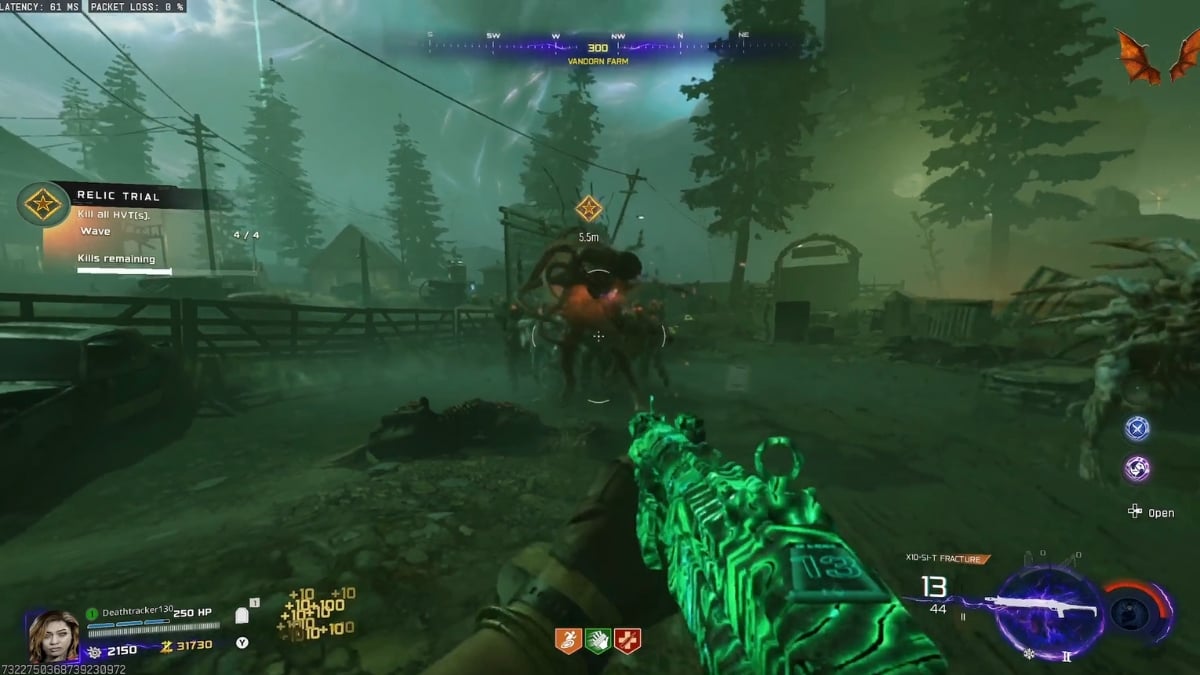
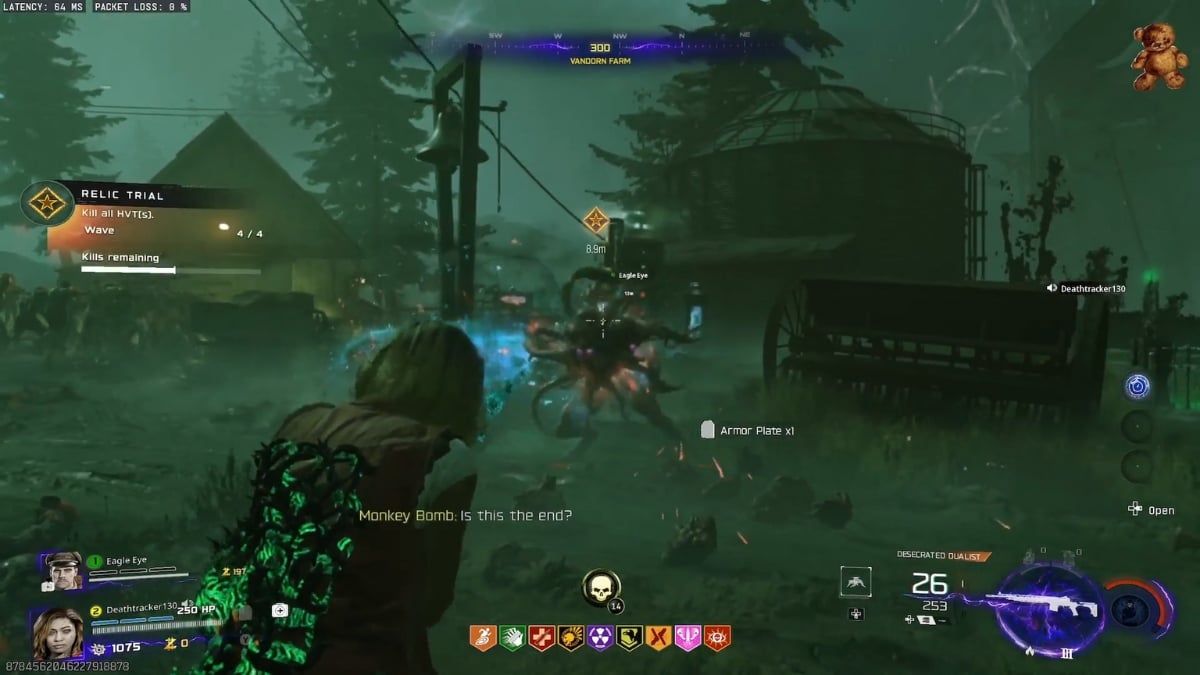
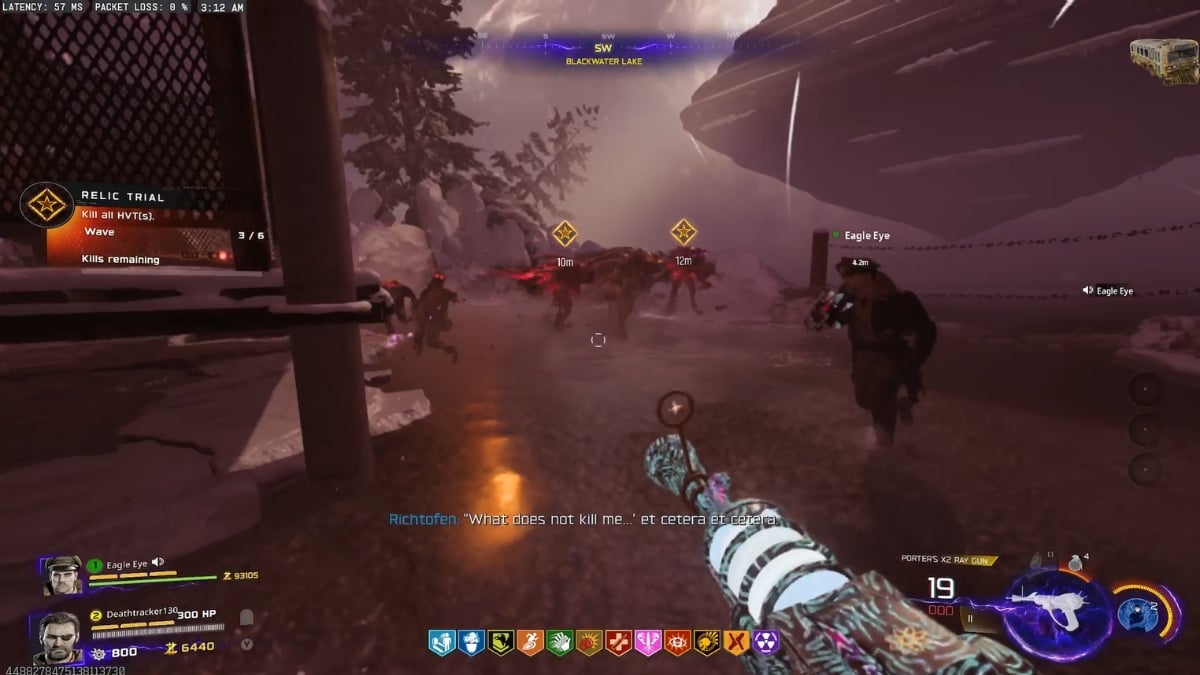
The Lawyer’s Pen Relic Trial in Black Ops 7 Zombies Ashes of the Damned has four waves. First, you clear out a bunch of mimics, then you’re tasked with killing an HVT mimic. Notice that you only have to focus fire on the HVT target during the second phase, as killing normal mimics just wastes your ammo.
The third wave is the same as the first one, but you need to kill even more mimics, and the last wave spawns 2 HVT targets to take down. Once again, focus fire on the HVT targets. Use monkey bombs or Aether Shroud to get close, and two mags of Ray Gun PAP 3 should be enough.
How To Unlock Dragon Wings Relic In Ashes of the Damned Zombies
The second Relic is the easiest to find. It’s the Dragon Wings, and to activate its Trial, you need to use the jump pad in Farm to Janus Towers, and then shoot three purple targets while in the air. Use a gun that shoots regular bullets to make it easier, and then head back to the farm to start the trial.

The portal will be on the side of the house near the basement stairs, and once you interact with it, the challenge begins. Once again, 4 waves of the undead, but this time you’re facing zombies and doppelghasts.
You’ll notice that almost every kill you get spawns a power-up, and if you get them, half of your HP drains out. Be very careful not to pick a single power-up, and focus fire on the HVT targets in waves 2 and 4.
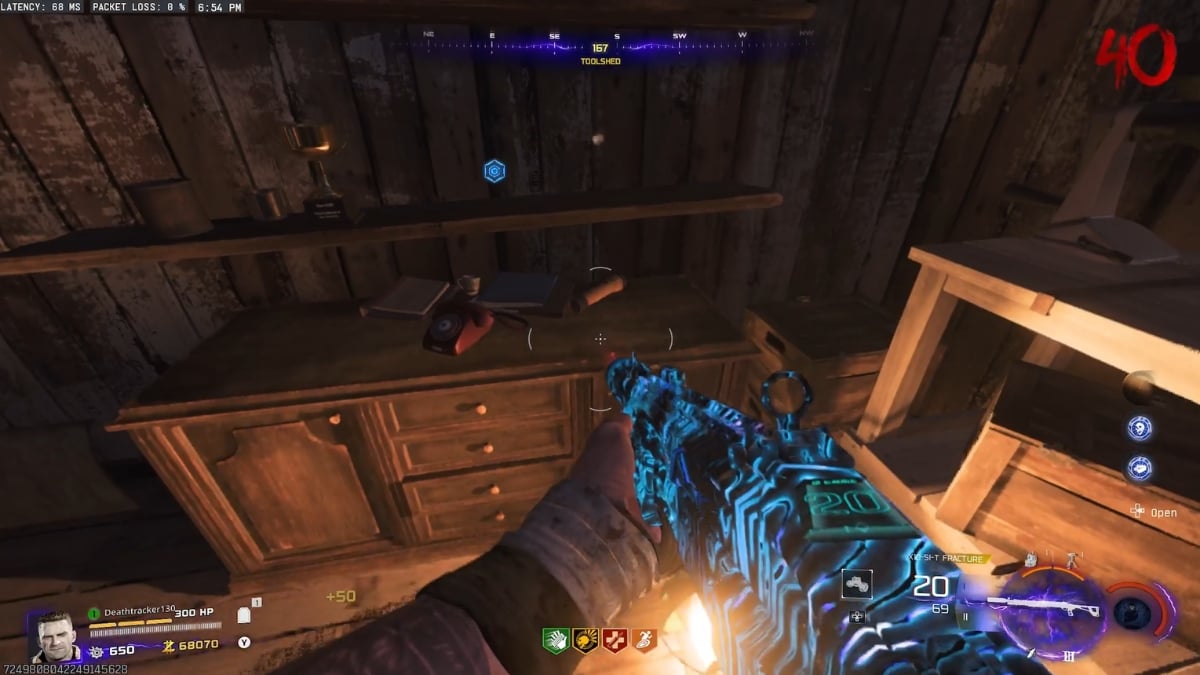
How To Unlock Teddy Bear Relic In Ashes of the Damned
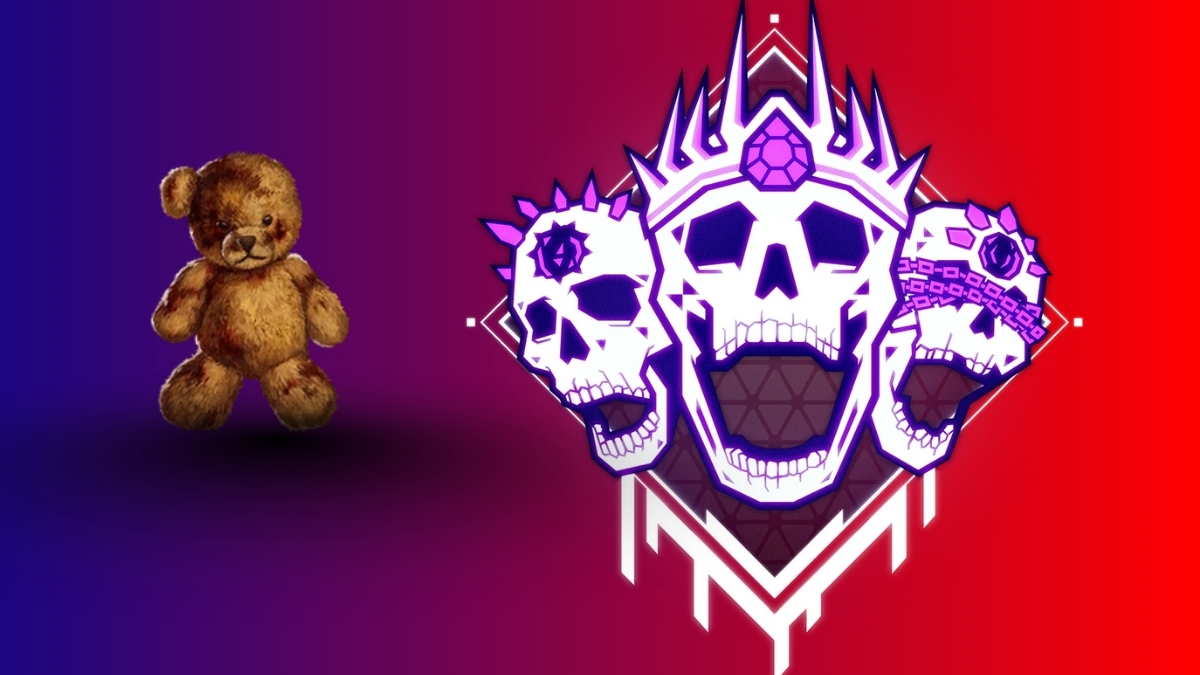
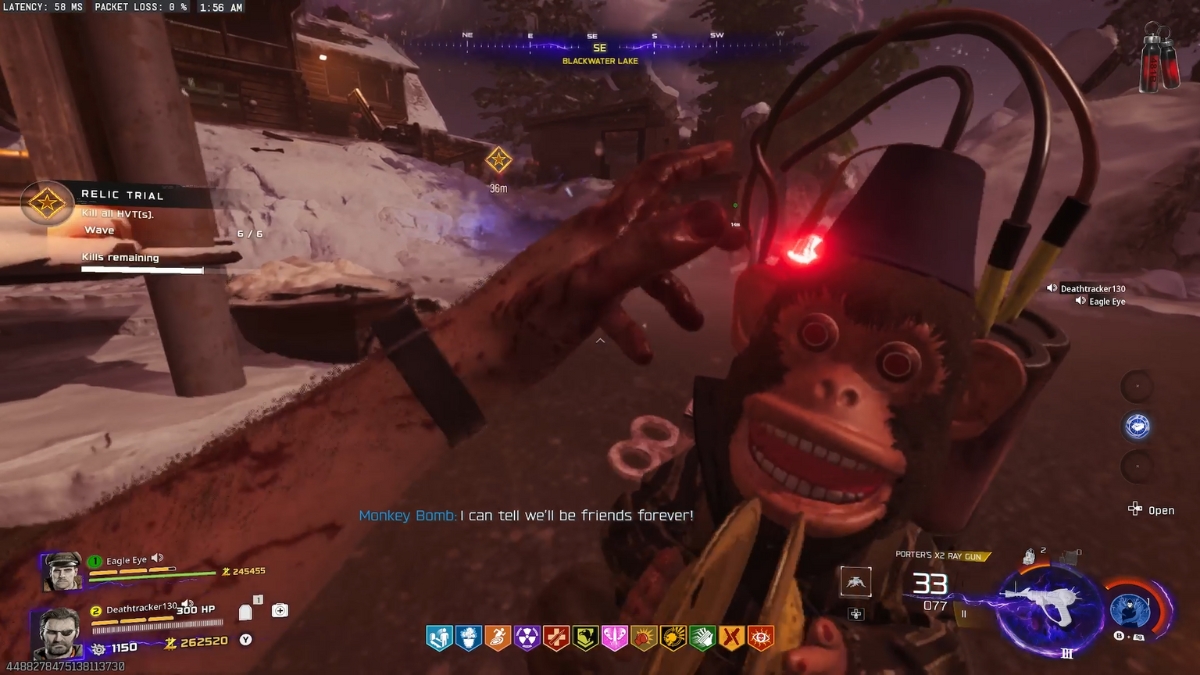
The third Relic is the hardest as expected, and the path to activate its trial is also a huge pain in the neck. To obtain the Teddy Bear Relic, you need to find 10 Mr Peeks dolls, and to make matters worse, you can only grab them with the Necrofluid Gauntlet and while in Aether Shroud.

I suggest you bring in the Power Keg and Arsenal Accelerator Gobblegums for faster field upgrade recharge, and start the quest on a fresh run if you’ve finished obtaining the first two Relics on round 30 onwards.
Now, let the Peeks hunt begin. Once again, there’s no order to which doll you grab first, and the Teddy Bear Trial only starts after round 20. So level up your guns, be ready, and grab the first Mr Peeks doll from the top of the Janus Tower Plaza gate to Blackwater Lake by shooting it with the gauntlet and reloading.
You’ll obtain the second Mr Peeks sitting on a toilet on the second floor of the house in Blackwater Lake near Speed Cola. The third is on your left, on top of a cabin as you head toward Ashwood.
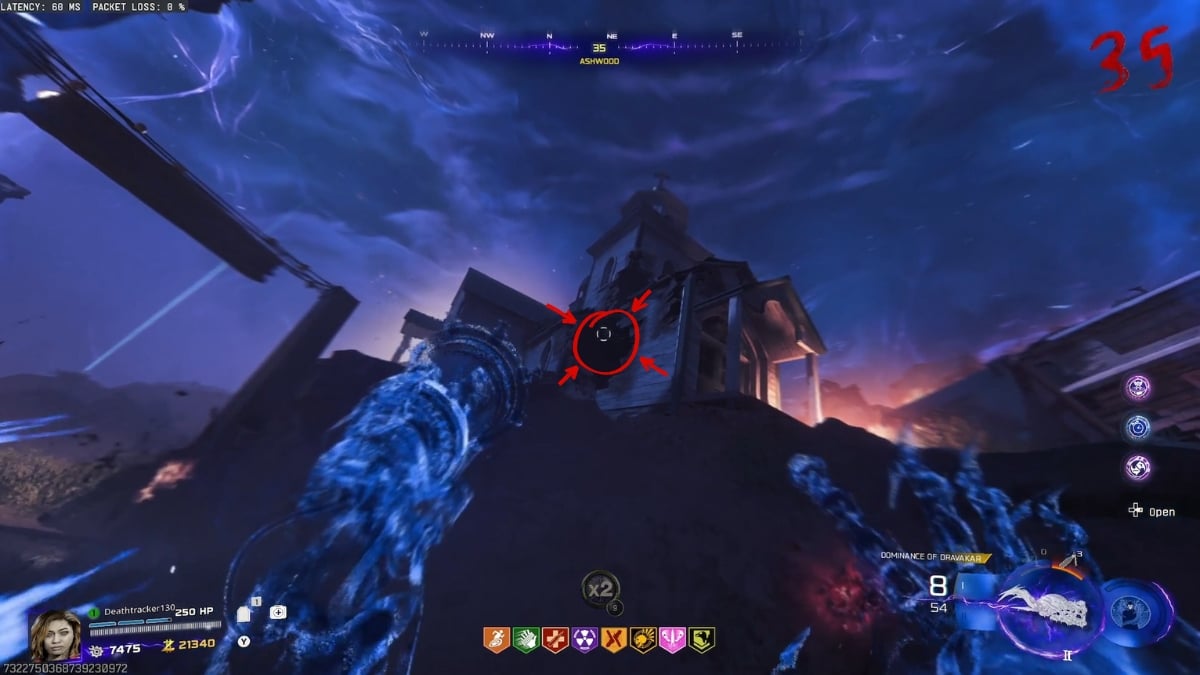
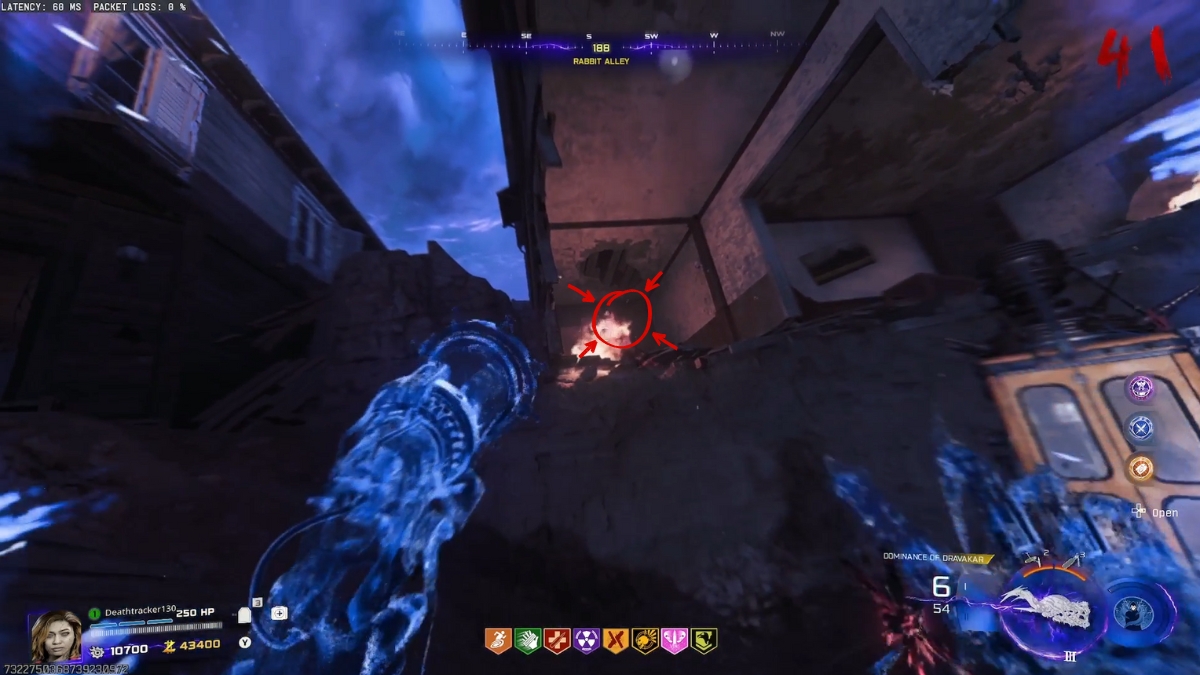
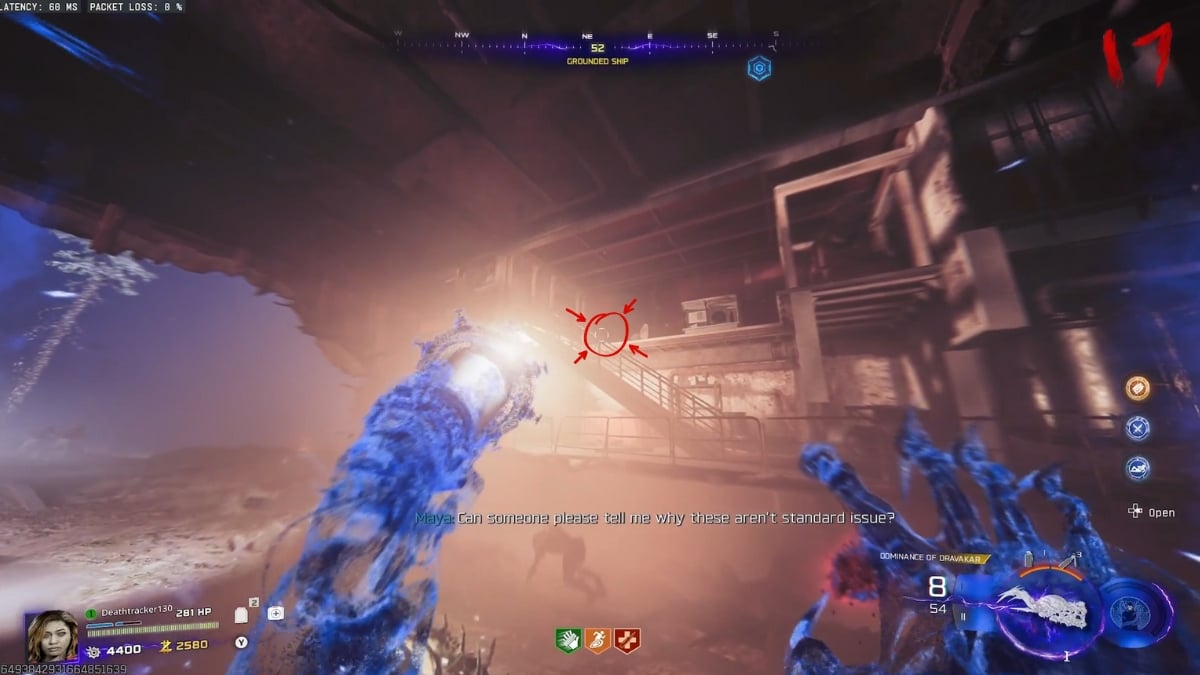
In Ashwood, you’ll find a Mr Peeks doll inside the crack in the Church’s walls. The second one here is near the Jug machine right outside; on the right side of the jump pad, there’s a burning room, and you can snatch the next Mr Peeks from here. Just remember to shoot exactly where I’ve targeted. I wasted so many gums on this one.
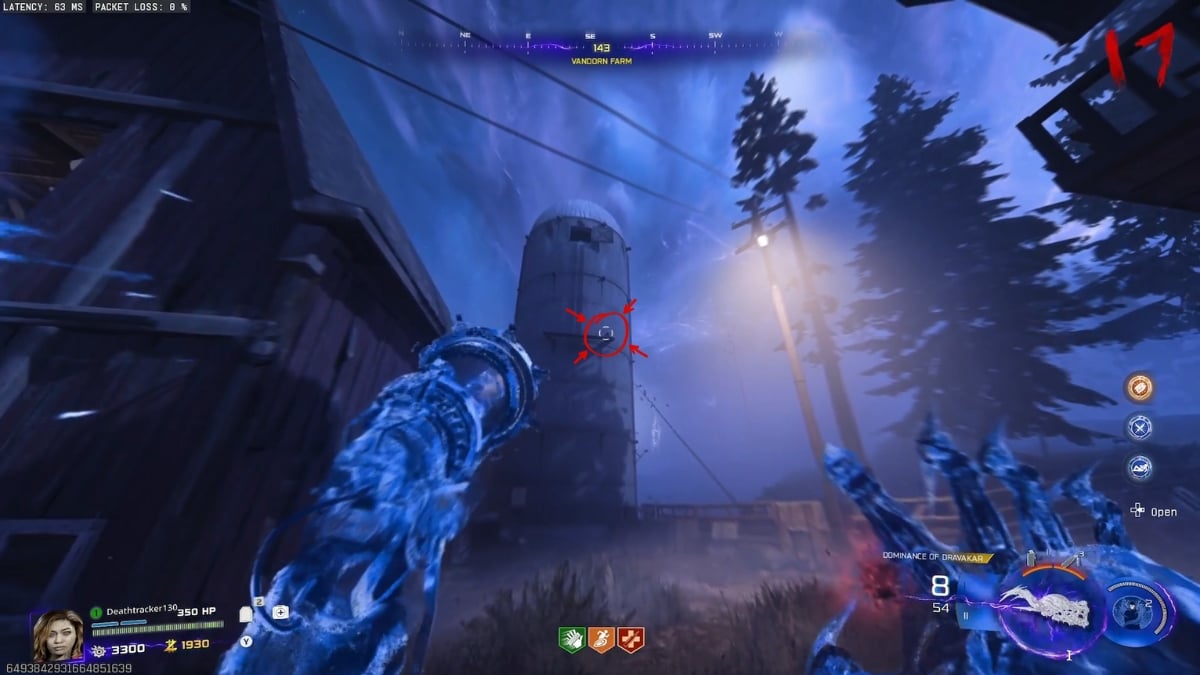
Next, head to Vandorn Farm, and you’ll find Mr Peeks sitting on the water source right here.

Now, head to Zarya Cosmodrome. There are two Mr Peeks dolls to find here, which you can grab in a single run of Aether Shroud. One on top of the electric pole and the other inside the room on the left side of the Crafting Table.
Now, for the last two items, head to Exit 115, look up to the highway signs, and you’ll find Mr Peeks sitting on the top left. The last one’s under the ship as you head toward Farm from Ashwood.
With all items in hand, it’s time to head to the Vandorn Farm, and you’ll find the Trial portal on the side of the Mystery Box cabin. Remember to spend all your money on anything you need here and buy all the ammo you need. This trial makes you lose 100 Essence per shot.
Same drill as the last two, you clear a wave of zombies and an HVT target, and do the same on rounds three and four with two more HVT targets. You can use the Necrofluid Gauntlet and Aether Shroud to make the ammo issue and the HVT hunt a lot easier, but it might take some time to complete.
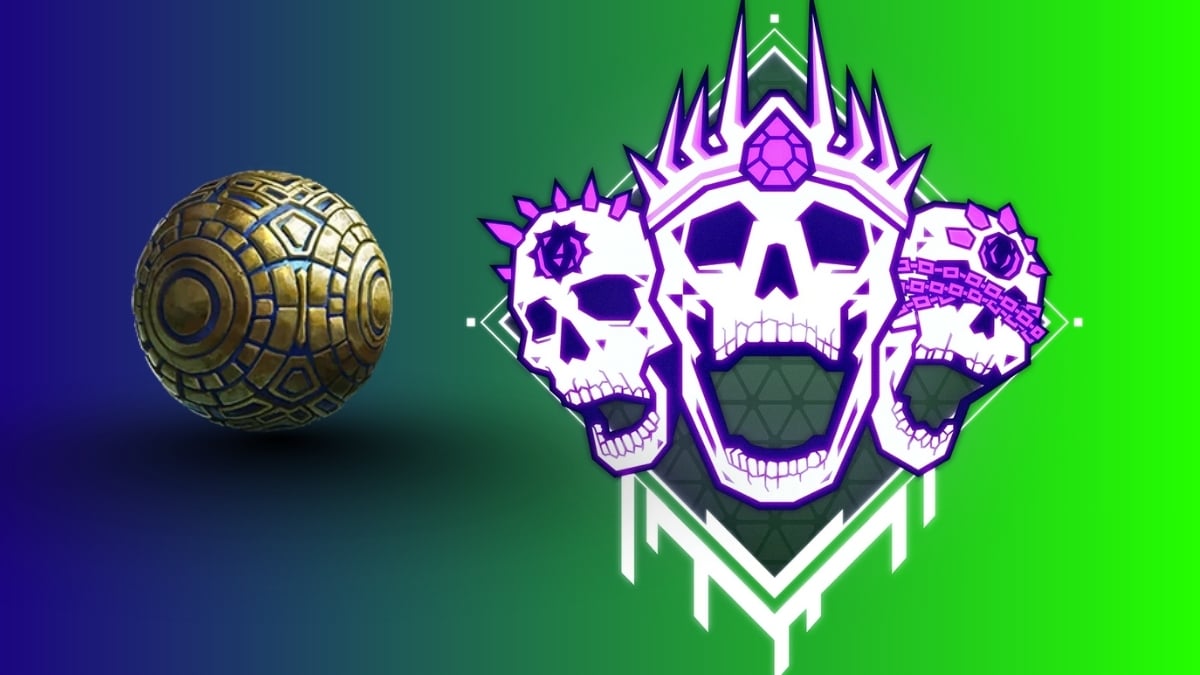
How To Unlock Ultra Weapon Rarity In Ashes of the Damned Zombies – Tier 2 Relics Guide
Once you’ve got all three Tier 1 Relics, it’s time to activate them and start a new round to hunt more. As of right now, only two of the Sinister Tier 2 Relics have been found by the community, and the two are enough to unlock the Ultra weapon rarity in Black Ops 7 Zombies, Ashes of the Damned.
How To Unlock Vril Sphere Relic In Ashes of the Damned Zombies
The Vril Sphere is one of the easiest to unlock. All you have to do is wait until round 40, which is easier said than done, and then escort a doppelghast to the launch pads.
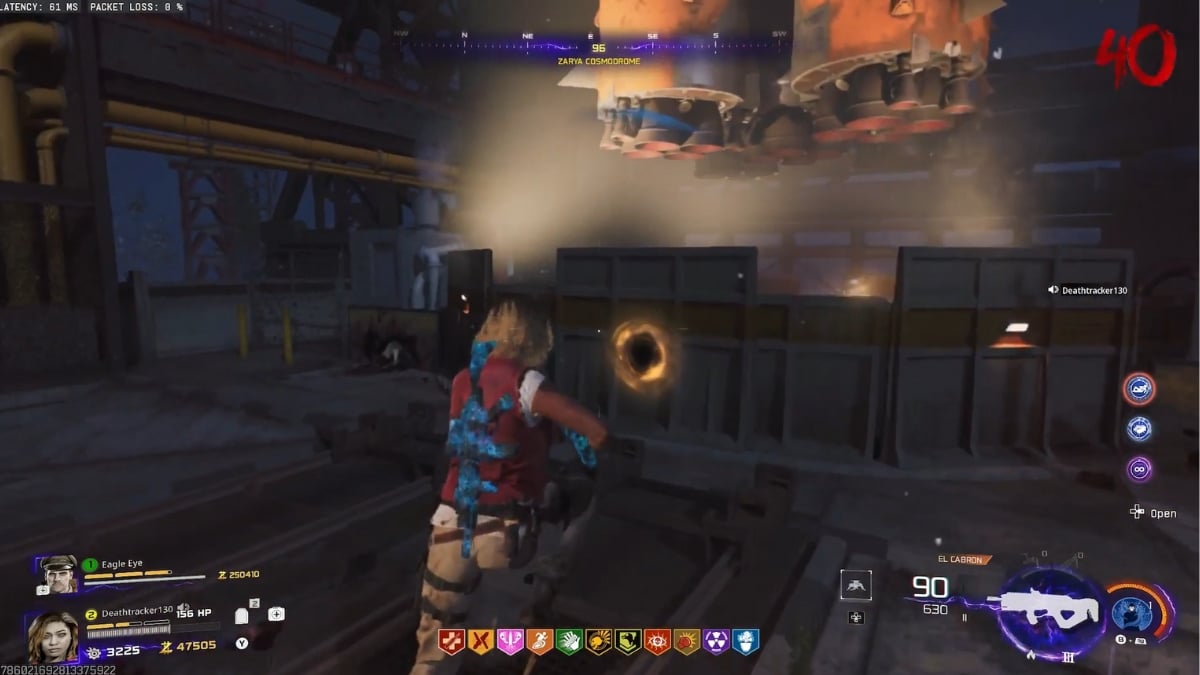
Yes, that might sound a bit weird, but you need to make the doppelghast follow you, and then jump with launch pads until it’s dead in the air. You’ll hear a Mr Peeks laugh, confirming that you’re ready for the trial, which takes place in Zarya Cosmodrome.
Now, be prepared before starting the Vril Sphere trial, as you’ll face five waves of zombies and elite doppelghasts. You won’t be able to purchase anything, meaning that the Cache Back Gobbelgums for getting Max Ammo is a must, and you need to have Aether Shroud and Monkey Bombs to focus fire on the HVTs. Kill Joy Gobbelgum is also a super helpful challenge, so make sure you have that one as well.
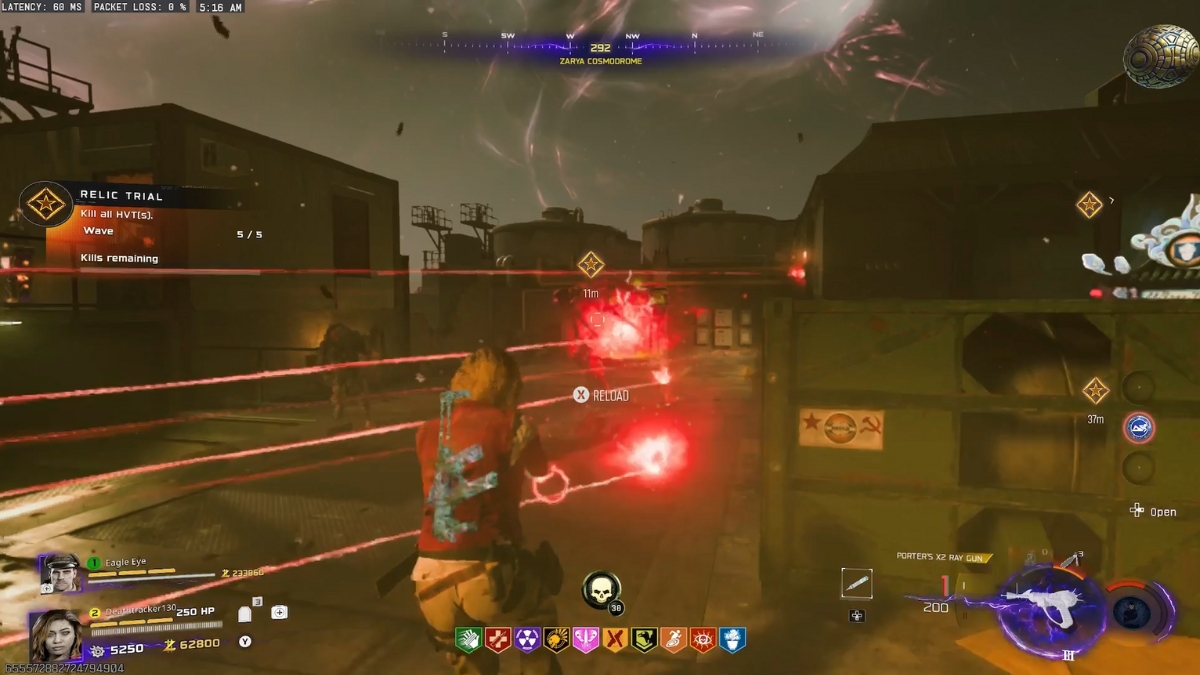
Once you’re ready, head to Zarya and interact with the portal that’s near the rocket. Wave one is just zombies, easy peasy. The second wave spawns two HVT targets. Waves three and four are clearing zombies, and the final wave spawns four HVT targets. Once you kill them all, the Vril Sphere Tier 2 Relic of Ashes of the Damned is unlocked.
How To Unlock Focusing Stone Relic In Ashes of the Damned Zombies
We’re looking for two bottles for unlocking the Focusing Stone trial. First, you must be on round 40+, and then you need to kill a Zursa bear with your bare hands. Well, that’s impossible — I’m kidding — you need to do so with a knife. That’s also impossible, though.
The trick is to weaken a Zursa bear with your Ray Gun, or whatever good weapon you’ve got, and then slash it while in Aether Shroud. The bear drops a bottle. Pick that item, and we can head for the next one.
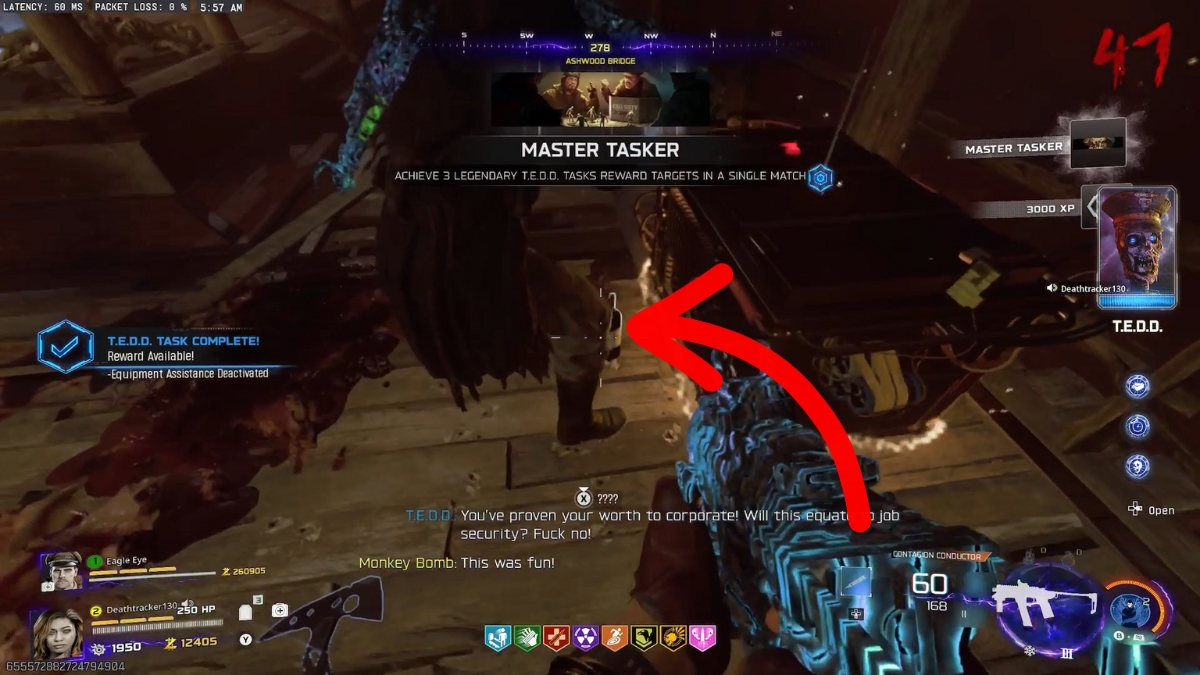
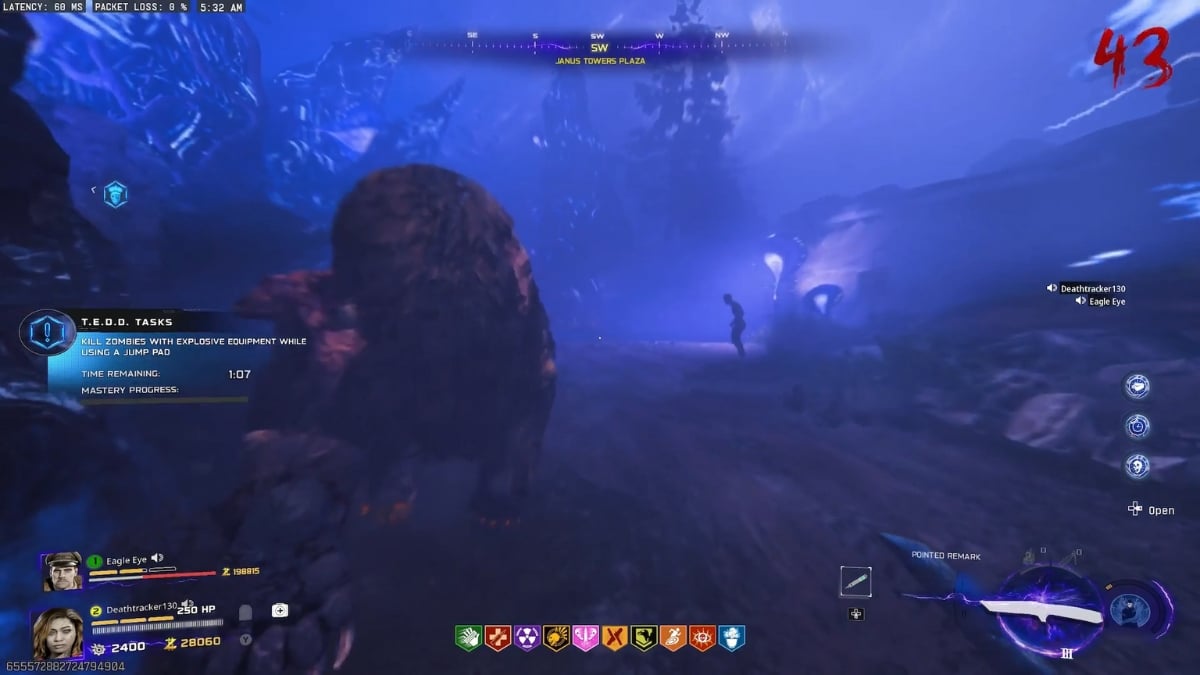
Once again, on round 40+, wait until a TEDD Trial is available on the map. Activate once ready, and beat it to the legendary rarity reward. If done correctly, the reward box will drop another bottle that you need to take to the Blackwater Lake.
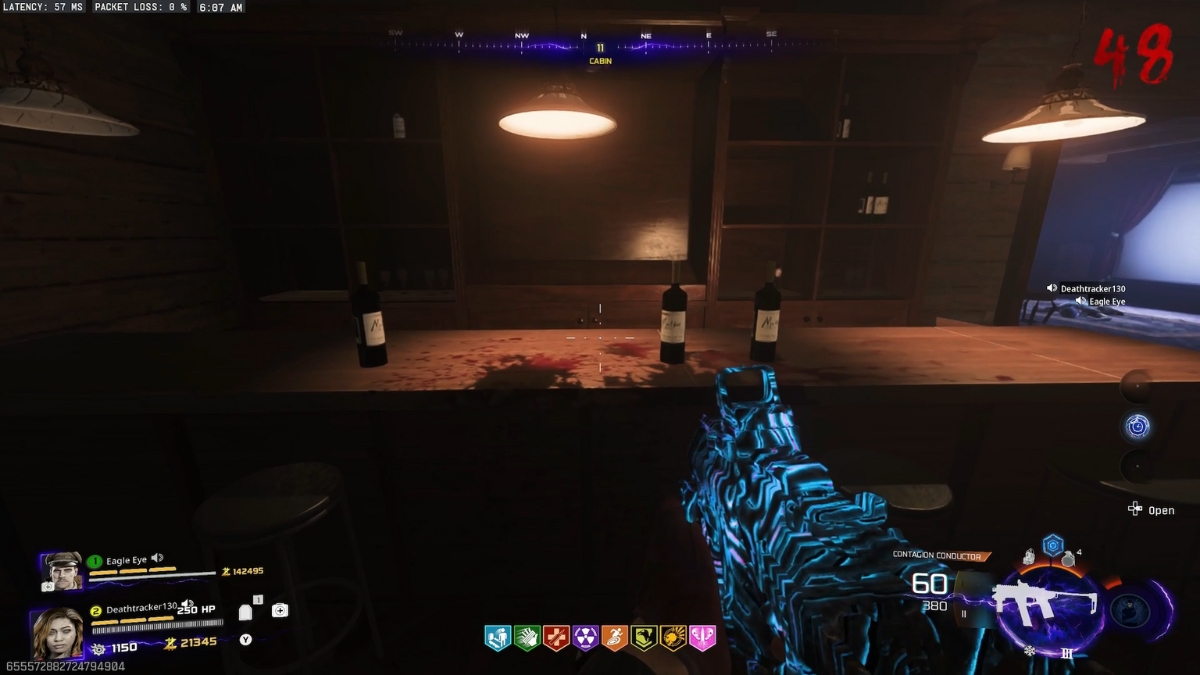
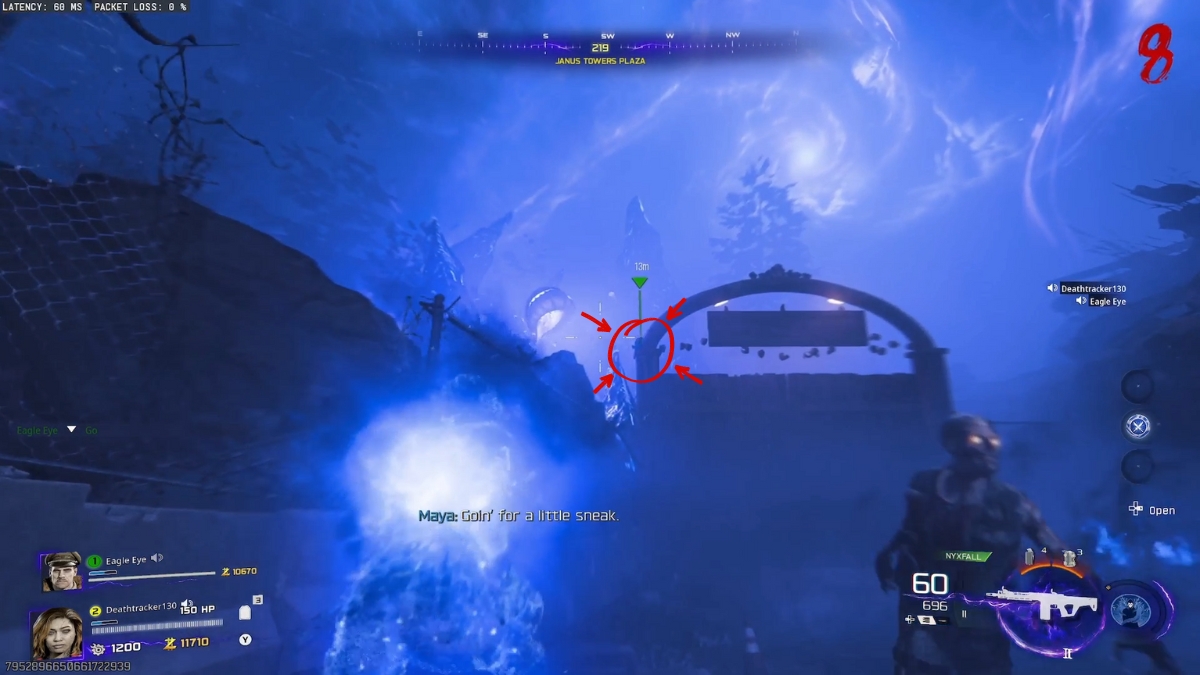
Inside the cabin in Blackwater, you’ll find three bottles. Pressing the interact button will place the other two you’ve got in between, and a puzzle plays. Focus on the pattern of how the bottles break, and shoot them in the exact same order once it’s your turn to try. This would activate another Tier 2 Trial on Zarya Cosmodrome.

Under the rocket, you can activate the trial. Make sure you’ve got all the resources you need because you can’t buy anything in this trial at all. Cache Back, Kill Joy, and Aether Shroud are your best friends here. The Focusing Stone challenge itself is just like the one with Viral Sphere, which shouldn’t be that hard to beat if you’re in with the right gear and gums.
How To Unlock Pack-A-Punch Level 4 In Ashes of the Damned Black Ops 7 Zombies
Unlike what I had thought, the Tier 3 Relic trials are easy to unlock, but their challenges are almost impossible to beat. It’s going to consume hours and hours of your life, and if you encounter a “disconnected from server” as I did, well, you’re free to throw the controller out the window.
How To Unlock Blood Vials Relic In Ashes of the Damned Zombies
To unlock the Blood Vials Relic in Ashes of the Damned Black Ops 7 Zombies, all you need to do is check every POI across the map on rounds 20, 30, 40, 50, and 60. There are five red telephones that you need to find on each of these rounds, which are actually easy to spot since they have an audio queue that’s loud enough to read their direction and exact location.

Once you’ve got all five, in round 60 onwards, head to the Blackwater Lake and interact with the portal inside the main cabin. The challenge of the Blood Vials Relic trial is to survive six waves while your gun’s damage is nerfed by 50%. Super hard, but remember that you can always use the Kill Joy Gobblegum and mix it with Temporal Gift for the best effect.
Waves three and six are when you’ll be fighting the HVT targets, and I highly recommend you use your Gobblegums, Aether Shroud, Monkey Bombs, and Kazimir Grenades on those rounds.
How To Unlock Bus Relic In Ashes of the Damned Zombies
To unlock the Bus Relic, you need to kill zombies and hard-to-kill HVT targets with Zombies. Nothing wrong, it’s just going to take forever to complete this task. Unlocking the trial is easy; however, all you need to do is chew a Timeout Gobblegum on round 60 onwards, or use a SAW Blade trap in the Ravagers round. You need to complete a round without taking a single hit.
Make sure you research the Brain Rot ammo mod to 100% so that you can run four augments on it. Caustic Fume major augment and Haste, alongside Super Serum minor augments, are the best to run for the Brain Rot ammo mod, but once again, it’s so time-consuming to complete this trial. So it’s only natural if the progress is going slowly.
I ran into a problem with my game where my gun didn’t turn a single zombie in our game, so it was super frustrating to know that I had to grind 60 levels and play for five hours straight, only to die because the game has bugs. Good luck, really.
How To Unlock Dragon Relic In Ashes of the Damned Zombies

Unlocking the trial for the Dragon Relic in Ashes of the Damned Cursed mode is absolutely brutal, as you’ll have to beat the boss on round 60 onwards, and then fight waves of zombies and HVT targets. The challenge? Only explosive damage will kill zombies.
The good thing is that you can kill the undead using the normal Ray Gun and the Necrofluid Gauntlet’s charge shots. So once again, it’s just going to take some time, but it’s not as hard as the Bus Relic whatsoever.


