
Some may call it a wild goose chase, others may call it overkill, I call it “Finally a secret quest we can all pursue as a community.” The Barrow-Dyad SMG is up for grabs, but to do so, you need to complete the Taken Path Exotic Quest in Destiny 2. While we’ve already covered the steps to start it, we’ll now focus on how to complete this long mission and get you closer to obtaining this weapon. It may have a weird shape, but once you add you add it to your collection, you’ll be thankful you did the puzzle-solving and Taken-fighting.
Complete Taken Path Exotic Quest Guide
The actual quest will start once you apply the Scotopic Rune at Eris’ Apartment, this will unlock the Taken Path Exotic Quest, which will officially begin the grind. After that, you’ll need to prepare for some fights, more puzzles, and item-collecting shenanigans. But if you know where to go, this shouldn’t take too long. Here are the complete steps:
- If you follow the steps from our previous guide on how to start this mission, you need to apply the Scotopic Rune. This is a Rune Enhancement you get at the Shaping Slab. Apply it, and you’re ready to go.
- Head to Sorrow’s Harbor. You’ll need to find a hidden item here. The exact location is in the Lost Sector of Sorrow’s Harbor. Here, you’ll find another Blight with one of the plates you saw in the previous quest. Step on it, and you’ll get a whisper (at the left side of your screen). Move in the direction the whisper indicates you to.
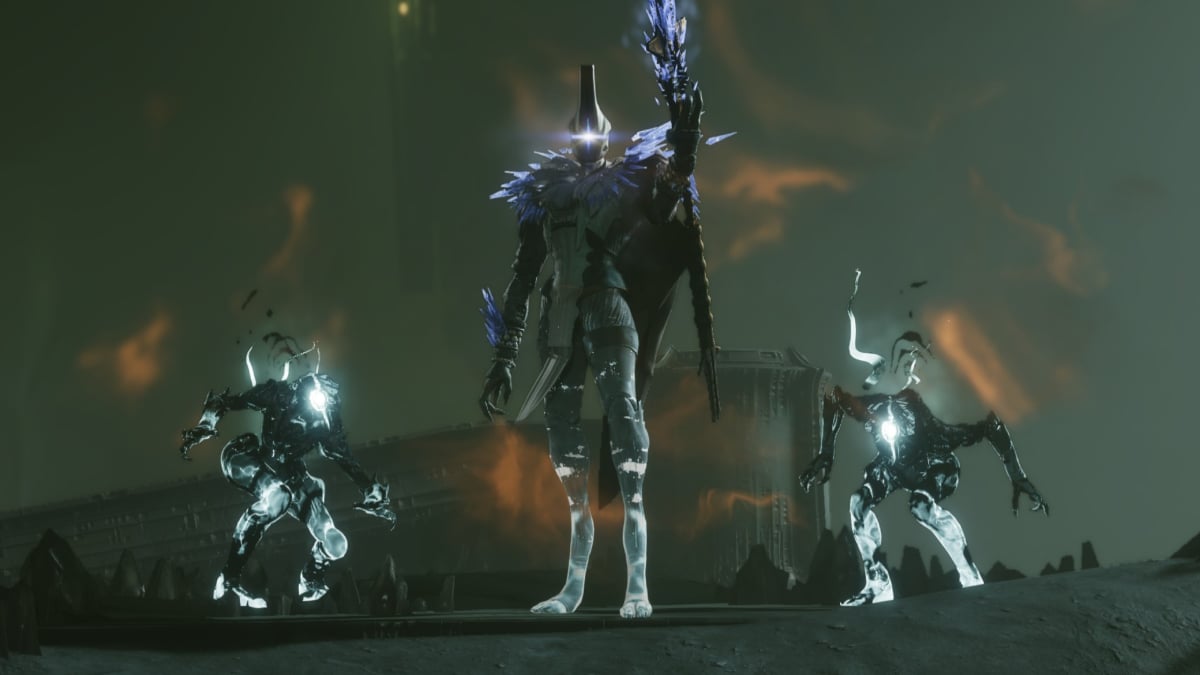
- You’ll get teleported, and the area will become full of Taken enemies. Defeat all of them. You’ll get an Osseous fragment.
- After that, head to the Forgotten Shore, which is where you’ll need to find another fragment. The exact location you need to visit is the Veles Labyrinth.
- Inside this area, look for another plate, step on it, and wait for the whisper. Move in the direction that the whisper indicates you to.
- Defeat the Taken that spawn and grab the Osseous fragment.
- Return to the Shaping Slab, and you’ll grab three legendary quests.
- For the first one, head to Sorrow’s Harbor and grab the relic. Kill enemies until you fully charge the relic. Return it to where you picked it from.
- For the second quest, head to Hallowed Grove and find the relic. Once you pick up the relic, you must defeat Vendraxis, Shadow of Oryx, before the timer runs out.
- For the last quest, you must complete Nightmare Hunt: Pride. During the final boss fight, grab the Taken relic and equip it to defeat the boss.
- To wrap this up, you’ll need to do some statue-hunting inside the Dreadnaught. You need to get three new fragments, but the location may vary depending on the player. The important thing to look for is a statue that has the “Call to Power” prompt.
- With all three fragments, you can unlock the next Exotic Mission.
While you get the “Derealize” exotic quest after completing the Taken Path, we’ll talk about that mission in a separate guide. For now, you can follow the above steps to get closer to the Barrow-Dyad SMG. Trust us, it won’t take long for you to get it after this.


