
The final battle in Monster Hunter Stories 3: Twisted Reflection is a long, multi-stage encounter against the terrifying Elder Dragon Aenshin. You will face this titan several times throughout the story, each fight revealing new mechanics and raising the stakes of the Crystal Encroachment phenomenon. Below is a full breakdown of every encounter and the best strategies to defeat each phase of the final boss.
Major spoilers ahead. If you want to experience the story — and fight — blind, stop reading now!
Part 1 – ‘Homecoming’
You first face Aenshin midway through the story when it suddenly crashes the second peace talk between Azuria and Vermeil. This fight is a scripted loss, so don’t worry about winning. Your only real objective is to break its Wyvernsoul Gauge and survive until the cutscene triggers.
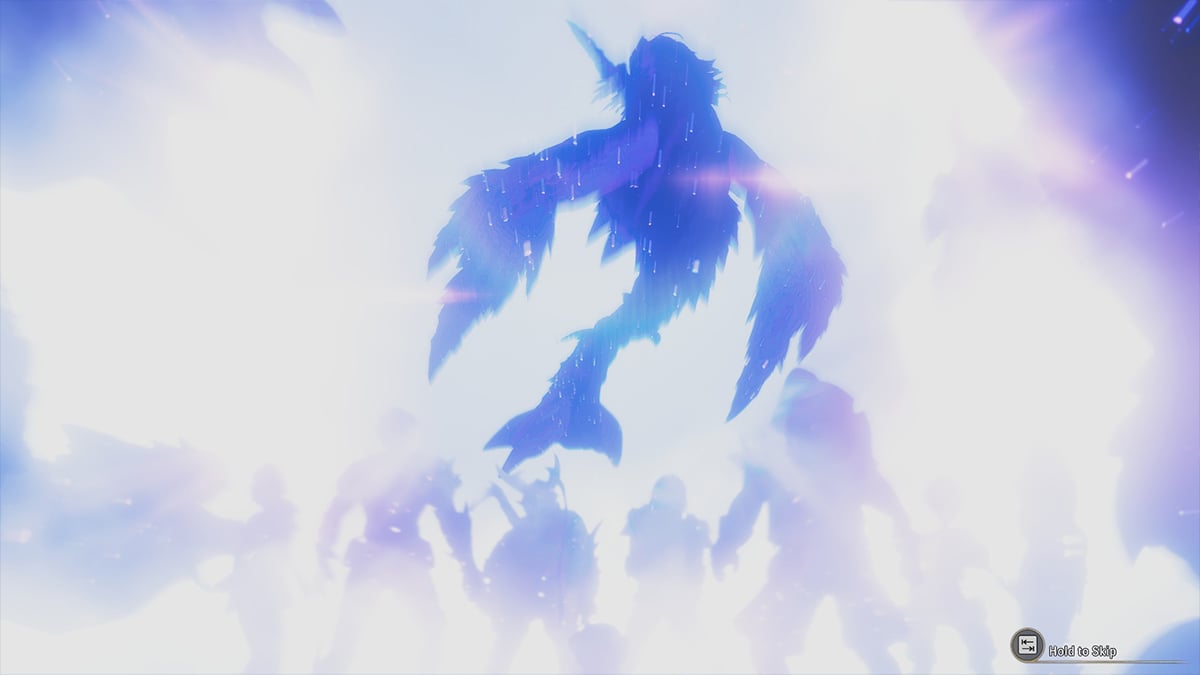
Bring your strongest Fire or Dragon weapons and Monsties, then keep attacking whenever possible. Eventually, your party will be overwhelmed, and a cutscene will play to demonstrate just how powerful this Elder Dragon truly is.
Part 2 – ‘Echoes of Life’
| Blightstone Protection | Blightstone Unleashed | Exposed | |
|---|---|---|---|
| Move | Technical | Power | Power |
| Weak Against (Element) | Fire x2 Dragon x2 | Raw x2 Fire x1 Dragon x1 | Raw x2 Fire x1 Dragon x1 |
| Weak Against (Status) | Poison x2 Darkness x2 | All x1 | All x1 |
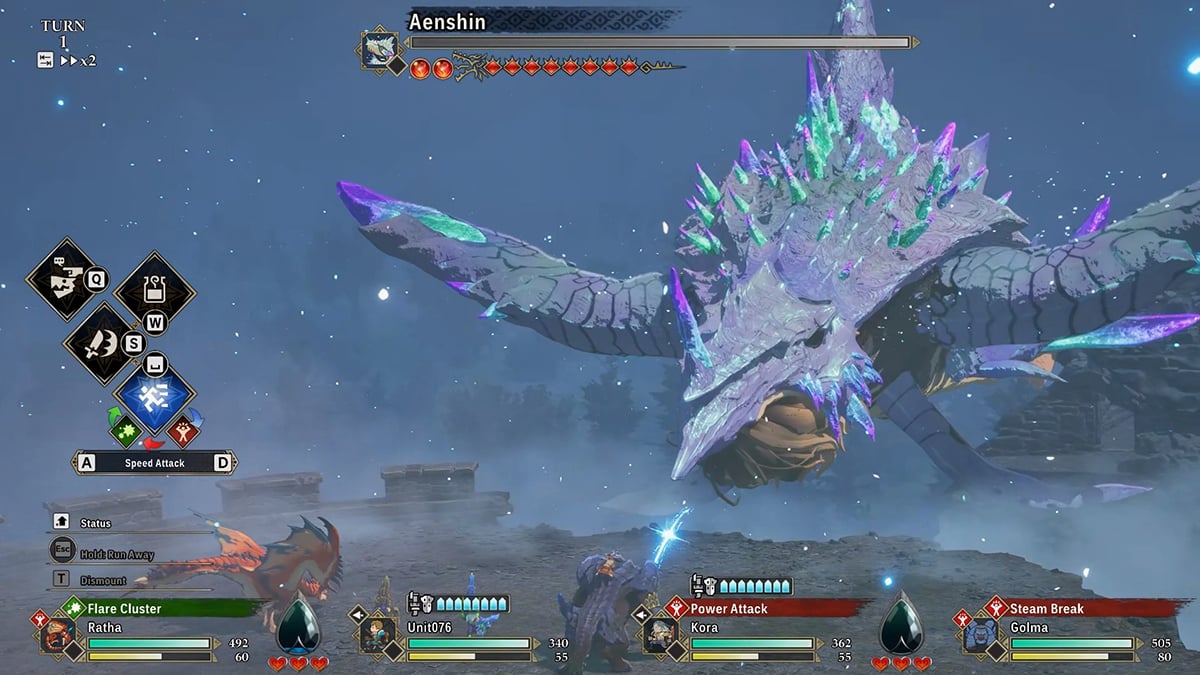
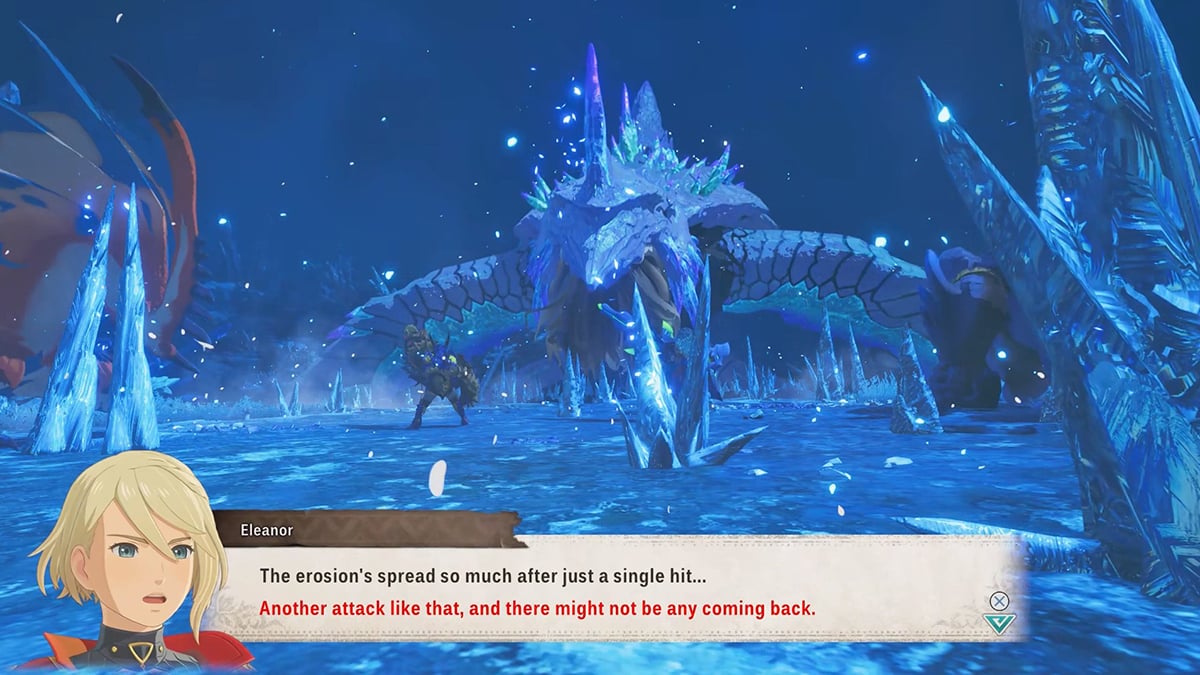
You will face Aenshin again in Sacrosanctum after it detects a large amount of Battle-Bound Monsters’ energy. Once again, the monster is rampaging, and it’s up to the Prince and the Rangers to stop it.
This time, however, the fight is real — you can actually damage it. Your main goal here is to destroy the Blightstone Shell. Breaking it will stun Aenshin and expose its weak point, allowing you to deal massive damage.
Recommended Party Members:
- Kora: Highly recommended thanks to her decent Dragon resistance. Her abilities, like Shielding Stance and Taunt, also help redirect Aenshin’s dangerous single-target attacks and Backlashes.
- Eleanor: A solid alternative thanks to her Fire-type Monsties and supportive role despite her weakness to Dragon.
- Gaul: Especially useful if you completed his Side Stories already and unlocked his secondary Monstie, Sereg.
Aenshin is weak to Fire, making Ratha an excellent Monstie choice for this fight. Either way, abuse Double Attacks as Aenshin’s attack is predictable. It often uses Technical attacks as it rarely changes state except when Exposed.
However, watch out for two particularly dangerous moves:
- Blightflash Expurgation area-of-effect.
- Blightgale Expurgation single-target attack.
They don’t just deal a dangerous amount of damage, but also cause the Petrification debuff. This status prevents stamina regeneration and instantly costs one Heart if applied again. If left untreated, it can quickly spell the end of the fight.
The only way to cure it is through riding a Monstie. So focus on building up Kinship Gauge — both for a heal and Kinship Attacks that both damage and take a turn off of the monster. If Aenshin isn’t aiming at anyone in particular, it might be planning to do a party-wide move; use a Kinship Attack just to be safe.
Monster Hunter Stories 3 Final Boss Aenshin – ‘To the Final Battle’
Phase 1 – Rangers Reunite

Aenshin’s Weaknesses (Level 70)
| Blightstone Protection | Blightstone Unleashed | Exposed | |
|---|---|---|---|
| Move | Technical | Power | Power |
| Weak Against (Element) | Fire x2 Dragon x2 | Raw x2 Fire x1 Dragon x1 | Raw x2 Fire x1 Dragon x1 |
| Weak Against (Status) | Poison x2 Darkness x2 | All x1 | All x1 |
Blight Crystal Weaknesses (Level 70)
| Normal | |
|---|---|
| Move | Power |
| Weak Against (Element) | Water x2 Ice x2 Raw x1 |
| Weak Against (Ailment) | Resist all x2 |
As you can expect, you’re not done with this Elder Dragon. Together with Simon and Ratha V, everything ends here.
The previous strategy still applies: build up Kinship Gauge and interrupt Aenshin’s area-of-effect attacks whenever possible. Aenshin still prefers using Technical attacks, so counter them with Power moves whenever possible. Doing so while riding Ratha helps charge your Kinship Gauge rapidly to Level 2. You will need the bonus Kinship meter later.
Although Simon is pretty proactive in supporting you and Ratha, don’t be careless. Make sure you stock up on important healing items like Vital Essences, Lifepowders, and Mega Potions at the very least. If you can, give Ratha a Dragon Resistance Gene as well.
We also suggest slotting Partbreaker and Elemental Breaker Decoration and part-damaging moves like Meteor Hammer. Kinship-boosting Genes like Soul Kinship, Critical Kinship, and Kinship Skill will also help maintain Ratha’s momentum throughout the whole fight.
After all, things get a tiny bit complicated as Aenshin now summons up to two Blight Crystals to help him fight. Unlike Aenshin itself, it’s not weak against Fire and Dragon — but Water and Ice instead. But don’t panic, your main focus should still be Aenshin itself whenever possible.
Use multi-targeting attacks like Great Sword’s True Wide Slash or Ratha’s Fire Cluster when Aenshin is not targeting you. If both of you are riding the Rathas, then use Double Kinship attacks to quickly dispatch the Blight Crystals. Destroying the Crystals also helps weaken Aenshin’s Shardshower Expurgation.
It shouldn’t take long until you deplete 1/5 of its health and break one of its cores. Every time it happens, a member of the Rangers will attack Aenshin, reducing its health and Wyvernsoul Gauge.
Phase 2 – Destroy the True Core
Once Aenshin drops to about one-third health and four of its cores are destroyed, the battle enters Phase 2. Don’t breathe easily yet — this is where things get trickier, as you only have 7 Turns to destroy the True Core! Otherwise, Aenshin will explode and poof, game over.
It’s important that you synchronize your and Simon’s Kinship Gauge. Once charged, unleash dual Ratha Double Kinship Attack to delay Aenshin’s turn. However, depleting its health and Wyvernsoul Gauge is not your main objective here — instead, look at True Core’s part health.
During this phase, you cannot manually trigger a topple and your objective is only to destroy the Core. With that in mind, wail it with part-breaking moves! Once the Core breaks, Eleanor and Angie join the battle and automatically trigger a topple.
At this point, Synchro Rush becomes a scripted win. Press Triangle/Y/Space, sit back, and enjoy the ending cutscene and the credits roll. Congratulations, you’ve beaten Monster Hunter Stories 3: Twisted Reflection! But don’t hang up your Rider’s gear just yet, more post-game adventures still await.


