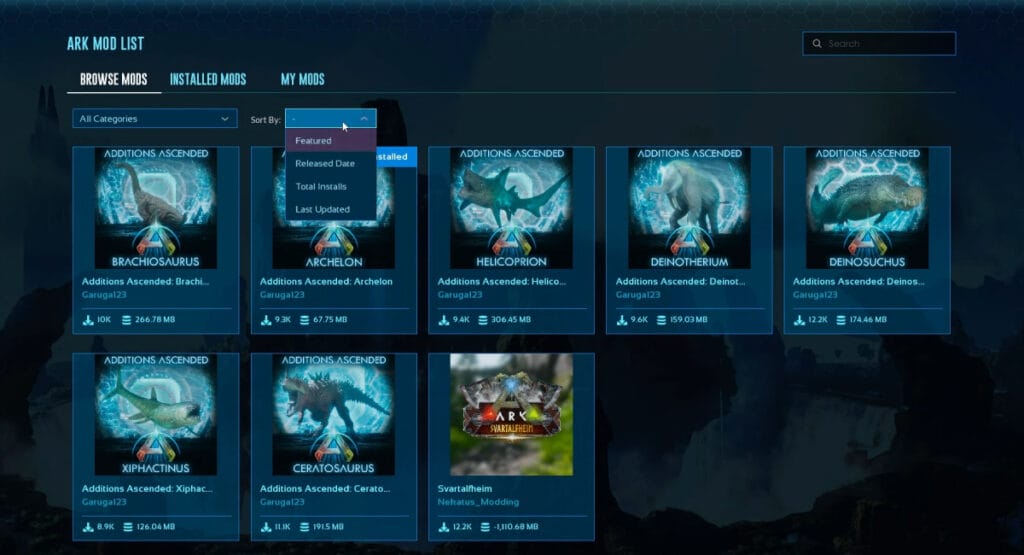
In the old game Ark Survival Evolved, to install mods for your game, you would first open Steam, then go to the Workshop, find the mod you want, and download it. However, with the release of Ark Survival Ascended, the process of installing mods has become easier and more convenient. Mod installation is now handled entirely from the game’s main menu.

The steps you need to follow to install mods in Ark Survival Ascended are as follows:
- Launch Ark Survival Ascended, and then click the Start button at the bottom center of the screen.
- Then navigate to the Mods List section.
- Once you find the mod you want, click on it, and select Install at the top right.
- Once the mod has been downloaded, return back and select Create or Resume Game.
- Select Mod Settings from the options above, and click Available Mods.
- Then click on the mod you want to use and click the Activate Mod button below.
- Now you know how to install mods in Ark Survival Ascended. You can start your game now and start playing.
If you want to add mods to a save you are currently playing, you need to wipe wild creatures for your mods to work. To do this, open the console and use the “destroywilddinos” command. This command will kill all wild creatures, and new ones will spawn at the same time as the creatures you added with the mods.


