Though Fortnite is free to play, many wind up with a vault full of pricy cosmetics. Whether you’ve earned your wardrobe by completing missions or paid for them the old-fashioned way, the last thing you’ll want is someone stealing your account and your collection. Even if you don’t care about skins, someone seizing your account is never good. Two-factor authentication (2FA) helps you keep your account secure and your Marvel cosmetics where they’re supposed to be. Here’s how to enable two-factor authentication in Fortnite.
Fortnite Two-Factor Authentication Guide
(Updated on September 5, 2024 – updated intro, images, links, and instructions)

2FA adds an extra layer of security in addition to your username and password, helping keep your Fortnite account secure. You’ll first need to log in to your Fortnite account and verify your email address if you haven’t already. Here’s what you need to do next:
- Click on your account name at the top-right corner of the screen and click on Account.
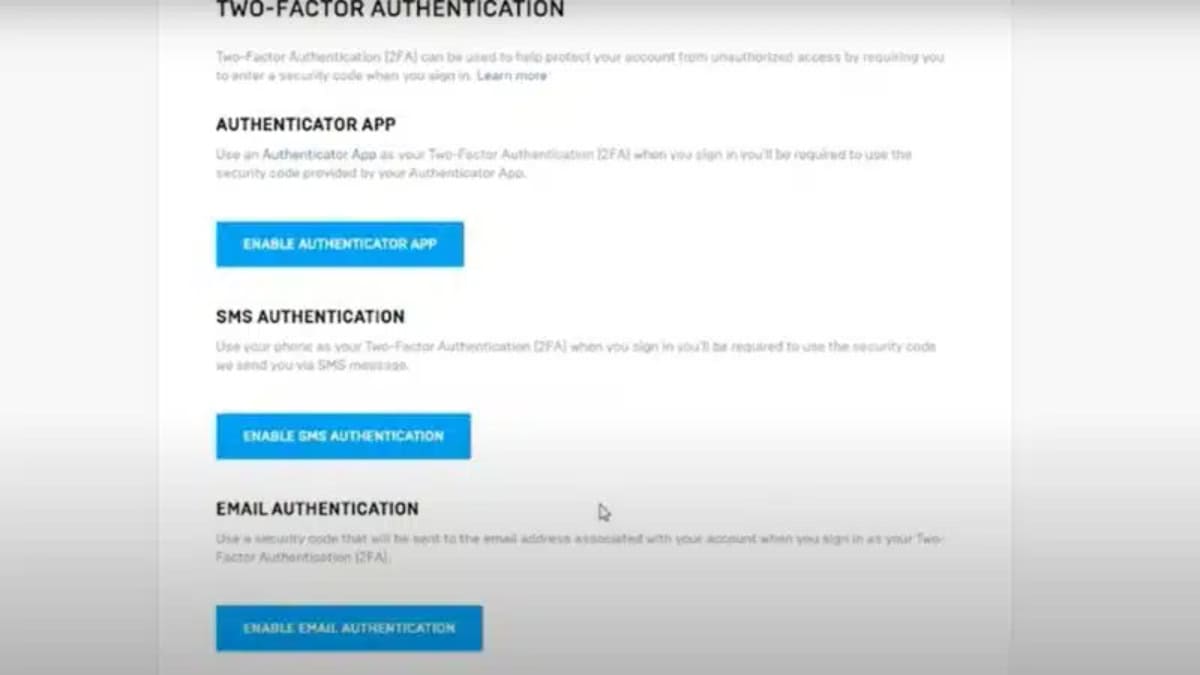
- Click on Passwords and Security and scroll until you find the two-factor authentication. You can choose from three available options: Smartphone Authentication App, SMS Texting Authentication, and Email Authentication.
- Select the two-factor authentication option you prefer and click on Enable 2FA.
- Follow the instructions to set up your two-factor authentication option. Once you have completed the setup, click on Verify and then Done.
With that, you’ve successfully set up two-factor authentication for Fortnite. When you log into your account or make a purchase, you’ll now be asked to enter a code sent to your phone or email. It’s a good way to help secure your account, but remember that 2FA isn’t a perfect defense, and you should always be careful with your account information. Do it for Jonesy.


