
While most secondary targets in Assassin’s Creed Shadows are optional, The Twisted Tree is one of the few that you need to take down before progressing the main story. However, unlike other targets, The Twisted Tree members are all in one city, and finding them should not be too difficult. The real difficulty is taking them down, either stealthily or by going loud. Here, we’ll show you the locations of each member so you can kill them quickly and go back to the main quests.
The Twisted Tree Members’ Locations
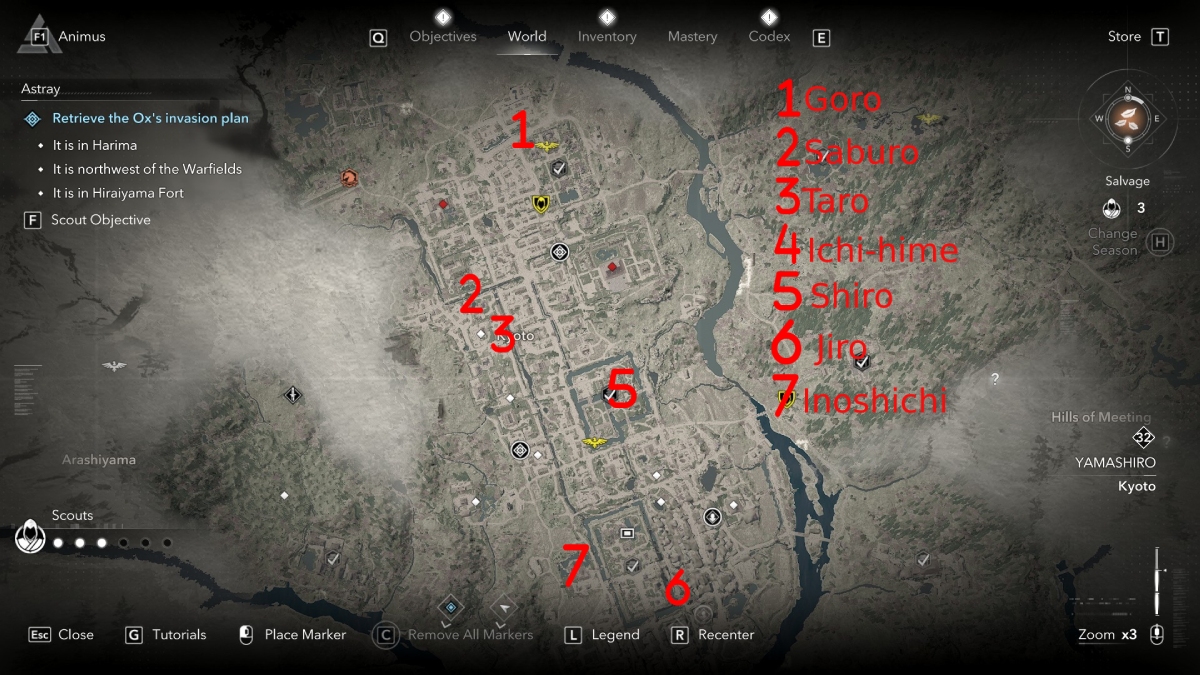
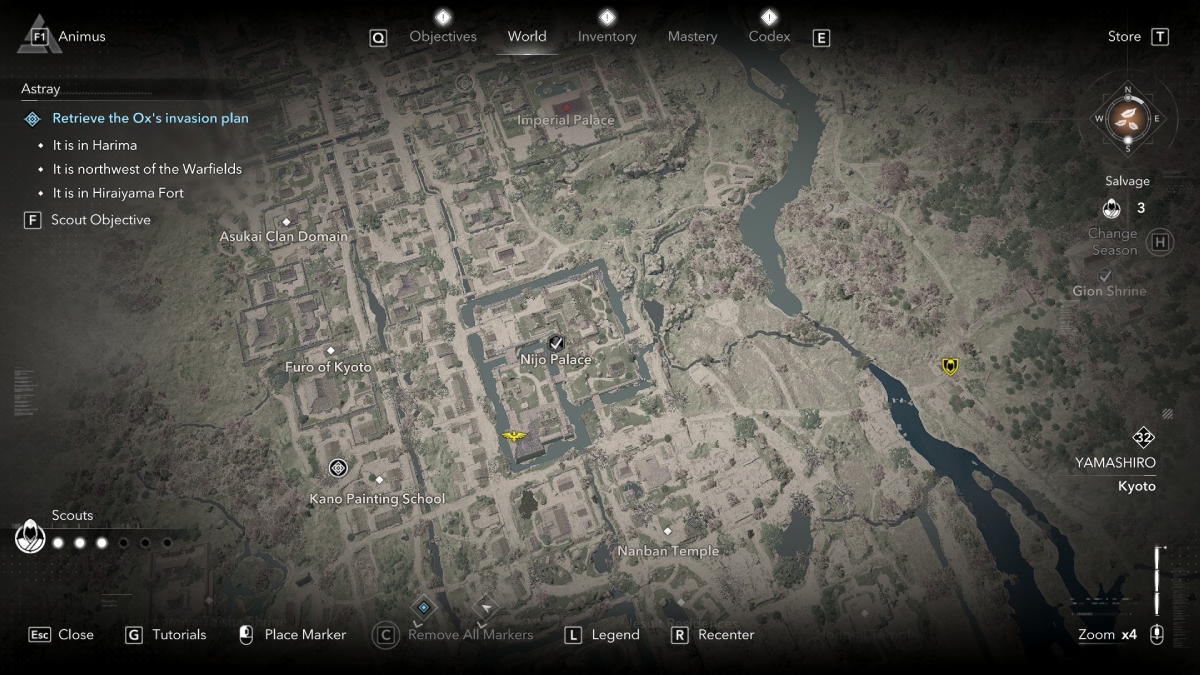
Before we talk about each member, above is a map of the location of every target belonging to The Twisted Tree in Assassin’s Creed Shadows. If you’ve explored Kyoto, chances are you already killed a few by “accident,” and without following the proper questline, but that’s fine, as it all works to the end goal. In any case, let’s talk about each member.
Takahashi Goro
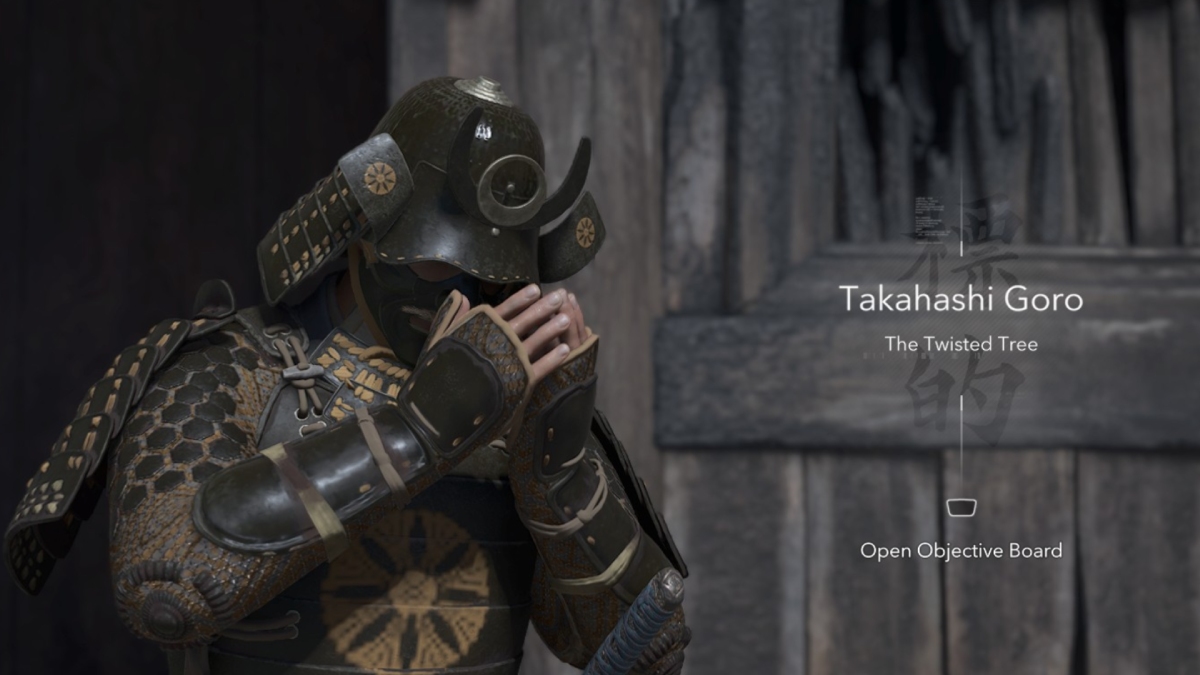
Starting from the top part of the map, you can find Takahashi Goro west of the Shokokuji Pagoda, where the viewpoint is. He’s one of the only two Twisted Tree members you can spare in Assassin’s Creed Shadows. You’ll find him in some burned buildings, and all you have to do is approach him, hear his dialog, and let him go. As a reward, you’ll get an Uncommon Teppo and the Damage After Headshot engraving.
Takahashi Saburo
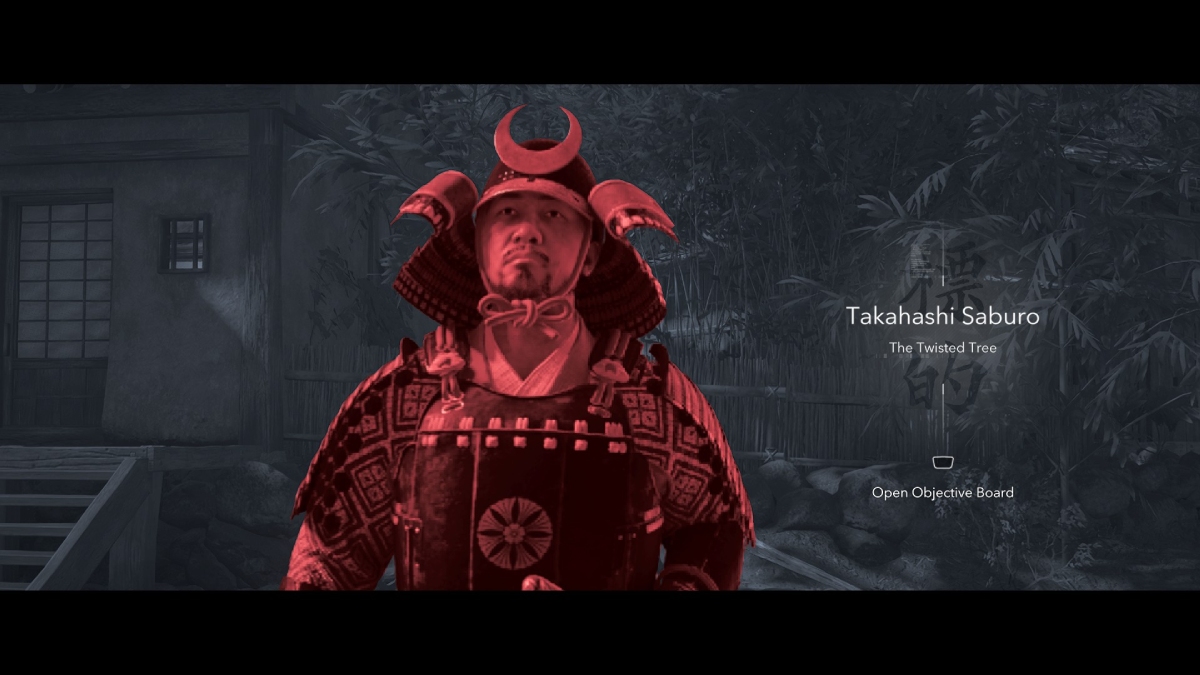
You will find Saburo south of the Asukai Clan Domain. You can see him walking around with a large enemy as a bodyguard. The easiest way to get them both is to pull off a double assassination if you’ve already unlocked it. If you’re with Yasuke, however, the fight shouldn’t be too difficult. Killing him will give you an Uncommon Katana and the Tools on Kill engraving.
Takahashi Taro
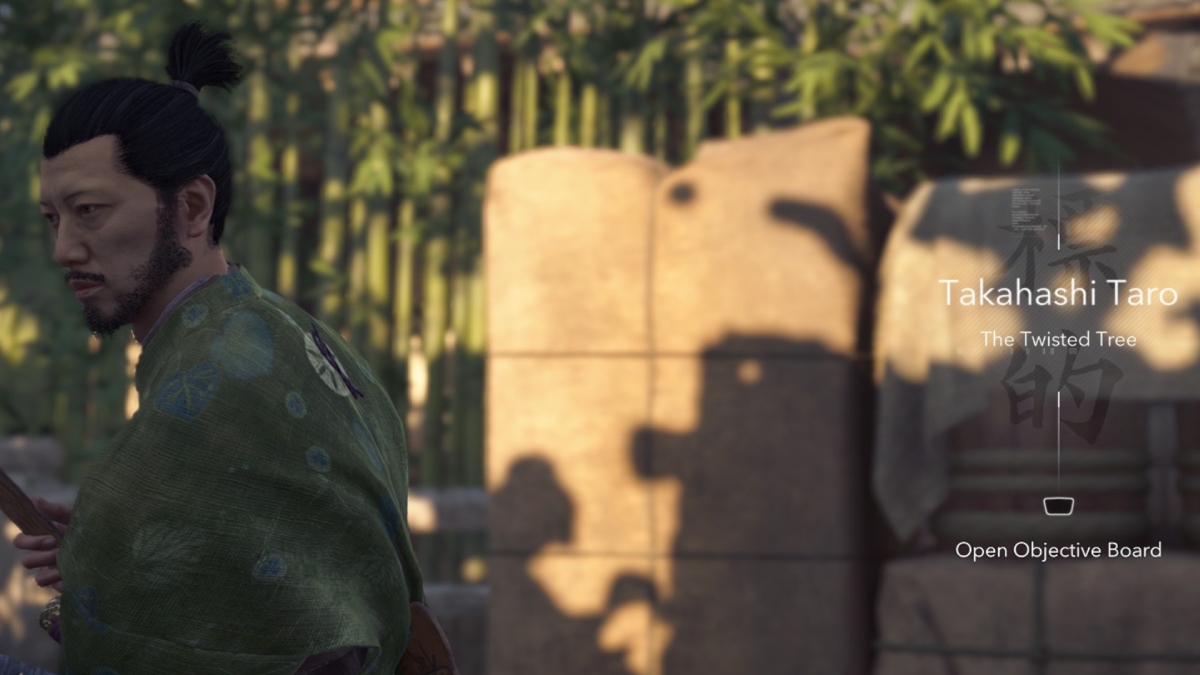
Taro will be inside the Asukai Clan Domain, but contrary to Saburo, he will be alone. Killing him is quite easy for both characters, so pick whoever you prefer. Defeating him will reward you with an Uncommon Long Katana and the Critical Damage With Melee Weapon engraving.
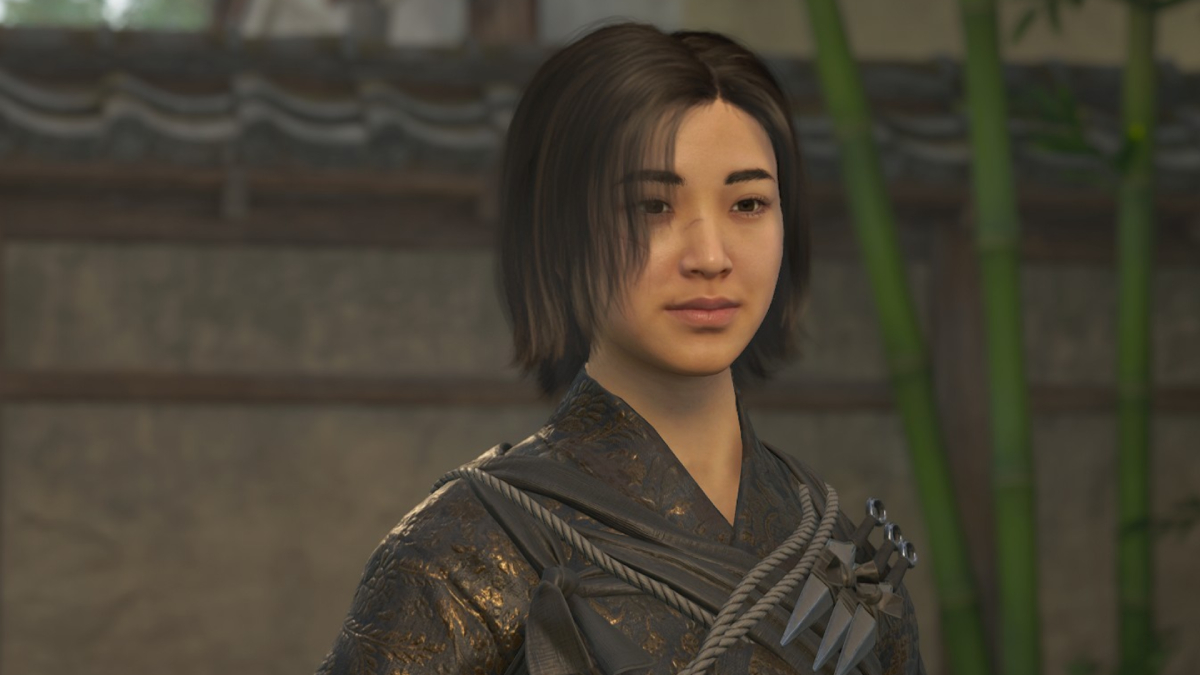
Takahashi Ichi-hime
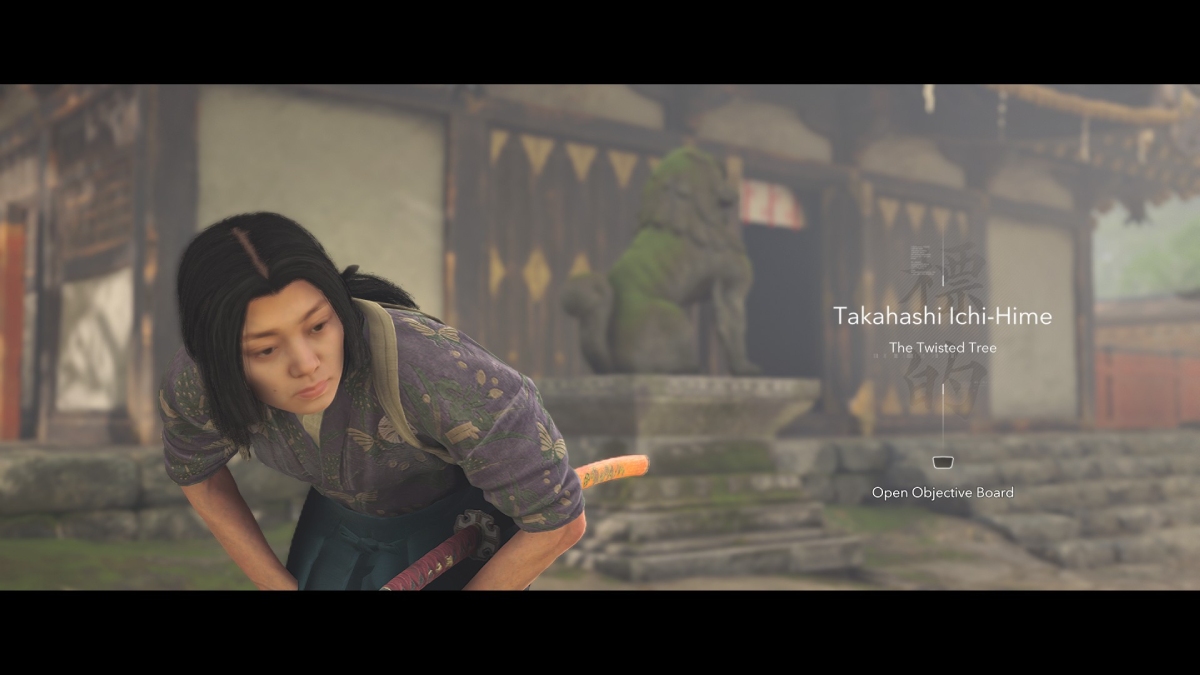
Ichi-hime is the second member of The Twisted Tree you can spare. She’ll be inside the Umenomiya Taisha Shrine. Just like Goro, just approach her, hear her dialog, and let her go. After this, you’ll obtain an Uncommon Bow and the Adrenaline on Affected Enemies engraving.
Takahashi Shiro
Sadly, we didn’t get a picture of Shiro because, as we mentioned above, we killed him without even noticing he was a target. However, we included a picture of his exact location, which is inside Nijo Palace. If you’re going for the Legendary item, you’ll find him here. Once you kill him, you’ll get an Uncommon Katana and the Armor-Piercing on Consecutive Skills engraving.
Takahashi Jiro
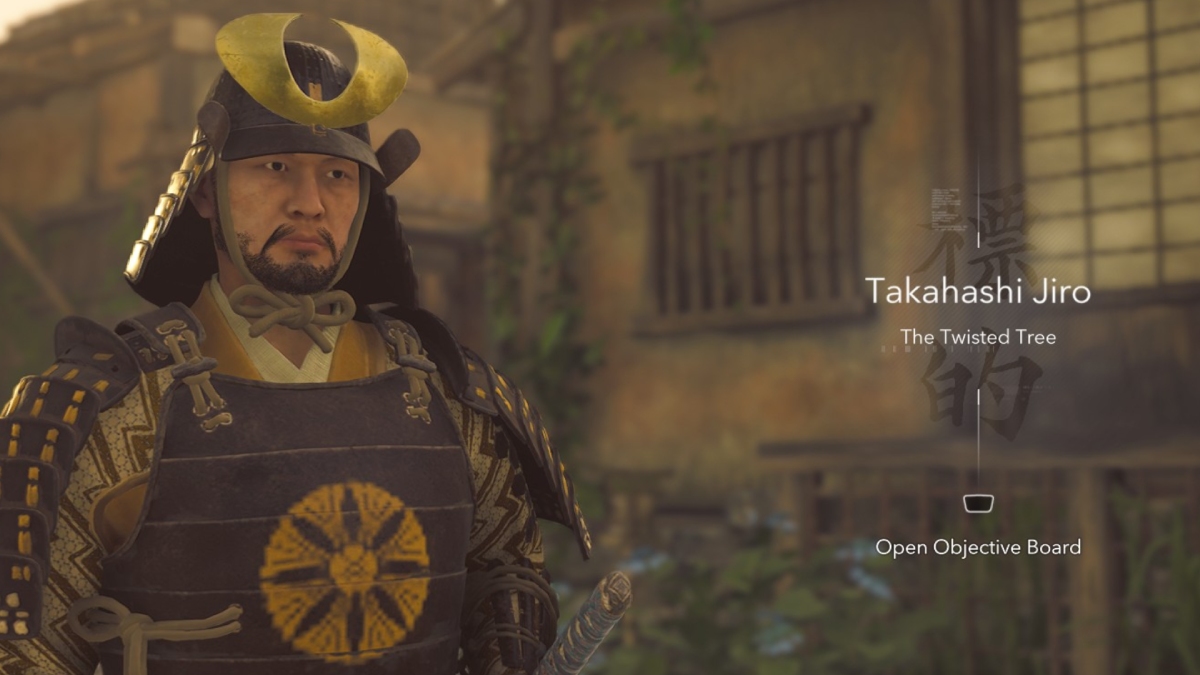
If you manage to eavesdrop on some guards, you’ll discover Jiro is south of the Honnoji Temple and is patrolling alongside other guards. Even if he has a few enemies around him, you can throw a smoke bomb with Naoe, kill him, and get away from the scene. Alternatively, you can lure him to a hiding spot and get him there. Regardless of your choice, you’ll obtain an Uncommon Teppo and the Armor Damage on Multiple Enemies engraving after killing him.
Takahashi Inoshichi
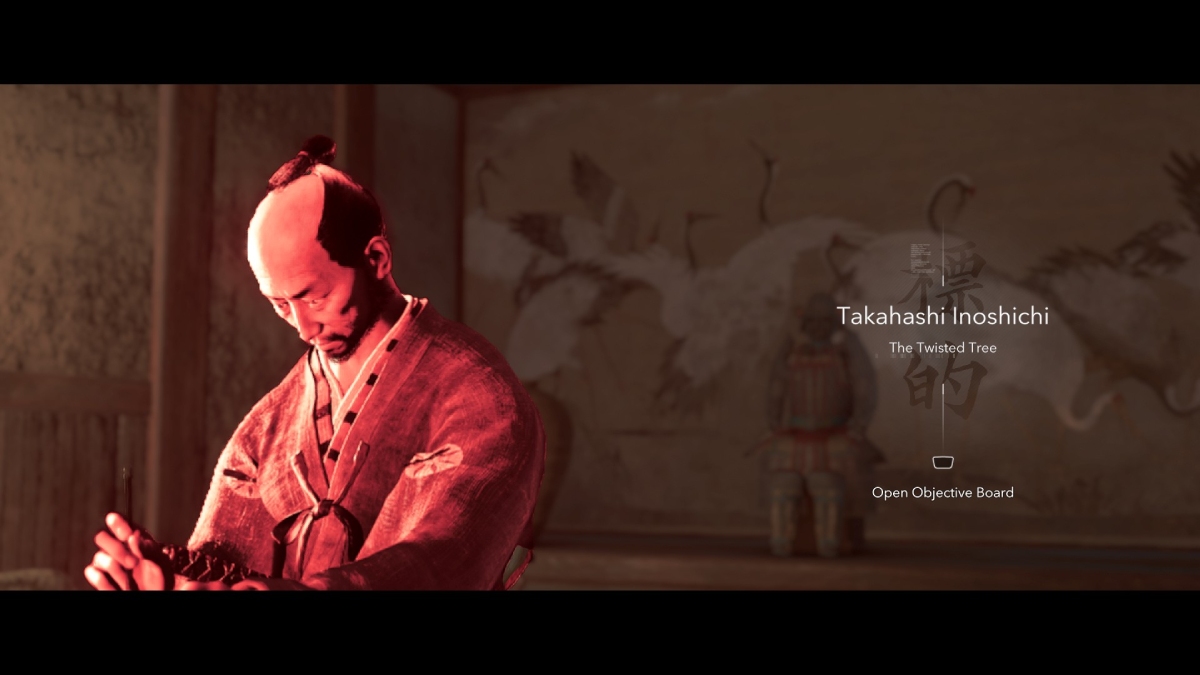
Finally, you’ll have to find the leader of the family, Inoshichi. While other targets are inside named locations that are easy to spot on the map, this one will be a bit trickier. You can find him inside an estate south of the Umemiya Taisha Shrine. He will be the toughest target, and we recommend bringing Naoe here. She can infiltrate the estate easily and crawl under the house where Inoshichi is to kill him and get out unnoticed. Killing him will give you the Kitsune’s Trickery Legendary Amulet for Yasuke and the Health for Samurai Mastery Legendary engraving.
Once you kill all targets, you can return to complete the “Inside Help” quest and unlock the Counter Attack (Naoe) and Riposte (Yasuke) abilities, which were locked in the Mastery menu up to this point.


