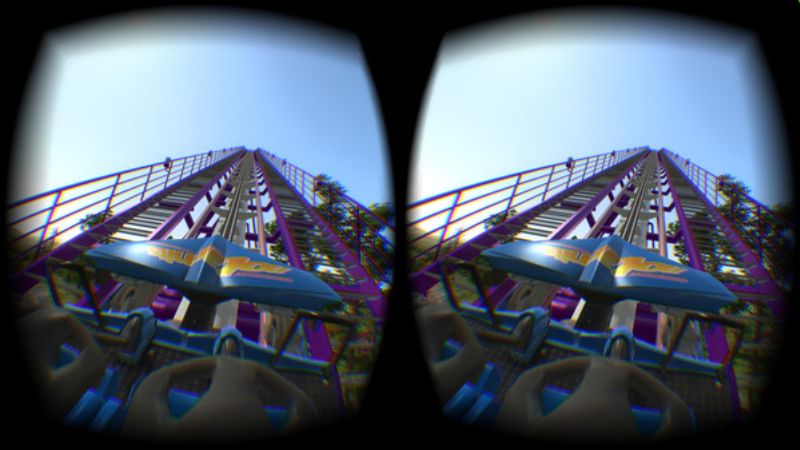
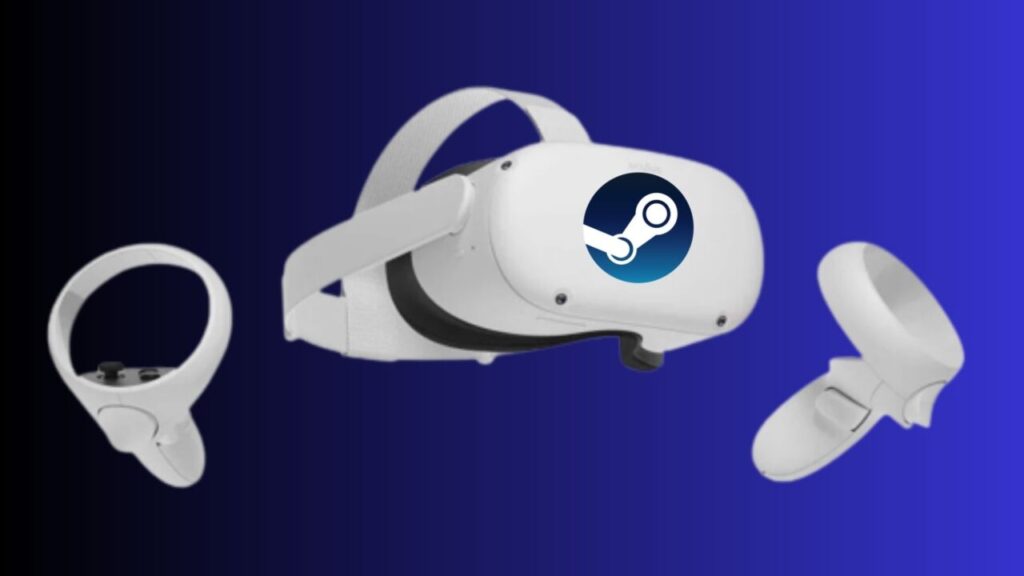
The Oculus Quest 2 is undeniably one of the best VR headsets available on the market today. With its impressive hardware and affordability, it has become a popular choice among VR enthusiasts. While it already offers a wide selection of games, being able to play Steam games on the Quest 2 opens up even more options for users. Nevertheless, several players are still unaware of how to play Steam games on Oculus Quest 2. Here’s a breakdown on how to run your Steam games on your Oculus Quest 2.
How To Run Steam Games on Oculus Quest 2

In order to play Steam games on the Oculus Quest 2, you will need to establish a connection between your Oculus Quest 2 headset and either your PC or laptop. You can do this by using a cable or the Air Link feature. Once the connection is established, you can proceed to launch the SteamVR platform. By doing so, you will gain access to a wide range of Steam games that you can select and play on your VR Headset.
PC Requirements for Running Steam Games on Oculus Quest 2
Before you can start playing Steam games on your Quest 2, you need to ensure that your PC meets the necessary requirements. Here are the minimum specifications:
- Operating System: Windows 10 or 11
- CPU: Intel Core i5 / AMD 400 or above
- AMD processor
- GPU: NVIDIA GTX 1070 or above
- RAM: 8GB or more
It’s important to note that VR games cannot be played on MacBooks, Chromebooks, or Linux-powered PCs. Once your PC meets the system requirement, you need to install the Oculus 2 desktop application. This software is essential for connecting your Quest 2 to your PC and accessing Steam games. You can download the Oculus 2 desktop application from the official Meta website. Once installed, make sure you also have Steam installed on your PC.
Via Cable

The most common method of playing Steam games on the Quest 2 is by connecting your headset to your PC using a cable. Follow these steps to get started:
- Turn on your Quest 2 headset.
- Launch the Oculus desktop app on your PC and click on “Devices” in the left pane.
- Click on “Add Headset” and select “Quest 2” from the available options.
- Select the “Link (cable)” option and click “Continue.”
- Run the Steam app on your PC.
- Click on “SteamVR” and enjoy playing your favorite Steam games on Quest 2.
Via Air Link

Alternatively, you can play Steam games on your Quest 2 wirelessly using Air Link. This feature allows you to connect your headset to your PC without the need for a physical cable. Here’s how to set it up:
- Open the Oculus desktop app and go to “Settings.”
- Click on “Beta” and enable Air Link by toggling the switch.
- Put on your Quest 2 headset and navigate to the home menu by pressing the Oculus button on the right controller.
- Select “Oculus Link” and locate your PC. Click “Launch.”
- Once connected, go back to the home menu.
- Select “Desktop” and launch Steam.
- Now you can enjoy your favorite Steam VR games on the Quest 2 wirelessly.
It’s worth noting that Air Link is still in beta and may have some bugs or lag. For the best experience, ensure that your Quest 2 and PC are connected to the same Wi-Fi network and that you have a stable 5 GHz connection.
Related:
How To Unlock Rock Pikmin In Pikmin 4
Playing Steam games on your Oculus Quest 2 opens up a whole new world of virtual reality experiences. Whether you choose to use a cable or go wireless with Air Link, the process is relatively straightforward. By following the steps outlined in this guide, you’ll be able to enjoy your favorite Steam VR games on your Quest 2 in no time.


