
The Ash & Iron event is finally live on Destiny 2, and the activity you’ll be running the most is called “Reclaim.” This limited-time game mode will take you to a series of missions where you need to fill up a progress bar before moving to the next one. You can jump into this Activity alone or with others, but we definitely recommend the latter, as it can get quite chaotic there, especially if you have several modifiers to make the missions more challenging. In any case, here’s how you can unlock and play Reclaim in Destiny 2.
‘Reclaim’ Activity Guide
If you want to unlock this game mode in a tutorial-like way, we recommend checking our Earth Reclaimed guide, which is the introduction to this event. Still, we’ll list the steps briefly here if you want to start playing right away.
- Head to EDZ and speak with Devrim Kay.
- You should grab the Earth Reclaimed quest from him while you’re at it.
- Locate the Event Tab in your Portal UI and select any of the Reclaim maps.
- We recommend queuing up for the one with the weapon reward.
While starting a Reclaim mission is straightforward, playing it becomes challenging, especially with a lot happening in these medium-sized maps, which can leave you feeling overwhelmed about where to go.
Focus On the Marked Objectives
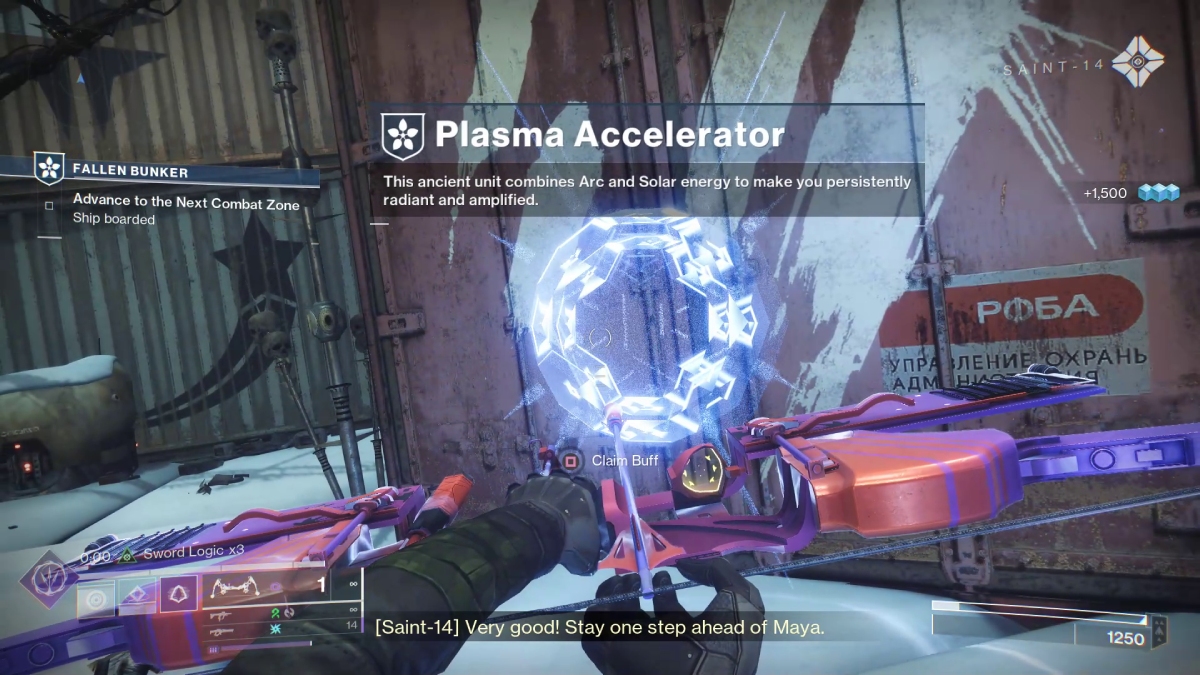
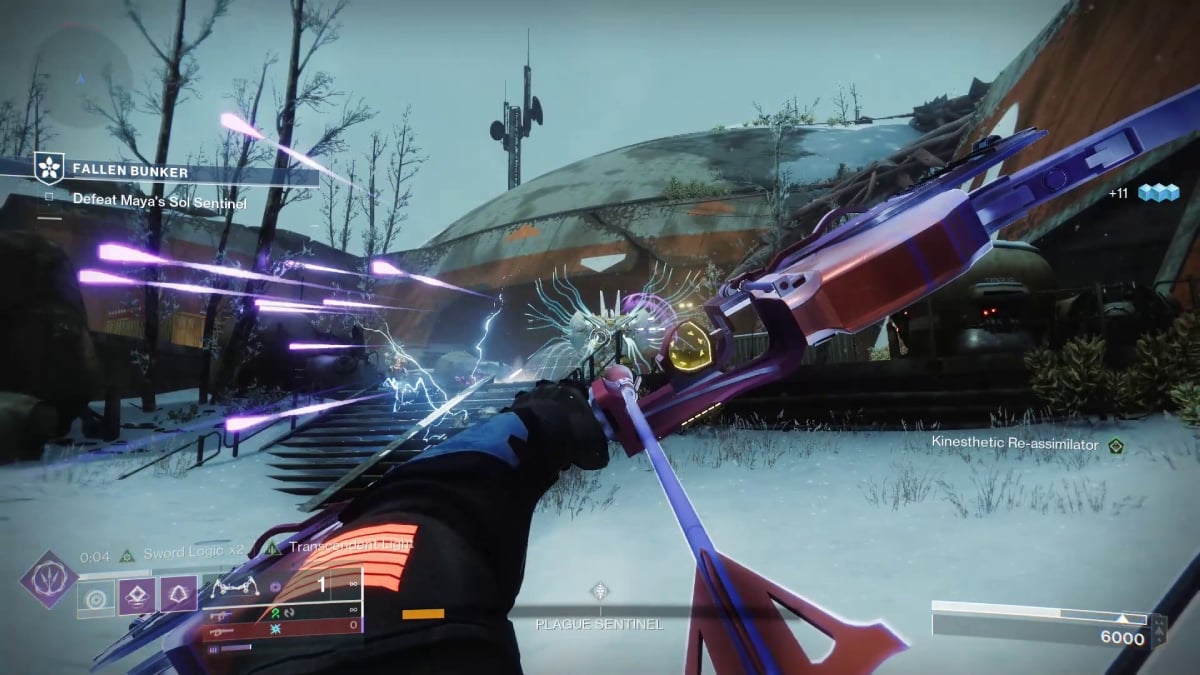
As soon as you enter the Reclaim activity in Destiny 2, you’ll notice a progress bar. All it says is that you must complete objectives to progress. You could focus on defeating enemies, but most of them only give you one point, and you need 1000 to move to the next area, which means killing foes would be the slowest approach. Instead, perform a scan and head to any of the objective markers on the map.
Depending on the mission, some of the objects might change, but many are pretty straightforward. You will either need to defeat an enemy once you bring down their shields or break a few objects on the map after a wave of enemies. Once you complete any of them, open the chest that unlocks, and your bar will fill up quickly. Usually, you only need to complete two of these objectives to move to the next zone.
At the end of some areas, you’ll obtain a buff, which usually affects your play style. You might get a shorter grenade cooldown or frost armor after a finishing blow, so pick the one that adjusts better to your build before moving on.
Open Chests and Interact With Investigations
While you move from one objective to another, be sure to open chests and interact with the objects that say “Investigate.” The former will reward you with 20 points, while the latter will give you 60. The main objectives will always be the best when it comes to filling up the bar, but every bit helps to make some progress, so try to tackle these side objectives, too.
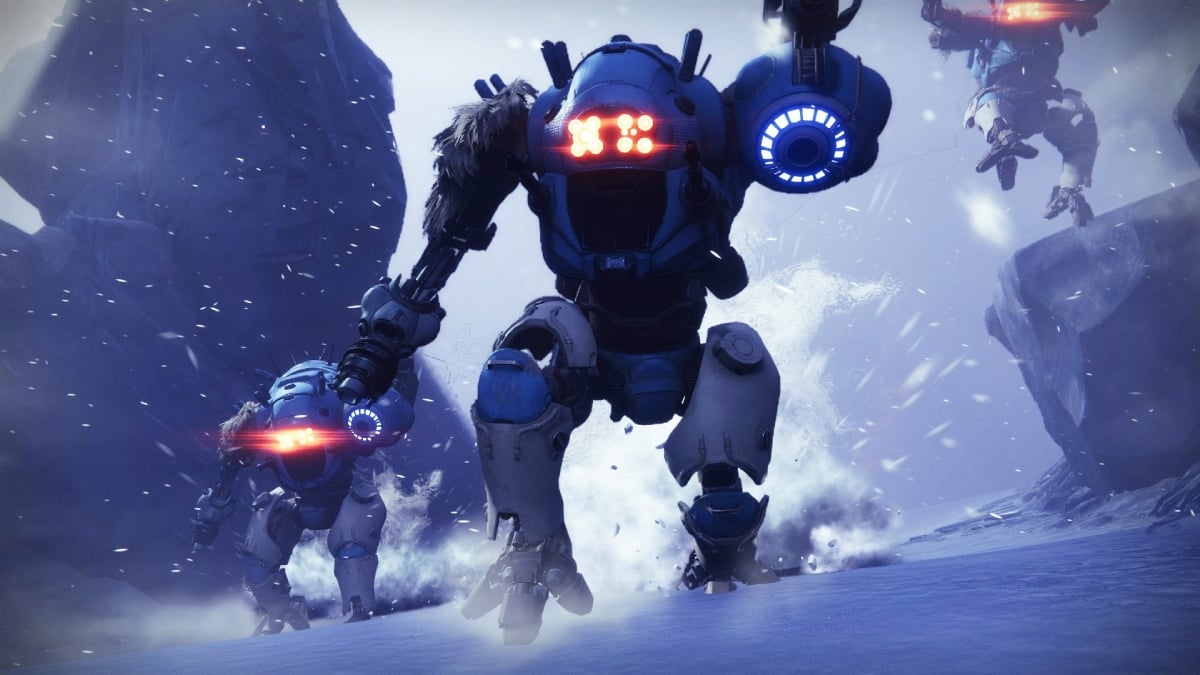
Once you complete the first three zones, you’ll open the fourth one, which is a boss fight. The boss can be pretty challenging, especially for new Guardians, so make sure to equip your best weapons and armor before facing it. Fortunately, there are infinite rewards, so if you meet your demise, you can get back into the fight instantly.


