Skip To...
Building a beacon is one of the biggest flexes in Minecraft due to its complexity, but it’s not just useful for showing off. Lighting up a beacon grants you buffs within the radius of its power, which is useful for everything from mining to combat. The bigger the pyramid you build for your beacon, the more power you can wring from this unique block in Mojang‘s world. It takes a lot of work and a little math to make a beacon, but once you know what you’re doing, the process isn’t too bad. Once it’s lit, your beacon will shine throughout the world as a testament to your progress. Here’s what you need to know about how to build a beacon in Minecraft.
Preparing the Build Area

Building a beacon is a three-part process. One of the most vital ingredients in making a beacon is the Nether Star, which only drops from a Wither, one of the most difficult enemies to defeat in the game. How many you’ll need depends on how much you plan on utilizing your beacon. Each platform you build can host multiple beacon units and each one requires a single Nether Star. It would appear that for the beacon to operate, the beacon units need one layer of bricks around each layer, with up to four layers below the beacon units. You can have one, four, or six beacon units in a single beacon. Each one is capable of sending individual buffs out to a certain range.
The smallest functional beacon consists of a one-level base and a beacon unit. The largest consists of four layers with six beacons. That means you have a lot of room for customization. Make sure you have at least one block’s space around your structure and that the space above where you’re putting your beacon units is unobstructed by anything, because otherwise the beacon won’t work.
How To Build a Beacon
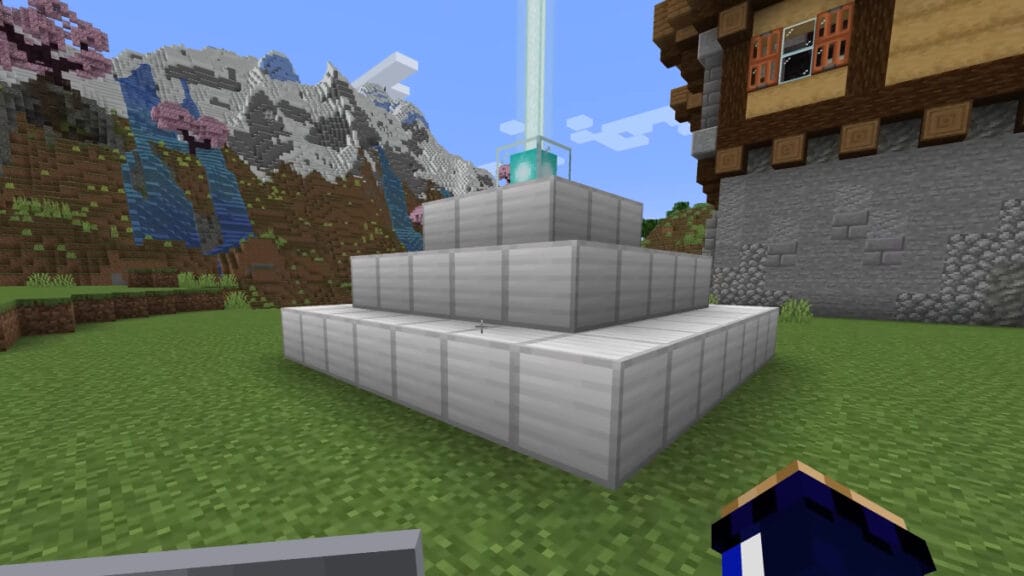
To put together a pyramid base for your beacon, you’ll need a lot of mineral blocks. You can use iron, gold, emerald, diamond, or netherite in any combination for the pyramid base. The effect it has on the beacon is purely aesthetic. So long as it meets the criteria above, you don’t have to worry about which you use. Here are two examples of how many mineral blocks you’ll need to put the platforms together for the lowest number of beacon units and the highest. Here’s how to construct a single beacon pyramid:
| Level | Mineral Blocks | Materials | Layers |
| 1 | 9 | 81 | 3×3, beacon |
| 2 | 34 | 306 | 5×5, 3×3, beacon |
| 3 | 83 | 747 | 7×7, 5×5, 3×3, beacon |
| 4 | 164 | 1476 | 9×9 7×7, 5×5, 3×3, beacon |
Here’s how to construct a multiple beacon pyramid that enables all buffs at tier 4:
| Level | Mineral Blocks | Materials | Layers |
| 1 | 20 | 180 | 4×5, beacons |
| 2 | 62 | 558 | 6×7, 4×5, beacons |
| 3 | 134 | 1206 | 8×9, 6×7, 4×5, beacons |
| 4 | 244 | 2196 | 10×11, 8×9, 6×7, 4×5, beacons |
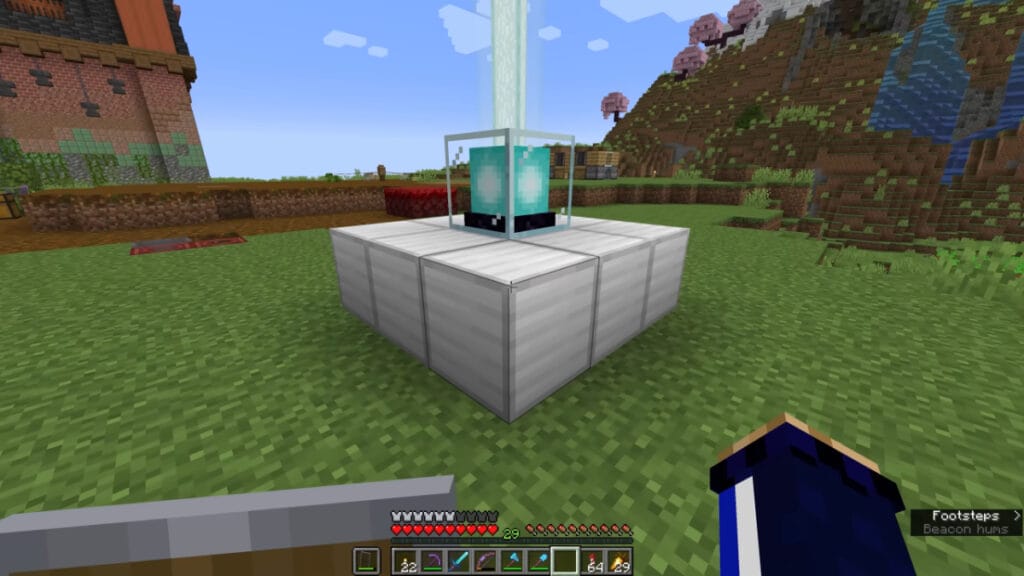
Once you have the platform set, you’ll need to craft the beacon unit. To do so you’ll need 5 Glass Blocks, 3 Obsidian Blocks, and a Nether Star. This recipe will produce the beacon that you can place at the top of your platform. Again, most layouts either use one, four, or six, but you can use any amount in between. Once you place the beacon unit, you’ll know it’s working when it extends a beam up to the sky. When you see that, you can move on to the next step.
Beacon Powers in Minecraft

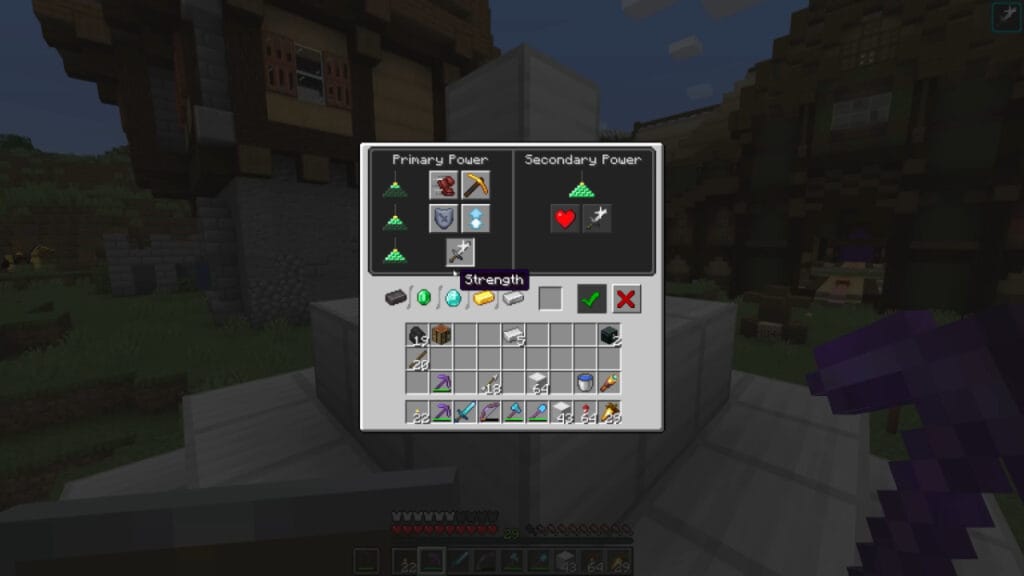
For every beacon unit you have on your pyramid, you need to feed it a single iron, gold, emerald, diamond, or netherite ingot. This enables you to choose a buff to apply to the beacon unit. The number of buffs you can apply and the range depend on how many layers the pyramid has. It doesn’t matter what material you use for each buff application. This process might not be as difficult as building a skyscraper, but it’s just as rewarding. Here are the Five Primary Powers and what they do:
| Speed I | Increased movement speed |
| Haste I | Increased mining and attack speed |
| Resistance I | Incoming damage decrease (2-level pyramid required) |
| Jump Boost I | Increased jumping distance and height (2-level pyramid required) |
| Strength I | Increased melee damage (3-level pyramid required) |
A Level 4 pyramid grants access to Regeneration I and increases the Primary Power to Level 2. It is also possible to combine two different primary Level 1 powers. To do so, select a primary power in the left panel, then select the Level 2 option in the right panel. Last, select the second desired power in the left panel. The range of the beacon’s buff increases as you add levels, as follows:
| Pyramid Size | Effect Range | Effect Duration |
| 1 | 20 | 11 |
| 2 | 30 | 13 |
| 3 | 40 | 15 |
| 4 | 50 | 17 |
Now that you know how to build a beacon in Minecraft, all that’s left is to enjoy the benefits of your hard work!
Minecraft is available for PC, PlayStation,


