Skip To...
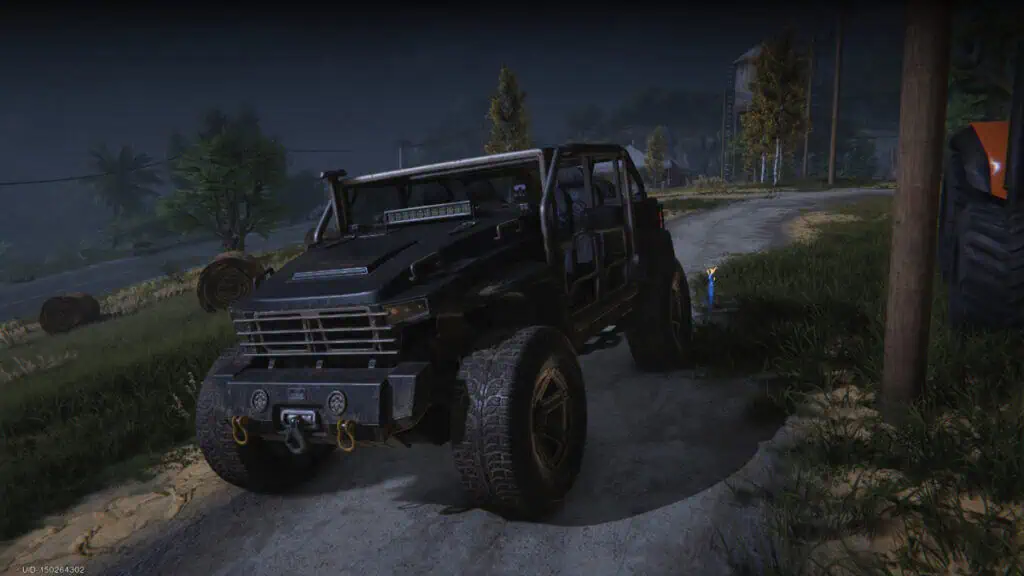
Personally, having a photo mode in games automatically makes them better; especially if it’s a game where I created my character. Once Human has so many interesting locations and sceneries to take photos of that it just wouldn’t have made sense not to add one. Unfortunately, it seems as though Starry Studio didn’t think that people would be using it as often as they are. Let’s take a look at how to use the camera in Once Human and what settings it has.
Finding the Photo Mode Button

To use photo mode in Once Human, press and hold the Tab button on your keyboard to open an option wheel. One of these options is the camera option. To use photo mode, hide the UI with the V button and take a picture by pressing the Enter button. Of course, you’re free to take screenshots directly from Steam instead so that it stays in your screenshot library.
Screenshots taken with your character will also be stored in your Netease character account. You can then choose to download the image, share it with your friends, or save it to your camera roll.
Photo Mode Settings
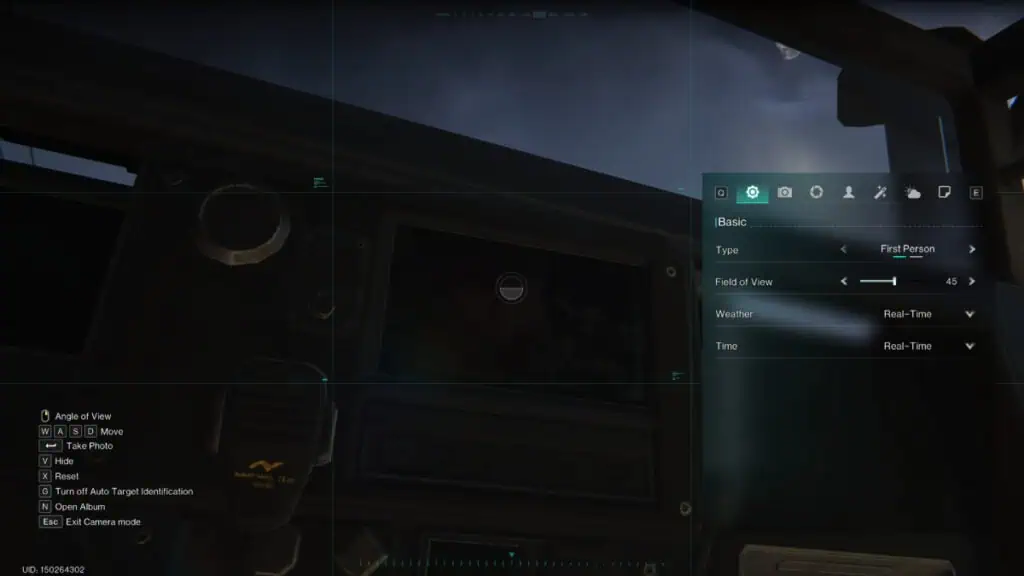
The settings for the camera in Once Human can be a little tricky. However, they can yield incredible results if you have the patience to tinker with it. This is everything that you can do with it:
- Basic Settings
- Type.
- Templates.
- Field of View.
- Flip Image.
- Rotate Character.
- Change Weather.
- Change Time.
- Camera
- Type.
- Field of View.
- Depth of Field
- Depth of Field.
- Character
- Show Character.
- Action.
- Face the Camera.
- Rotate Character.
- Weapons On.
- Effects
- Exposure.
- Contrast.
- Texture.
- Environments
- Weather.
- Time.
- Stickers
- Sticker.
- Frame.
- Text.
Once Human can be played on PC and mobile devices.

