
If you’re one of those CoD Zombies fans complaining about how easy the recent quests are compared to the classics, The Tomb is here to fix that for you. After searching for Odin’s Sentinel Artifact in previous Black Ops 6 Zombies maps, our final confrontation is a face-off against the ancient item itself. The Tomb Black Ops 6 Zombies map’s main easter egg quest isn’t hard, but its final boss makes you regret ever asking Treyarch to bring back the OG difficulty mode.
Get Prepared!
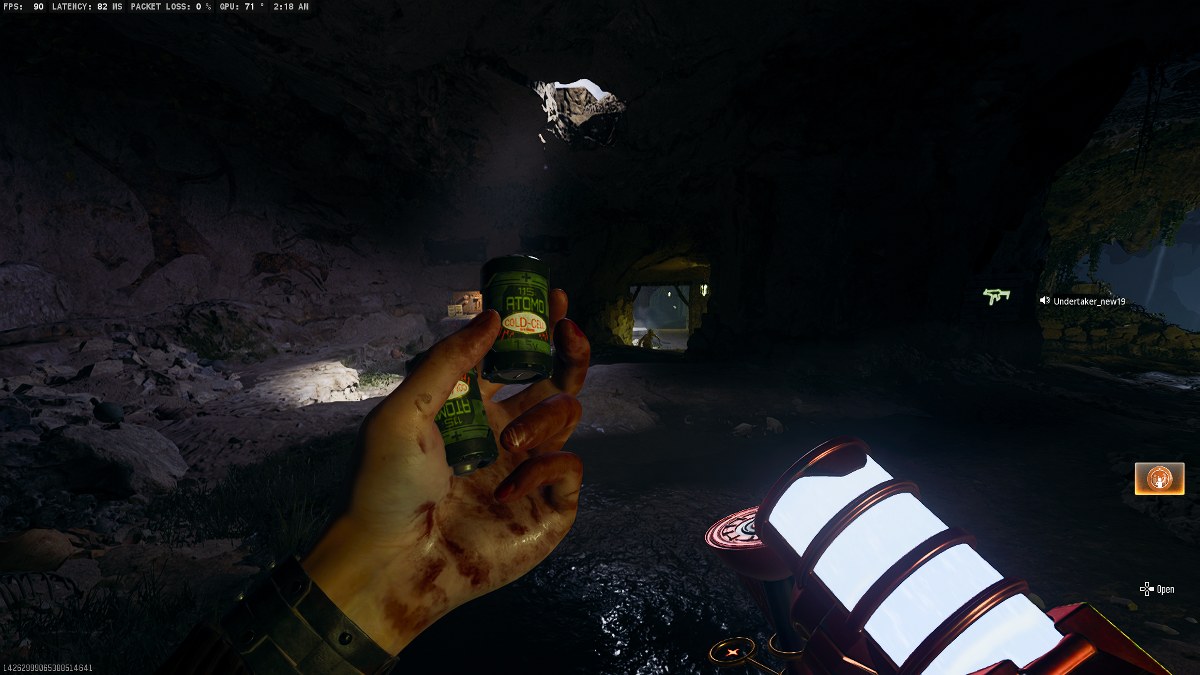
There are a few things to do before jumping straight into one of the hardest CoD Zombies maps in Black Ops 6. The Tomb’s boss fight requires a bullet weapon that packs high damage. You won’t have enough time, so a gun like AK-74 is totally recommended for this one. Also, if you manage to get the Golden Armor it’d be much easier to survive the boss fight in the map.
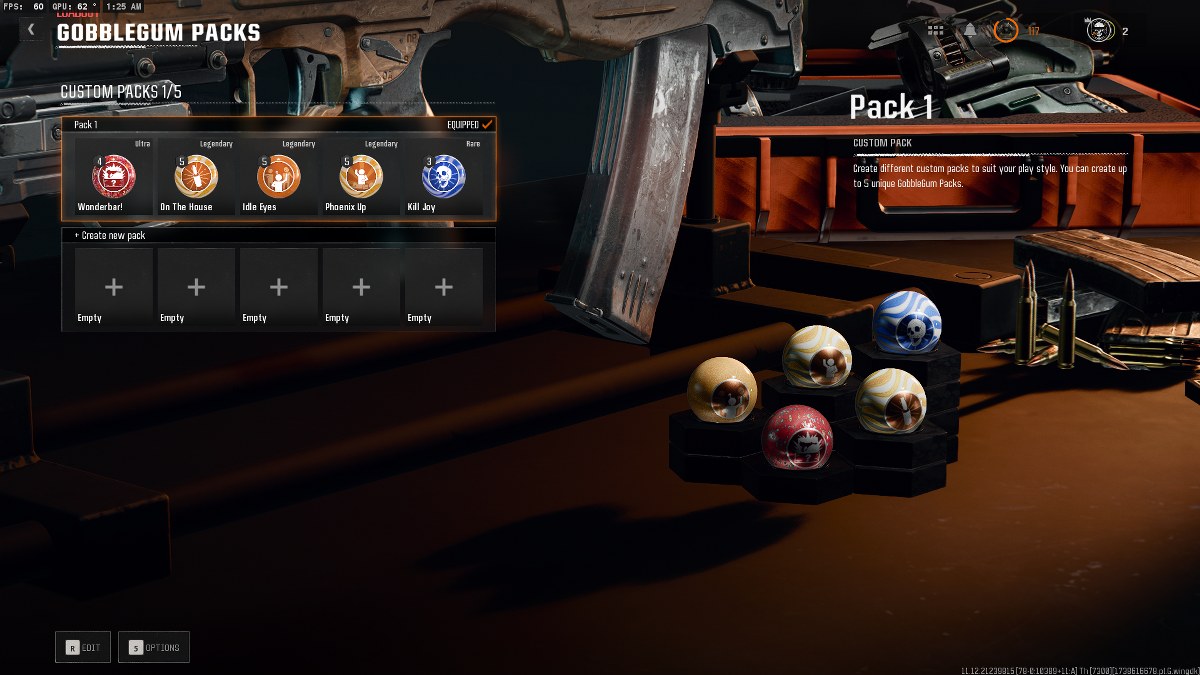
- Phoenix Up
- Kill Joy
- Wonderbar
- On The House
- Idle Eyes
If you have a few gums left, the list above is what I advise for The Tomb map’s main easter egg quest. You’ll definitely need the Kill Joy for the times that you’re surrounded by the zombies horde. Phoenix Up is the best for the final confrontation if your mates are downed. Wonderbar helps you get the Ray Gun or Ice Staff faster, both of which you’ll need for this map. On The House grants all players a random perk, but you can go with the Perkaholic if you’re riding solo. And Idle Eyes is just a blessing to save your lives in the final boss fight.
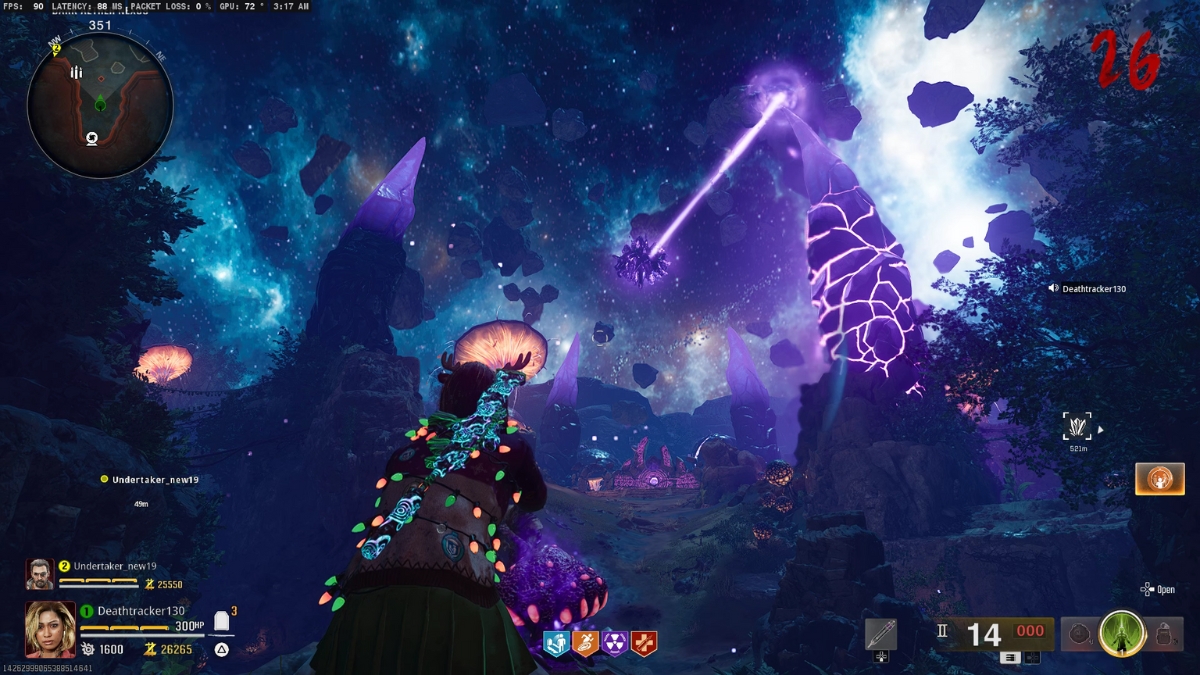
Open The Portal To Nowhere

You spawn in an open area that has three floors. There are two doors to follow the way after you’ve earned enough points. The door on your right leads to the Green portal. The one on your left up the stairs leads to the yellow portal. And, there’s also a blue portal high up in the spawn area near the Pack-A-Punch spawn location.
Start opening the doors on your right and proceed forward until you reach the red portal. It’s closed, of course, and all you need to do is to place the amulet you’ve retrieved from Citadelle des Morts on the podium. Just press the Square/X button near the thing to start the opening process.
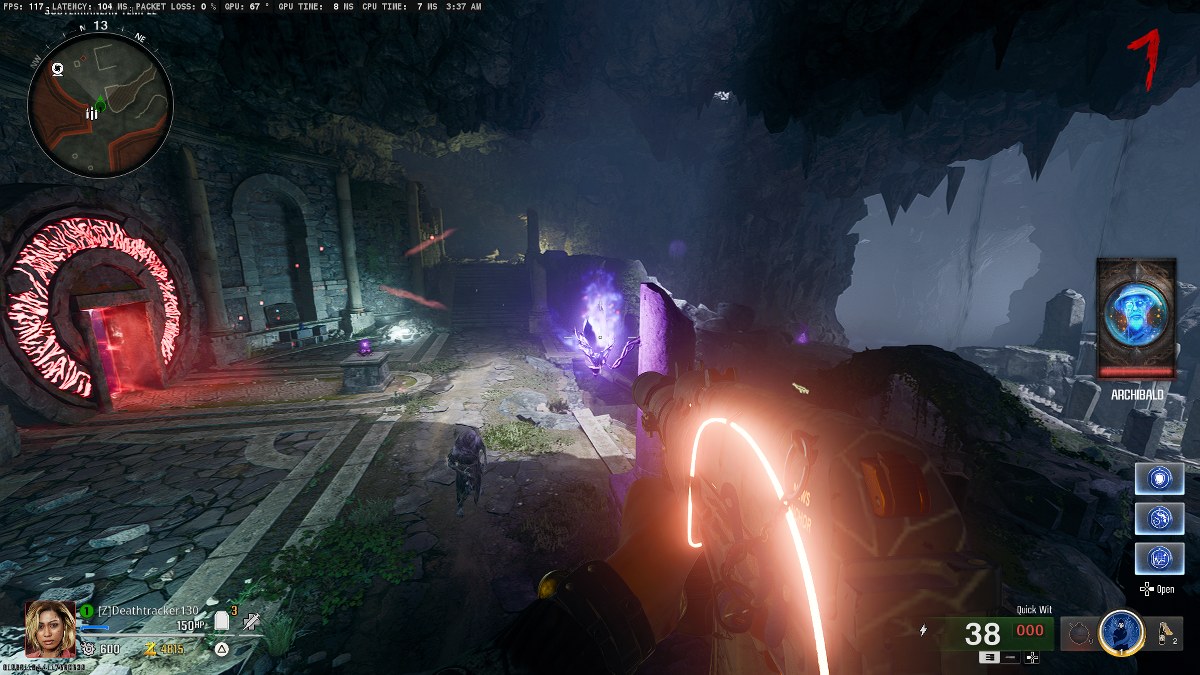
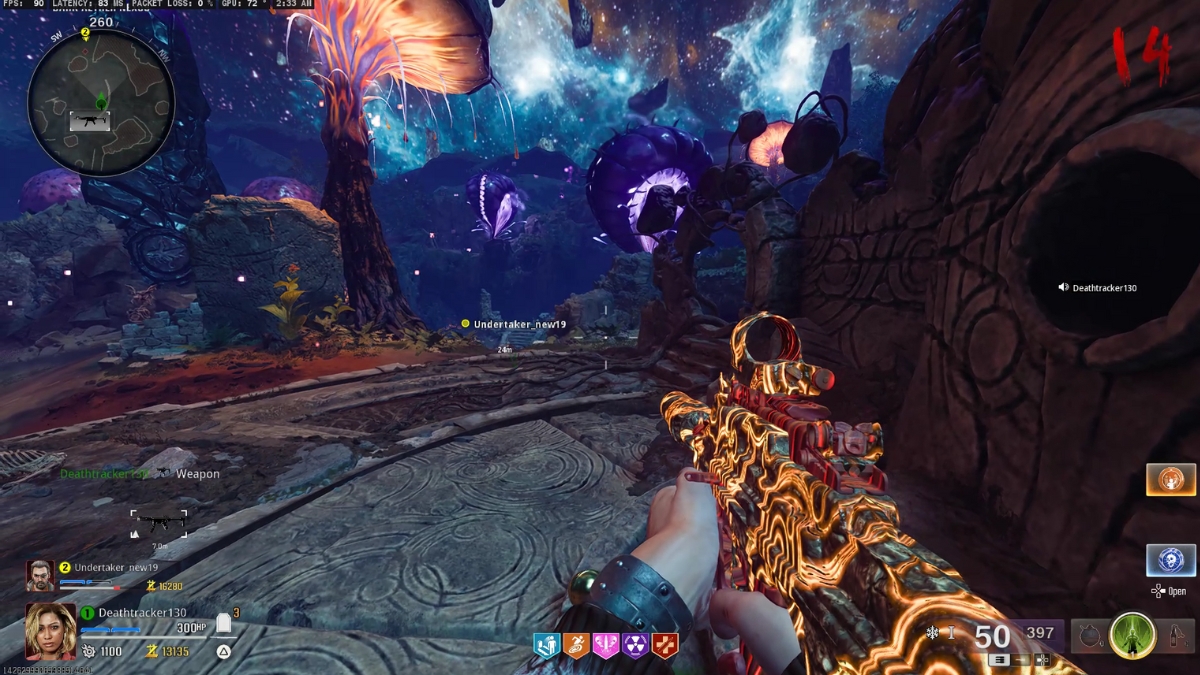
This will open the Red Portal, which is the very first step to start The Tomb map’s main easter egg quest in Call of Duty: Black Ops 6. Go inside, and you’ll see a super beautiful universe that’s called Nowhere but basically, it’s just a polished version of the Dark Aether.
Build The Staff of Ice
Before proceeding, you need to know that The Tomb map’s cave area has three different sections: The Yellow Portal, the Green Portal, and the middle area that has the Red Portal. Each of these areas has its own Aether crystal lanterns you can easily spot and every time you shoot them, their position changes. Keep this detail in mind and let’s proceed to the next step to build the Staff of Ice.
Step 1 – Acquire The Head Piece of The Ice Staff
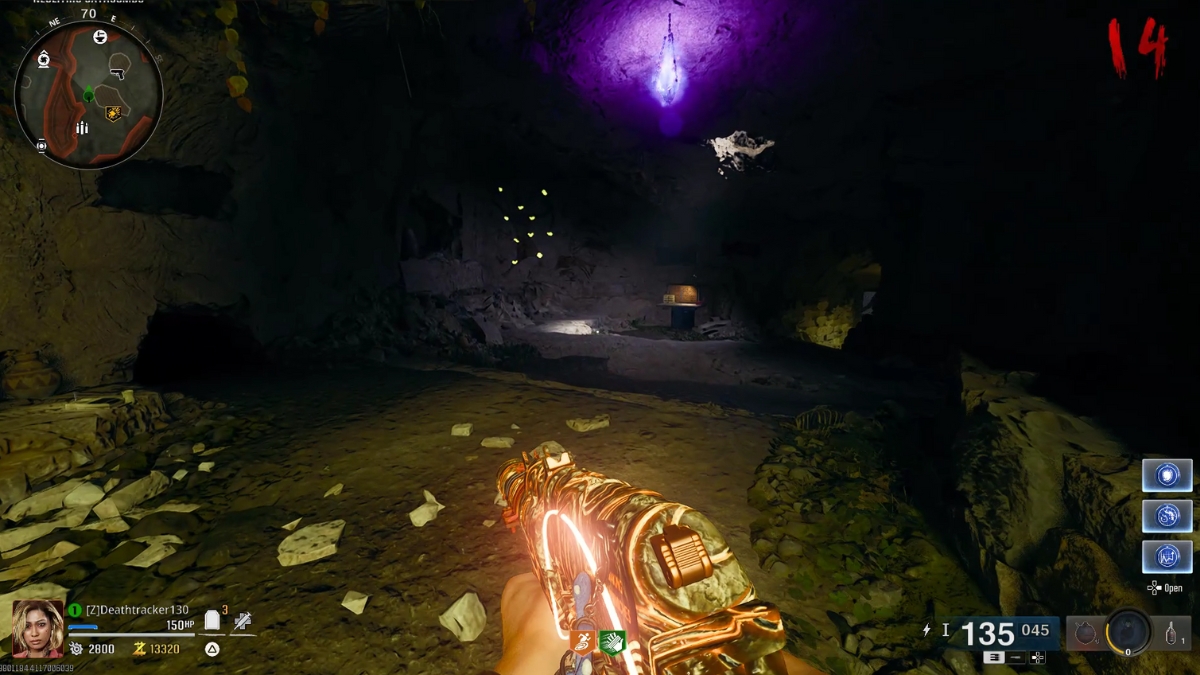
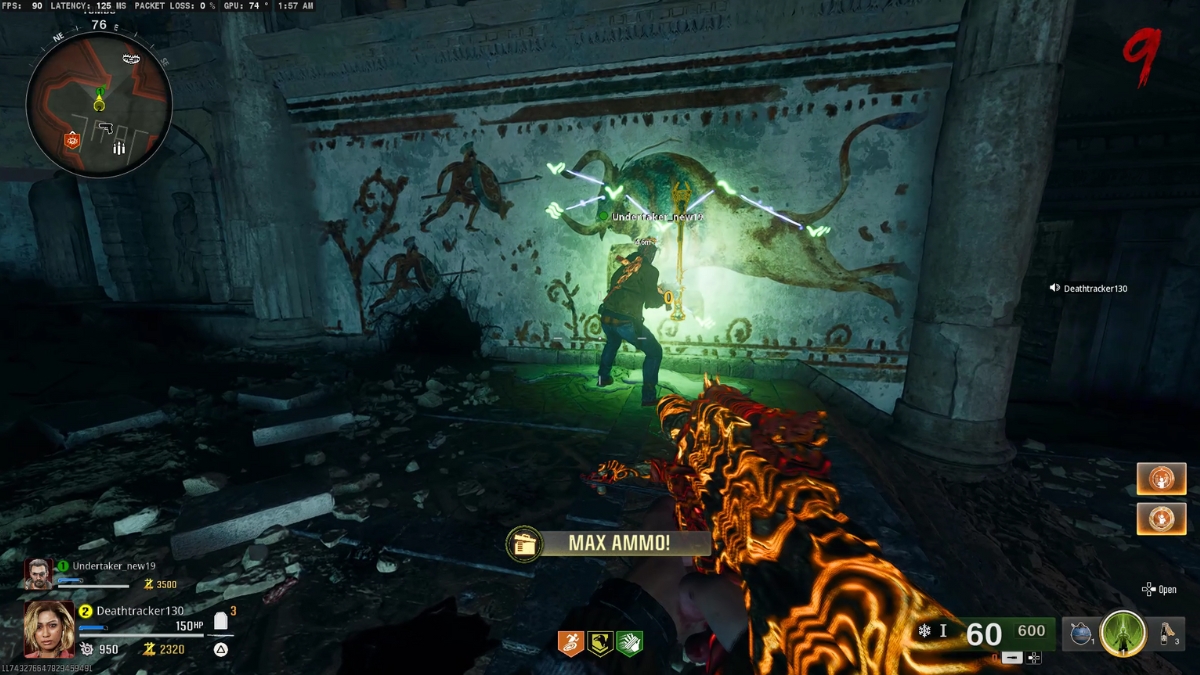
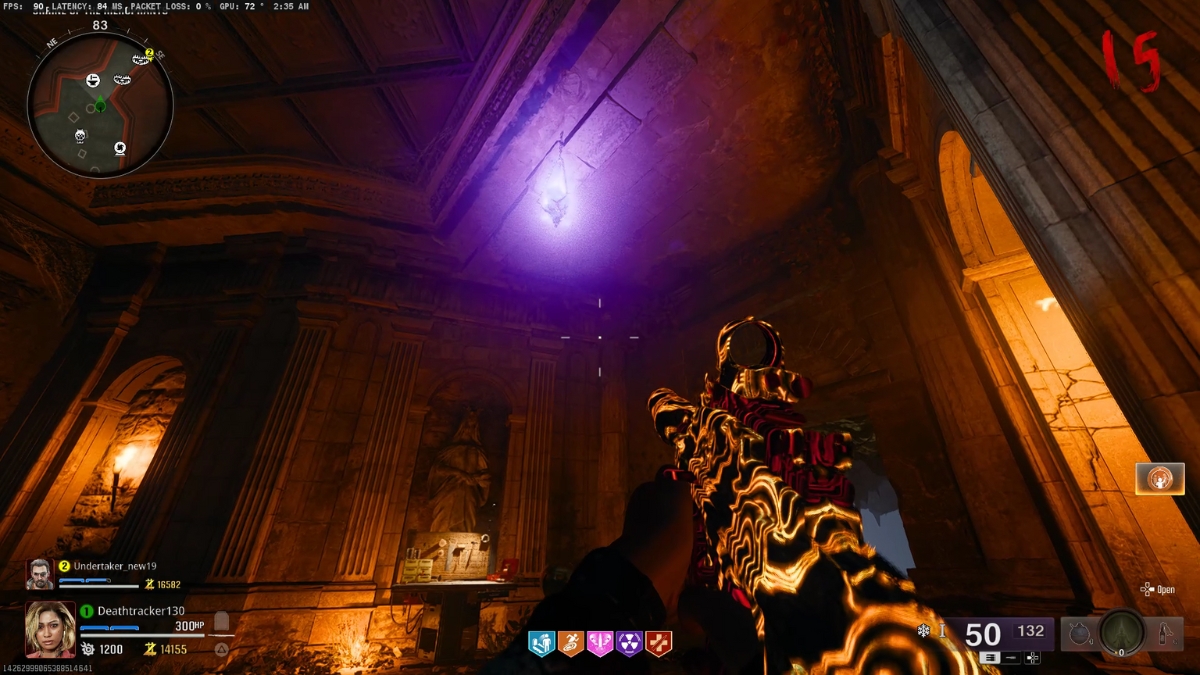
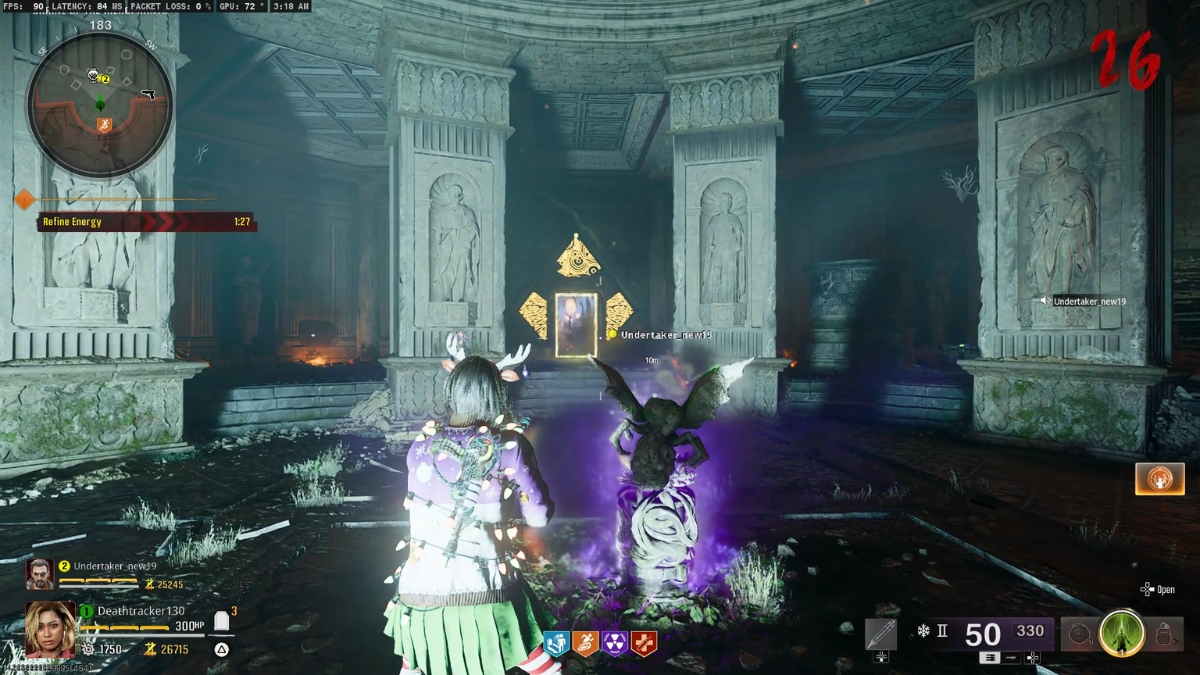
There’s a room next to the Green Portal that has a painting on the wall. Your first objective is to shoot the crystals in this area to make it spawn in this room. It might take a while, and I know it’s so annoying to wait for the crystals to change position. But if the lantern spawns in this room, it reveals some symbols on the image on the wall.

If you’ve ever played GTA games, you know what to do here. These are Roman numerals, and you need to shoot them from one up. Here’s a guide:
- I: 1
- II: 2
- III: 3
- IV: 4
- V: 5
- VI: 6
- VII: 7
- VIII: 8
- IX: 9
- X: 10
Once you shoot all symbols in the correct order, they all connect and a ritual begins. Don’t worry about messing up, though. You have three tries for failing your shots and then it’ll restart on the next round. So don’t worry, keep calm, and tell a friend to keep a last zombie busy so that you have time to shoot the targets.
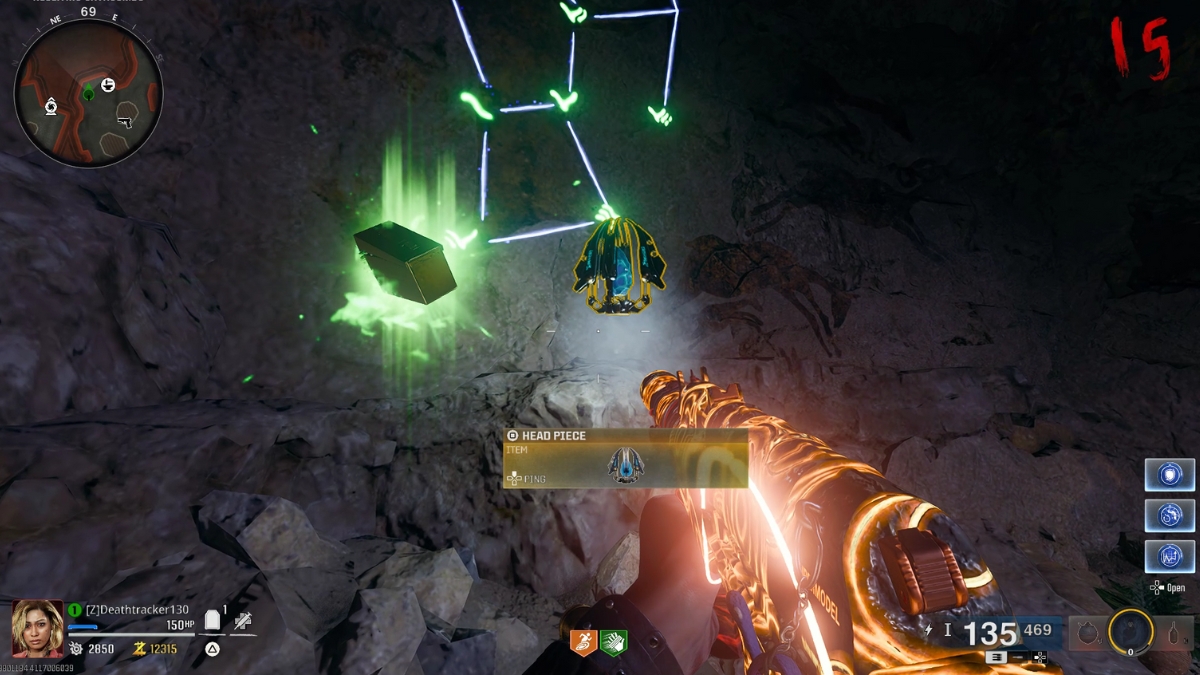
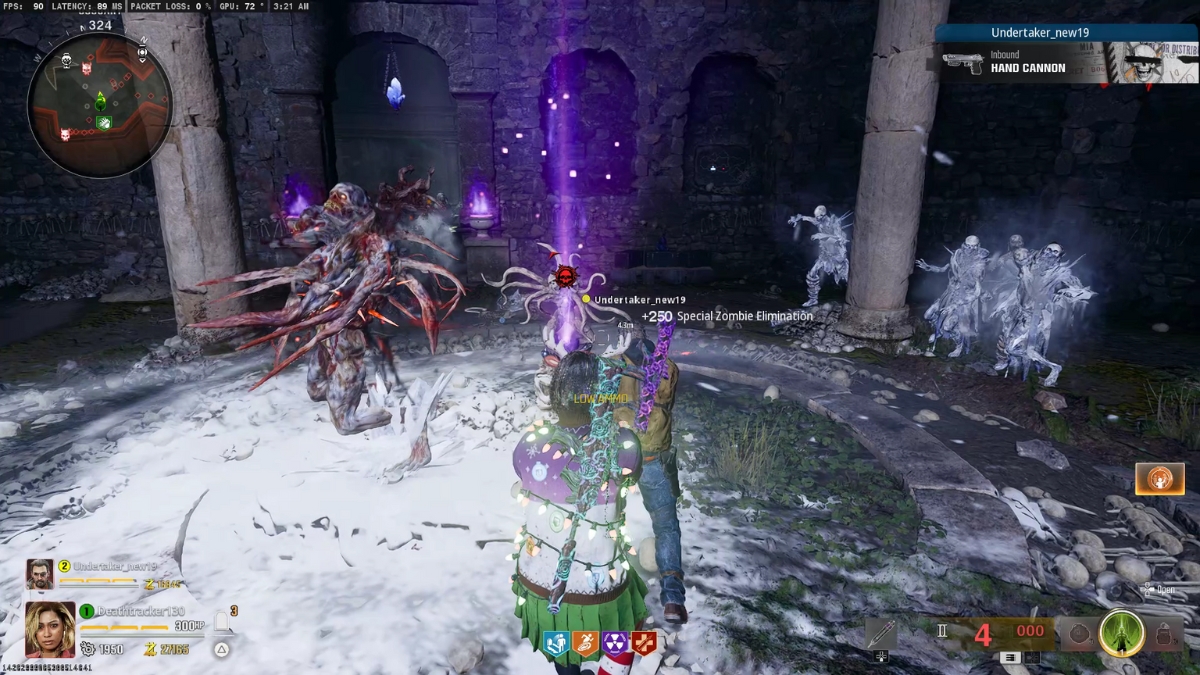
The ritual is a mini-area survival objective that’ll spawn different types of zombies to kill. Armored, normal, parasites, vermins, and doppleghasts are the targets; kill them all. Your reward for completing this part of The Tomb main easter egg in Black Ops 6 Zombies is the head of the Staff of Ice.
Step 2 – Acquire The Staff
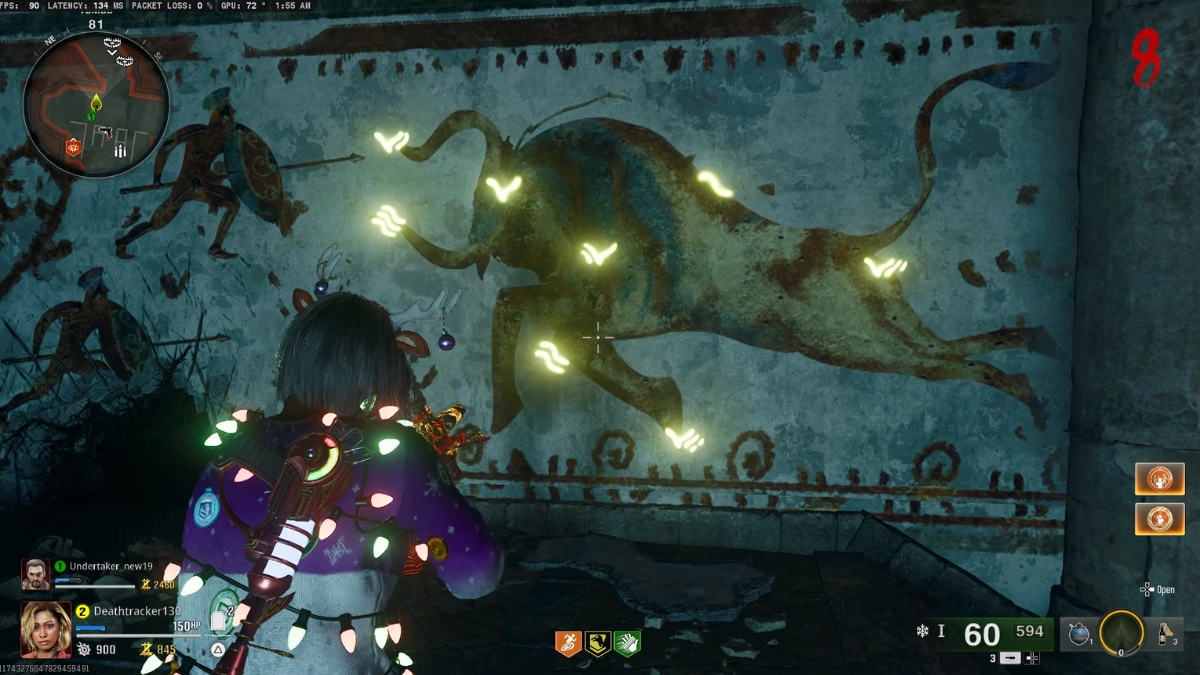
Go to the room after the Yellow Portal and you’ll find another painting that looks to be an ox. Same drill, different room. Look for the Aether lanterns in this area and the Yellow Portal room and shoot them until the one right in front of the painting is lit. Remember, the room with the riddle has four lantern spots and only the one in front of the painting works.
The Roman numerals will be revealed again and you need to shoot them so that another ritual begins. Surviving the fight rewards you with the staff part of The Tomb’s wonder weapon, which you’ll next need to take to the Dark Aether to fully craft.
Step 3 – Create The Staff of Ice
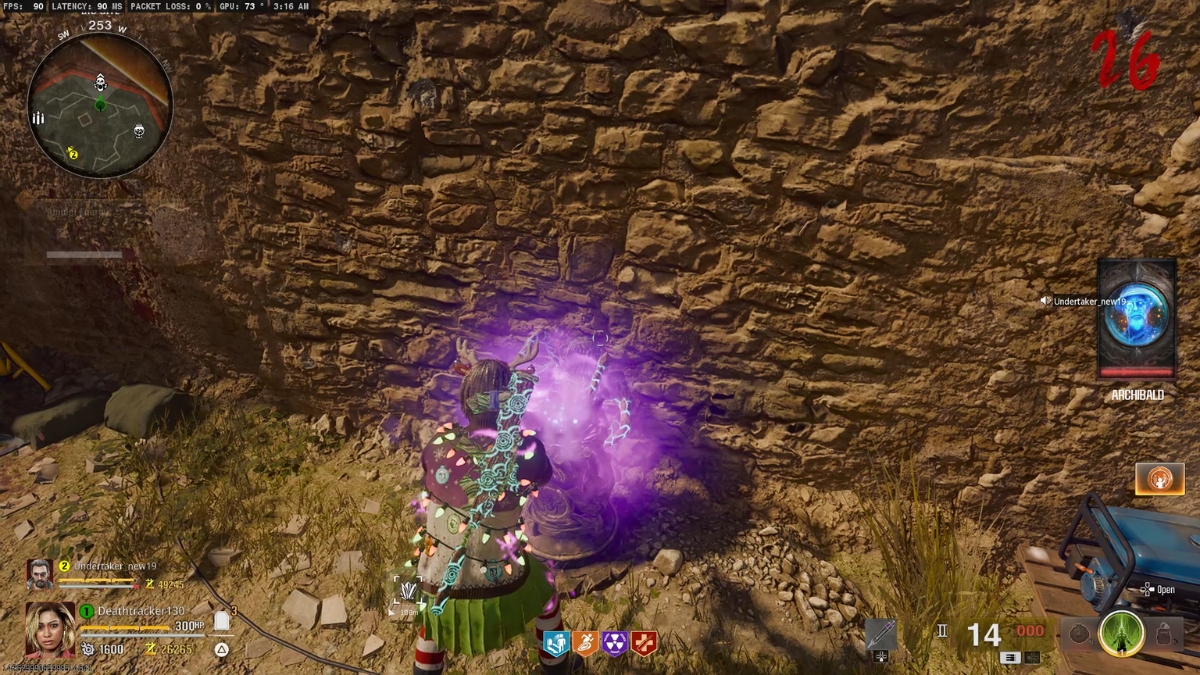
Now that you’ve got both pieces of the Ice Staff, head to the Dark Aether. Go to the broken structure in the middle of the map you see above, and hold the interact button in front of the hole. The Ice Staff pieces will be placed on the structure, and you need to survive a horde of zombies for a few minutes while also defending the wonder weapon.
Buy monkey bombs, Kazimir, armor, or whatever you think will help you fight 100 zombies attacking you and the staff. This part of the easter egg is so tricky and easy to miss. Zombies here have personal problems with the players, so, use everything you have to defend the perimeter. Sentry Gun + Kill Joy GobbleGum is my easy-win recipe here.


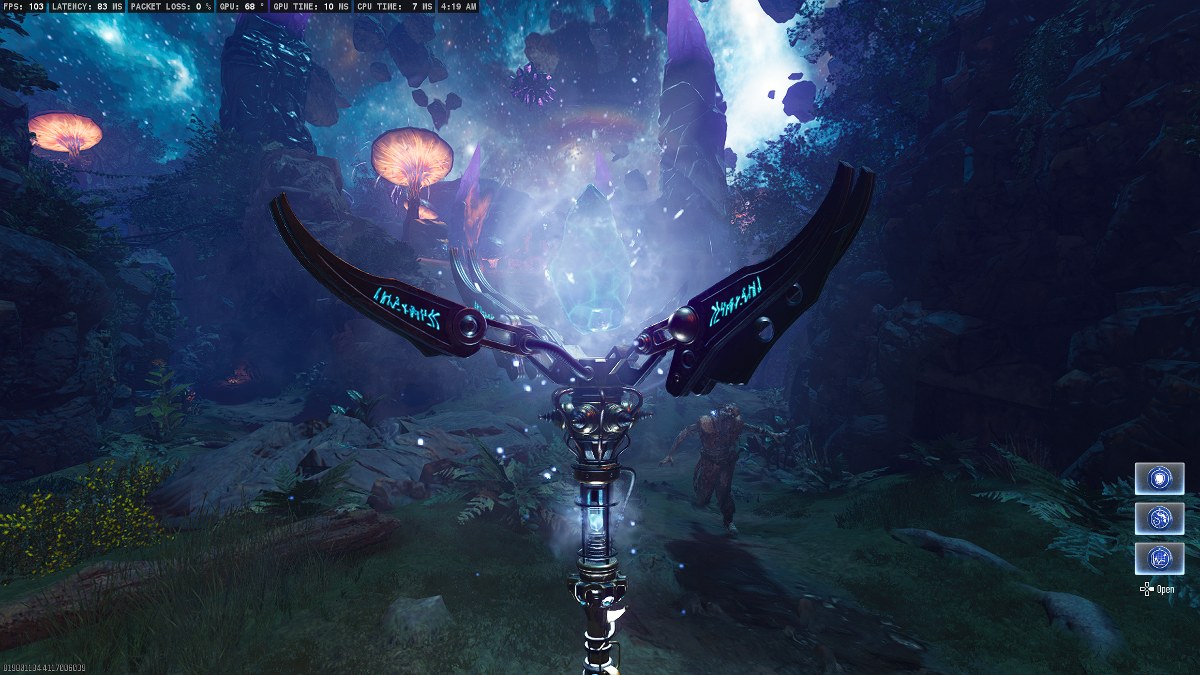
If you survive the horde, one player can pick the Ice Staff. Yep, there’ll be a fight in the squad on who picks this wonder weapon, and as you can clearly see I’ve lost the quarrel to my teammate here. The Ice Staff itself isn’t an OP weapon in the game unless you upgrade it, which is the next step in The Tomb map’s easter egg quest in Black Ops 6 Zombies.
Upgrade The Ice Staff
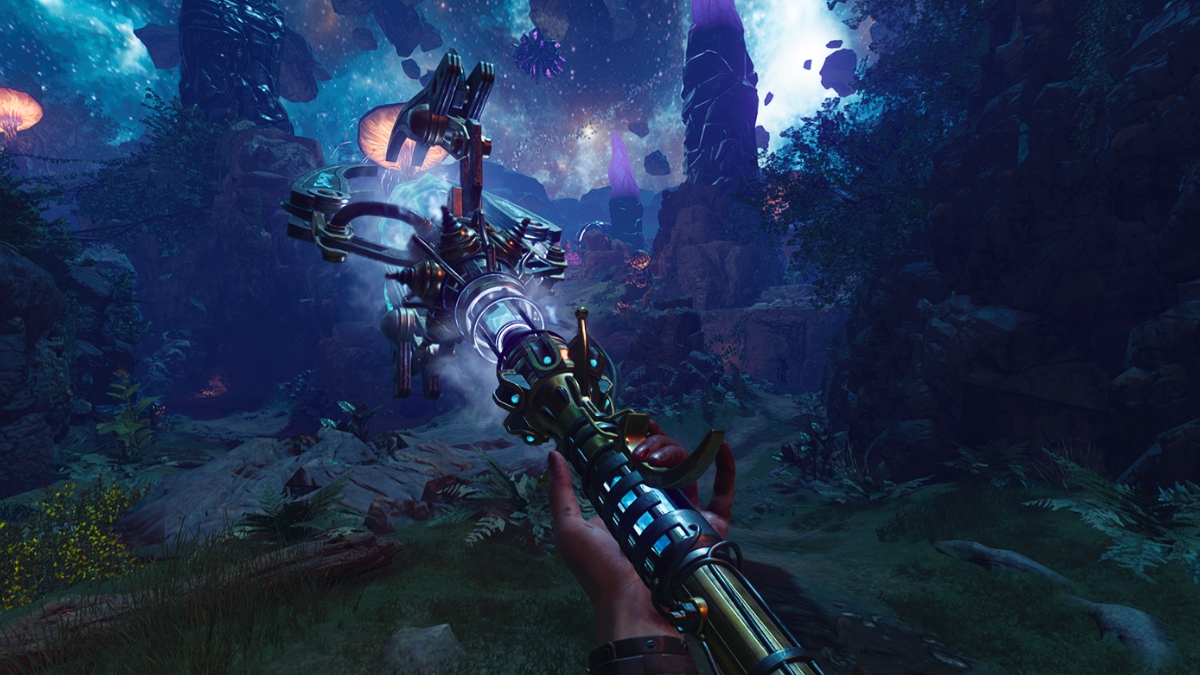
The charged shot, healing shot, and more damage are what the upgraded version of the Ice Staff is capable of. The staff can’t be Pack-A-Punched, so this is the only way to level up the wonder weapon you’ve fought to get. No more time wasting, there are three steps to follow:
Shoot 3 Crystals Under 10 Seconds
The first stop on upgrading the Ice Staff journey in The Tomb map starts with shooting 3 Aether lanterns in under 10 seconds. Just where you found the two paintings, you need to shoot 3 crystals with the Ice Staff in a very limited time. There’s no on-screen timer, and the cue to know that you’ve done the easter egg is Sir Archibald’s chattery about the Staff of Ice.
There’s no trick to cheese this challenge, but you need to shoot the crystals with normal bullets to change their position. Arrange them, practice the way, and shoot the 3 lanterns with the Staff of Ice. It’s better to make your shots from a very long range to save time.
Solve The Portal’s Puzzle
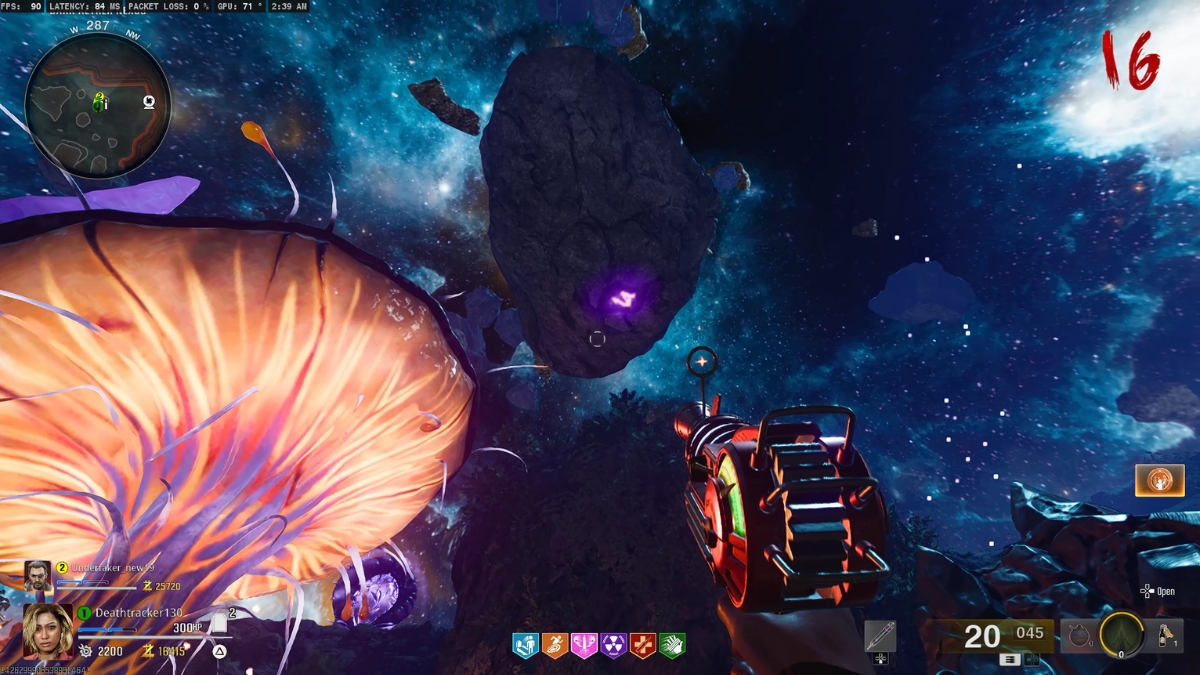
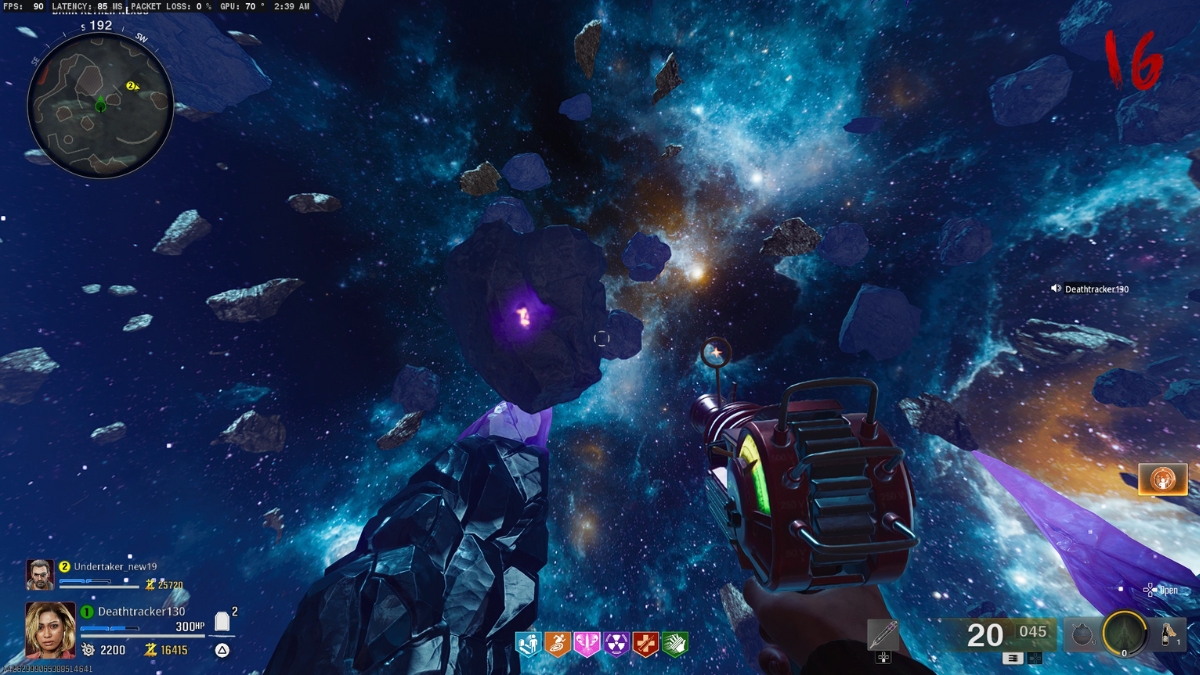
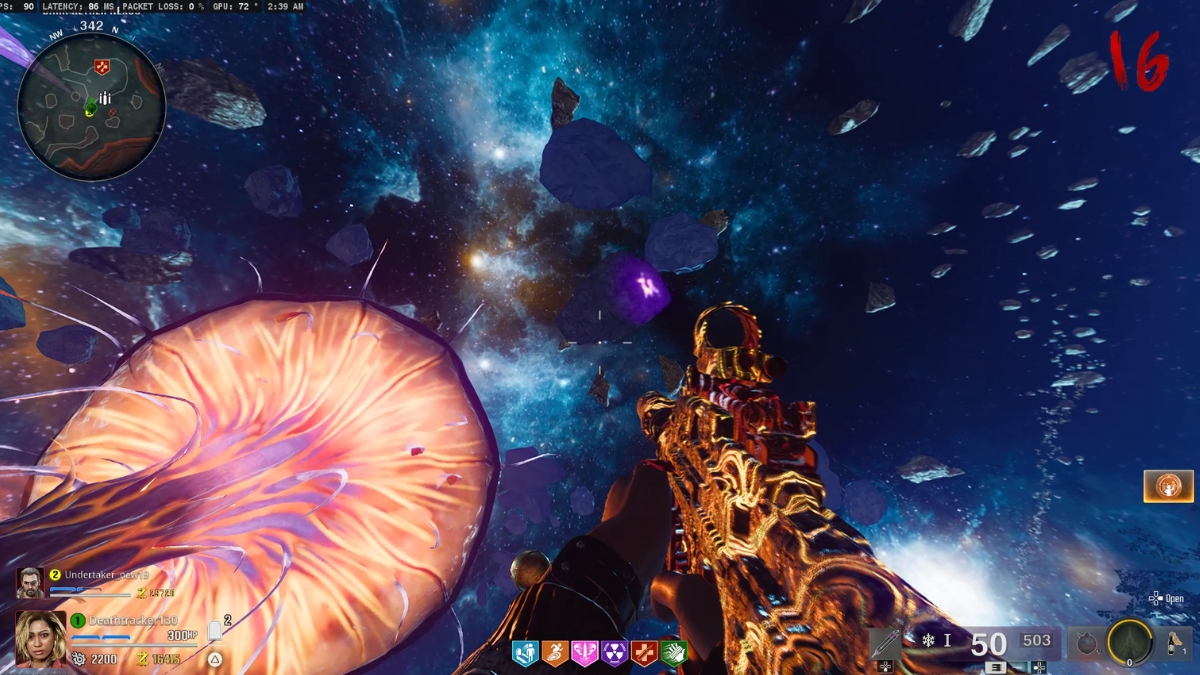
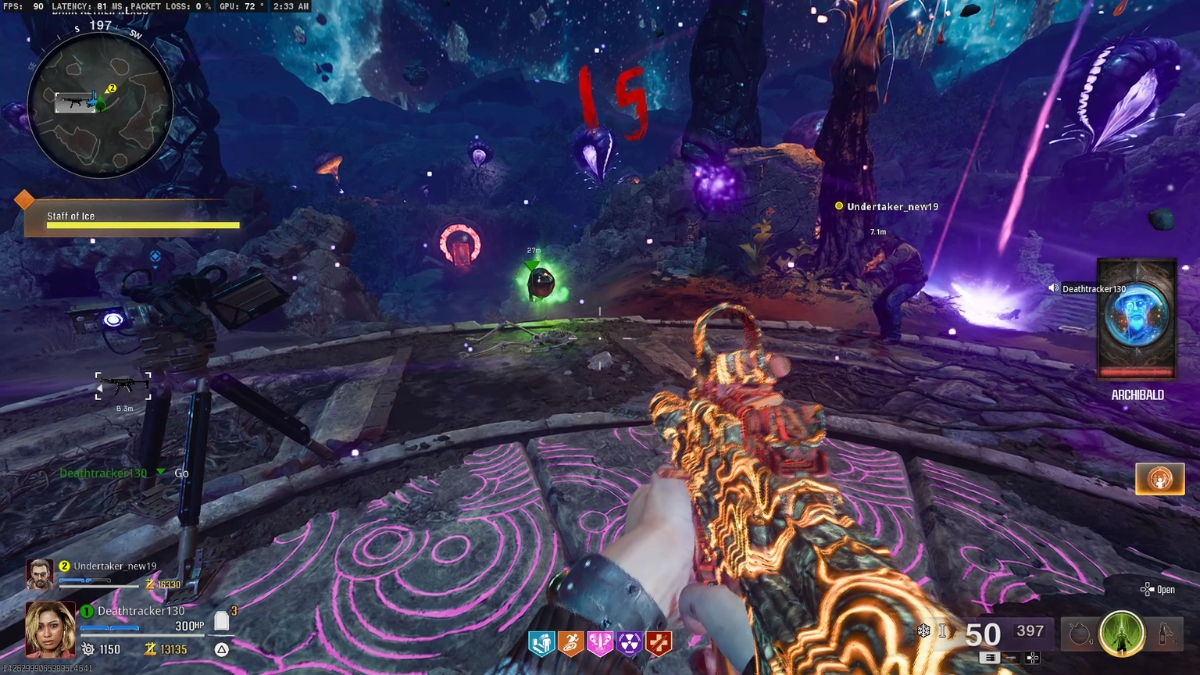
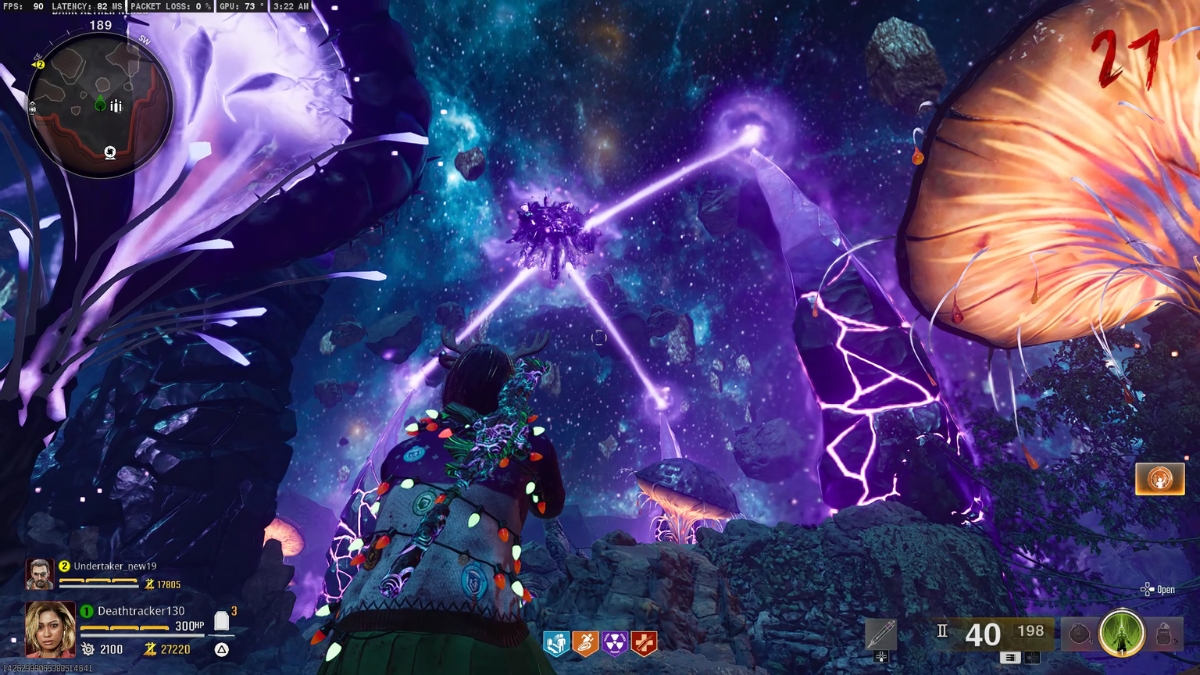
The Dark Aether has 3 rocks floating in the sky with a symbol around or under them. This part of the easter egg really does require good vision to spot and shoot the rocks with the Ice Staff. These rocks spawn anywhere near the middle of the Dark Aether, so look up in the sky in this area to find them.
Once you shoot any of the rocks with the Ice Staff, they come closer to the ground, revealing a symbol. It’s best to have a sniper rifle to spot these symbols here, but it’s not hard to miss anyway. Find them, memorize them, and look for the portals.
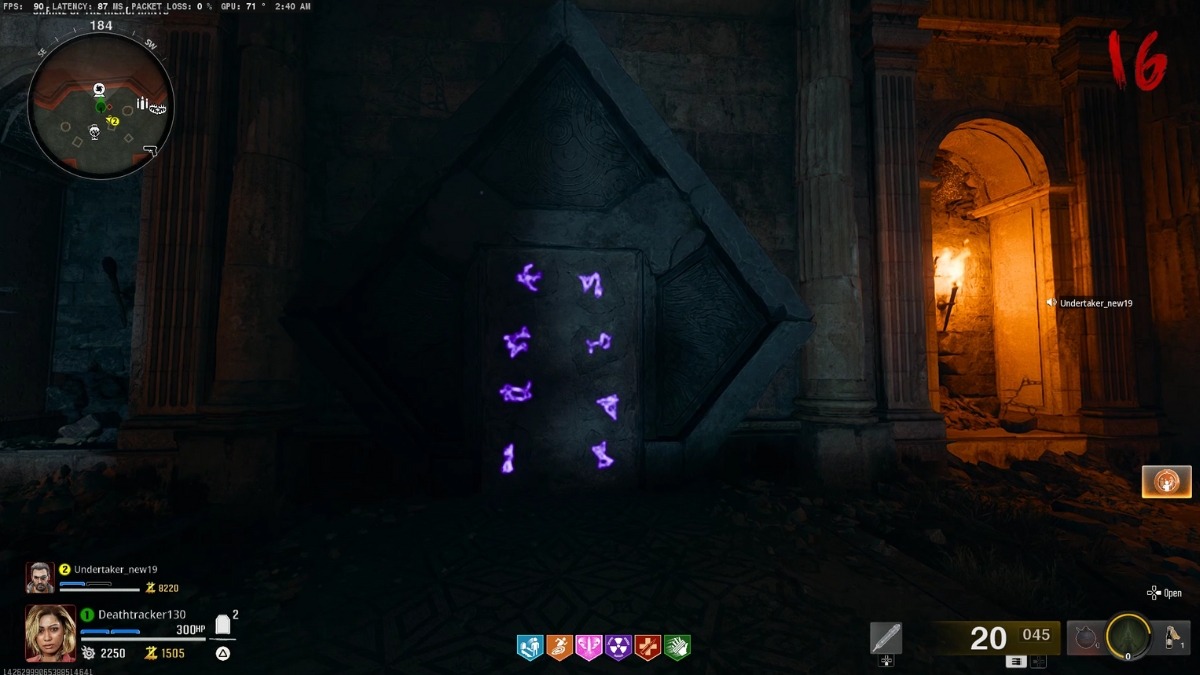
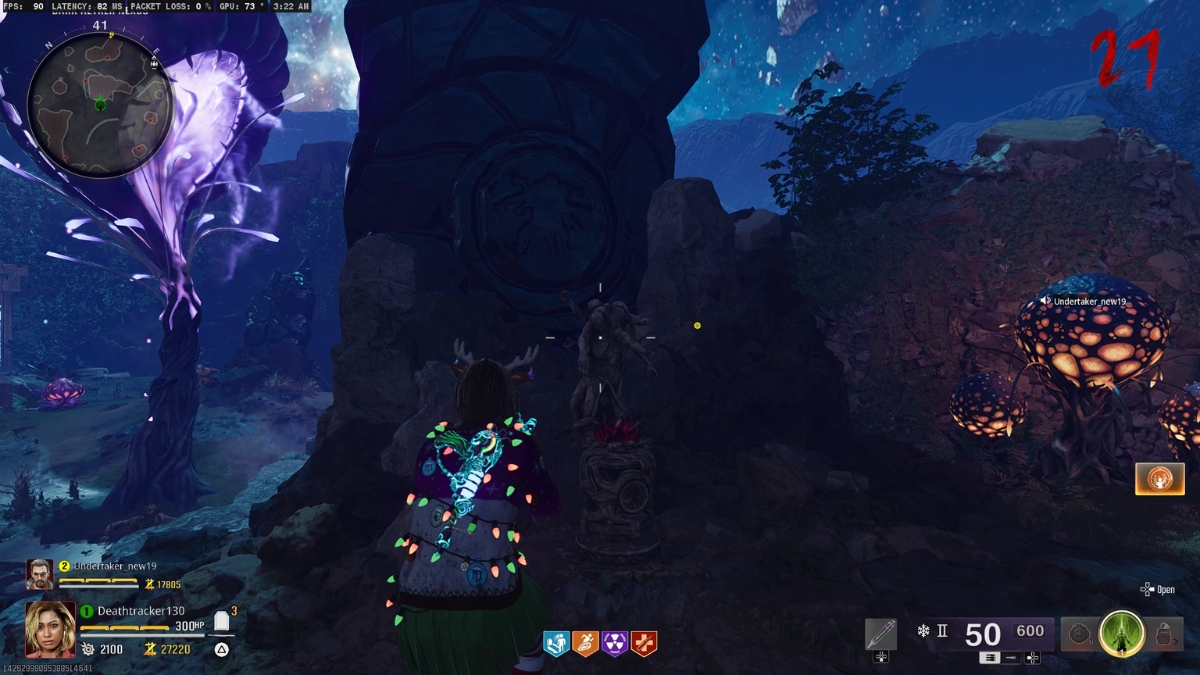
As soon as you find the 3 symbols, one of the 4 Dark Aether portals will be blocked. This could be any of the 4 portals while the others remain open. Enter another one of the gateways, and reach the blocked portal from the other side.
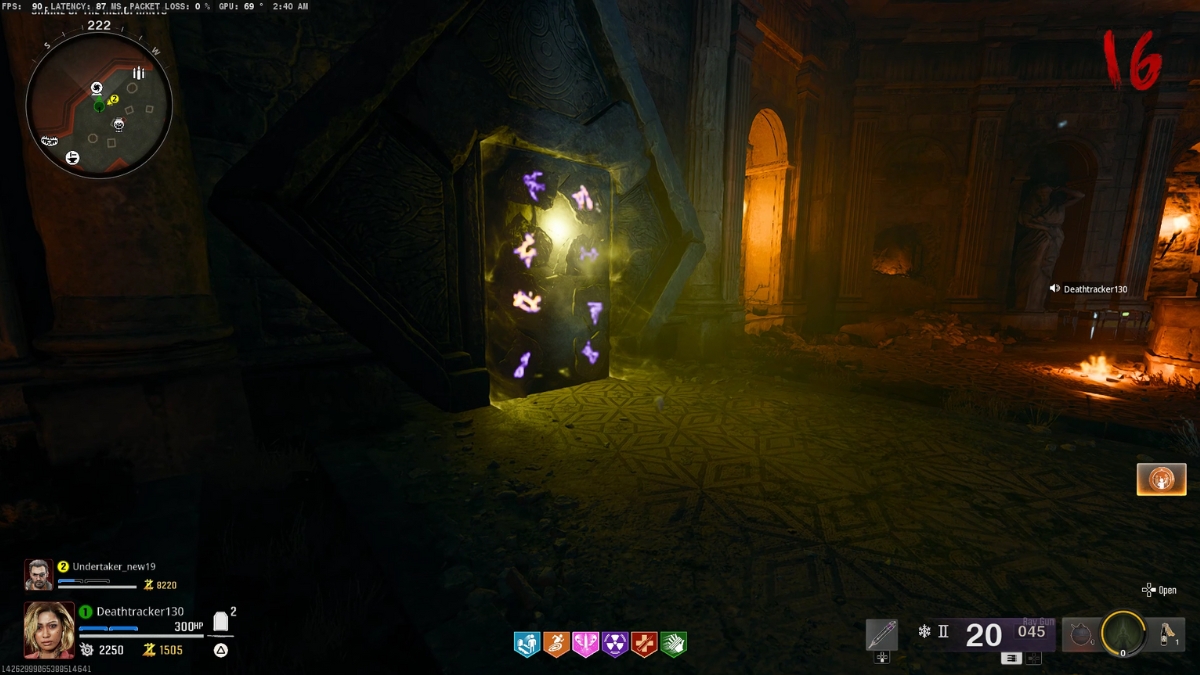
You’ll find 8 symbols on the back of the closed door with 3 of them being the ones you just found earlier. In no particular order, shoot the shapes you’ve noted, and the portal opens. Remember, if you shoot the wrong symbols, the portal still opens, but it’ll knock you down! So don’t enter the gateway all at the same time or if you don’t have a Self-Revive playing Solo.
Escort the Orb

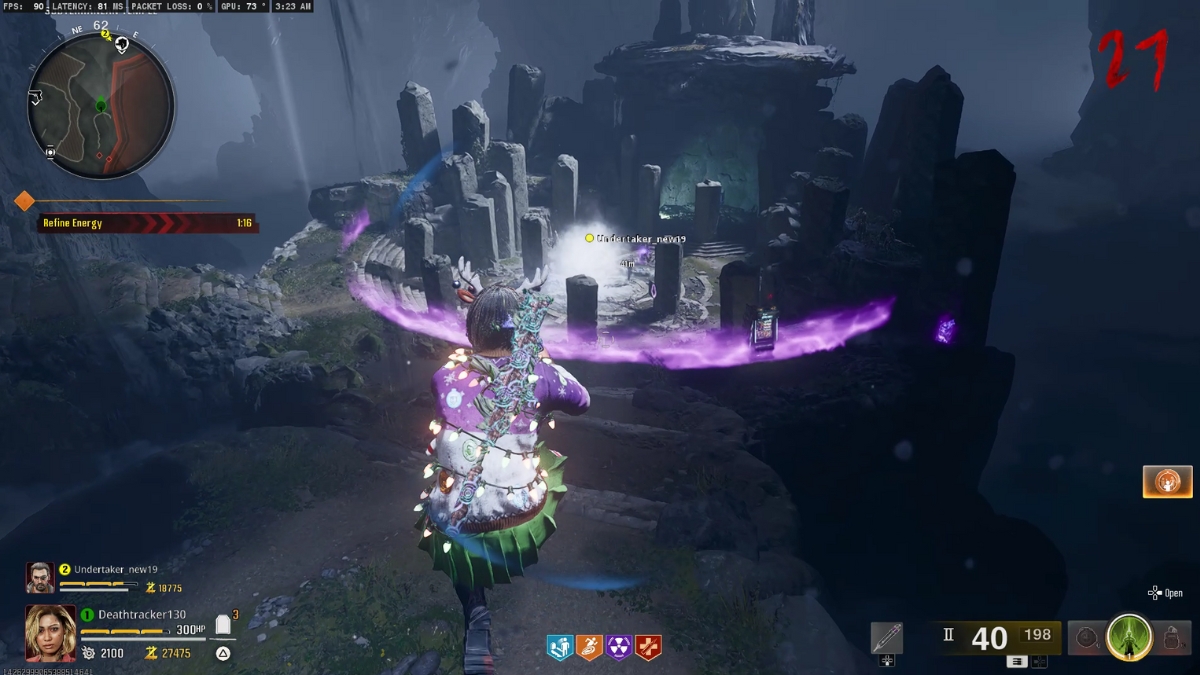
Assuming you’ve shot the right symbols with the Ice Staff, we proceed to the next step in The Tomb’s main easter egg quest in Black Ops 6 Zombies. You’ll be spawned on a rock, right in the middle of the Dark Aether. Don’t waste any time and hold the interact button in front of the purple orb to activate the challenge.
This orb will charge your Ice Staff and upgrade it later in this easter egg, so you’ll have to protect it with your life! It’ll go around the Dark Aether area of the map at a slow pace, spawning a horde of zombies that’ll do anything to prevent you from reaching the Ice Staff upgrade. Crafting the staff was pulling teeth, so it makes sense if upgrading it is a demanding challenge.
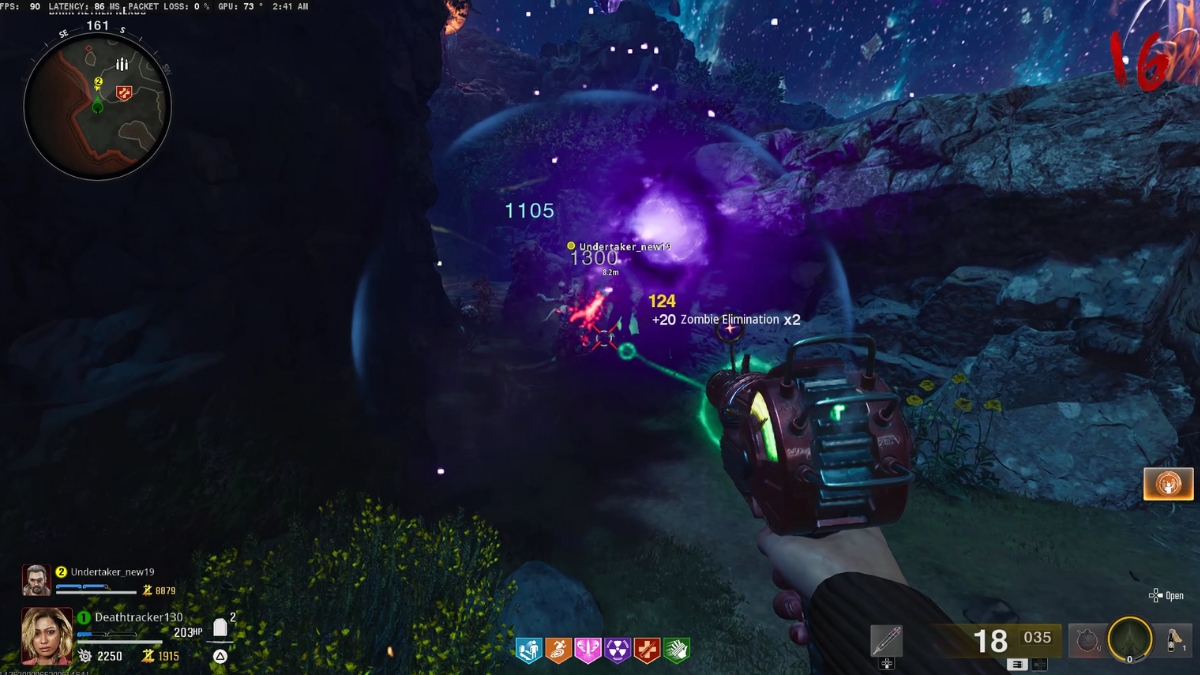
The best strategy is for one player to stick to the orb while others clear out the zombies with Pack-A-Punched weapons and monkey bombs. Remember, if you drift away from the orb for a few seconds, the challenge fails and you can’t repeat it until the next round.
If you successfully escort the orb back to the middle structure, however, the player that has the Ice Staff can press and hold the interact button in front of it to upgrade the Origin wonder weapon. Not much left until you reach The Tomb map’s main quest boss fight in Black Ops 6 Zombies. Regroup, eat some snacks, and let’s head for the next step.
Beat The 4 Trials
Remember the Origins map’s dig site in Black Ops 2? There were 4 horn-shaped rocks around the place that went down to the crazy place, and you can spot the same ones with a different color in The Tomb’s Dark Aether section as well. It’s right in the middle, you can’t miss it.
Now look at the root of each of these bowed pillars. There are four posts and four podiums. Each of the podiums has one zombie-type statue on top of it, meaning that you’ll have to pass a trial killing them somewhere on the map. Follow the steps below.
Vermin Challenge
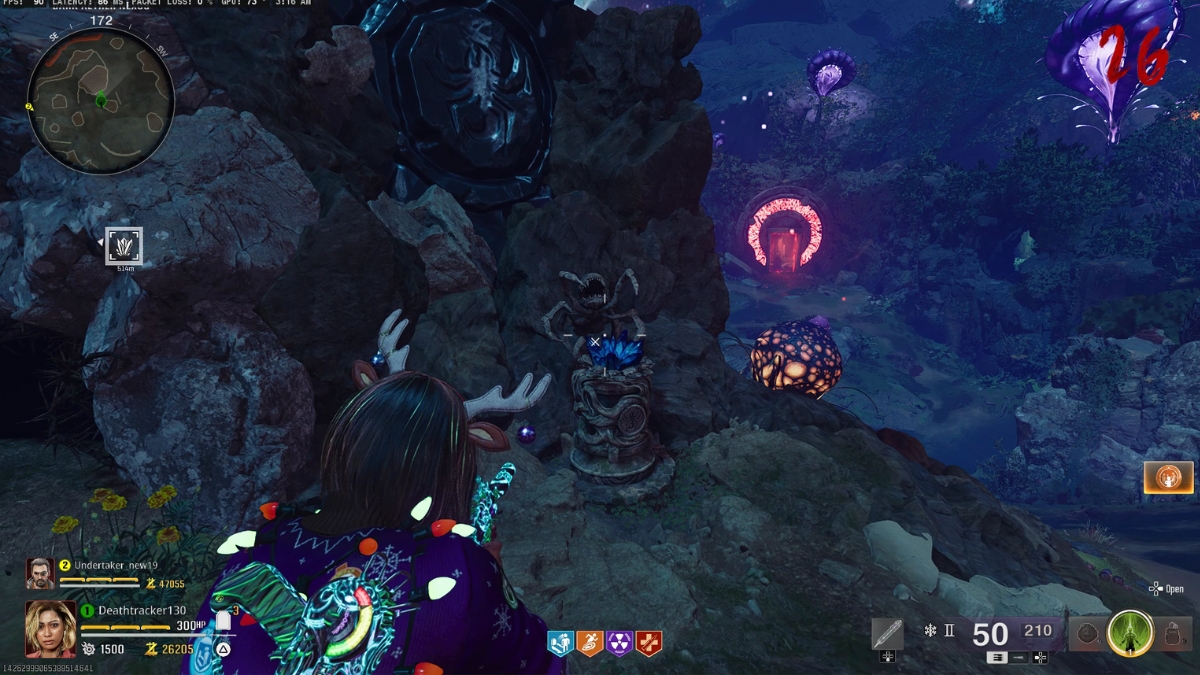
First, the annoying vermins. This is the vermin podium you see in the image above, and you’ll have to shoot it with the healing shot of the Ice Staff to activate it. Once activated, you can pick the Aether energy inside, and then head back to the spawn from the Blue Portal.
Right down the pit, there’s a vermin podium waiting to receive the Aether energy you’re carrying. Press the interact button, and a massive horde of vermins will attack you. Kill them, and you’re cleared. Once over, pick the Aether energy from the statue again, and head back to the Dark Aether to place it on the vermin podium.
There’ll be a few new zombies spawning as soon as you pick up the energy, trying to chase you down. If you get hit a few times by the undead hands, the energy drops and you’ll have to pick it up again.
Parasite Challenge

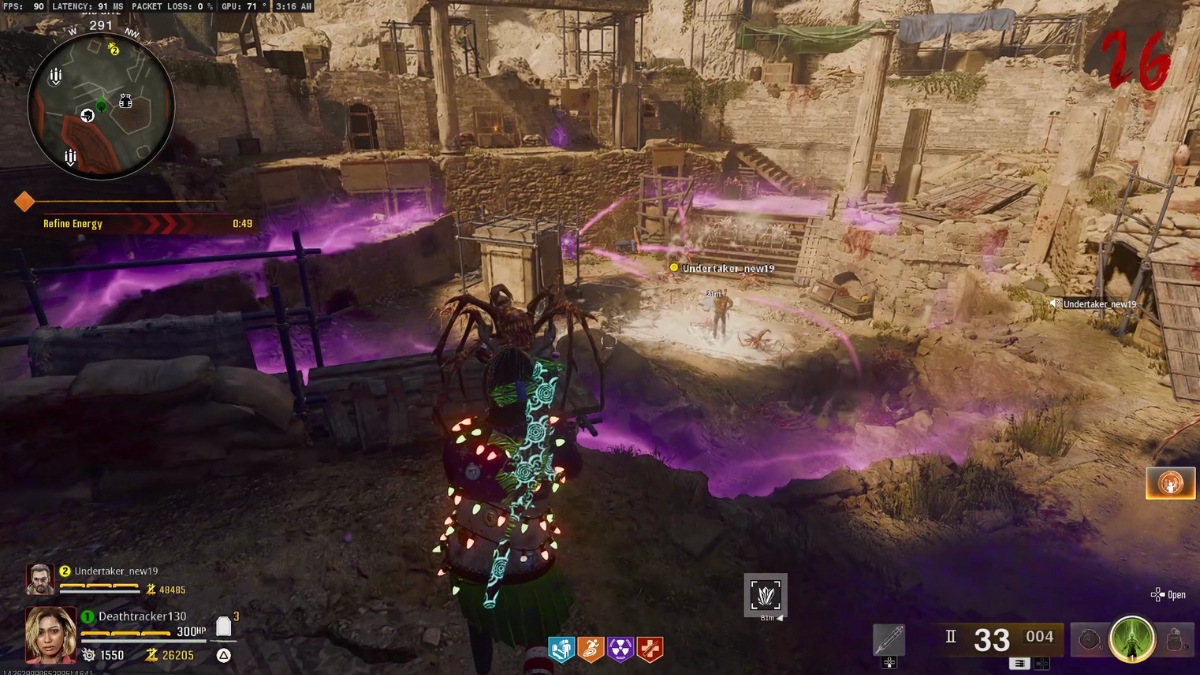
Our next objective toward reaching The Tomb map’s main easter egg quest boss fight in Black Ops 6 Zombies is killing parasites. The parasite statue is right near the Pack-A-Punch in the Dark Aether. Shoot it with Ice Staff’s healing shot, and then pick the Aether energy. Next, you’ll have to head to the Yellow Portal where you’ll find the parasite statue right in front of the Stamin-Up perk machine.
Placing the Aether energy will start the parasite challenge, which is a little bit different from the vermin trial. Yes, you still have to kill them, but you should be looking for the ones with purple aura. These parasites will drop an Aether orb kind of thing that you can pick by just walking right passed them. You’ll then have to quickly go back to the statue to place it there.

Make sure you track the Aether rays that are thrown out of the statue during the challenge. That’s how you can find the purple parasites and finish the trial as quickly as possible. Once done, pick the Aether energy and put it back on the parasite statue in the Dark Aether.
Doppleghast Challenge
The third statue is made in honor of the doppleghasts that died in this tomb. It’s right where you see in the image above under one of the bent pillars, and again, you’ll have to shoot it with the healing shot to activate. Grab the energy, and enter the Green Portal. The doppleghast podium is right in front of the Speed Cola perk machine.
This challenge is super easy as you’ll only have to slay a few doppleghasts and then put the Aether energy back to the Dark Aether. One more challenge and we’ll get to The Tomb map’s main quest final boss in Black Ops 6 Zombies.
Amalgam Challenge
The final challenge is for the worst zombie type I’ve ever seen in CoD Zombies, the amalgam. You’ll be only facing one elite zombie this time in this challenge, but it’s on steroids. Go fully prepared with level 3 armor and level 3 Pack-A-Punched weapons. The statue is located under the last pillar you see in the image above, and you need to place it on the podium in front of the Quick Revive perk machine.

Enter the Red Portal, start the challenge, and shoot that damn amalgam. There’s only one amalgam, but he becomes immune once you drain a part of its HP. The boss’ shield is attached to a normal zombie when this happens and you’ll have to kill the walking corpse to make amalgam’s HP vulnerable again. Once you’ve killed the boss, bring back the energy to the Dark Aether, place it on the statue, and get ready for the final boss.
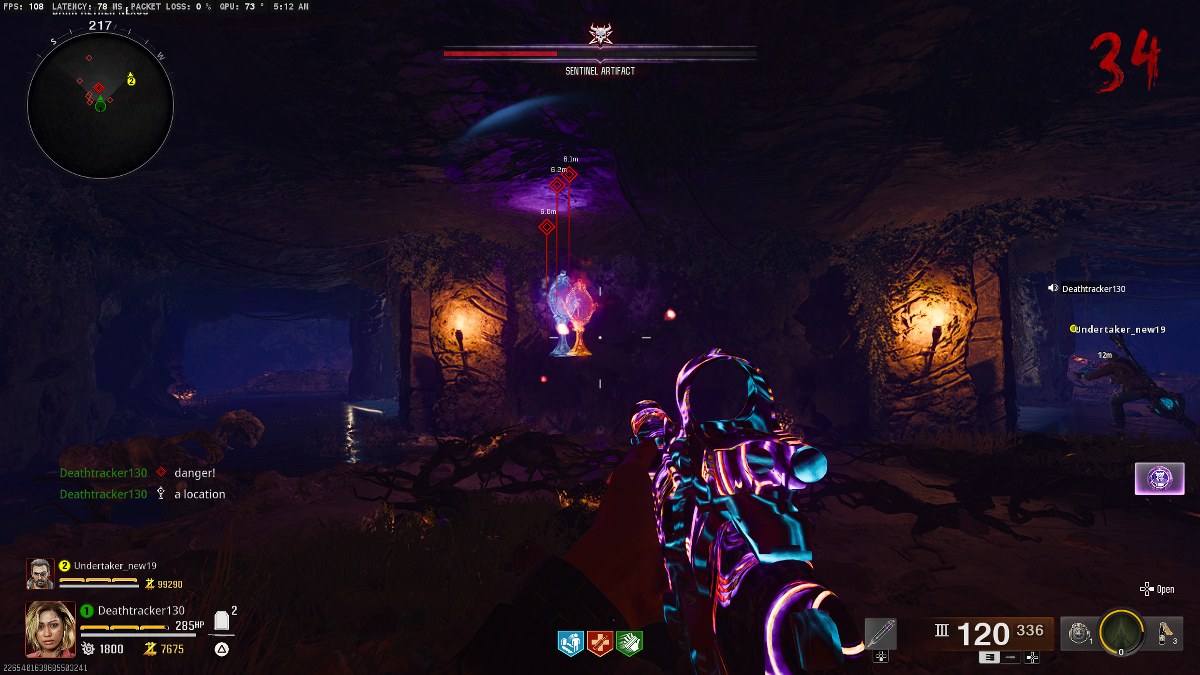
Defeat The Sentinel Artifact, If You Can
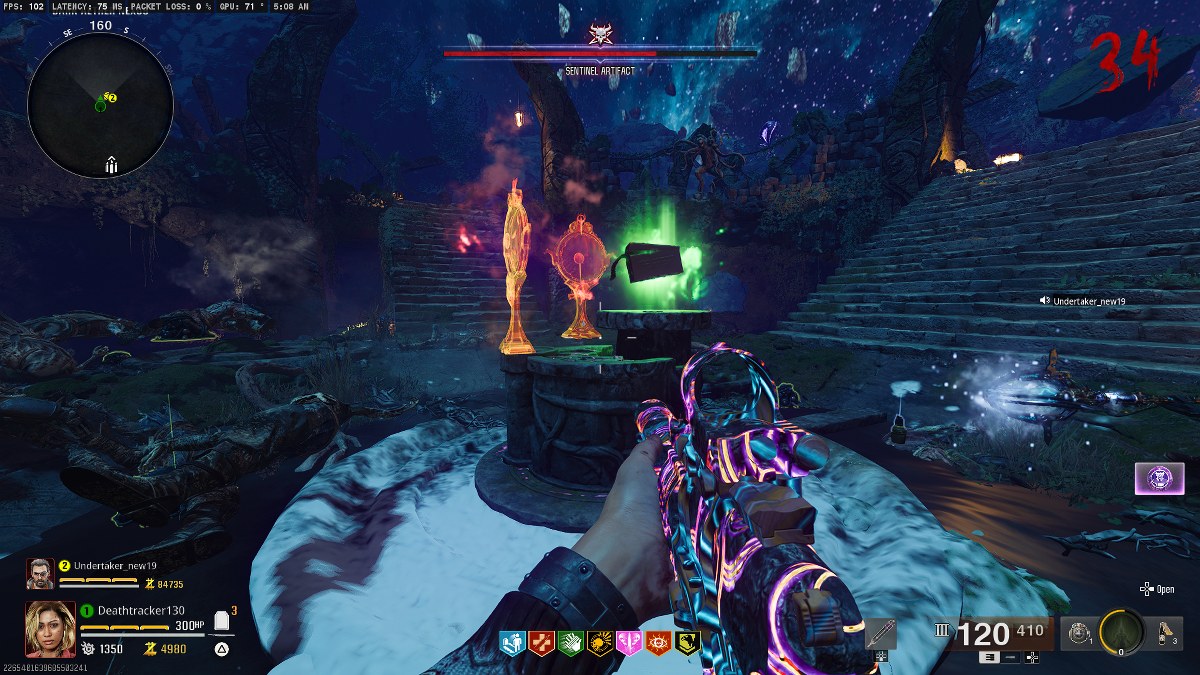
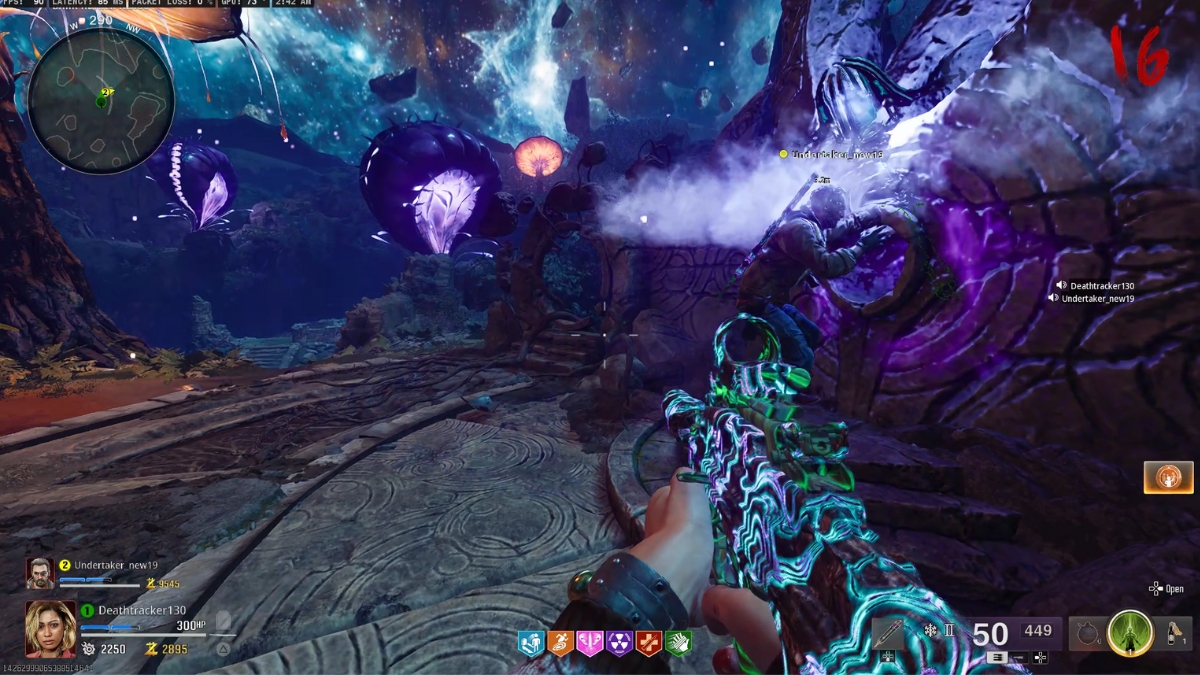
I’ve lost this boss fight 27 times and now the developers have patched the Hand Canon bug for the Ice Staff, so it’s kind of impossible to complete if you’re not playing at peak agility. The Sentinel Artifact awaits at the end of the Dark Aether. Are you ready? Go straight to the end of the Dark Aether section of The Tomb map, and your road to the Sentinel Artifact will emerge. Gear up before leaving.
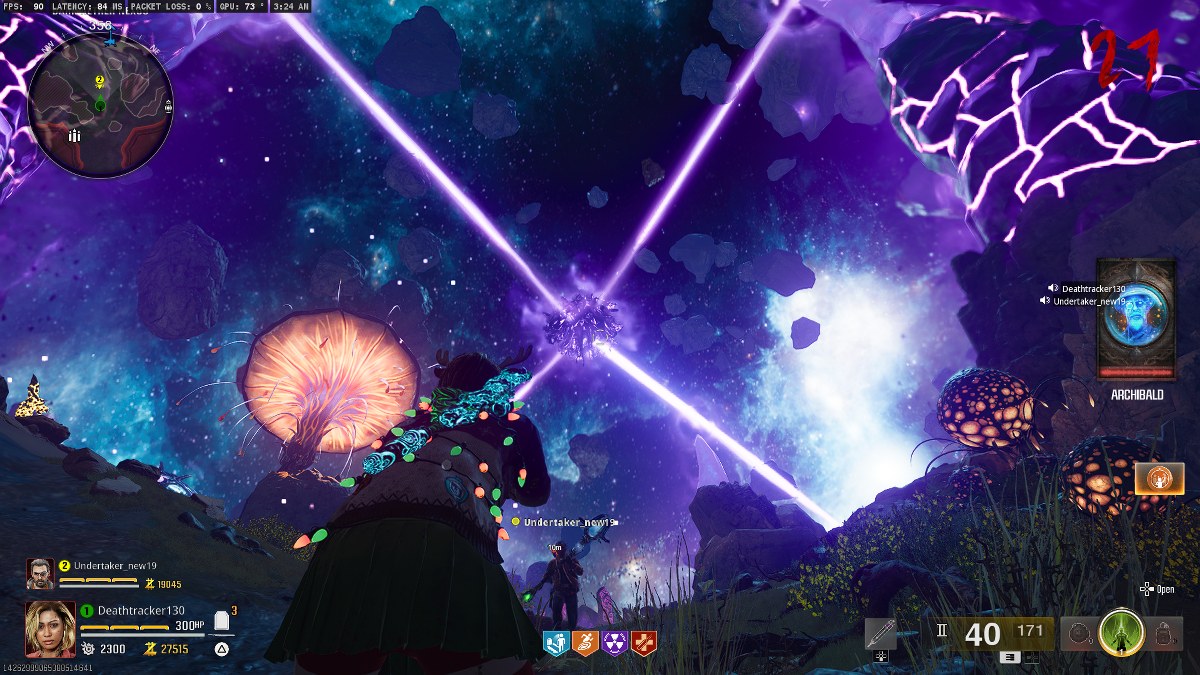
Activating the final boss fight in The Tomb map’s main easter egg quest in Black Ops 6 Zombies will spawn the Sentinel Artifact laser beaming the entire area. This is the trick: Sit right in the middle of the map and the artifact can’t touch you. There’ll be zombies, yes, but you can easily kill them with the charged shot of the Ice Staff.
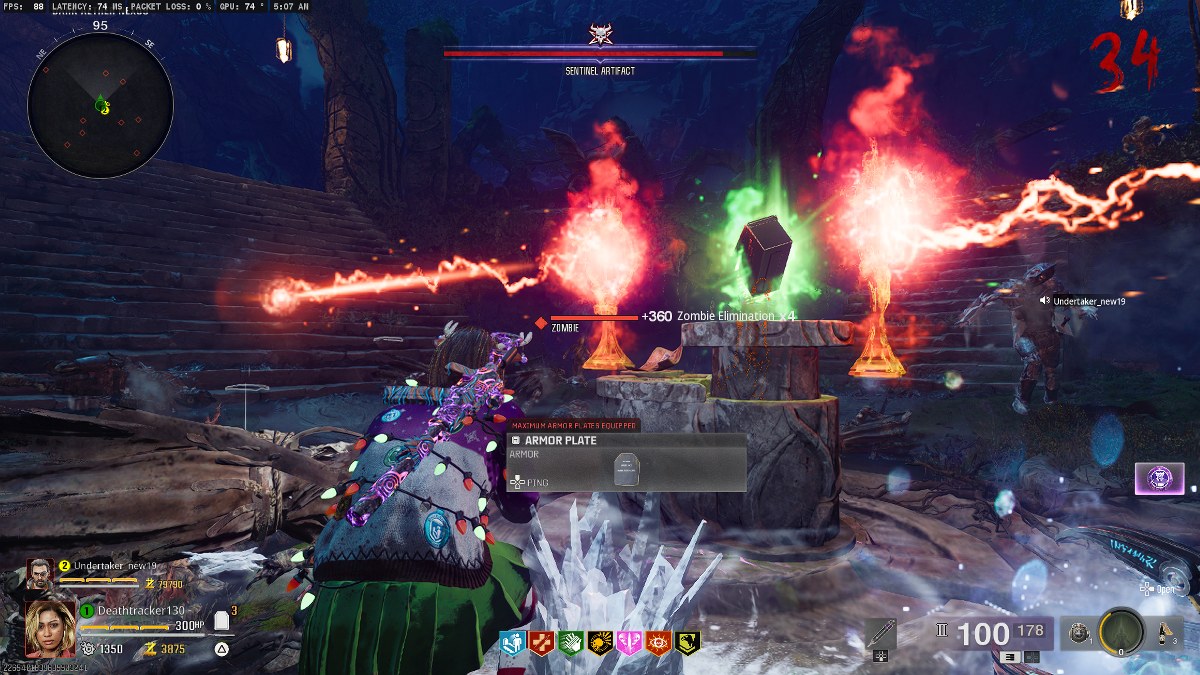
Keep an eye on the Sentinel Artifact above. Right when it turns blue, you’ll have a small window to shoot it down. However, the hard part about this boss fight is that it’s got so many stages. You shoot one Sentinel down, and it becomes two, further increasing the difficulty.
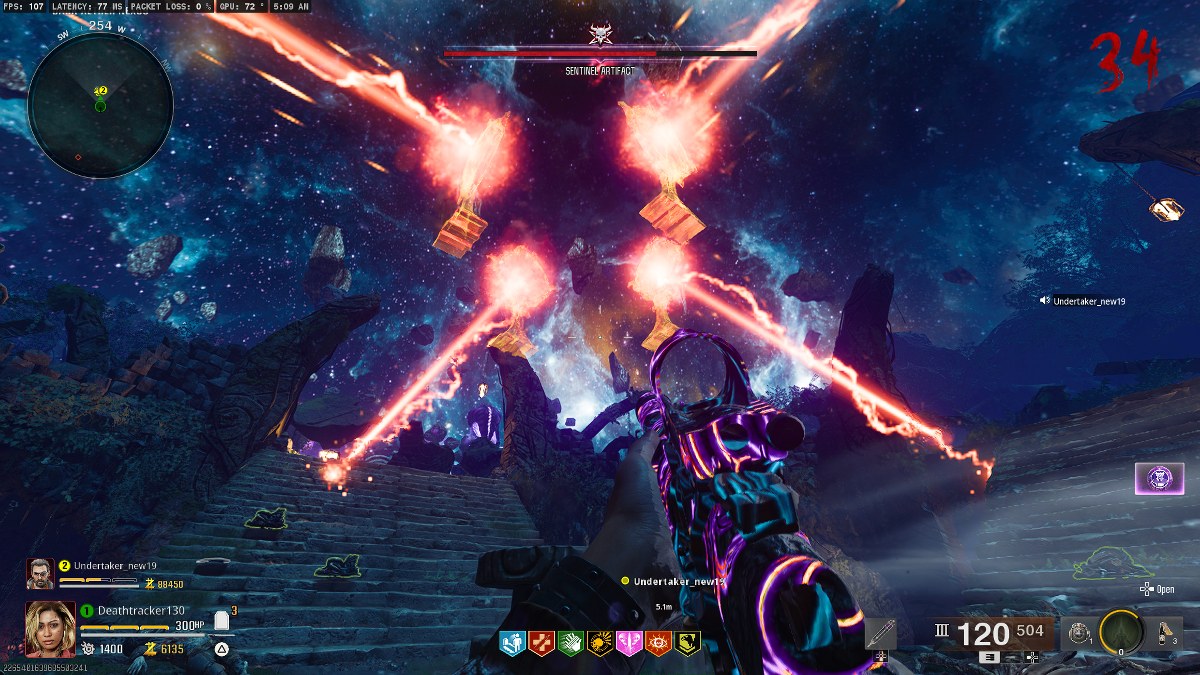
After you shoot the two Sentinel Artifacts successfully, it doubles to four, making this boss fight a nightmare. But you know what? There’s more! You don’t have to shoot all 4 Sentinel Artifacts down this time, but each time you take one out, an elite zombie with the Sentinel on its face will attack you. Want worse? They can knock you with two only two hits even if you’re packed with full armor and Juggernog perk.
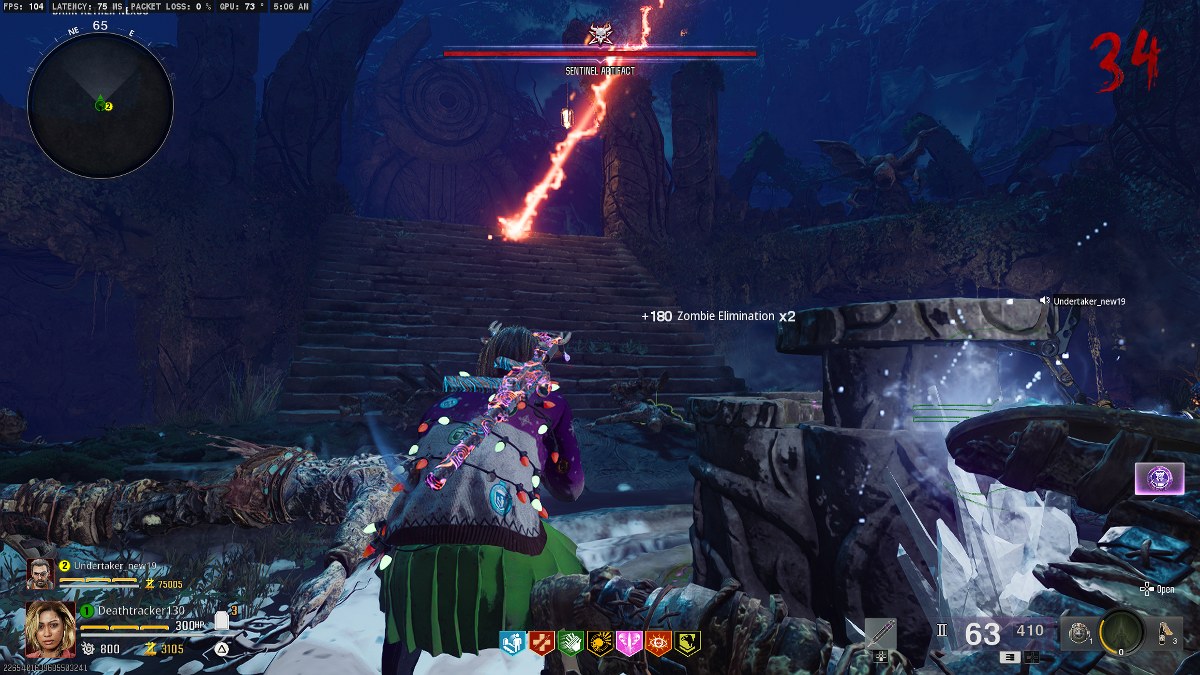
If you somehow manage to take down the elite zombie with the Sentinel Artifact, it stands right there in the middle of all the other walking corpses and you’ll have to shoot it down. There’s a small window for shooting the blue Sentinel Artifact, so if you’re not fast enough, the challenge repeats.

Do this for all the Sentinel Artifacts in the middle, and they all piece into one. The final step is to shoot down the main Sentinel Artifact and end this nightmare. You’ll be well-rewarded with an Ice Staff skin by completing The Tomb’s main easter egg in Black Ops 6 Zombies, and well, I respect your courage for tackling such a hard quest.


")

