Table of Contents
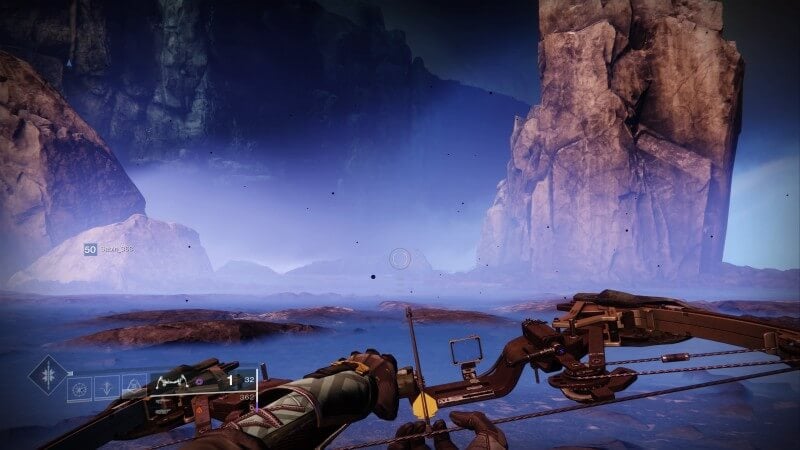
The Destiny 2: Corsair Down quests takes you on a grueling journey through the Dreaming City to track down fallen soldiers. The Dreaming City is one of the craziest places you’ll explore in Destiny 2. Though it won’t be one you easily forget. This mysterious city houses minibusses unlike any other, a new curse cycle each week, and even Ascendant Challenges for you to work through. The Dreaming City has a small chance to drop the Corsair Down Quest. The only problem is that this quest gives you little to no directions and hints as to what your reward will be. In this Destiny 2: Corsair Down Quest Guide, I’ll give you everything you need to know to complete this quest.
How to Complete Destiny 2: Corsair Down Quest
To complete this quest, you must go through a decent number of steps.
The Quest will specify six locations, each giving you the general area to search at the end of the phrase.
- Something about a spine and mist
- Spine of Keres
- West of Divalian Mists
- Something about a Bay
- Bay of Drowned Wishes
- Divalian Mists’ Lost Sector
- Something about a Garden
- Gardens of Esila
- South of The Strand
- Something about a Chamber
-
- Chamber of Starlight
- The Strand’s Lost Sector
- Something about a harbinger
- Harbinger’s Seclude
- North of Rheasilvia
- Something about Aphelion
- Aphelion’s Rest
- Rheasilvia’s Lost Sector
Every time you find a body in one of these areas, you will be attacked by a miniboss. Once they die, they drop a Corsair Badge. At the quest’s end, the badges can be turned into Dreaming City NPCs to get Destiny 2: Corsair Down Quest rewards.
Related:
Destiny 2: All Ascendant Challenges and How to Complete Them
Destiny 2: Corsair Down Quest Body Locations
Throughout the Destiny 2: Corsair Down Quest, you will have to find 5 bodies in each of the 6 locations throughout the Dreaming City. Below are all the corpse locations.
Spine of Keres Locations
- On the shore, next to a boulder
- On a cliffside near the shore
- Straight down the cliffside from Corpse #2
- Next to a pile of rocks off the dirt path that leads back to the shoreline
- Down the rock path to the left from Corpse #4
Bay of Drowned Wishes Locations
- Near the boulder outside of the cave entrance
- Behind the first Abomination, the boulder farthest to the left rises above the mist.
- Directly to the right of Corpse #2, under the jagged boulder
- Down the rock wall to the right of the cave entrance, near a pair of rusted Servitor Shells
- Directly before the entrance to the boss cave, turn to the left until you get to the single boulder in the mist
Gardens of Esila Locations
- At the bottom of the first staircase, it is resting against the wall across from a tree.
- North of Corpse #1, resting near the wall and a bench
- West side of the garden, near a circular platform
- North of the path near Corpse #3, next to an Awoken statue
- To the right of the portal to Harbinger’s Seclude
Harbinger’s Seclude Locations
- Lying on the ground directly in front of you as you enter
- Near a pillar just before the Cryptolith doors
- In the Crytoplith Room, left of the entrance near some rocks in a small body of water.
- Beside the Northern outer wall of the Awoken building
- Straight down the elevator shaft in the next room, next to a pillar
Chamber of Starlight Locations
- Behind a patch of red grass in the first room, left of the middle boulder
- down the path to the next room and up the path that the Taken Thralls jump down from
- Directly to the right of Corpse #2 and straight ahead
- Farther along the wall from Corpse #3, in the corner
- Toward the Locked Dreaming City door and to the right of the Lost Sector Chest
Aphelion’s Rest Locations
- Halfway between the entrance and the first group of Taken Thrall, next to a boulder.
- In the first room with grass patches, near the right, Dreaming City state next to the wall.
- Up the ledge by the left Dreaming City statue
- In a dimly lit area of the cavern, to the left of the Lost Sector chest
- Up the ledges behind the Lost Sector Chest
Completing the Destiny 2: Corsair Down Quest
From here, you will simply navigate to the Awoken NPC inside a tower typically surrounded by Taken Thrall and turn in your badges!
Hopefully, this Destiny 2: Corsair Down Quest Guide was helpful for you, and you will be able to receive your quest rewards.

