")
Skip To...
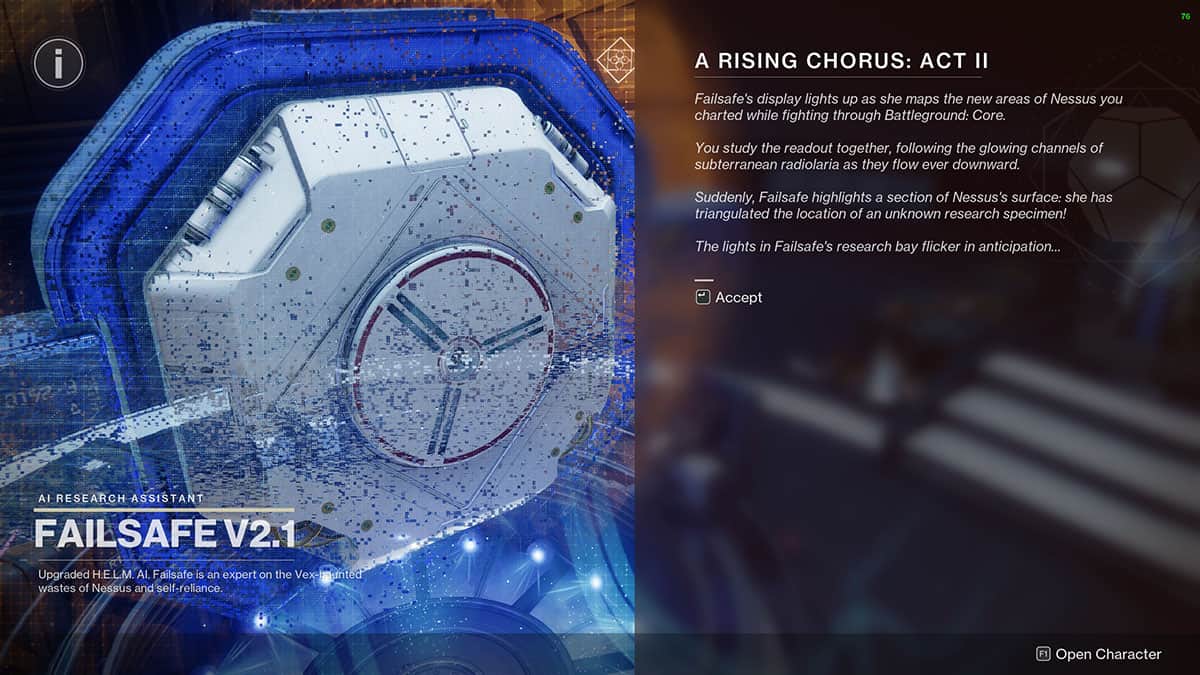
Much like how it was when we were operating on a Seasonal structure, Destiny 2: The Final Shape has an Episode Quest that gets updated weekly with new quest steps and challenges to take us through the Episode. In Episode: Echoes, we’ll be completing A Rising Chorus: Act one through three which will consist of several quest steps broken up over a few months. Let’s take a look at how to complete A Rising Chorus.
Step 1
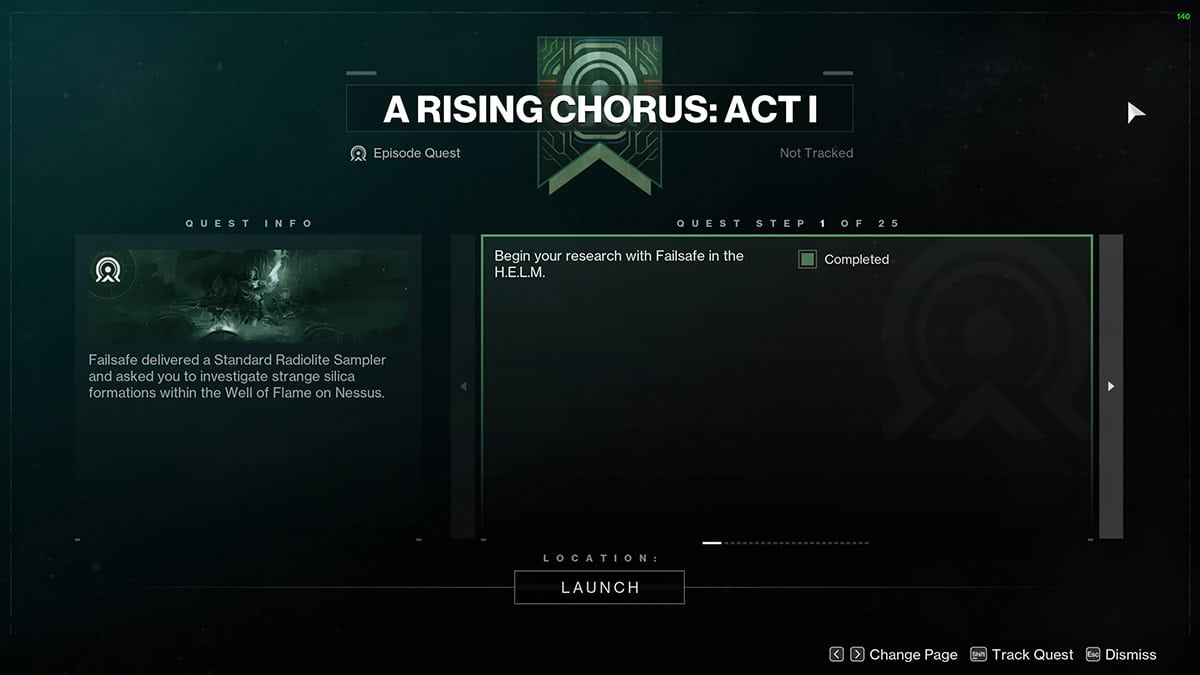
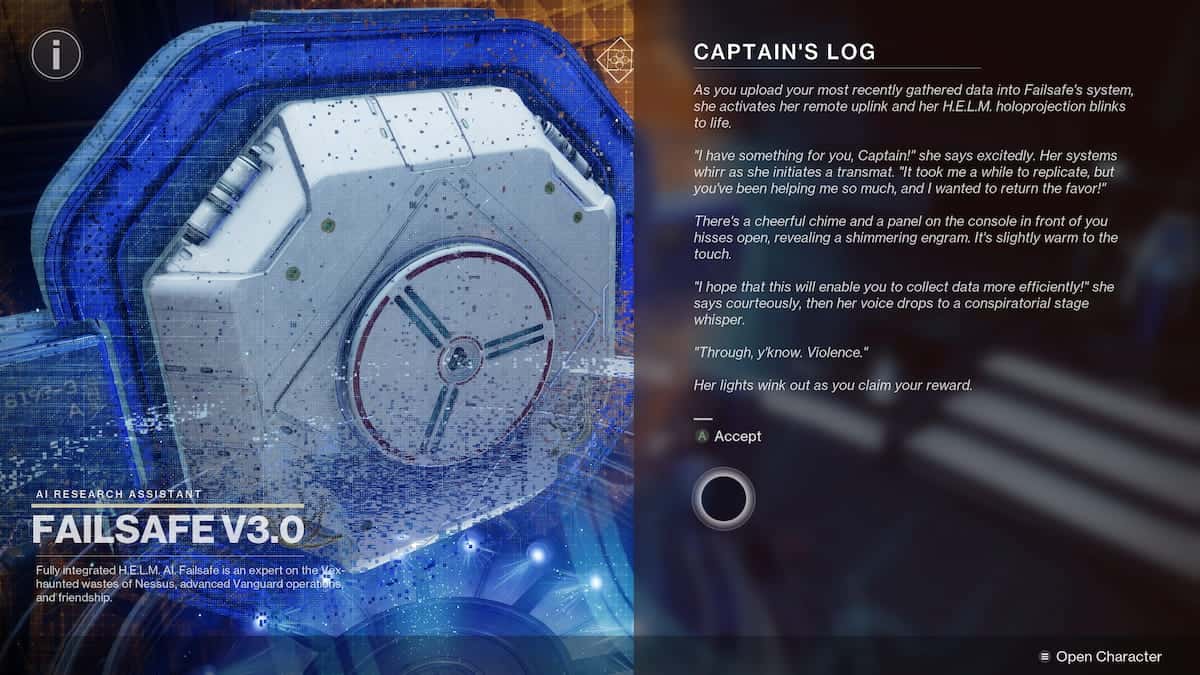
Failsafe delivered a Standard Radiolite Sampler and asked you to investigate strange silica formations within the Well of Flame on Nessus.
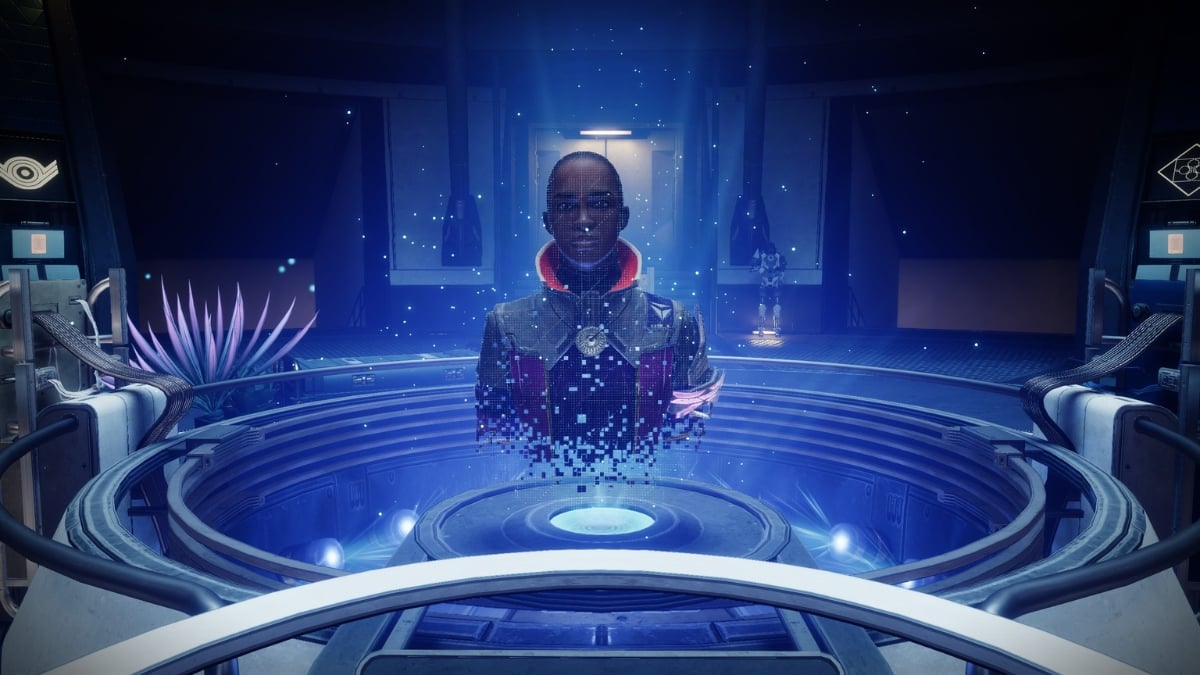
- Begin your research with Failsafe in the H.E.L.M.
Step 2
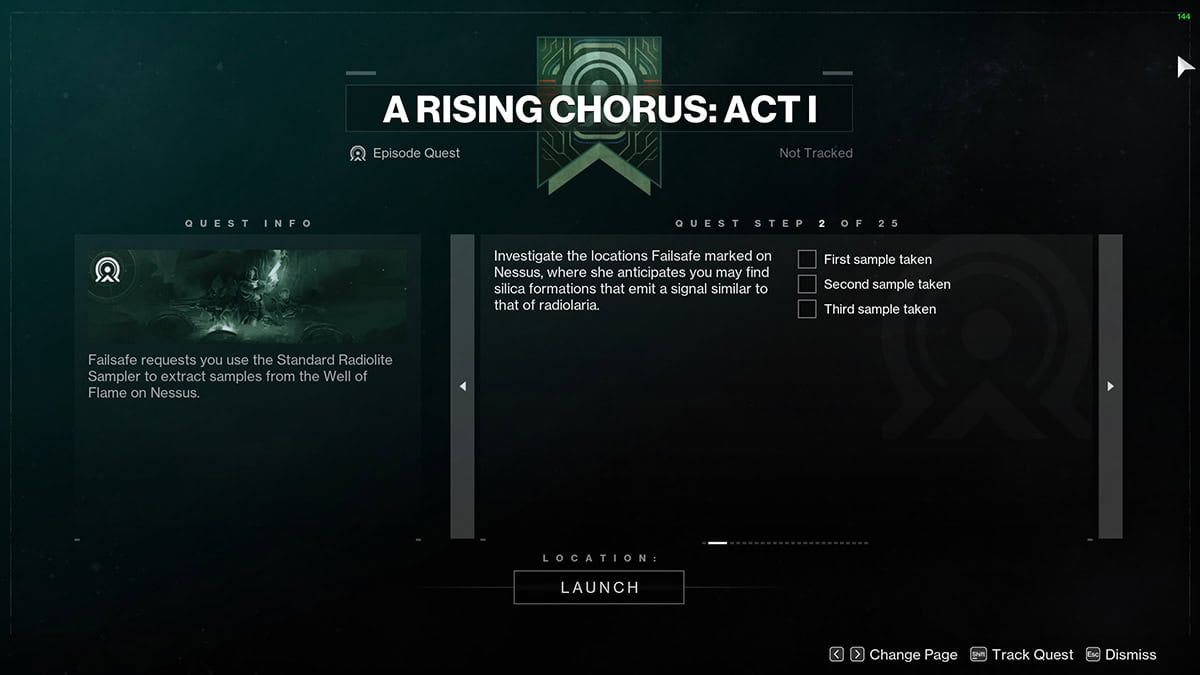
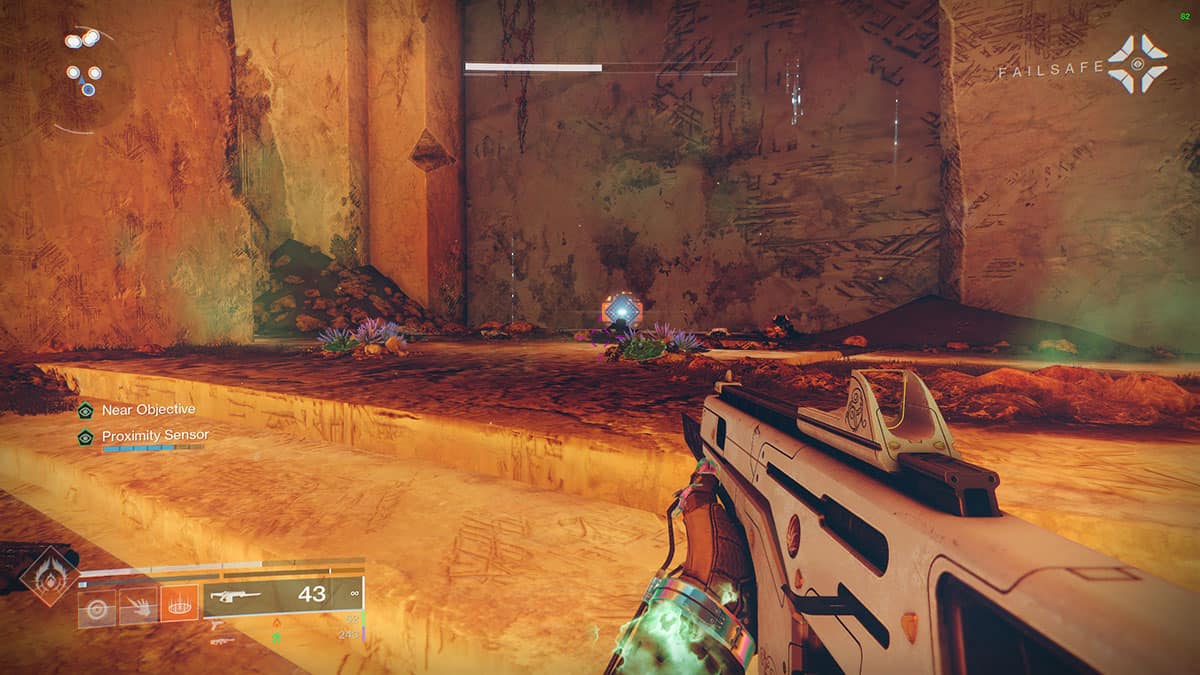
Failsafe requests you use the Standard Radiolite Sampler to extract samples from the Well of Flame on Nessus.
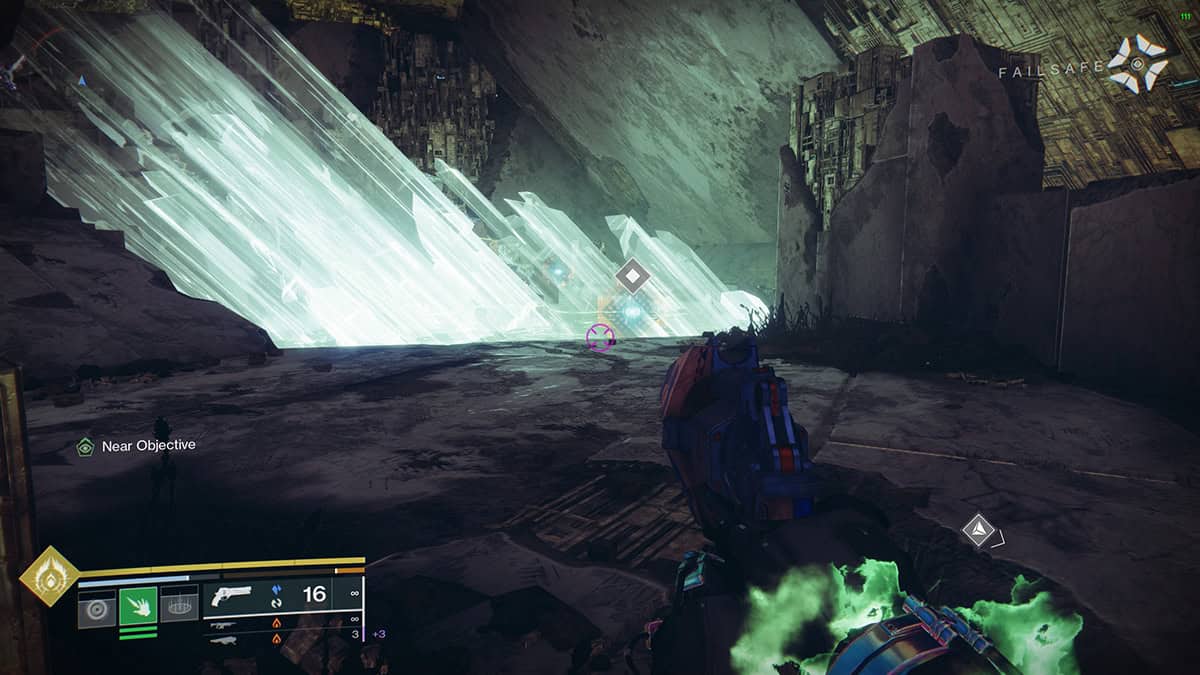
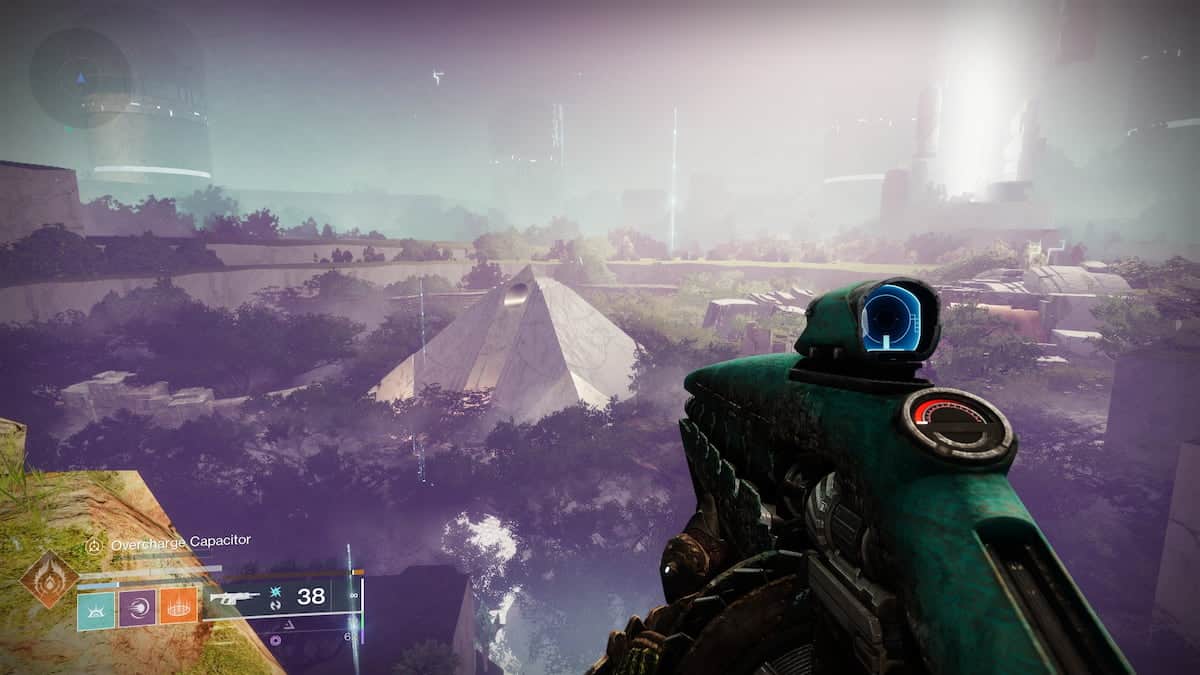
- Investigate the locations Failsafe marked on Nessus, where she anticipates you may find silica formations that emit a signal similar to that of radiolaria.
- Take three samples.
Step 3
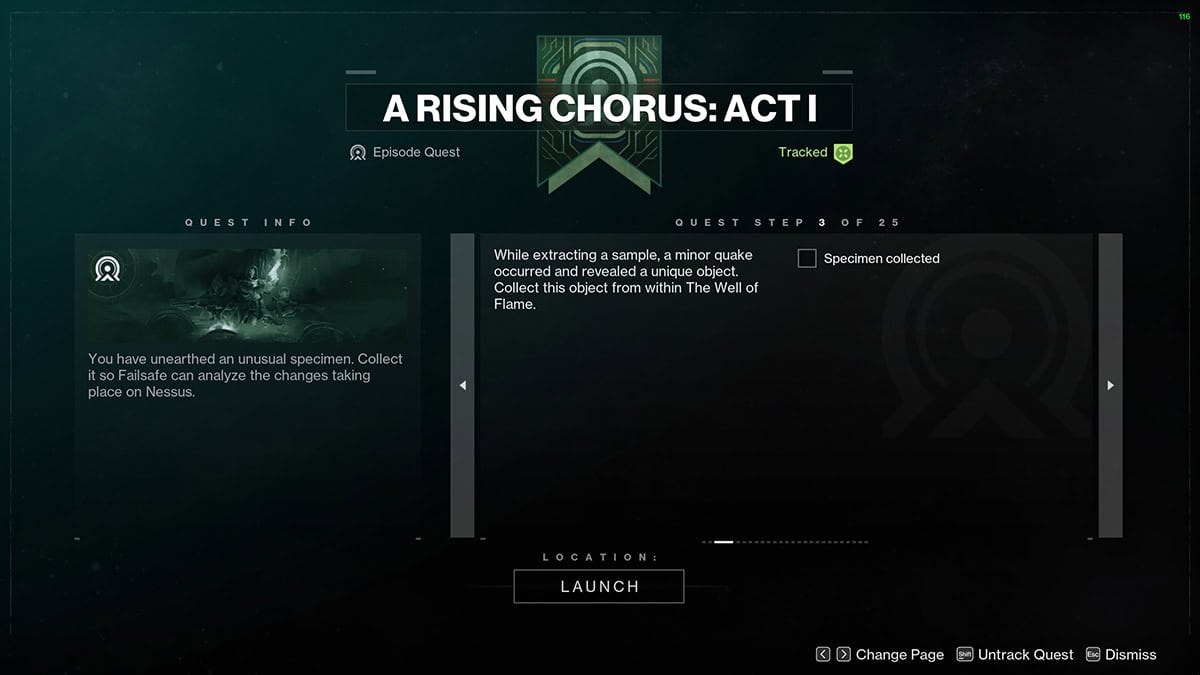
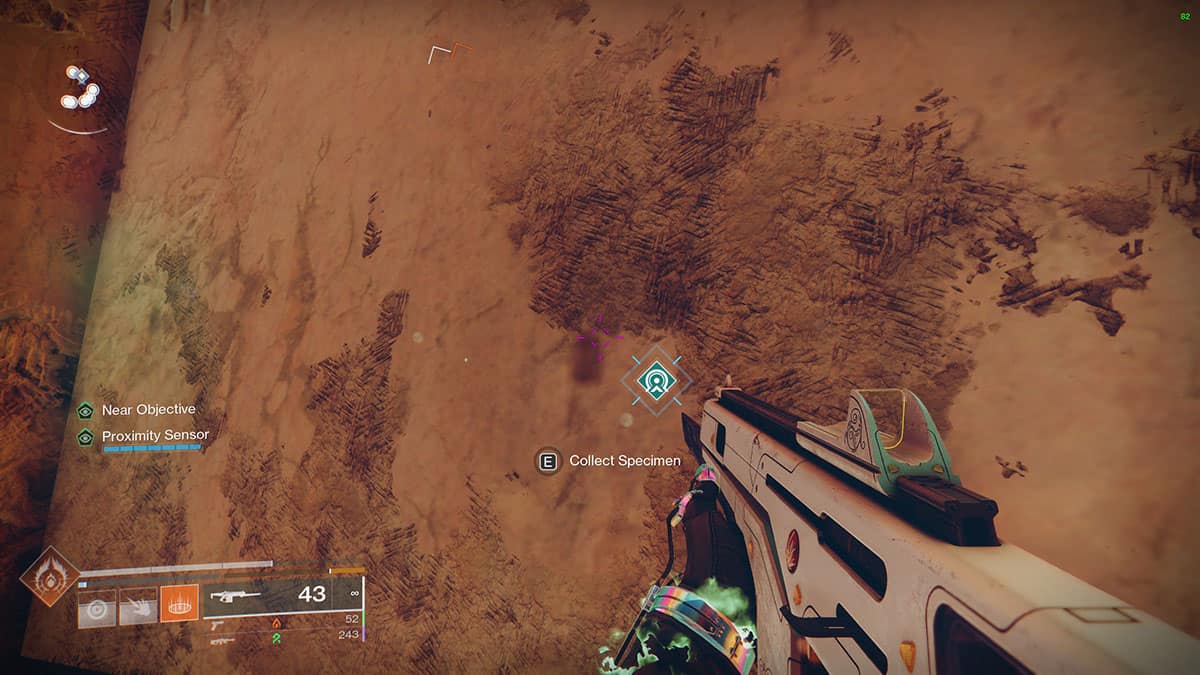
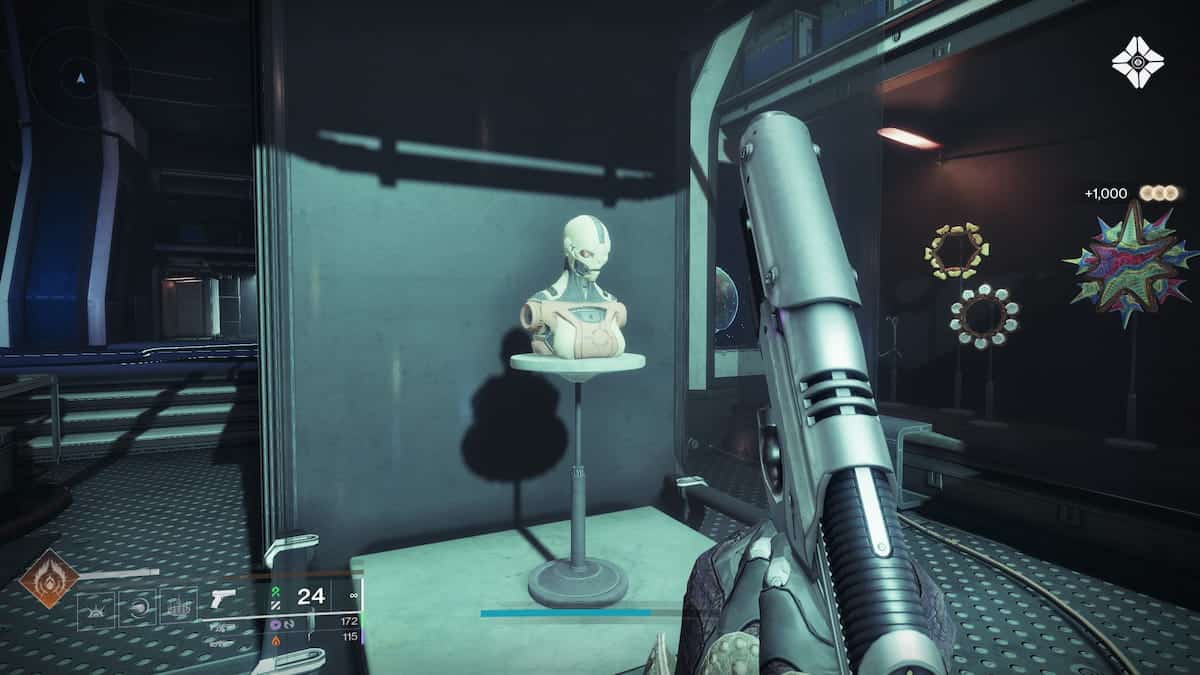
You have unearthed an unusual specimen. Collect it so Failsafe can analyze the changes taking place on Nessus.
- While extracting a sample, a minor quake occurred and revealed a unique object. Collect this object from within The Well of Flame.
Step 4
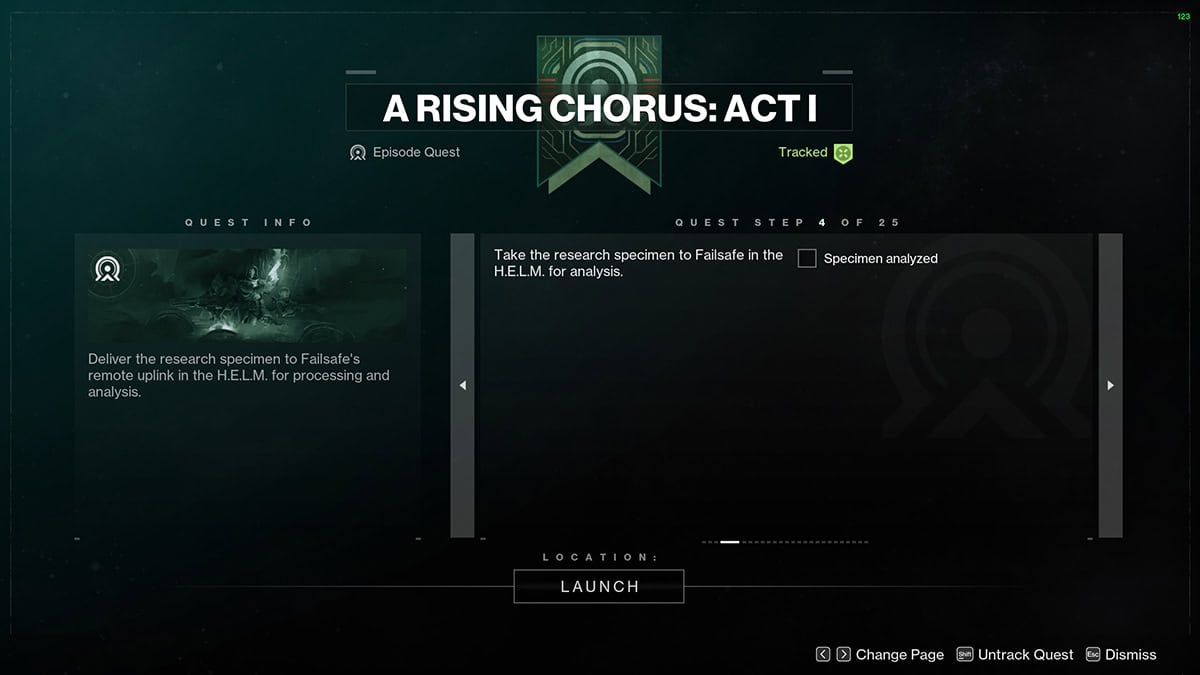
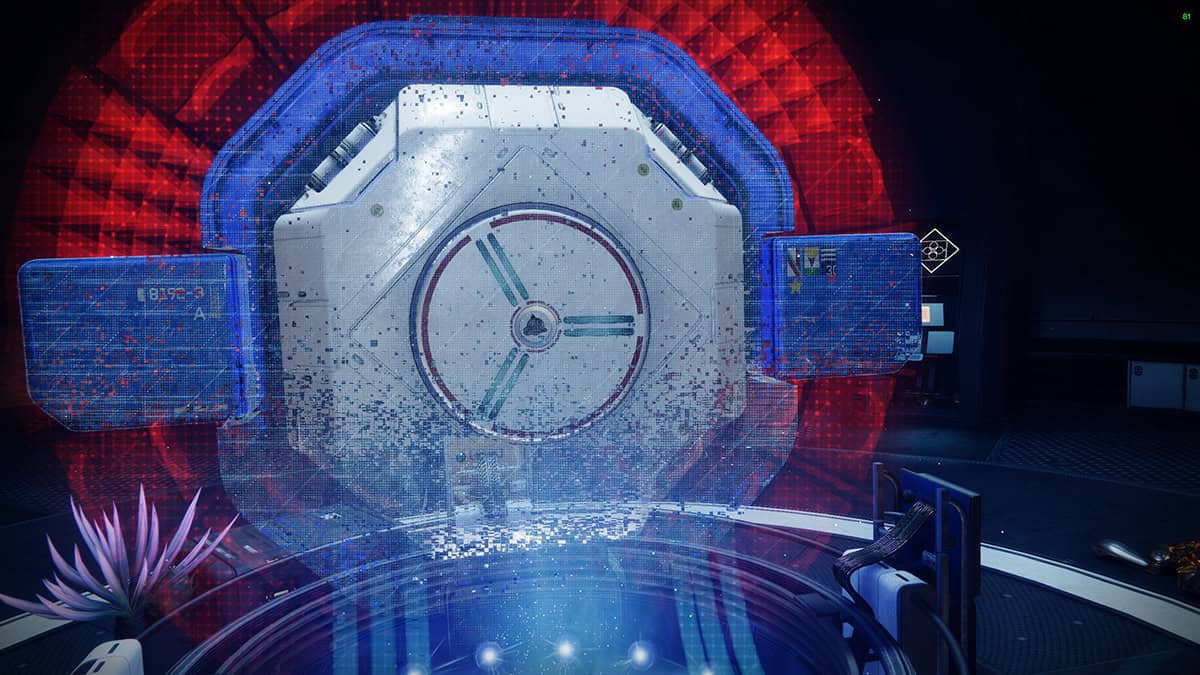
Deliver the research specimen to Failsafe’s remote uplink in the H.E.L.M. for processing and analysis.
- Take the research specimen to Failsafe in the H.E.L.M.
- Analyze the specimen.
Step 5
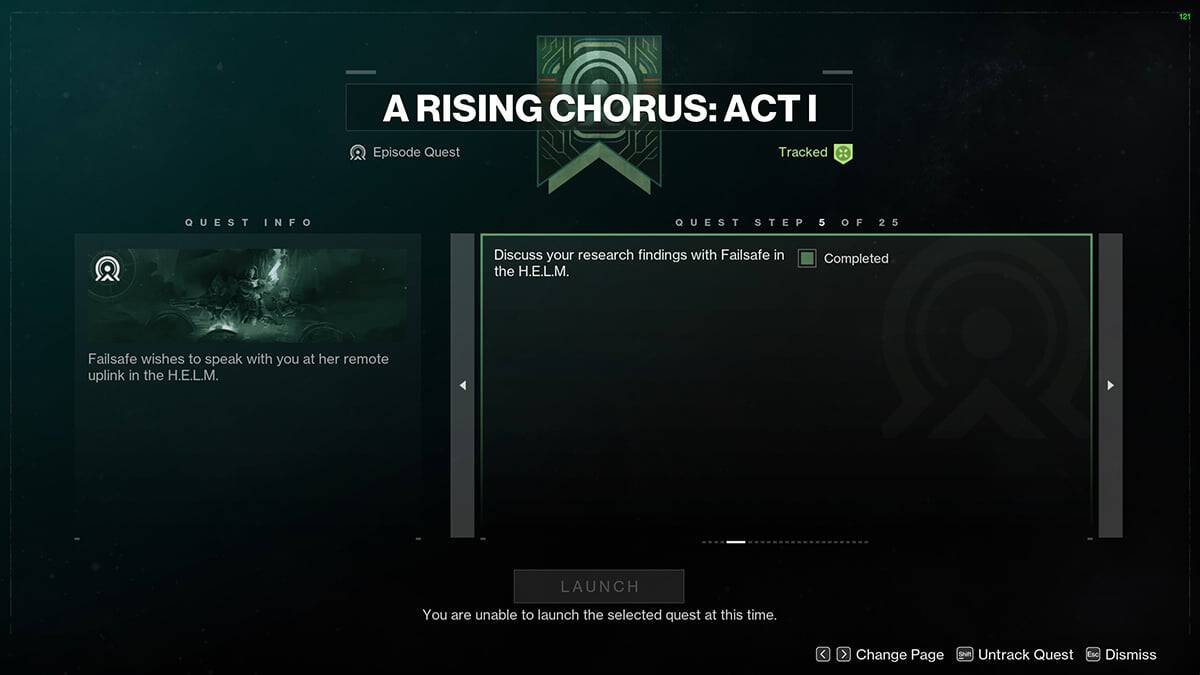
Failsafe wishes to speak with you at her remote uplink in the H.E.L.M.
- Discuss your research findings with Failsafe in the H.E.L.M.
Step 6
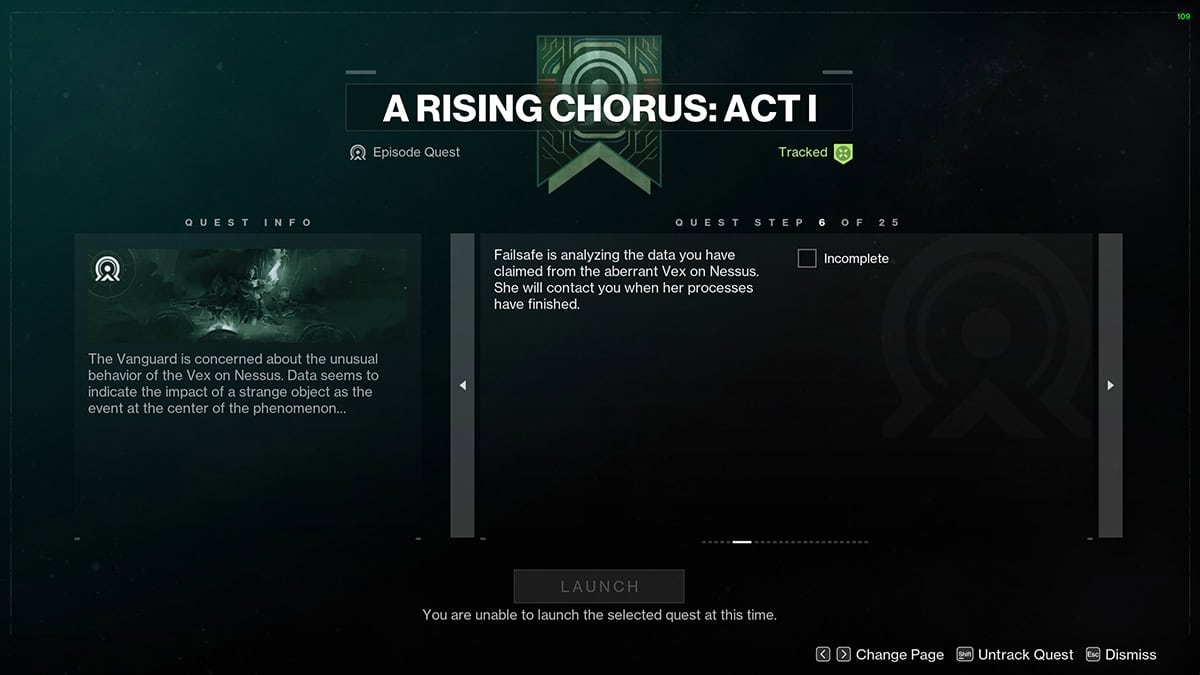
The Vanguard is concerned about the unusual behavior of the Vex on Nessus. Data seems to indicate the impact of a strange object as the event at the center of the phenomenon…
- Failsafe is analyzing the data you have claimed from the aberrant Vex on Nessus. She will contact you when her processes have finished.
Step 7
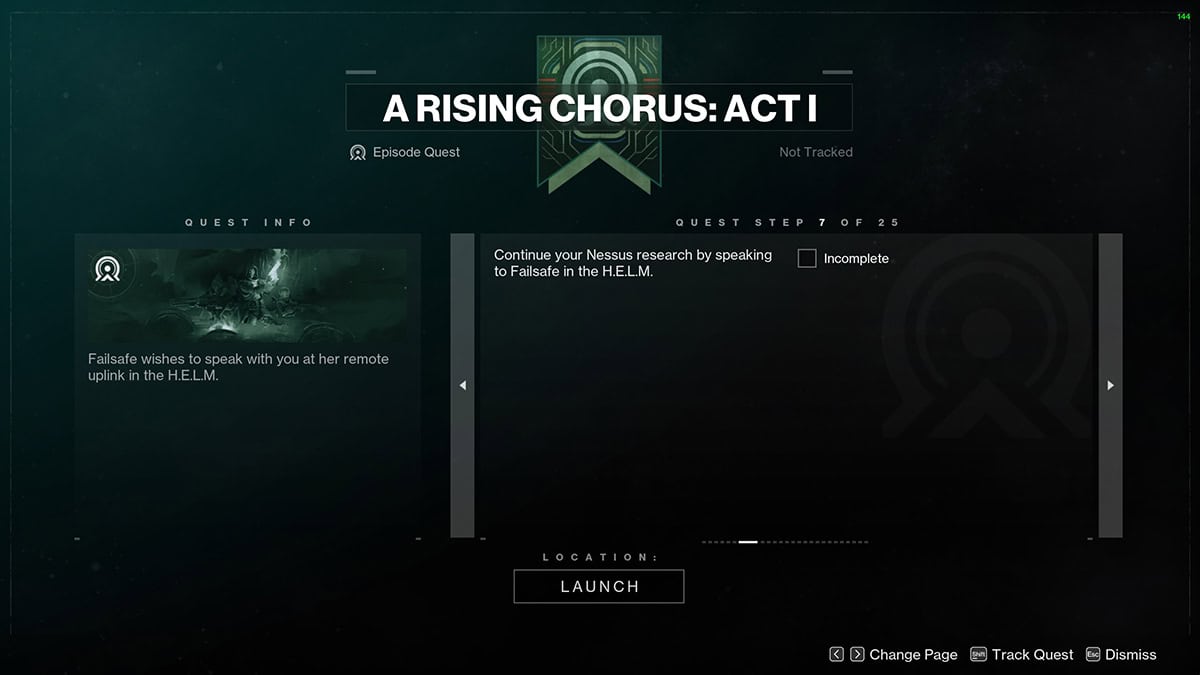
Failsafe wishes to speak with you at her remote uplink in the H.E.L.M.
- Continue your Nessus research by speaking to Failsafe in the H.E.L.M.
Step 8

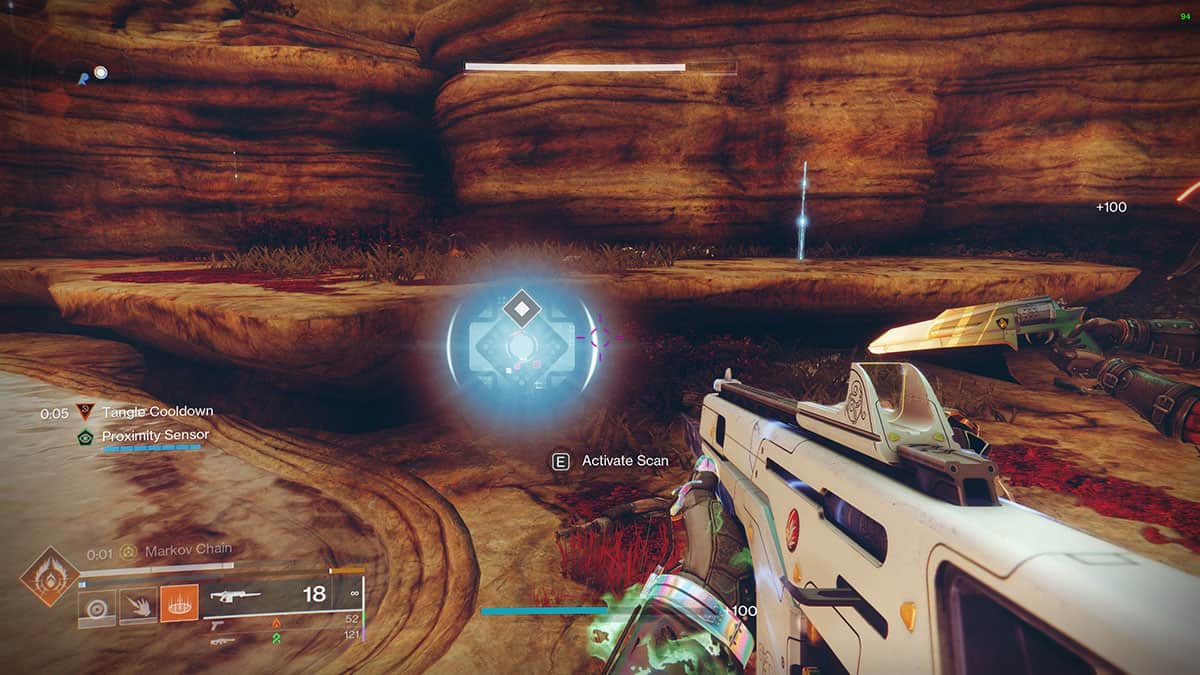
At the Exodus Black on Nessus, follow Failsafe’s proximity sensor to locate the optimal scanner activation spot. Keep an eye on your helmet’s readout for proximity readings.
- Deploy Failsafe’s proximity sensor in the Exodus Black area of Nessus. Keep an eye on your helmet’s readout for proximity readings.
- Scan the location.
Step 9
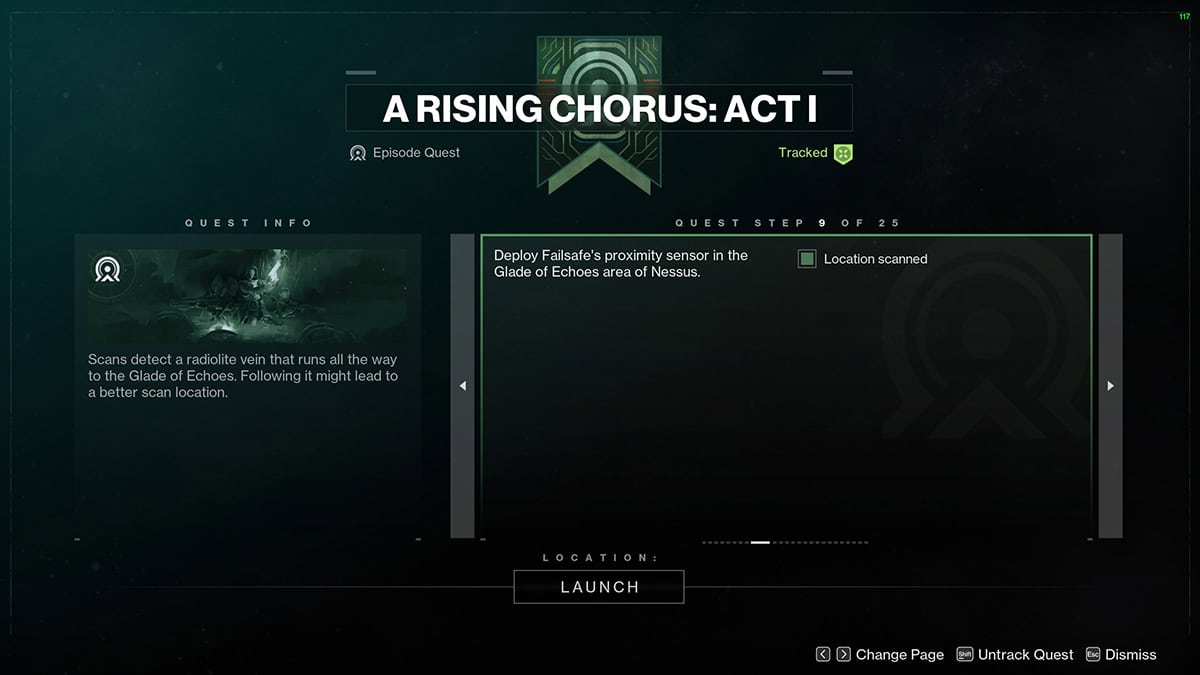
Scans detect a radiolite vein that runs all the way to the Glade of Echoes. Following it might lead to a better scan location.
- Deploy Failsafe’s proximity sensor in the Glade of Echoes area of Nessus.
Step 10
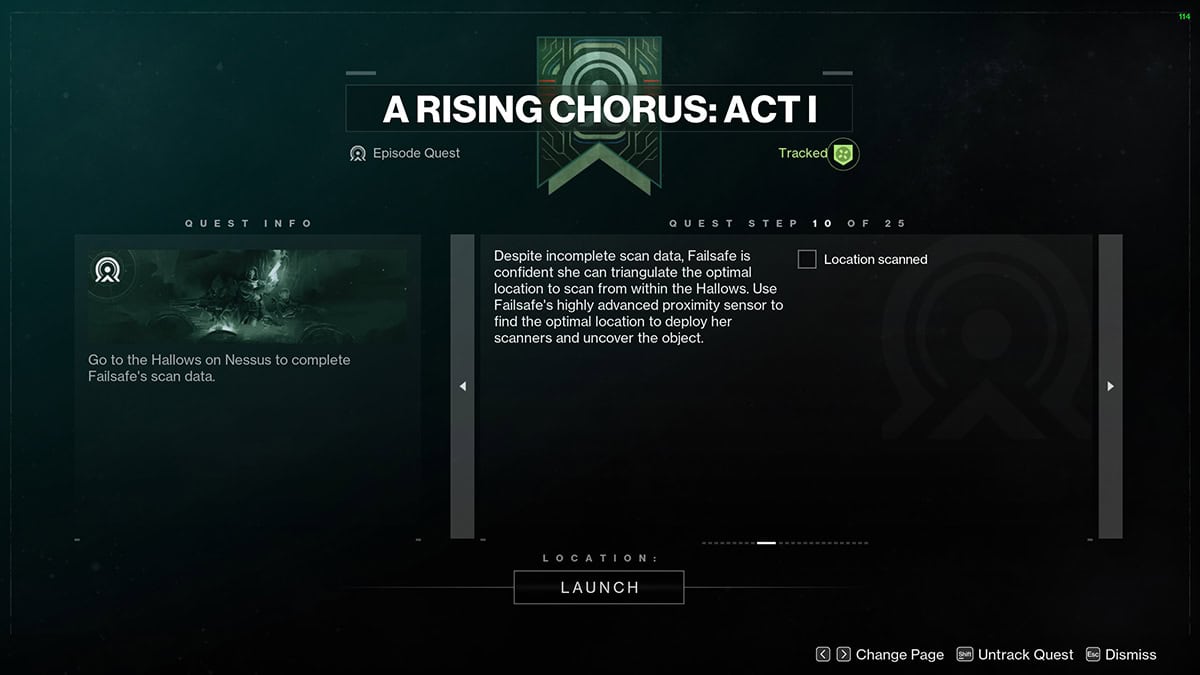
Go to the Hallows on Nessus to complete Failsafe’s scan data.
- Despite incomplete scan data, Failsafe is confident she can triangulate the optimal location to scan from within the Hallows. Use Failsafe’s highly advanced proximity sensor to find the optimal location to deploy her scanners and uncover the object.
Step 11
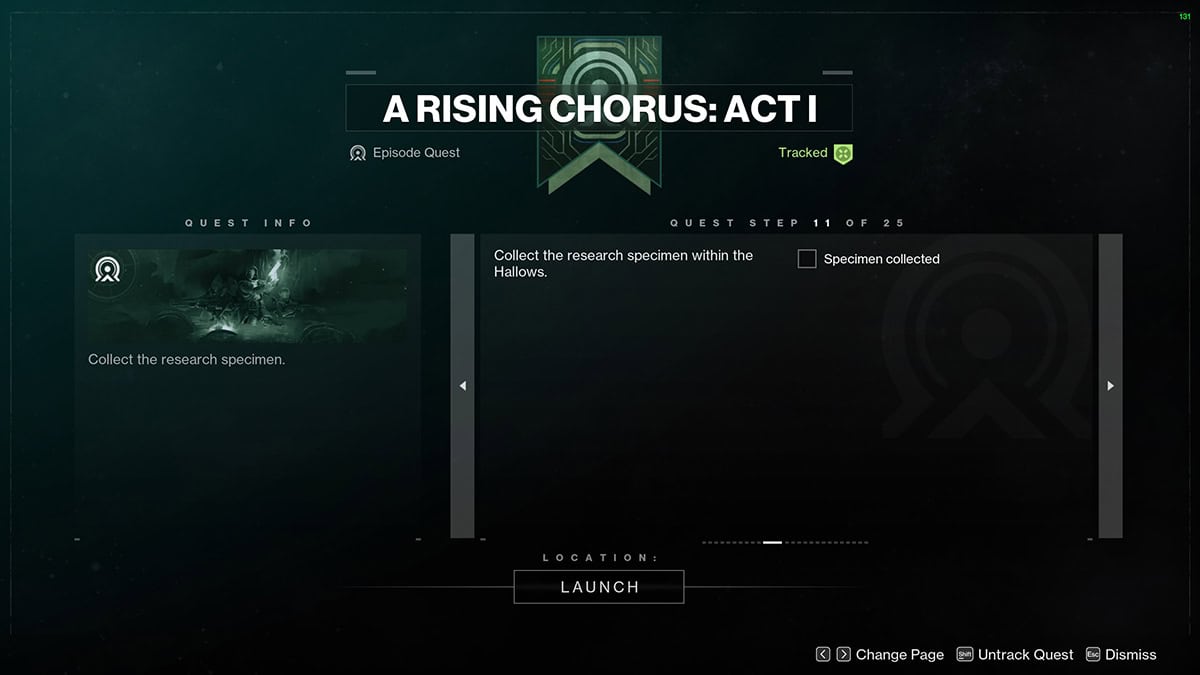
Collect the research specimen.
- Collect the research specimen within the Hallows.
Step 12
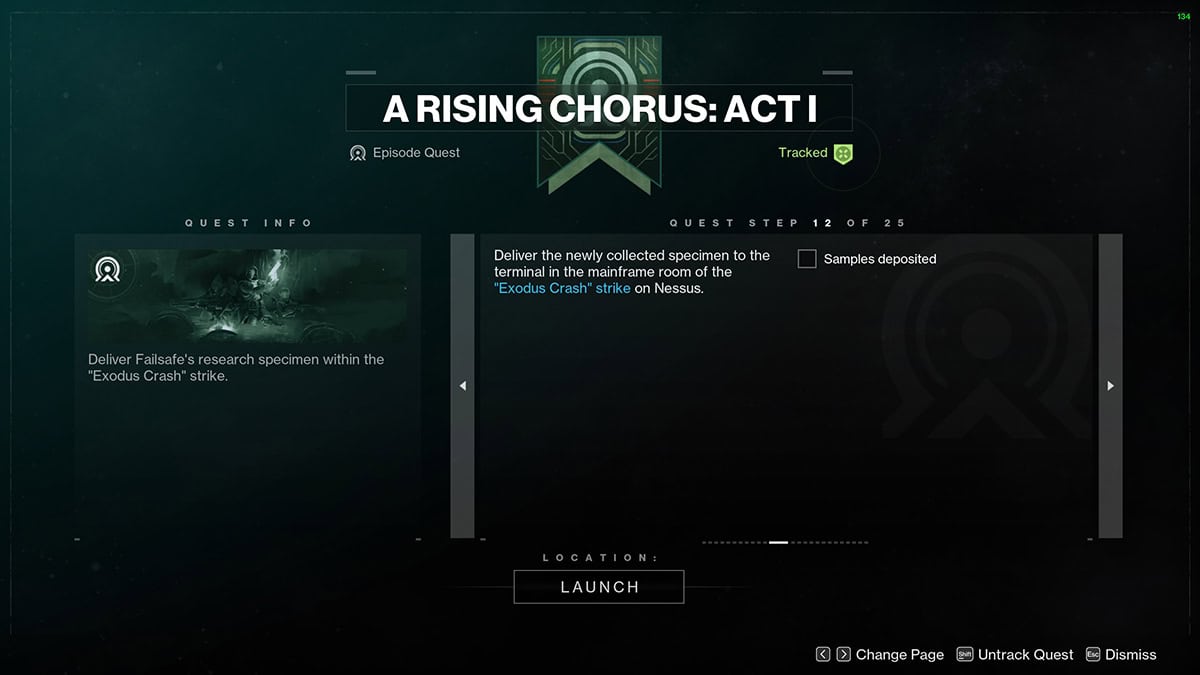
Deliver Failsafe’s research specimen within the “Exodus Crash” strike.
- Deliver the newly collected specimen to the terminal in the mainframe room of the “Exodus Crash” strike on Nessus.
Step 13

NES002-C is likely to look similar to the other specimen you have already collected.
- Failsafe has detected an energy signature on Nessus matching that of NES002. She has dubbed it NES002-C and requests your on-the-ground assistance with hunting it down. She’s excited to try out her new promixing sensor.
- Complete a run of Breach Executable and locate NES002-C.
Step 14
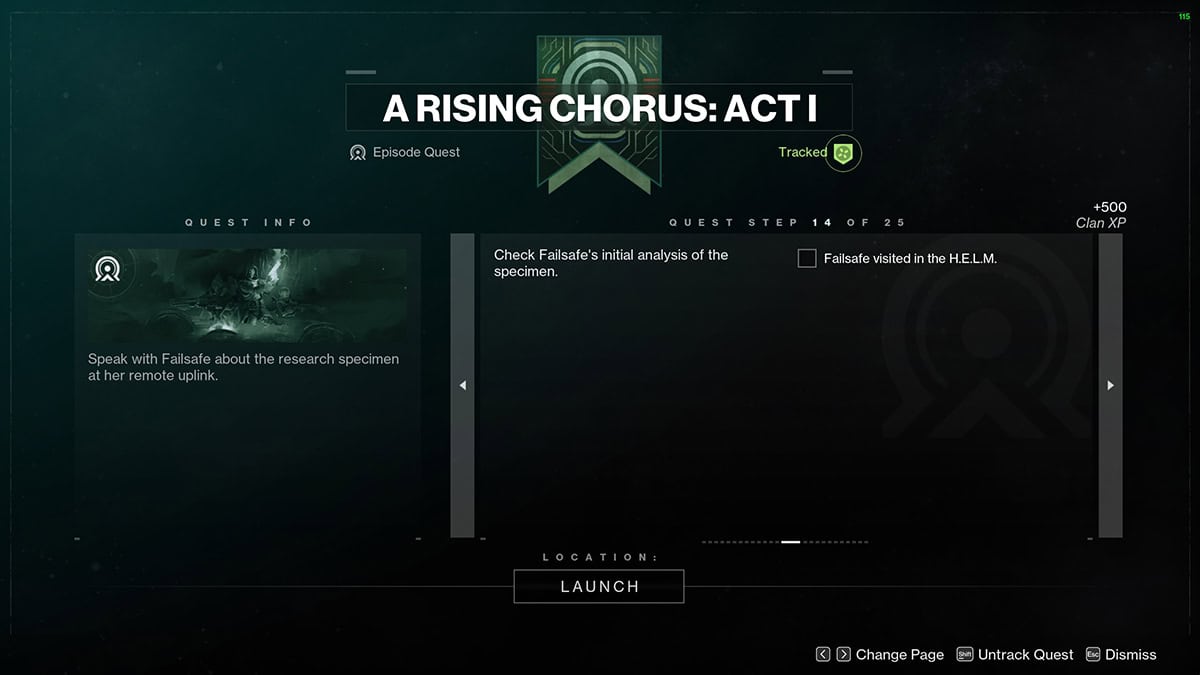
Speak with Failsafe about the research specimen at her remote uplink.
- Check Failsafe’s initial analysis of the specimen.
Step 15
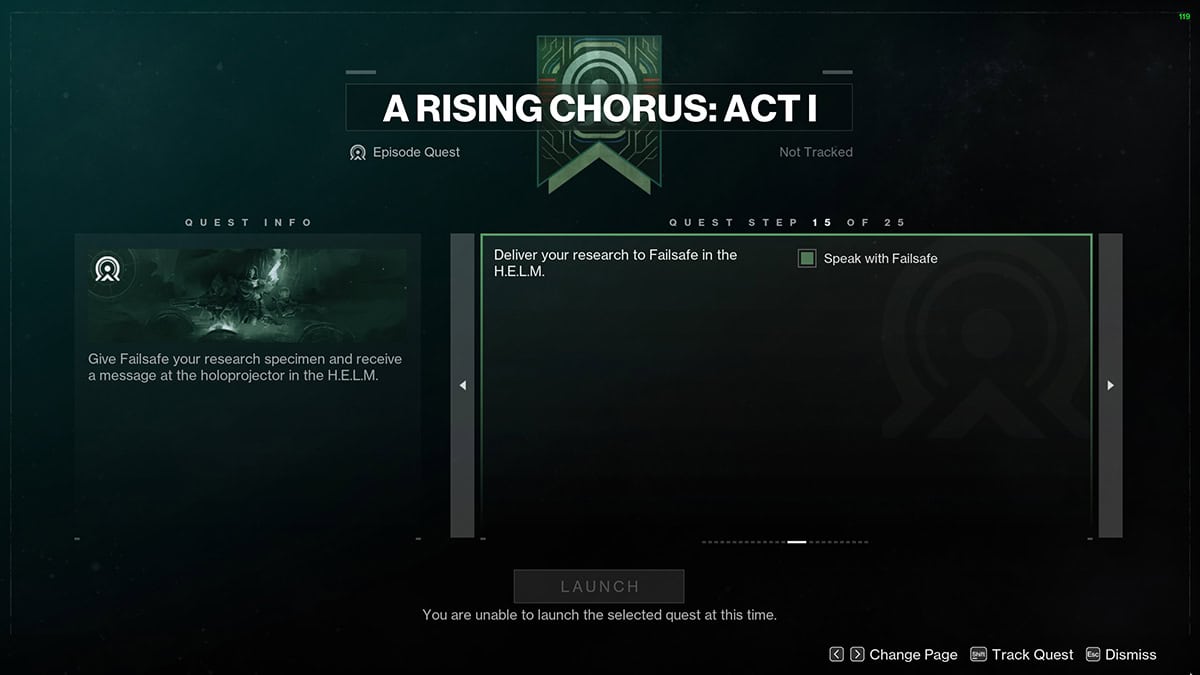
Deliver your research to Failsafe in the H.E.L.M.
- Speak with Failsafe
Step 16

The Vanguard is concerned about the unusual behavior of the Vex on Nessus. Data seems to indicate the impact of a strange object as the event at the center of the phenomenon…
- Failsafe is analyzing the data you have claimed from the aberrant Vex on Nessus. She will contact you when her processes have finished.
Step 17
Failsafe wishes to speak with you at her remote uplink in the H.E.L.M.
- Receive a mission briefing from Failsafe in the H.E.L.M.
Step 18
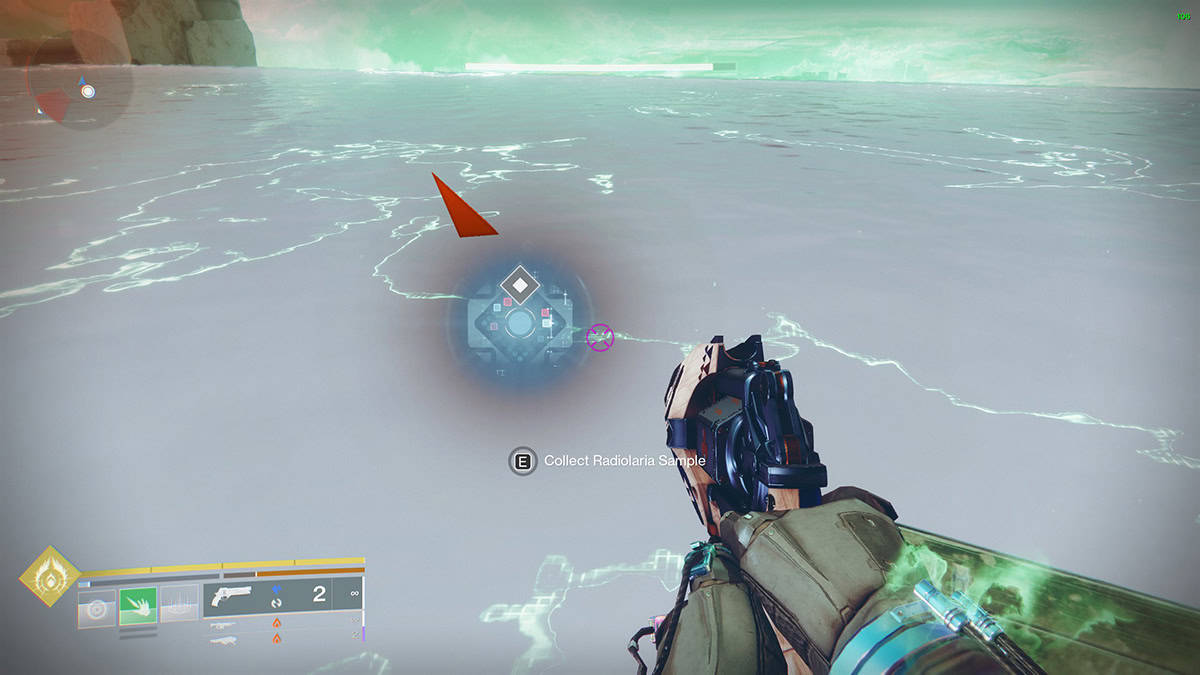
Follow Failsafe’s improved readings to The Cistern area of Nessus and search for radiolaria samples.
- Locate sites from which to extract radiolaria samples.
- Collect 5 radiolaria samples.
Step 19
Follow Failsafe’s improved readings to the Chamber of Water and search for radiolaria samples.
- Locate the next site from which to extract radiolaria samples.
- Collect 5 radiolaria samples.
Step 20
Follow Failsafe’s improved readings to the Pools of Luminanace area of Nessus and search for radiolaria samples.
- Locate the next site to extract radiolaria samples.
- Collect 5 radiolaria samples.
Step 21
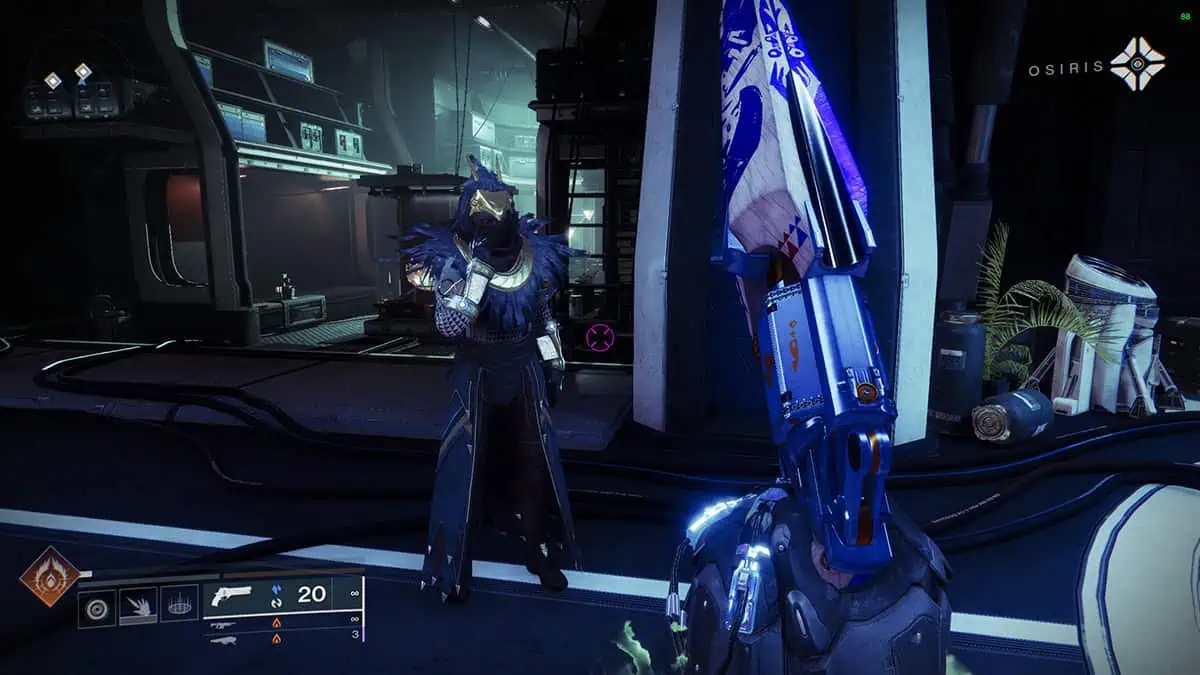
A worried Osiris urgently requests your help.
- Answer Osiris’s call for assistance and meet him in the H.E.L.M.
Step 22
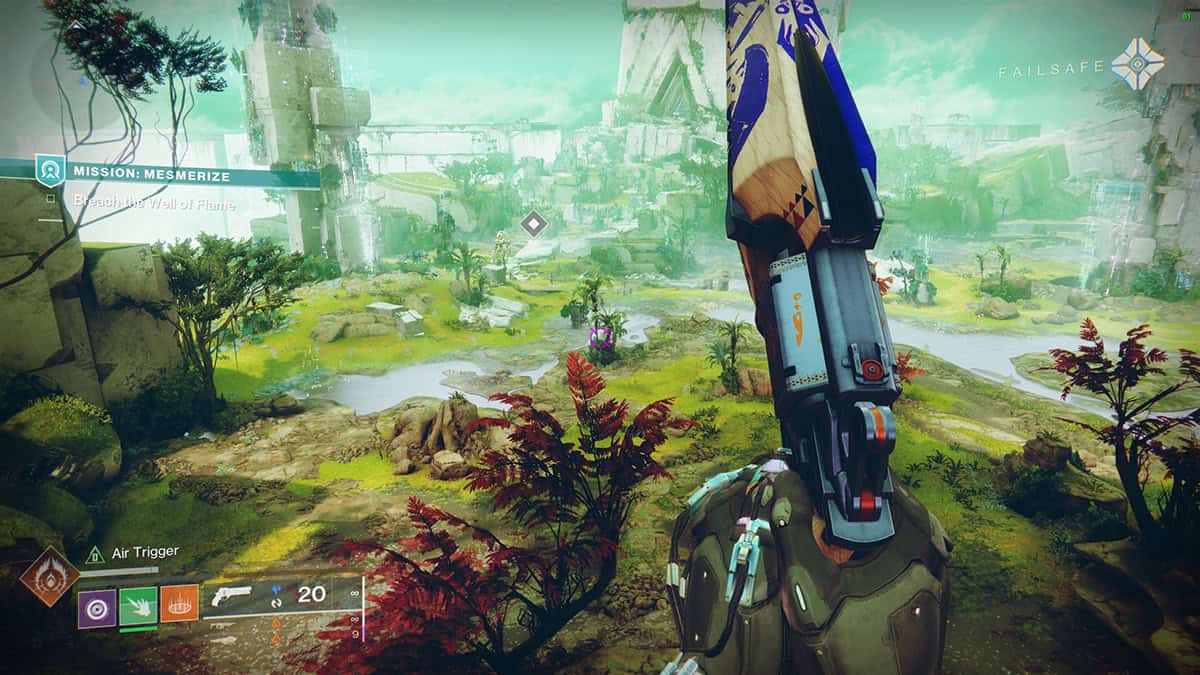
Investigate Saint-14’s last known coordinates in mission “Mesmerize.”
- Track down Saint-14 beneath the crust of Nessus.
- Complete mission “Mesmerize.”
Step 23
Speak with Saint-14 and learn what happened to him on Nessus.
- Meet with the rescued Saint-14 in the H.E.L.M.
Step 24
Failsafe wishes to speak with you at her remote uplink in the H.E.L.M.
- Discuss Saint-14’s ordeal with Failsafe in the H.E.L.M.
Step 25
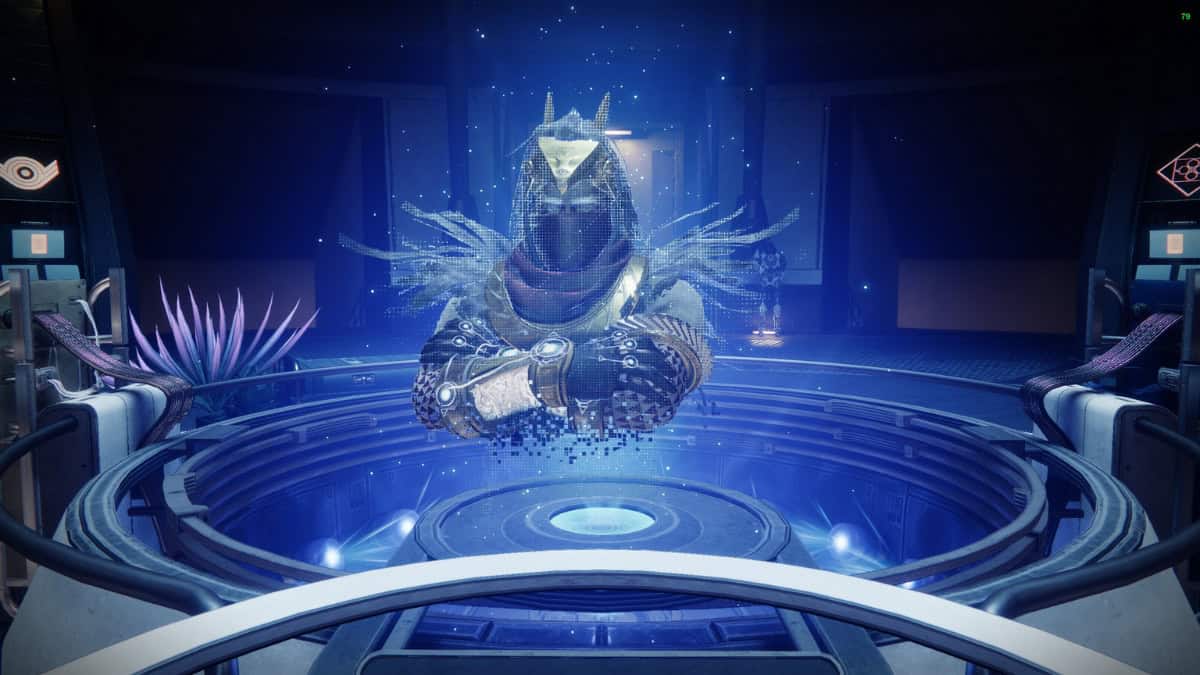
A commanding presence known as the Conductor seems to be responsible for the strange behavior of the Vex on Nessus. You saved Saint-14 from being questioned by the voice, but he seems deeply shaken by the ordeal…
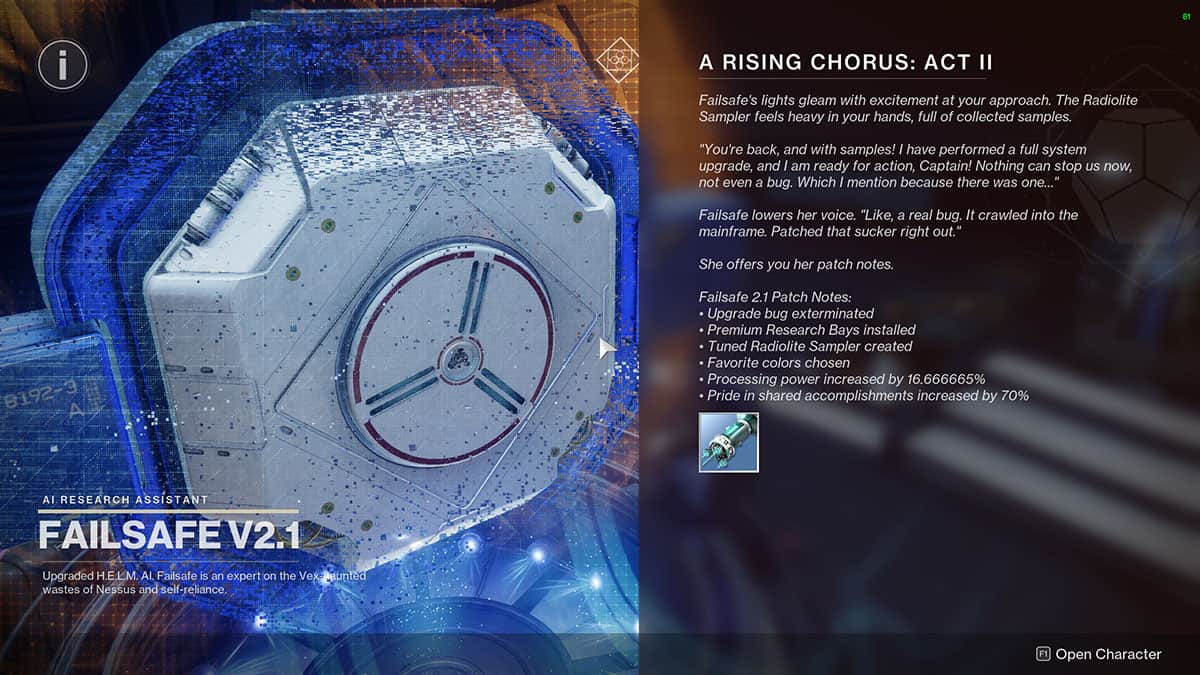
Act II: Step 1
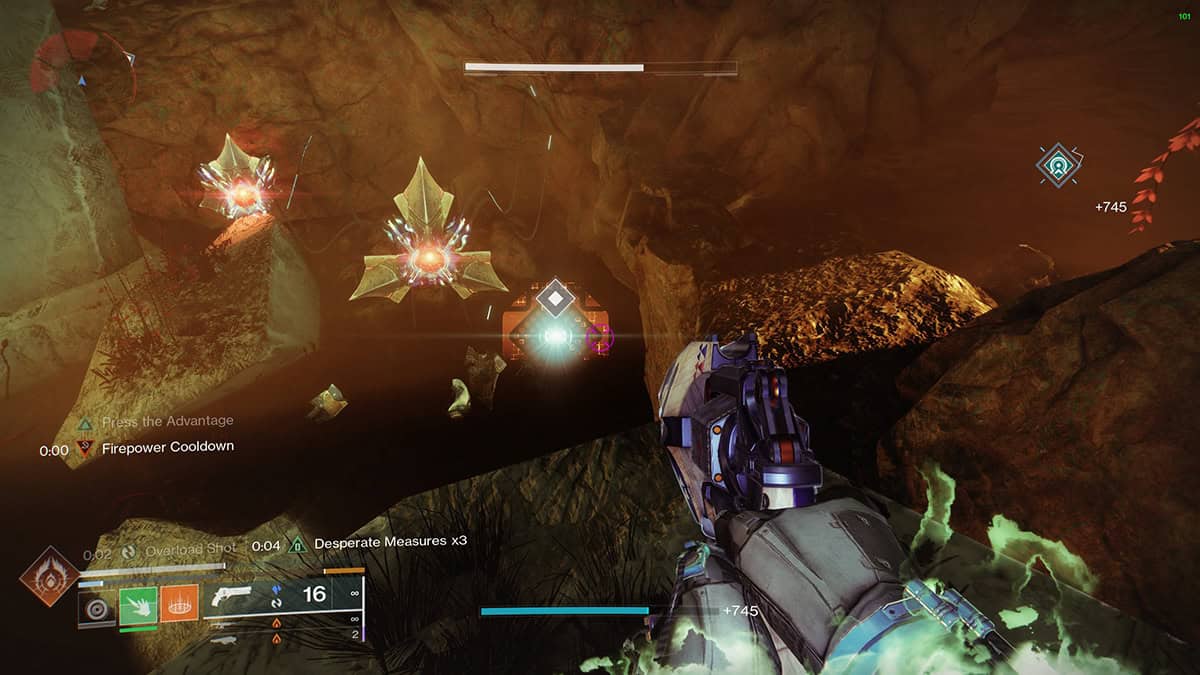
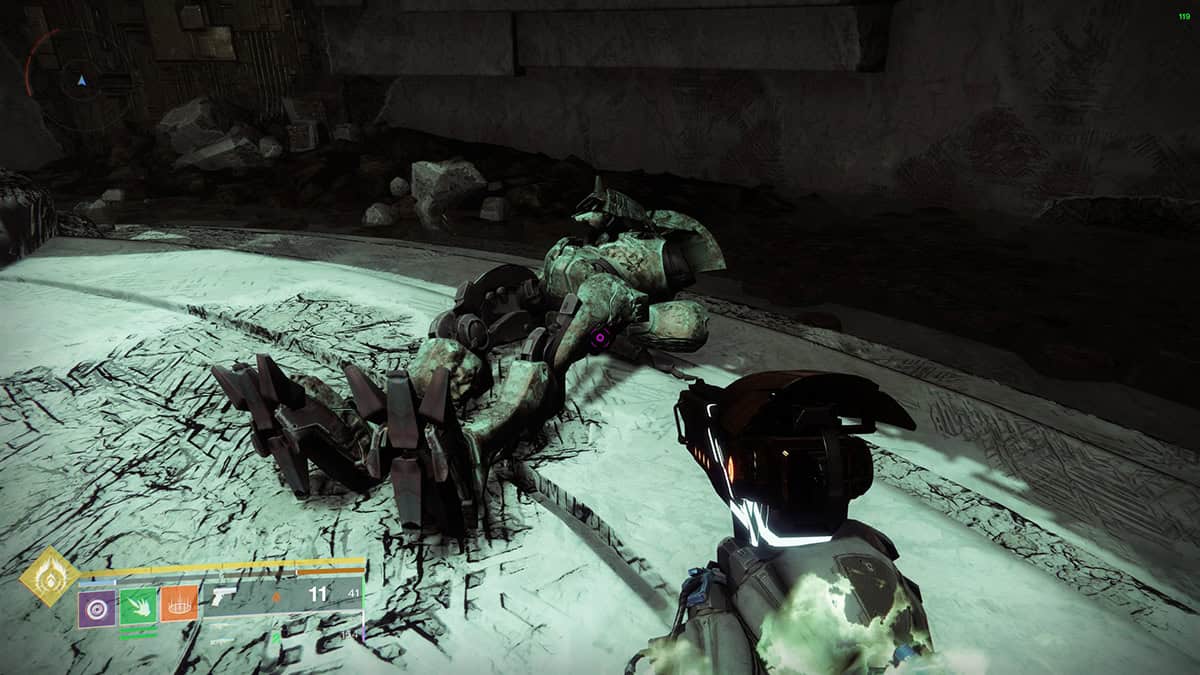
Confront the enemies of humanity on Nessus in Battleground: Delve.
- Complete Battleground: Delve on Nessus.
Act II: Step 2
Activate Planetary Pistons within Episode: Echoes activities to spawn Iridescent Radiolite Incubators.
- Your Radiolite Sampler can extract and isolate unique segments of mutated radiolaria within discovered nodes of radiolite. Use your Radiolite Sampler to extract Vex code mutations from Radiolite Incubators. Extracting from Iridescent Incubators provides the greatest chance to find the code mutations. Failsafe will need these resources to upgrade her H.E.L.M. equipment and add more research bays before she can start her analysis of the Hydra tail obtained by Battleground: Delve.
- Collect 7 Code Mutations.
Act II: Step 3
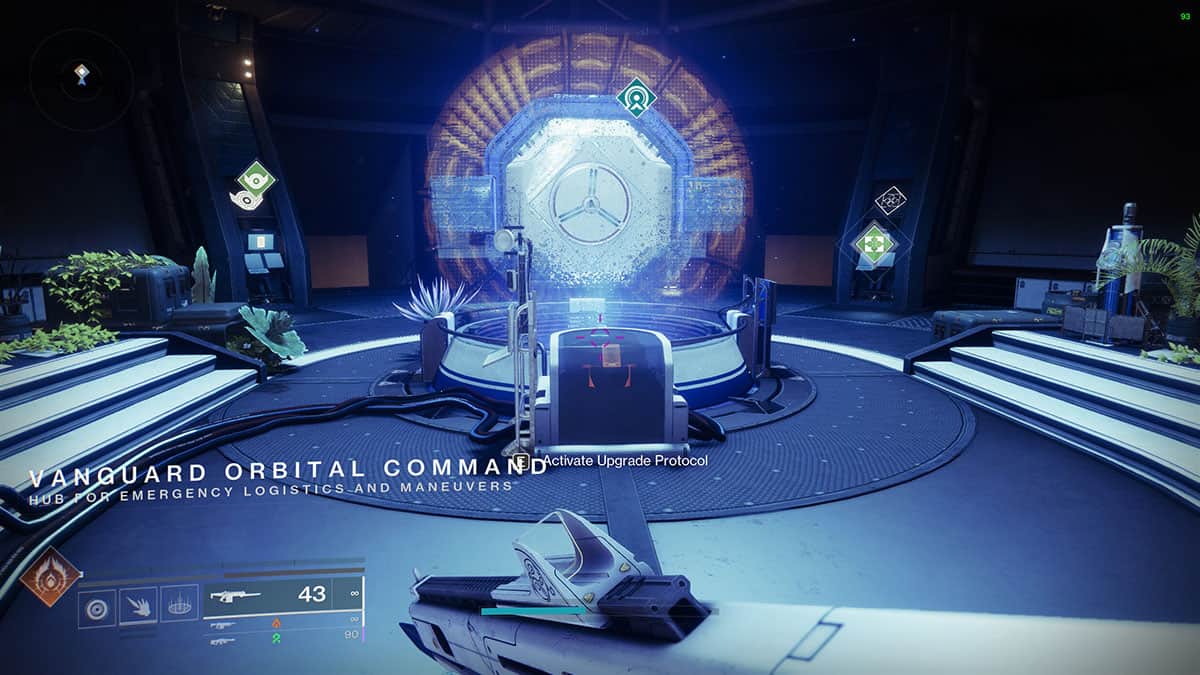
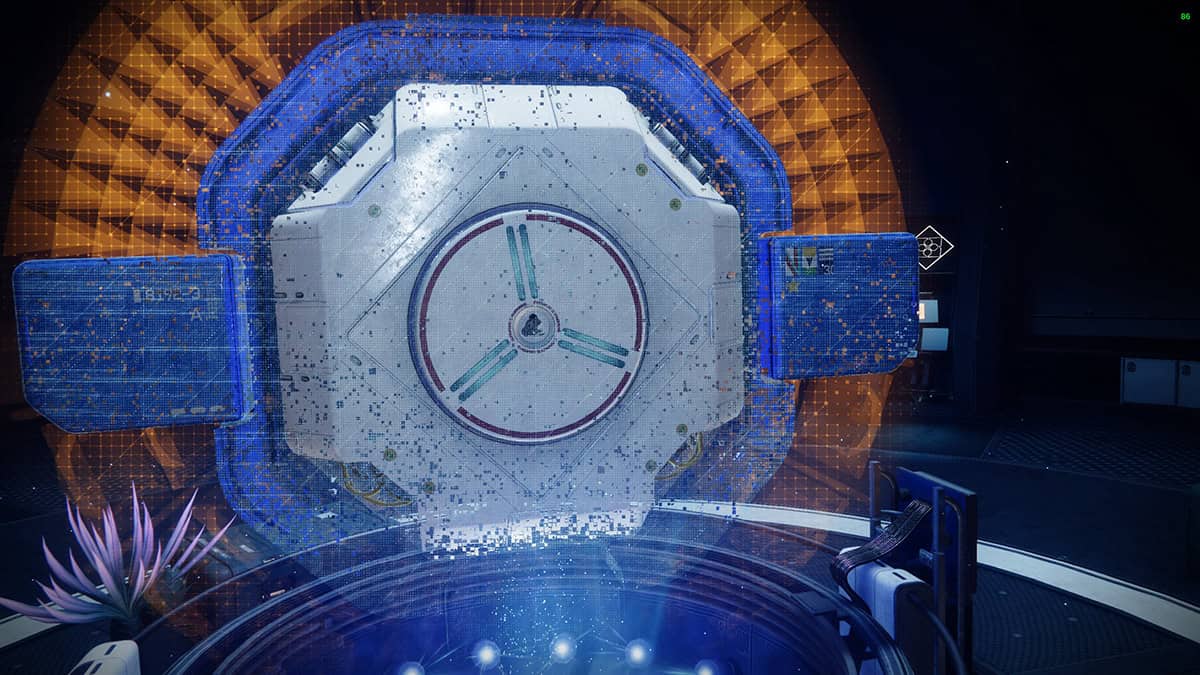
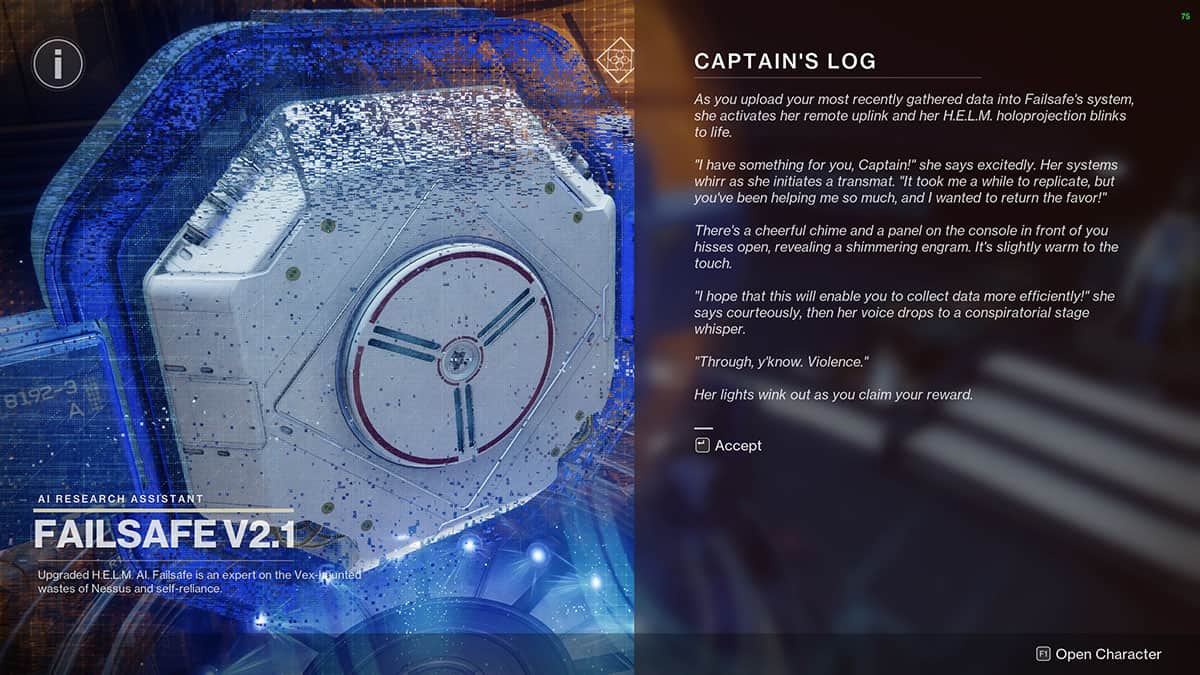
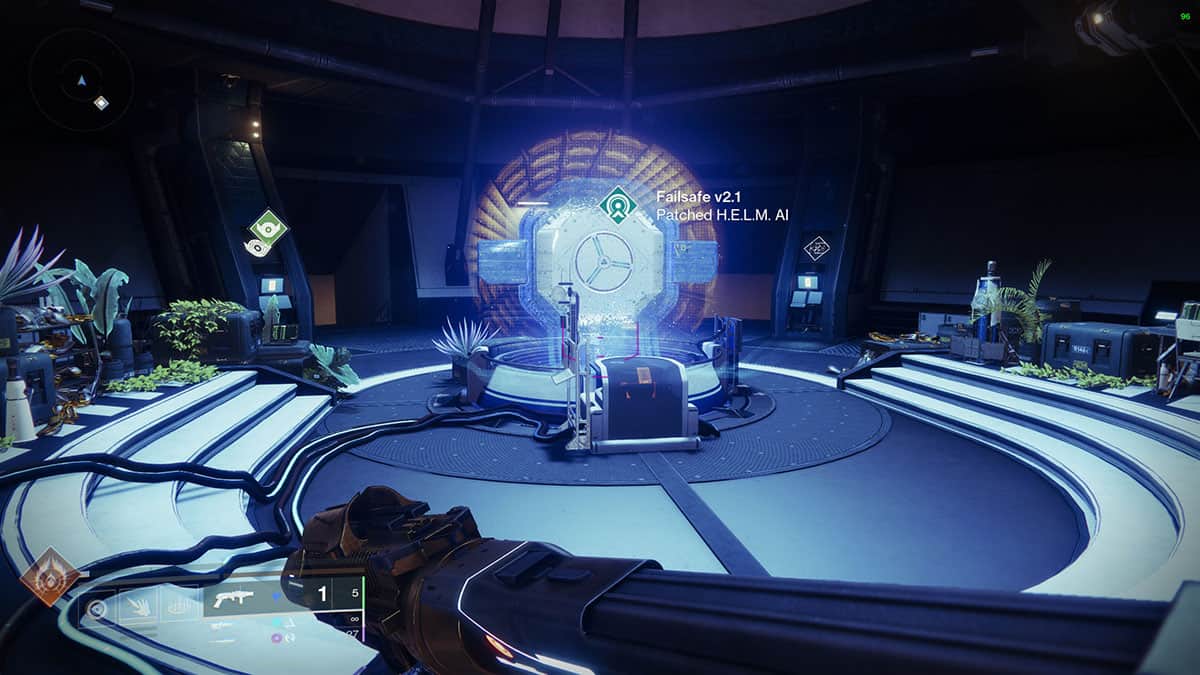
Activate Failsafe’s upgrade protocol at her remote uplink in the H.E.L.M..
- Return to the H.E.L.M. to upgrade Failsafe.
Act II: Step 4
Now that Failsafe and the Radiolite Sampler are upgraded, new forms of Radiolite can be found on Nessus.
- Speak with the newly upgraded Failsafe in the H.E.L.M..
Act II: Step 5

A new research bay can be unlocked by speaking with Failsafe in the H.E.L.M..
- Speak with Failsafe to unlock the Hydra Tail Research Bay.
Act II: Step 6
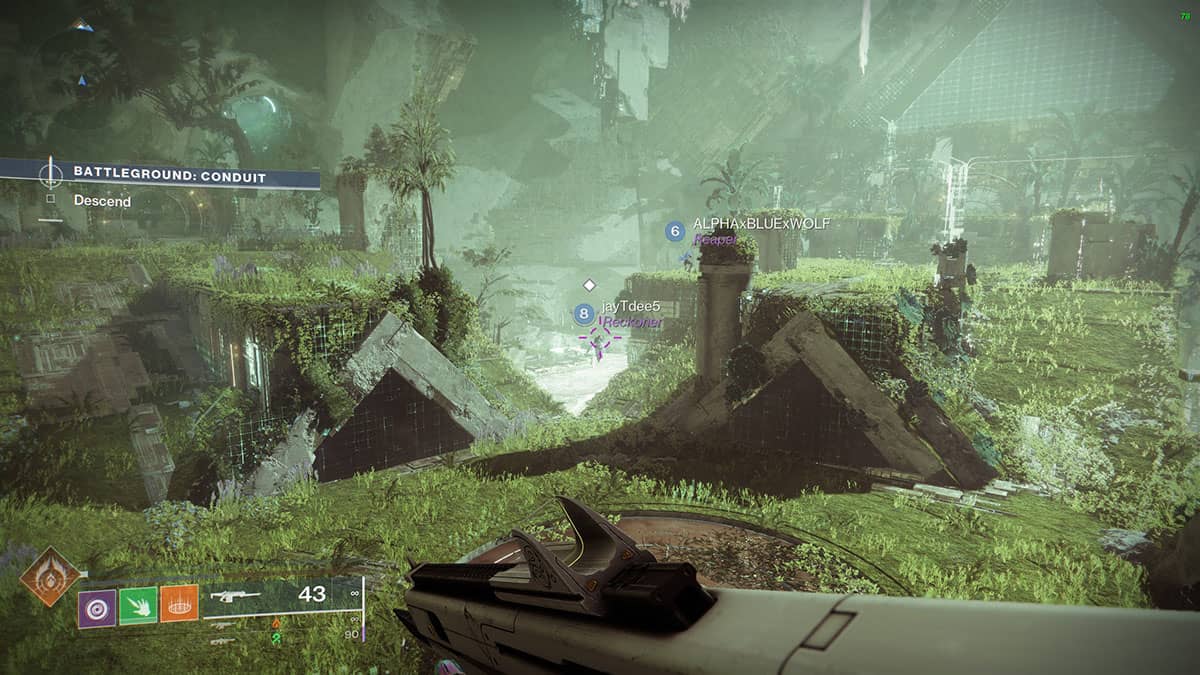
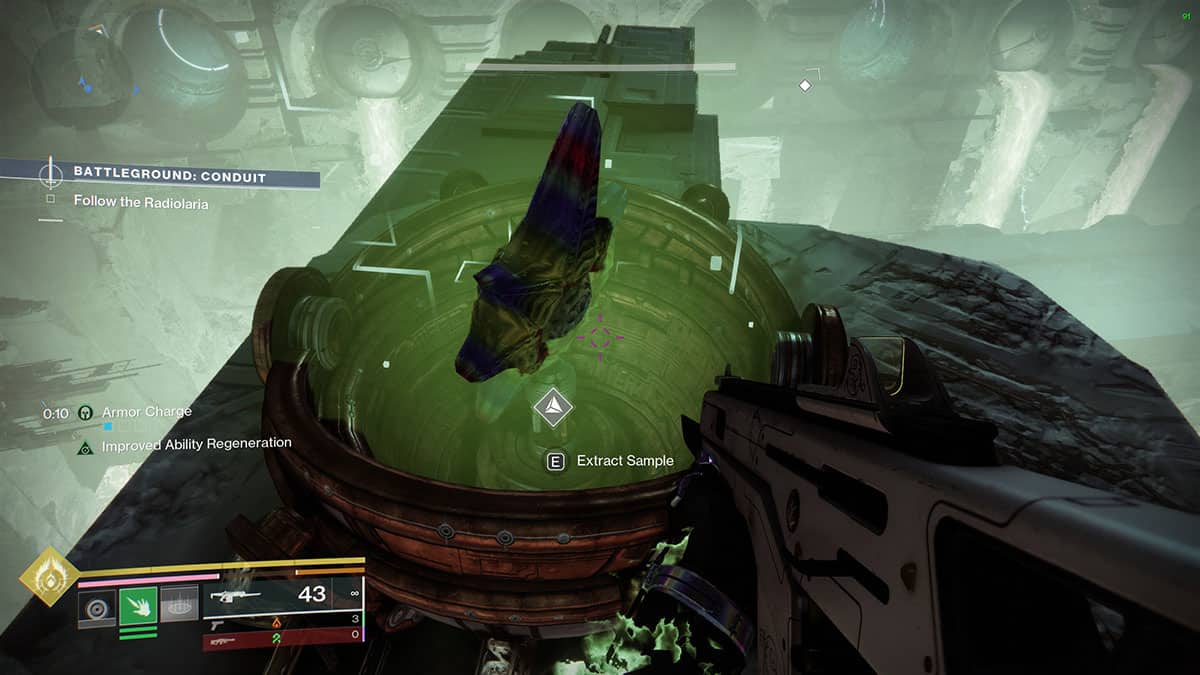
Fight against the enemy forces gathering beneath the planetoid’s crust in Battleground: Conduit.
- Complete Battleground: Conduit on Nessus.
Act II: Step 7
An incoming message awaits you at the holoprojector in the H.E.L.M..
- Speak with Failsafe.
Act II: Step 8
A voice calling itself the Conductor seems to be responsible for the strange behavior of the Vex on Nessus. It appears to have the disturbing ability to control those who hear its voice…
Act II: Step 9
Failsafe would like to speak with you at her remote uplink in the H.E.L.M.
- Failsafe, newly briefed on the Echo of Command, wishes to speak to your in the H.E.L.M.
Act II: Step 10
Excavate Radiolite to gather the materials Failsafe requires to fabricate her tracking nanomachines. Radiolite can be most commonly found within Breach Executable and Seasonal Battlegrounds activities.
- Harvest 10x Radiolite
Act II: Step 11

Bring Failsafe the materials you have gathered so she can fabricate her nanobots.
- Speak with Failsafe in the H.E.L.M.
Act II: Step 12

Deploy the tracking nanobots in the Chamber of Stone area of Nessus.
- Deploy 5x nanobots.
Act II: Step 13
Deploy the tracking nanobots in the radiolarian spring in The Conflux Lost Sector on Nessus.
- Deploy 3x nanobots.
Act II: Step 14

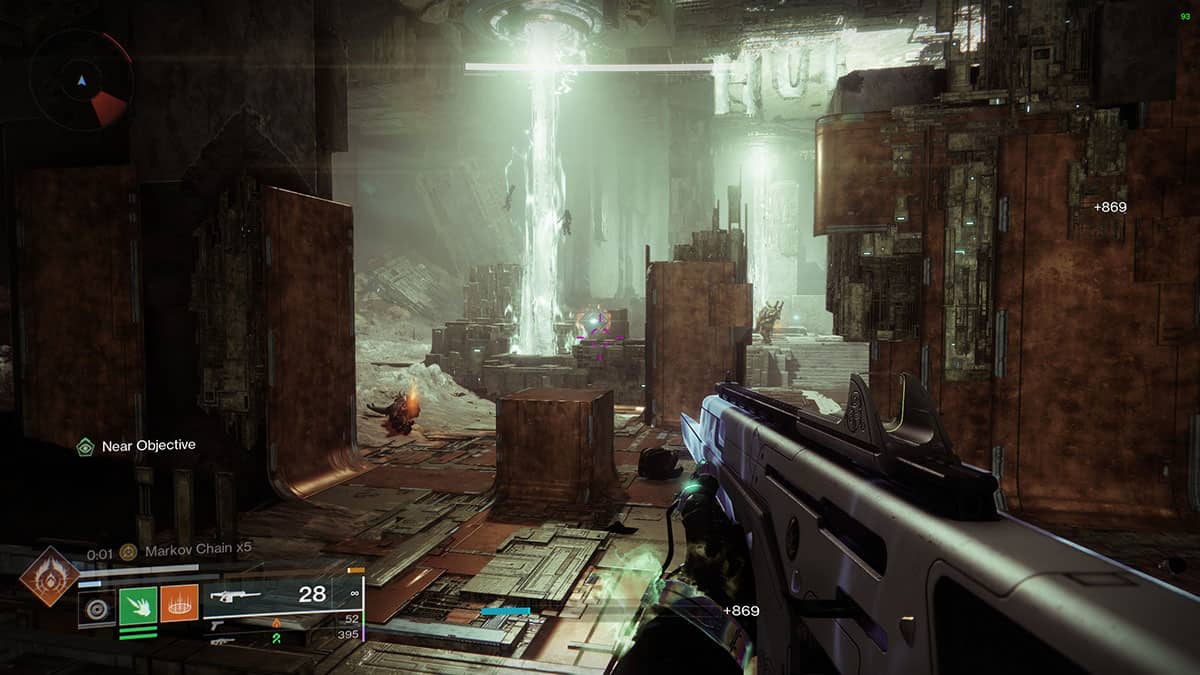
Fight against the hostile powers attempting to control the flow of Nessus’s radiolaria in Battleground: Core.
- Complete Battleground: Core on Nessus.
Act II: Step 15
Failsafe wishes to speak with you at her remote uplink in the H.E.L.M.
- Study the nanobots’ progress with Failsafe.
Act II: Step 16
Failsafe believes she has located a new research specimen in the Watcher’s Grave area of Nessus.
- Search the coordinates for a new research specimen.
Act II: Step 17
Failsafe insists she has located a new research specimen in the Watcher’s Grave area of Nessus.
- Search the coordinates for a new research specimen.
Act II: Step 18
You have unearthed an unusual specimen. Collect it so Failsafe can analyze the changes taking place on Nessus.
- collect the research specimen.
Act II: Step 19

Deliver the research specimen to Failsafe’s remote uplink in the H.E.L.M. for processing and analysis.
- Take the research specimen to Failsafe for analysis.
Act II: Step 20
Failsafe wishes to speak with you at her remote uplink in the H.E.L.M.
- Speak with Failsafe.
Act II: Step 21

Visit Ikora in the Tower to learn the details of Failsafe’s new theory.
- Speak with Ikora Rey in the Tower.
Act II: Step 22
A voice calling itself the Conductor seems to be responsible for the strange behavior of the Vex on Nessus. It appears to have the disturbing ability to control those who hear its voice…
Act II: Step 23
Failsafe wishes to speak with you at her remote uplink in the H.E.L.M.
- Meet Failsafe in the H.E.L.M. to discuss her theory of how to locate the Conductor.
Act II: Step 24
Failsafe requires an access code to enter the Vex simulation holding Saint-14’s body.
- Explore the Sunken Cavern on Nessus and defeat the Vex who holds the code Failsafe requires.
- Obtain the Vex code.
Act II: Step 25
Visit the H.E.L.M.
- A message awaits you in the H.E.L.M.
Act II: Step 26
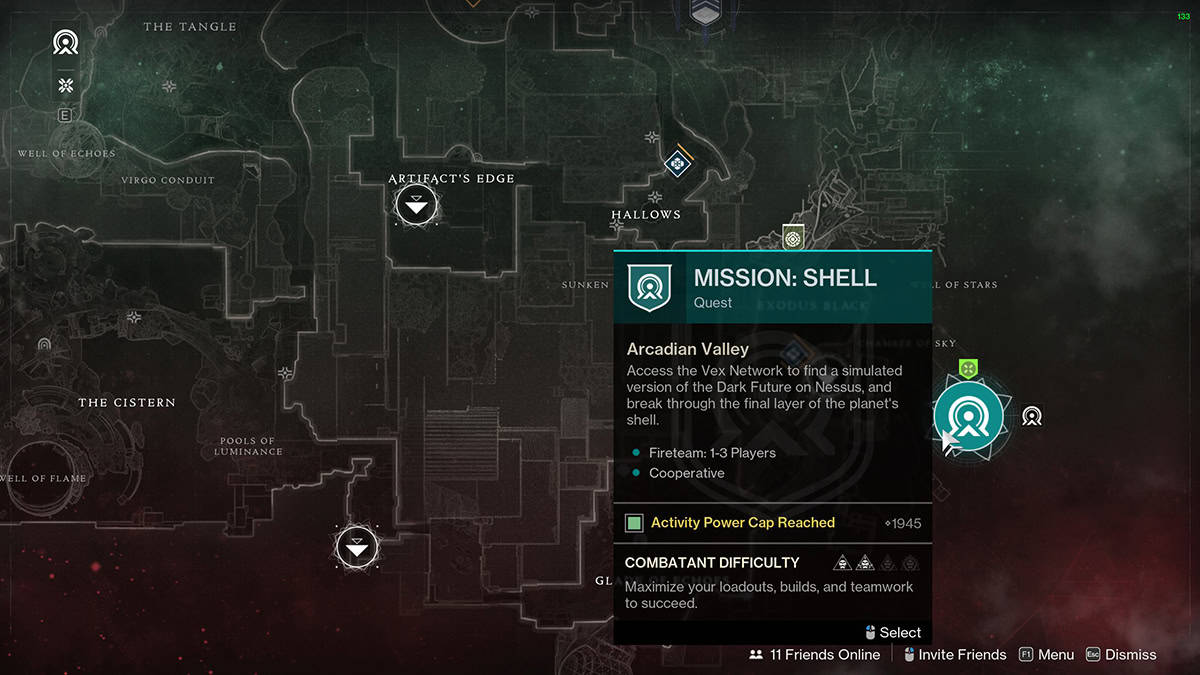
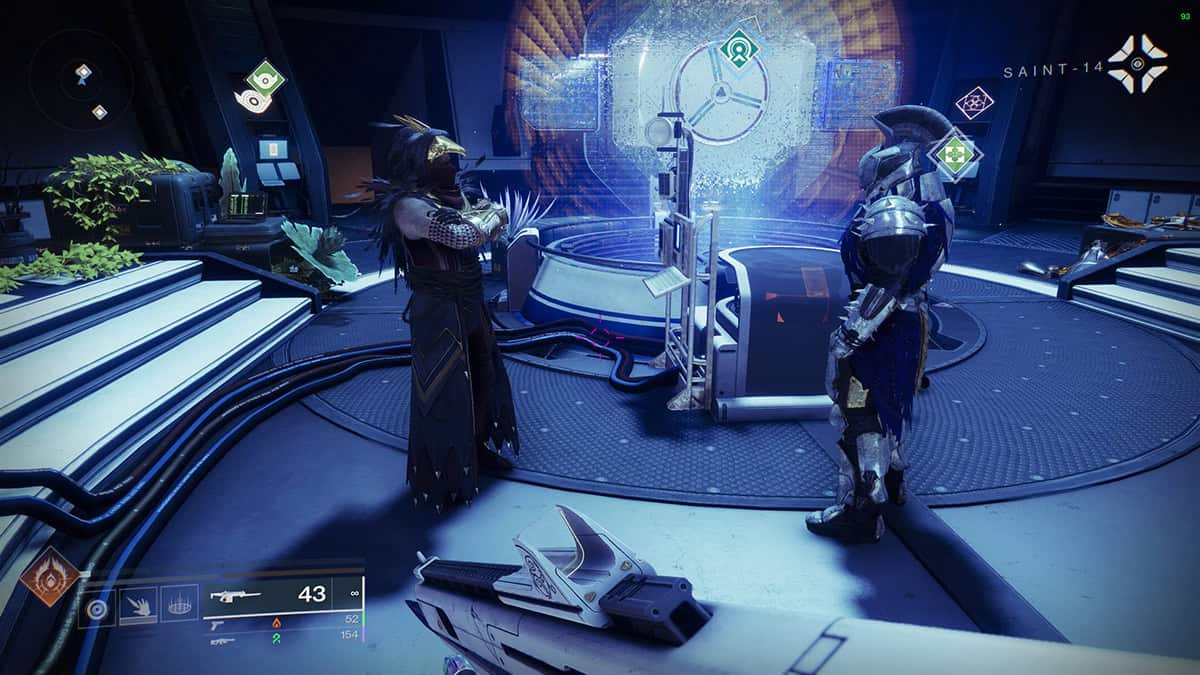
Venture into the Vex network and help Saint-14 reclaim the data he needs to locate the Conductor.
- Enter the Vex network with Saint-15 in Mission: Shell on Nessus.
Act II: Step 27
Saint-14 wishes to speak with you in the Hangar area of the Tower.
- Speak with Saint-14.
Act II: Step 28
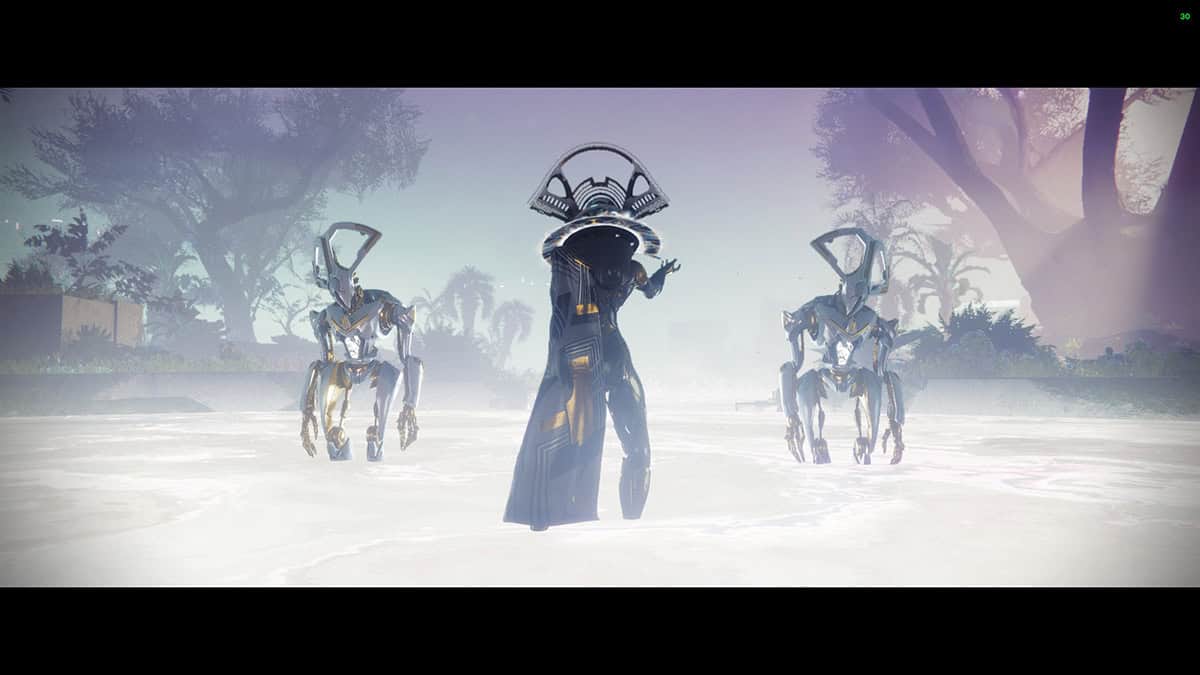
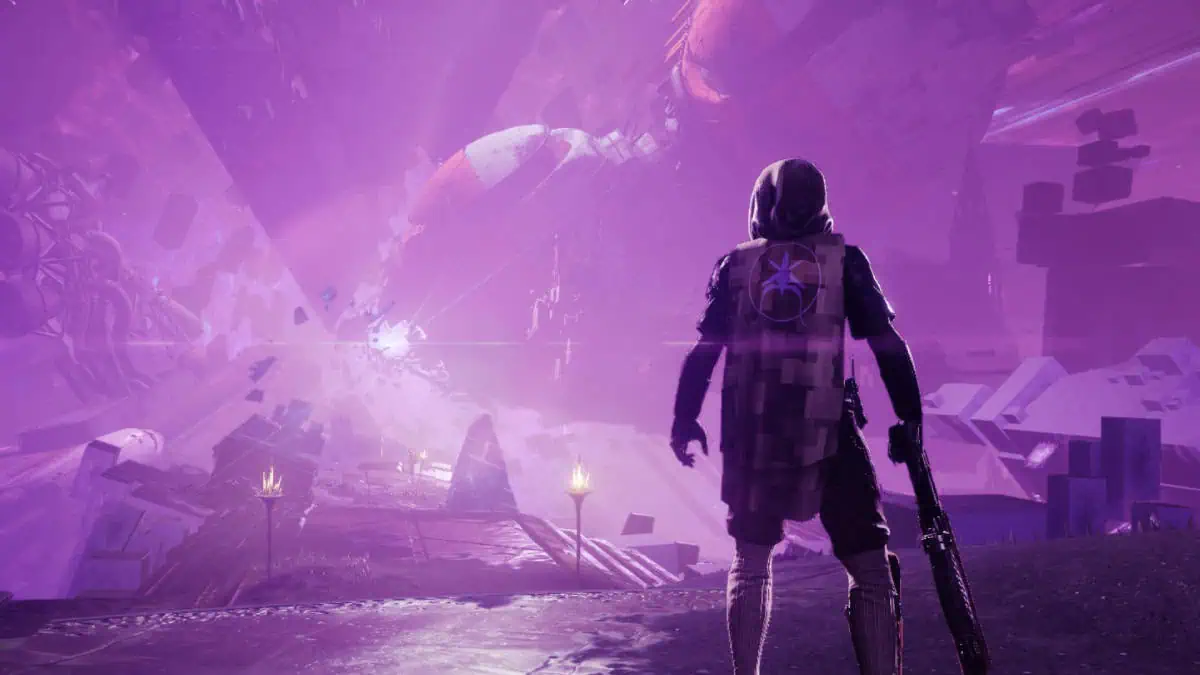
The conductor has been revealed to be Maya Sundaresh, a Golden-Age scientist long trapped in the Vex network. She wields the Echo of Command, an object of incredible power created by the Witness’s death. Unless she is stopped, she will use it to spread radiolaria throughout the Sol system, transforming all into her willing Vex…
Act III: Step 1
Defeat the Conductor’s forces in the Exotic mission Encore, launch it from H.E.L.M.
Act III: Step 2
Meet with Ikora and discuss the revelations from the Encore Exotic Mission.
Act III: Step 3
Speak with FAILSAFE about Ikora’s discoveries.
Act III: Step 4
Find the 5 stolen Golden Age components in the Rift List Sector near the Exodus Black landing zone on Nessus. They are shaped like big white cubes near the final boss.
Act III: Step 5,6, and 7
Upgrade FAILSAFE, then speak to her, and she will grant you the NES007 quest. Complete the quest to completion.
Act III: Step 8
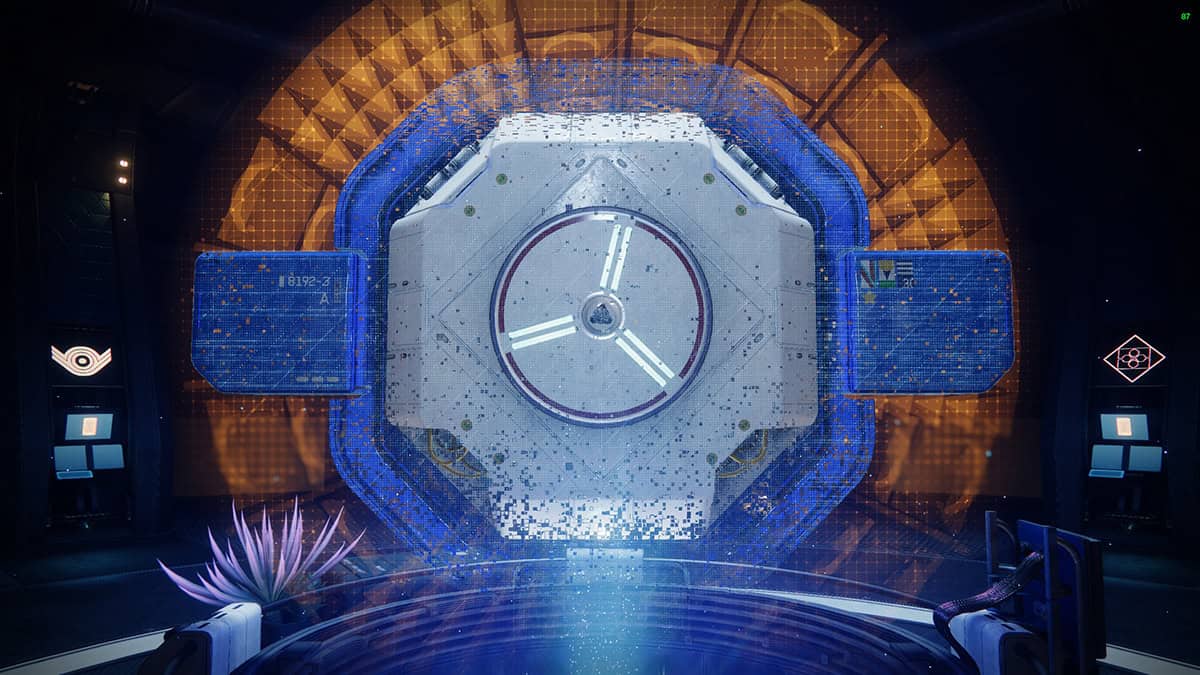
Visit the holoprojector in H.E.L.M. and place the EXO inside the marked containment bay. Await FAILSAFE while she tries to connect to the Conductor mainframe.
Act III: Step 10
A message awaits at the holoprojector in the H.E.L.M. Visit the holoprojector to receive the message.
Act III: Step 11
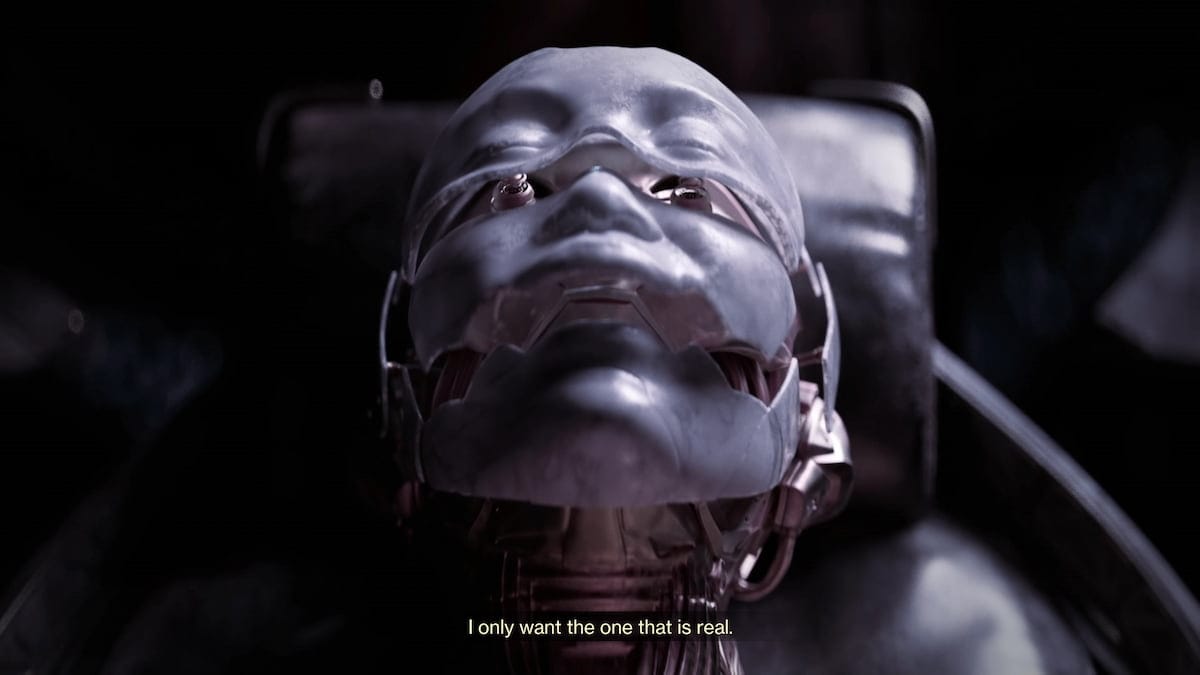
Failsafe believes she can gain information on the Conductor’s intentions by studying a sample of pristine Exo control data from Europa. Recover the Exo data from the Lost Sector Perdition on Europa.
Act III: Step 12
Locate the consciousness driver in Bray Exoscience on Europa.
Act III: Step 13
Destroy the Conductor’s Choral Mind in the Exotic mission “Encore,” launched from the H.E.L.M.
Act III: Step 14, 15 & 16
Visit the holoprojector in the H.E.L.M.
Act III: Step 17
Head to Neomuna to search the Neomuna Veil Containment terminals. After you arrive, head inside and interact with the terminal.
Act III: Step 18
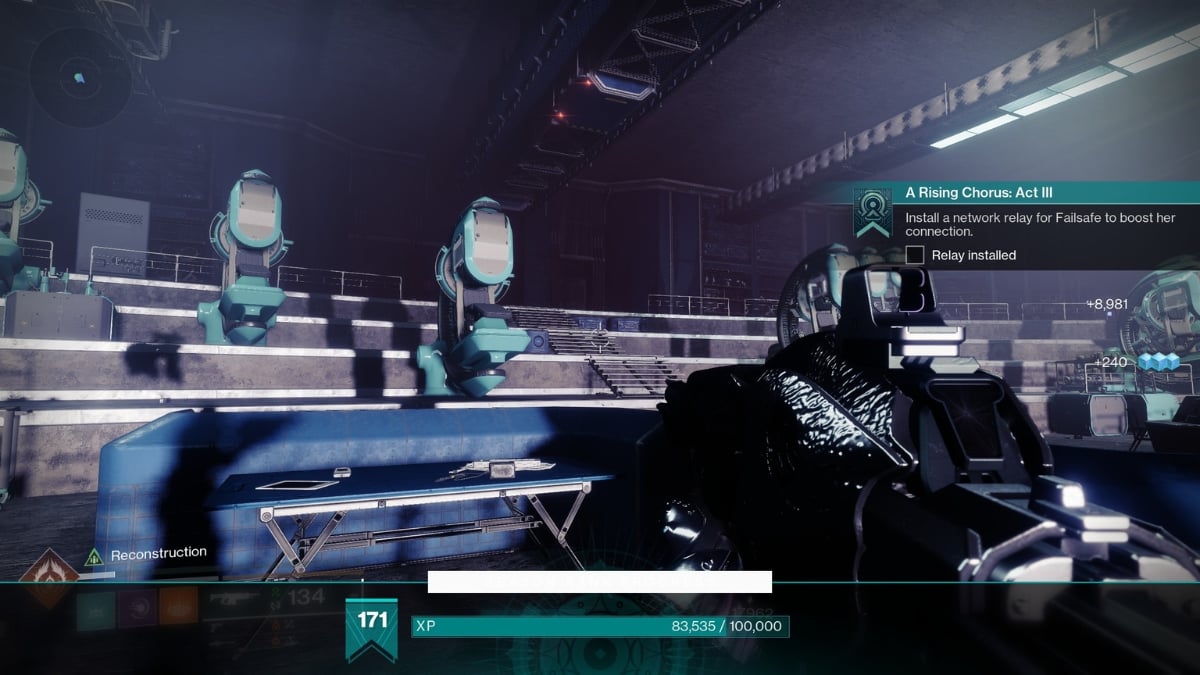
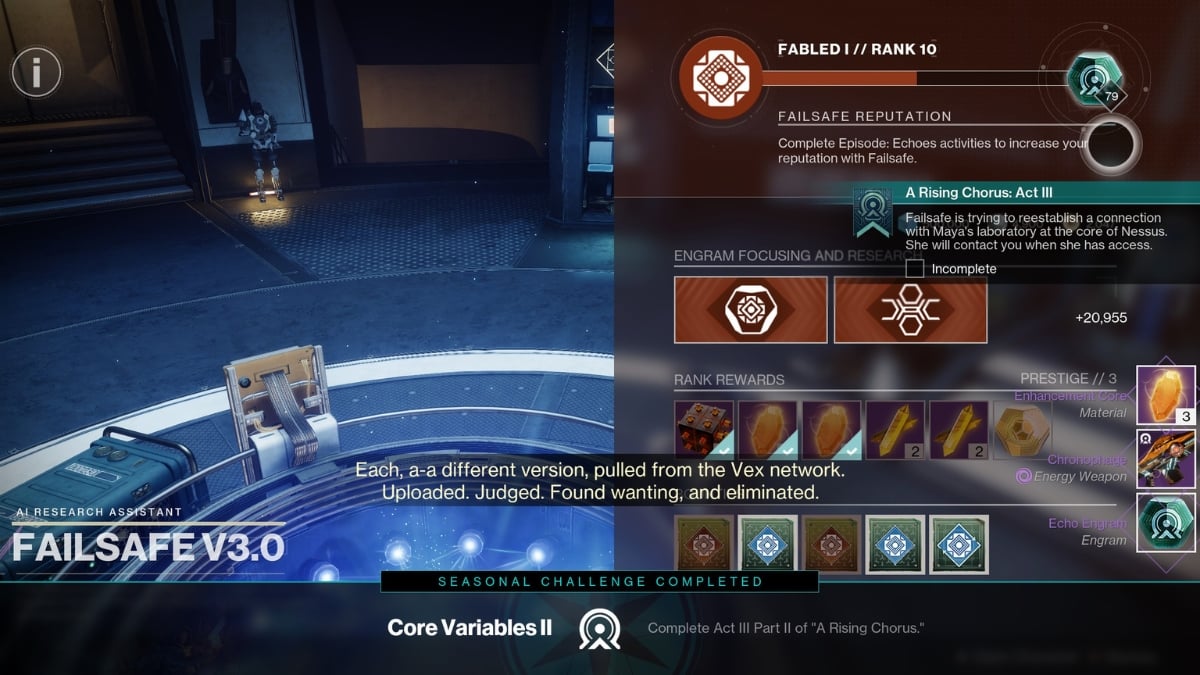
Install a network relay for Failsafe to boost her connection.
Act III: Step 19

Destroy the Choral Mind in in Encore Exotic mission.
Act III: Step 20
Confront and deafeat the Conductor.
Act III: Step 21 & 22
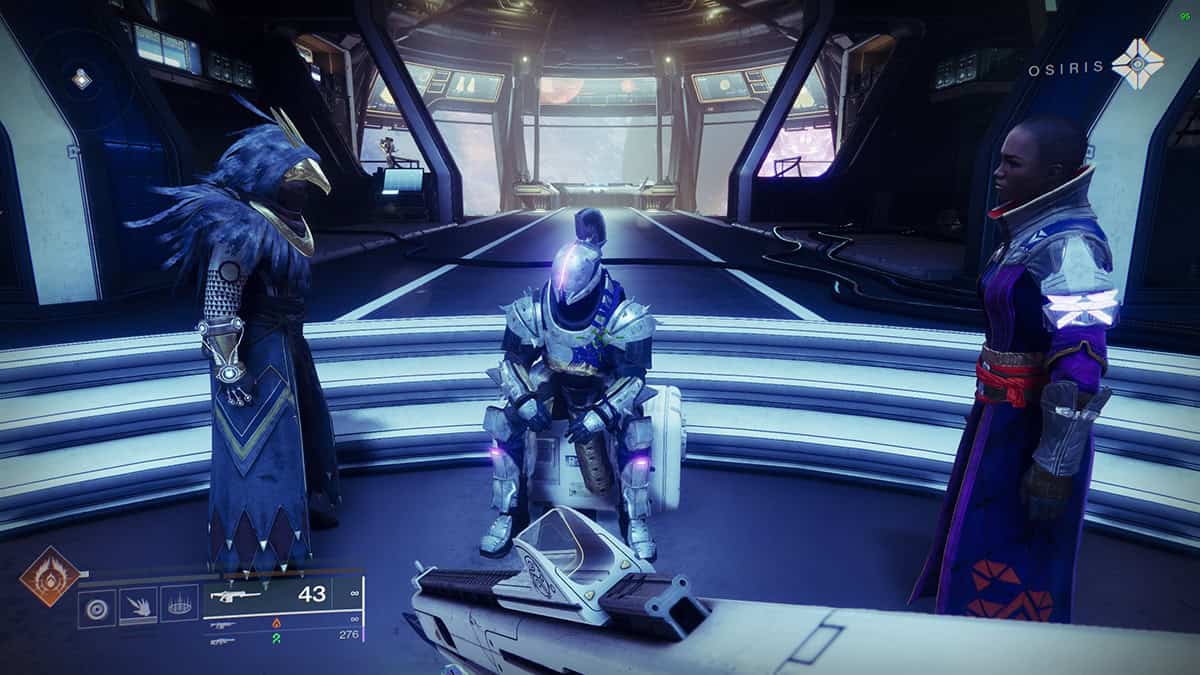
Speak with Failsafe and Saint-14 in the H.E.L.M.
Related:
Destiny 2: How To Get MicrocosmDestiny 2: The Final Shape is now available on PC,


