Close Menu
  • Gaming
    • Game Guides
    • Codes
    • Game News
    • Game Previews
    • Game Reviews
    • Game Features
    • Game Lists
    • Platforms
      • Nintendo
      • PC
      • PlayStation
      • Xbox
      • Mobile
  • Entertainment
    • Movies
    • Movie Features
    • Movie Reviews
    • TV
    • Reality TV
    • Royals
  • Celebrity
  • Human Interest
  • Astrology
  • Videos
  • More
    • Anime
    • Lists
    • Podcasts
    • Reviews
Facebook X (Twitter) Instagram LinkedIn YouTube
  • About Us
  • Join Our Team
  • Meet the Team
  • Privacy Policy
  • DMCA Policy
  • Contact Us
  • Terms of Use
  • Sitemap
  • Editorial Guidelines
  • Advertising Policy
The Nerd Stash
  • Gaming
  • Celebrity
  • Human Interest
  • Videos
The Nerd Stash
Home»Game Guides»Destiny 2: How To Complete All Micah-10 Convalescence Quests

Destiny 2: How To Complete All Micah-10 Convalescence Quests

Leave no Ghost behind

Jordan MoyerBy Jordan MoyerJune 6, 20245 Mins Read
Destiny 2: How To Complete All Micah-10 Convalescence Quests
Image Source: Bungie via The Nerd Stash

Skip To...

  • Table of contents
  • Convalescence: Rootbound
  • Convalescence: Underbrush
  • Convalescence: Greenery

As you make your way through Destiny 2: The Final Shape you’ll come across Micah-10. While Micah can be of great help to you and Cayde as you try to save the Traveler and take down the Witness once and for all, she wants something from you in return for her help. Micah saves lost Ghosts who might be abandoned and hurt and brings them back to the Old Tower. Let’s check out all the quests Micah-10 sends you on.

Table of contents

  • Convalescence: Rootbound
    • Step 1
    • Step 2
    • Step 3
  • Convalescence: Underbrush
    • Step 1
    • Step 2
    • Step 3
    • Step 4
  • Convalescence: Greenery
    • Step 1
    • Step 2
    • Step 3
    • Step 4
    • Step 5

Convalescence: Rootbound

Convalescence: Rootbound takes you out to save a possibly-hurt Lost Ghost and bring it back to safety.

Step 1

Rootbound Step 1
Image Source: Bungie via The Nerd Stash

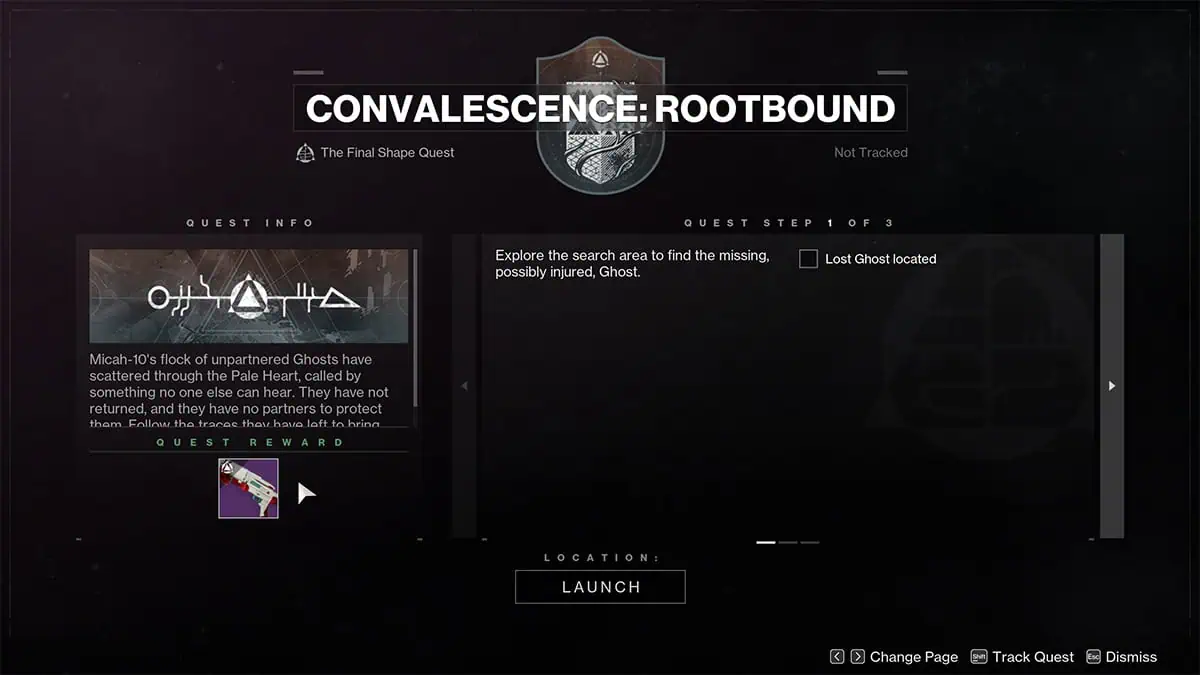
Micah-10’s flock of unpartnered Ghost have scattered through the Pale Heart, called by something no one else can hear. They have not returned, and they have no partners to protect them. Follow the traces they have left to bring them home.

  • Explore the search area to find the missing, possibly injured, Ghost.
    • Locate the Lost Ghost at the end of the Forgotten Deep Lost Sector.
    • The Lost Ghost will be near the large tree trunk, near the edge of the platform.

Step 2

Rootbound Step 2
Image Source: Bungie via The Nerd Stash

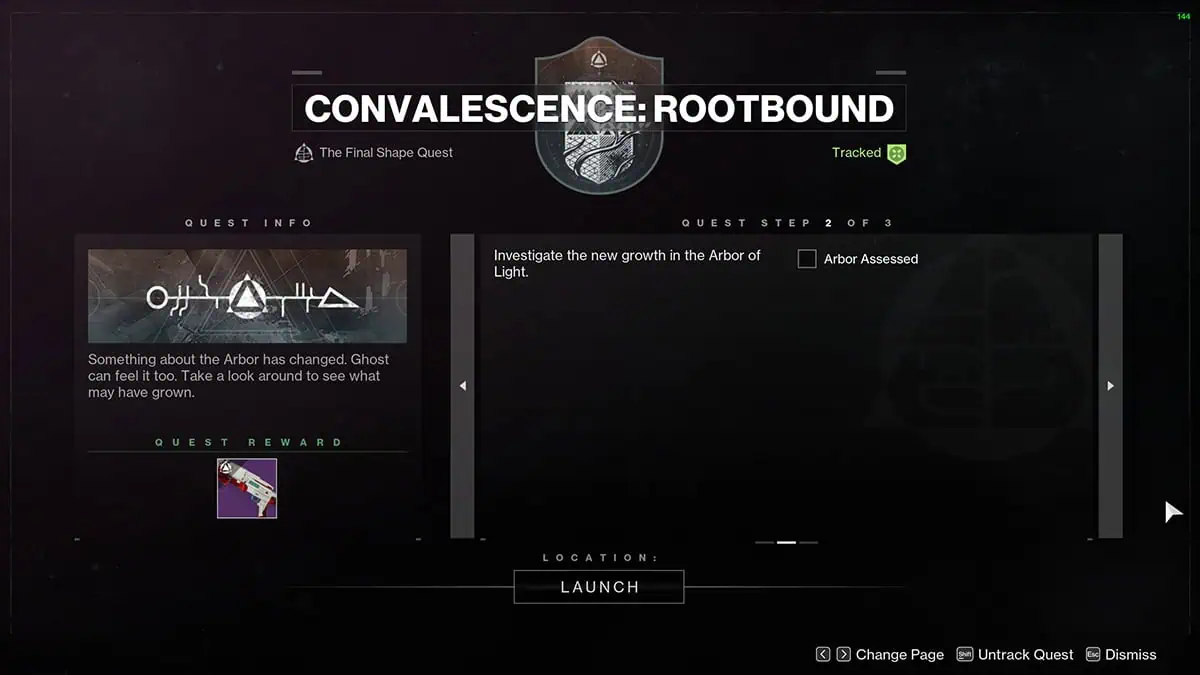
Something about the Arbor has changed. Ghost can feel it too. Take a look around to see what may have grown.

  • Investigate the new growth in the Arbor of Light.
    • Assess the Arbor and investigate the Ghost.

Step 3

Rootbound Step 3
Image Source: Bungie via The Nerd Stash

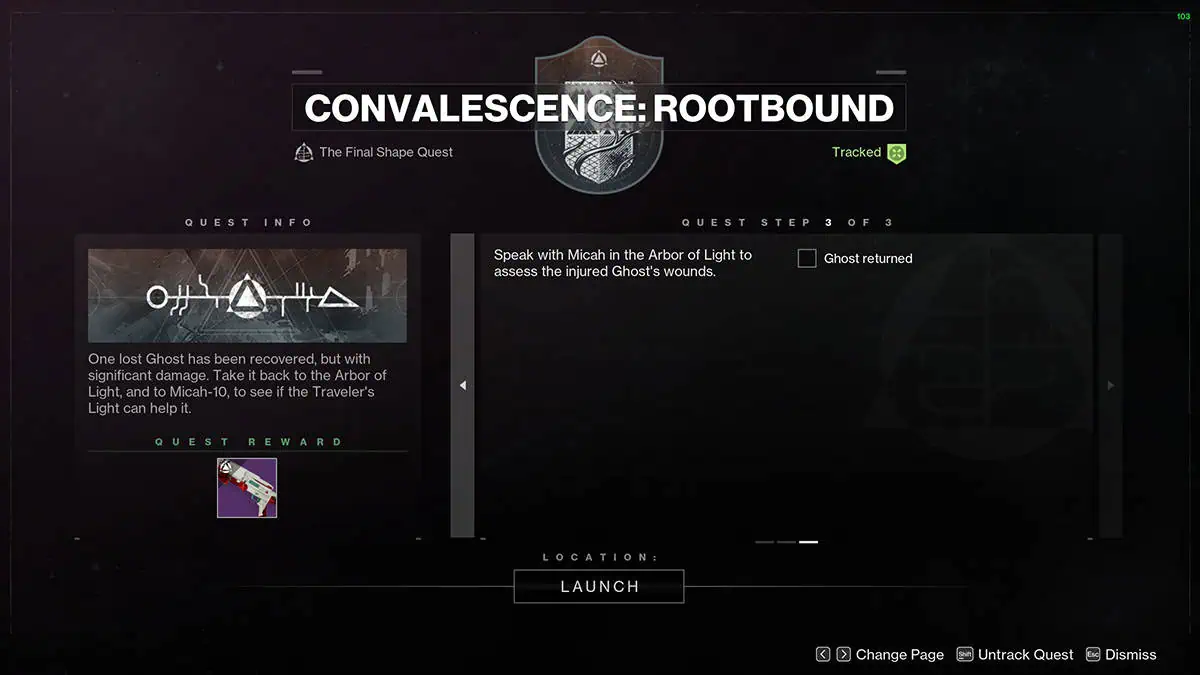
One lost Ghost has been recovered, but with Significant damage. Take it back to the Armor of Light, and to Micah-10, to see if the Traveler’s Light can help it.

  • Speak with Micah in the Arbor of Light to access the injured Ghost’s wounds.
    • Return the Ghost to the Arbor of Light.

Convalescence: Underbrush

Convalescence: Underbrush takes us back into the Pale Heart to investigate the Traveler’s Blessings.

Step 1

Underbrush Step 1
Image Source: Bungie via The Nerd Stash

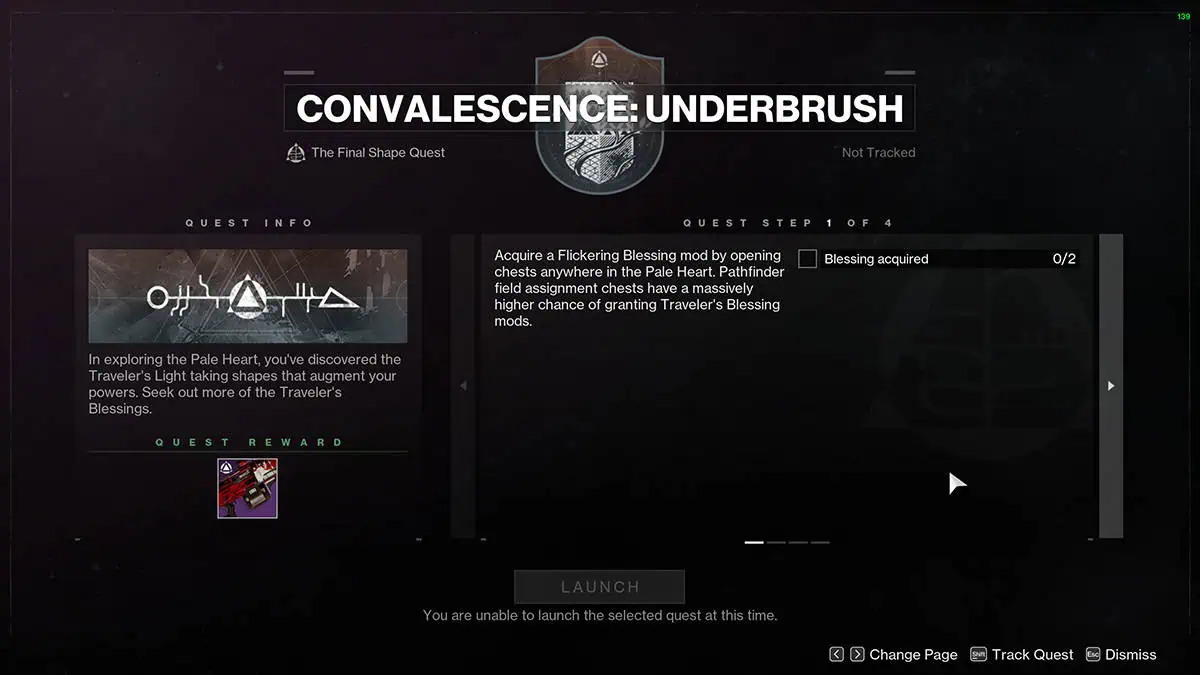
In exploring the Pale Heart, you’ve discovered the Traveler’s Light taking shapes that augment your powers. Seek out more of the Traveler’s Blessings.

  • Acquire a Flickering Blessing mod by opening chests anywhere in the Pale Heart. Pathfinder field assignment chests have a massively higher chance of granting Traveler’s Blessing mods.
    • Acquire two blessings.

Step 2

Underbrush Step 2
Image Source: Bungie via The Nerd Stash

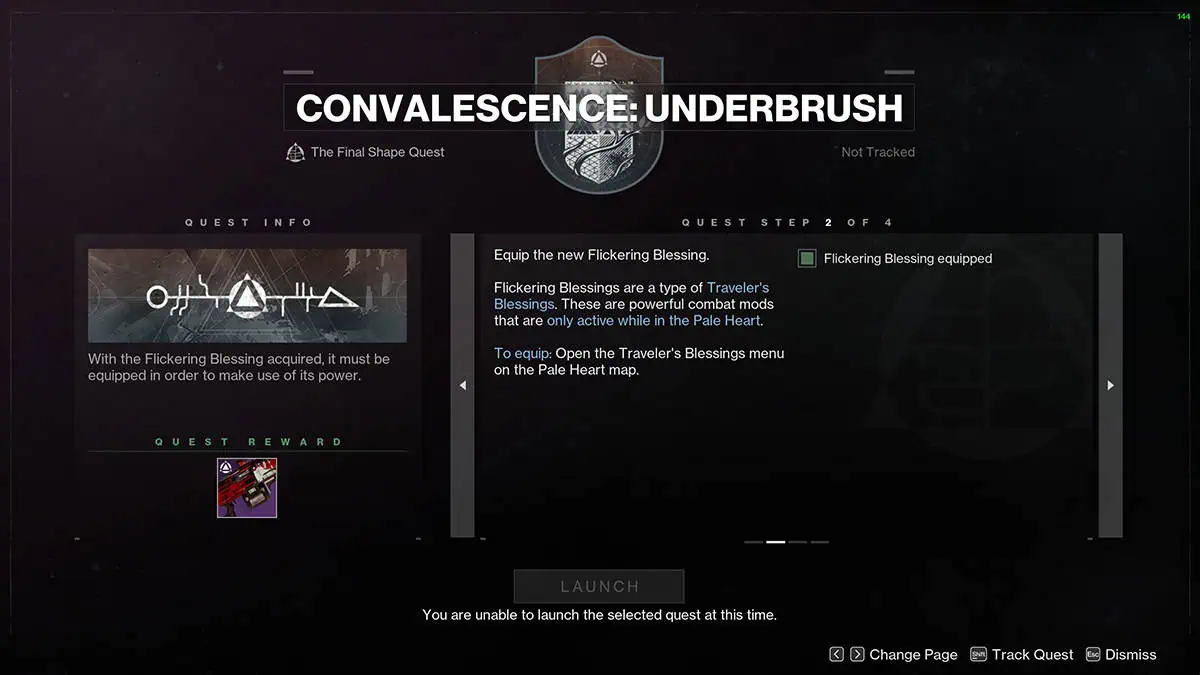
With the Flickering Blessing acquired, it must be equipped in order to make use of its power.

  • Equip the new Flickering Blessing.
    • Flickering Blessings are a type of Traveler’s Blessing. These are powerful combat mods that are only active while in the Pale Heart.
    • To equip, open the Traveler’s Blessing menu on the Pale Heart Map next to the Pathfinder menu.

Step 3

Underbrush Step 3
Image Source: Bungie via The Nerd Stash

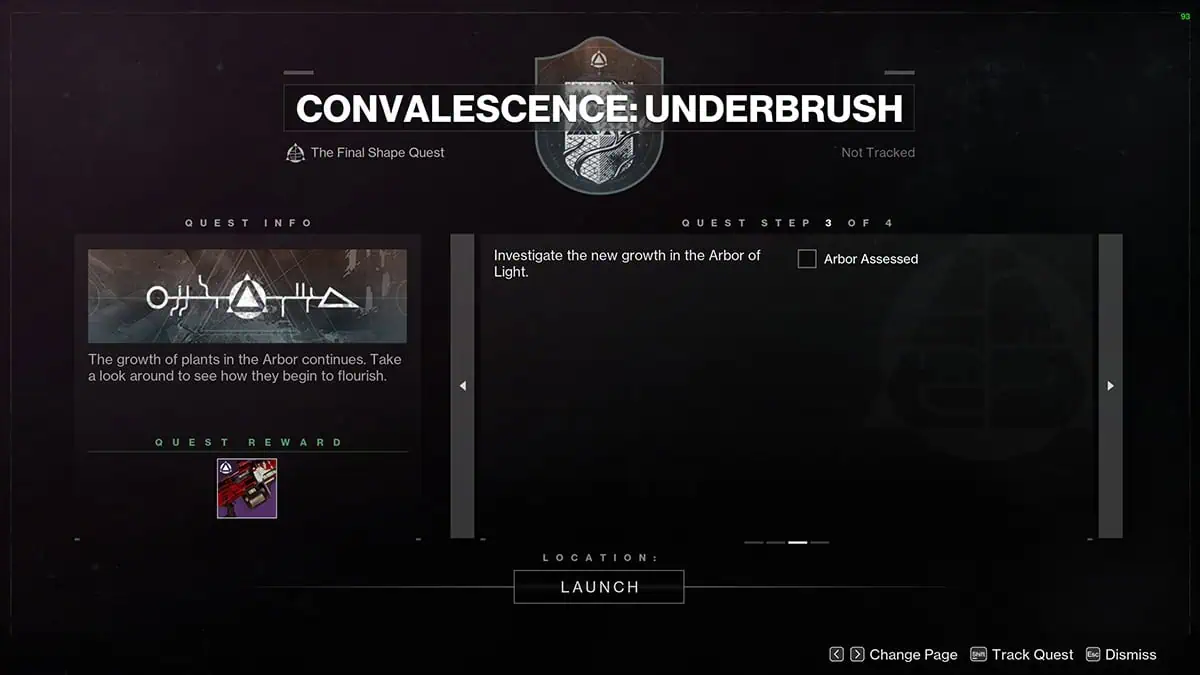
The growth of plants in the Arbor continues. Take a look around to see how they begin to flourish.

  • Investigate the new growth in the Arbor of Light.
    • Assess the Arbor.

Step 4

Underbrush Step 4
Image Source: Bungie via The Nerd Stash

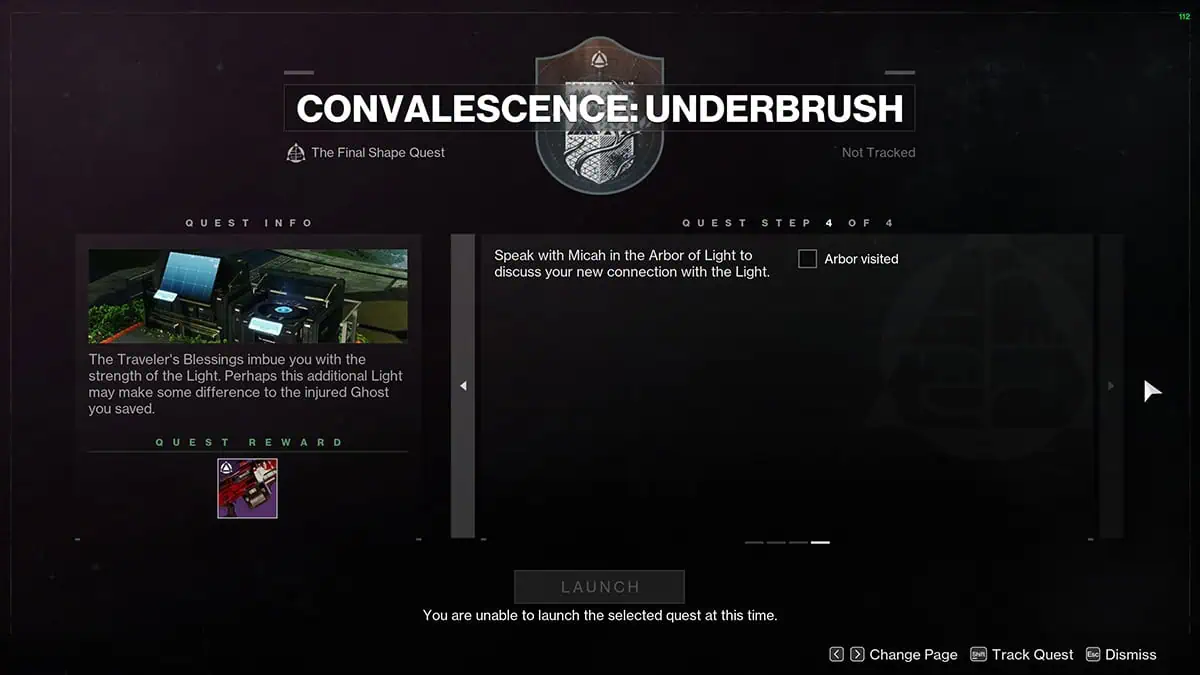
The Traveler’s Blessings imbue you with the strength of the Light. Perhaps this additional Light may make some difference to the injured Ghost you saved.

  • Speak with Micah in the Arbor of Light to discuss your new connection with the Light.
    • Visit Micah in the Arbor.

Convalescence: Greenery

Convalescence: Greenery takes us back into the Pale Heart to try to get some control over the Witness’s forces and restore balance.

Step 1

Greenery Step 1
Image Source: Bungie via The Nerd Stash

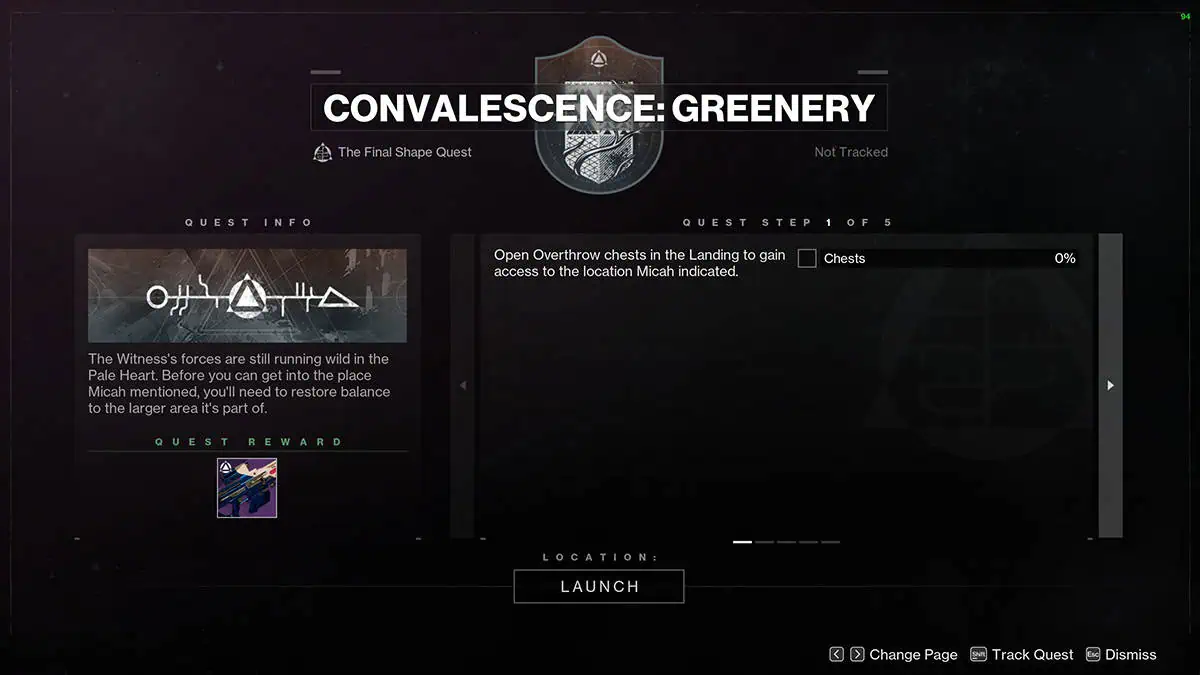
The Witness’s forces are still running wild in the Pale Heart. Before you can get into the place Micah mentioned, you’ll need to restore balance to the larger area it’s part of.

  • Open Overthrow chests in the Landing to gain access to the location Micah indicated.

Step 2

Greenery Step 2
Image Source: Bungie via The Nerd Stash

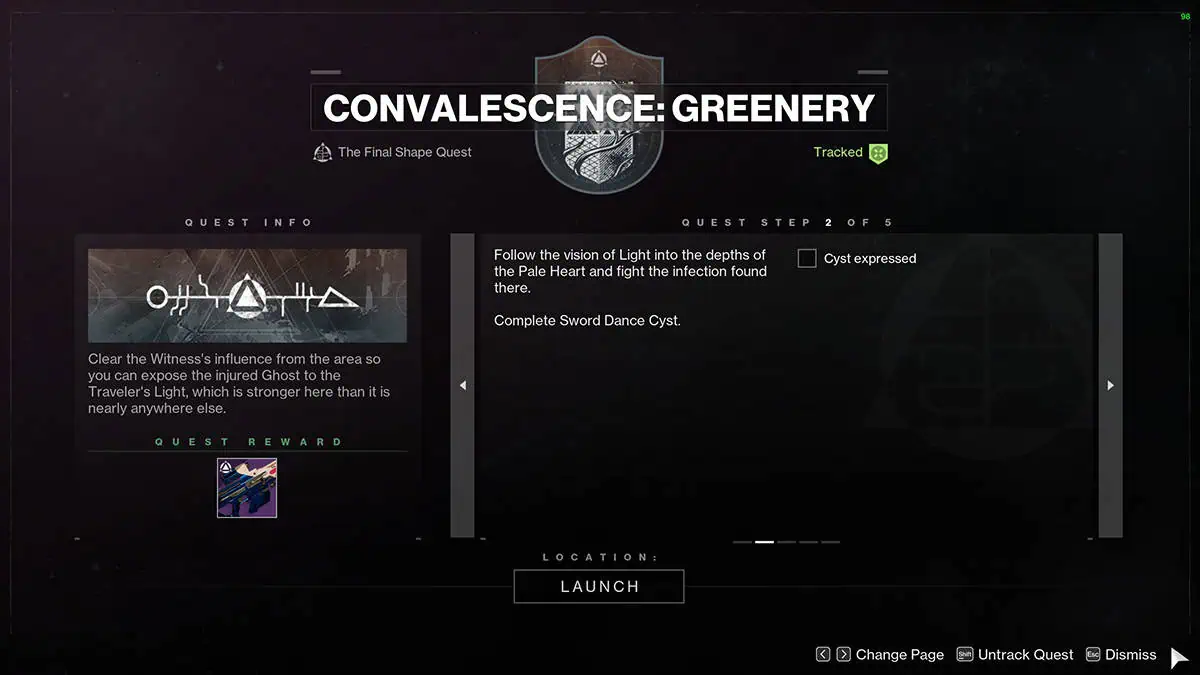
Clear the Witness’s influence from the area so you can expose the injured Ghost to the Traveler’s Light, which is stronger here than it is nearly anywhere else.

  • Follow the vision of Light into the depths of the Pale Heart and fight the infection found there.
    • Complete Sword Dance Cyst.

Step 3

Greenery Step 3
Image Source: Bungie via The Nerd Stash

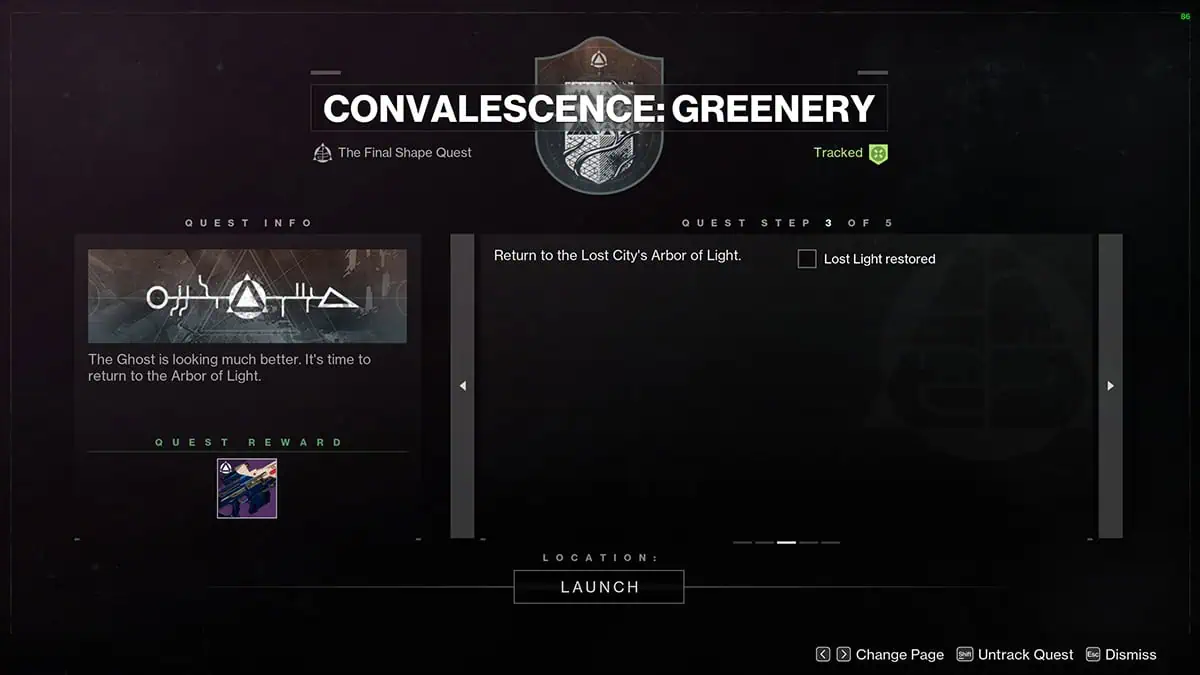
The Ghost is looking much better. It’s time to return to the Arbor of Light.

  • Return to the Lost City’s Arbor of Light to restore the Lost Light.

Step 4

Greenery Step 4
Image Source: Bungie via The Nerd Stash

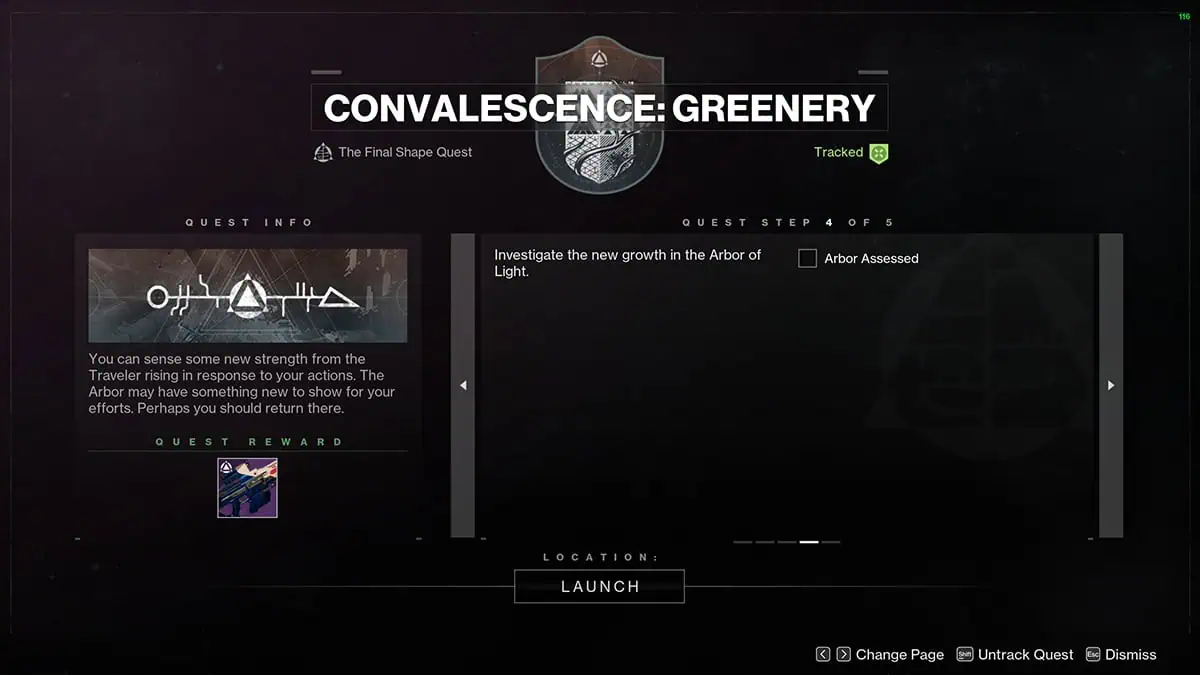
You can sense some new strength from the Traveler rising in response to your actions. The arbor may have something new to show for your efforts. Perhaps you should return there.

  • Investigate the new growth in the Arbor of Light.

Step 5

Greenery Step 5
Image Source: Bungie via The Nerd Stash

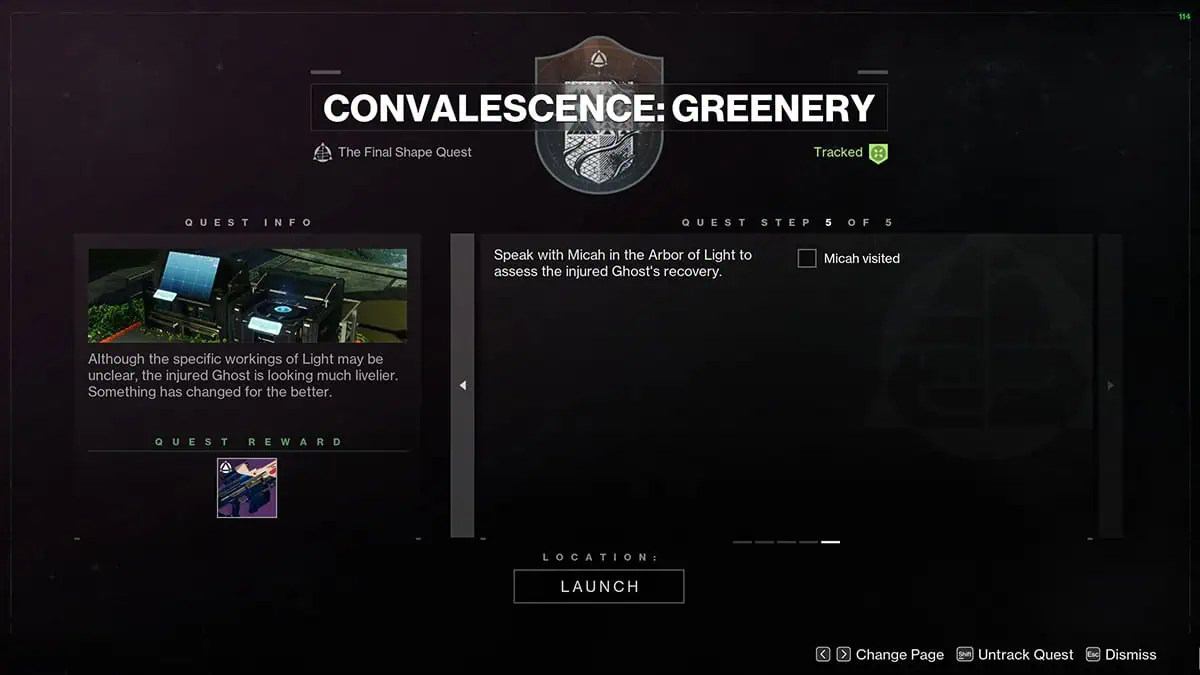
Although the specific workings of Light may be unclear, the injured Ghost is looking much livelier. Something has changed for the better.

  • Speak with Micah in the Arbor of Light to assess the injured Ghost’s recovery.

Related:

How to Reach Power Level 2000 Fast in Destiny 2 (The Final Shape)

Destiny 2: The Final Shape is now available on PC, Xbox, and PlayStation consoles.

Related Topics
Destiny 2 Guide
Share. Facebook Twitter LinkedIn Reddit Email
Jordan Moyer
  • Website
  • X (Twitter)

Jordan is an experienced fantasy writer who spends hours behind her laptop, and lost in the pages of a book. She strives to be a successful gaming blogger, and has no complaint about the hours of game time she used to increase her knowledge of all things “geek”. She primarily writes gaming articles and fantasy novels. Ark: Survival Evolved is a favorite, along with Diablo 3, Warframe and Minecraft lately, though you can’t forget the good old Magic the Gathering card game! Writing about games truly gives her joy as it gives her another perspective to look at games from, a reason to really look into the mechanics of the game.

SUGGESTED READS

The Division 2 Game Pass Release
Features

One Of Ubisoft’s Best Games Just Landed on Xbox Game Pass

Elden Ring Matchmaking Error
Game Guides

How To Fix ‘Matchmaking Not Working’ in Elden Ring: Nightreign

How to Change Skins in Nightreign
Game Guides

How To Change Skins in Elden Ring: Nightreign

What are Sheckles in Roblox Grow a Garden?
Game Guides

What are Sheckles in Roblox Grow a Garden?

Marvel Contest of Champions Solvarch Eidol
Features

Marvel Contest of Champions Unveils Its Next Eidol and Original Character, Solvarch

Elden Ring Nightreign Gladius Guide
Game Guides

How To Defeat Tricephalos (Gladius) in Elden Ring: Nightreign

Trending
The Division 2 Game Pass Release

One Of Ubisoft’s Best Games Just Landed on Xbox Game Pass

Evolve: The Marathon Review (Xbox One)

#IDARB Review (Xbox One)

‘Hotline Miami 2’ Banned in Australia

The Nerd Stash
Facebook X (Twitter) Instagram YouTube LinkedIn
  • About Us
  • Join Our Team
  • Meet the Team
  • Privacy Policy
  • DMCA Policy
  • Contact Us
  • Terms of Use
  • Sitemap
  • Editorial Guidelines
  • Advertising Policy
© 2025 The Nerd Stash. All Rights Reserved.

Type above and press Enter to search. Press Esc to cancel.