Skip To...
The Devourer is definitely the first “DPS check” wall most players encounter in Nexon’s looter shooter. Before the Devourer Void Interception, you can pretty much complete all missions by smashing your way in with any character. Once reaching this point though, players who don’t take their time to prep and farm gear end up having to pay the price. There’s no easy way to beat the Devourer, but our The First Descendant guide will tell you everything you need to know to defeat it.
[Updated on July 7th – Changed the outdated beta information and added new images]
Preparation Phase
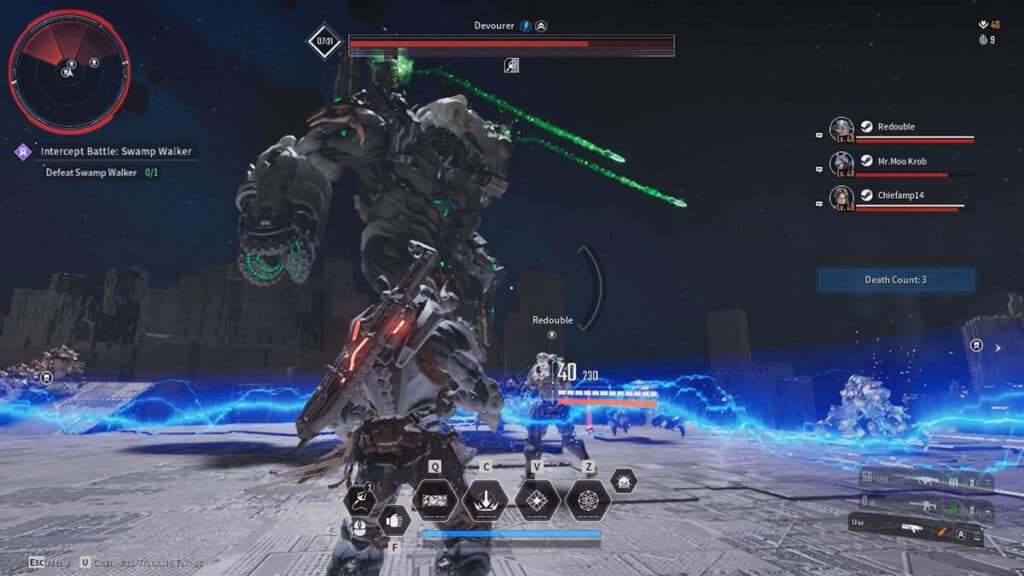
- Recommended Level: 54-55 or above.
- Recommended Attribute Resistance: 1,800 Toxic Resistance.
- Weak Against: Electric (effective), Fire (normal).
- Weak Point Type: Pierce.
- Strong Against: Toxic (resist), Chill (not effective).
Before you dive into the Devourer Void Intercept with your fellow Descendants, we’d recommend checking out your gear. Devourer is a Toxic element Colossus, so boosting your Toxic Resistance would be a smart move. The element is best countered with Electric damage; avoid attacking it with Toxic weapons or Descendant skills, like Freyna’s. As usual, a Bunny or two with maxed-out Thunder Cage will be a huge asset in this fight.
Still, if you don’t have an Electric weapon for beating the Devourer The First Descendant fight, don’t worry too much. Just get your gear to Level 54 or above and pick Pierce weapons with the highest DPS. From our short observation, the Highest DPS + Type could deal more damage than using a weapon with the effective element alone.
Mods like Toxic Antibody and Toxic Resistance Maximization are your best friends. Afterward, grabbing HP and DEF percentage buff would be optimal. For DPS, slot in Electric and Weak Point damage buffers if you can.
It’s even better if you manage to score some Special Mods. Battlesuit Crusher is one of the best Mods that you can use for this fight thanks to the -50% DEF debuff. Weaken Recovery can work great too since it debuffs the boss’s annoying regen, as long as your whole party uses it.
Battle Strategy
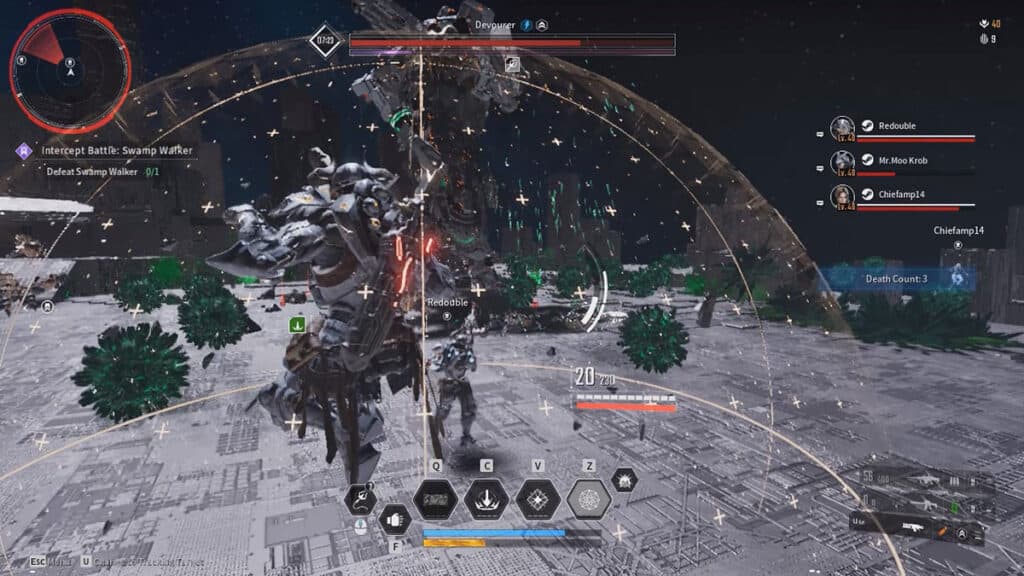
Like the G.I. Joe used to say, “Knowing is half the battle.” In this case, knowing where to shoot is the best way to make sure your ammo doesn’t go to waste.
Similar to other Colossus, Devourer is a bullet sponge; focusing on its body parts will be beneficial for your teammates. When the destructible parts break, it will stagger for 3 seconds, giving you time to dish out damage as much as you can. The same goes for when the removable parts turn yellow; grapple them and it will down for the count. To easily destroy Devourer parts in The First Descendant, don’t forget to equip Piercing-type weaponry:
| Destructible Parts | Removable Parts |
|---|---|
| Sensor (Head/eyes) | Shoulders |
| Core Cap (Chest) | Core (Chest) |
| Balancer (Kneecaps) |
Now let’s move on to the Devourer’s base movesets before looking for ways to beat The First Descendant raid:
- Its basic range attack is a high-speed toxic bullet barrage from its arm cannon. Be careful not to get hit as it will deal tick damage.
- The second cannon attack is slower toxic shots, which will leave puddles of poison. While Ajax’s shield can deflect the initial hit, it cannot block the puddle, so keep moving.
- Devourer’s shoulder-mounted cannons will shoot out toxic crystals that eventually explode. Ajax’s Hypercube dome shield can block and contain this attack.
- The Devourer summons toxic balls around it when it slams both arms to the ground. The balls will be thrown all over the arena when it pounds its arms in front of its chest. The easiest way to evade this move is by hiding behind Ajax’s shield. You can also go to different elevations; try jumping or climbing up/down the stairs to avoid the balls.
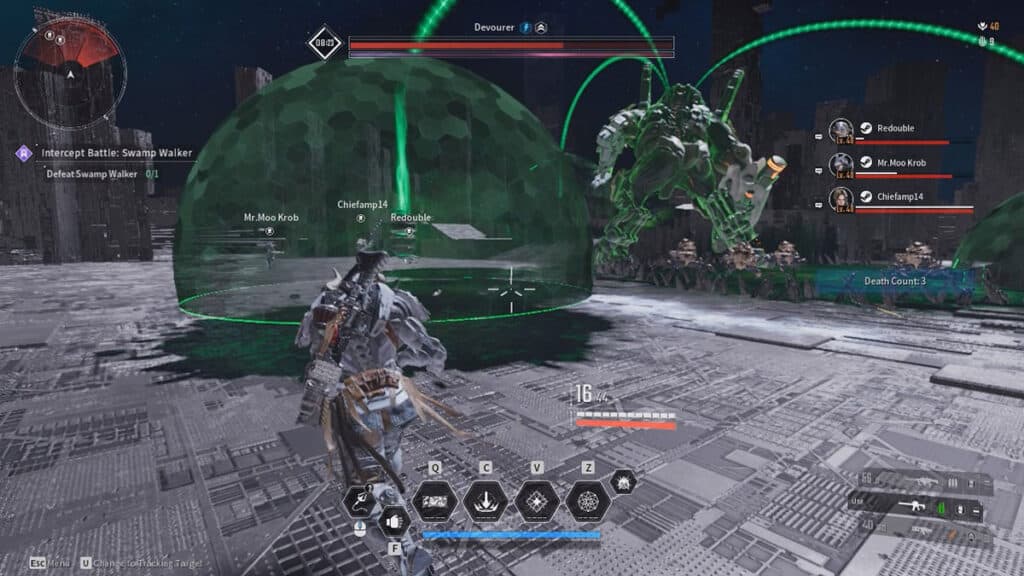
Things will get extremely annoying once the purple bar is full and Devourer goes into Frenzy. It will slam the ground and summon four pylons surrounded by dome shields. If the pylons aren’t quickly taken care of, Devourer can regenerate its whole health! From our experience, it seems the raid boss can heal 1/4 of its health in less than 8 seconds.
At this point, you will want to use all the High-Powered Rounds to go up close and personal and blast away the pylons fast. While four targets mean each can be handled by one Descendant, we don’t recommend doing so– have two players attack one pylon at a time.
Having four players ganging up on one pillar might sound logical, but Devourer will also shoot out AOE toxic airstrikes during this phase. The pillars will be completely submerged with poison making it extremely hard to be damaged. Sure, from our testing, Ajax at Level 40 with high enough Toxic Resistance can safely ignore the tick damage. But squisher Descendants — or if it’s your first time fighting it — won’t have such luxury. For that reason, having two players dish out damage on one pillar is the optimal way to clear out this obstacle.
Aside from Bunny and her Electric burst, having a Gley is very useful. It’s all thanks to her Increased Sensory Skill which grants unlimited ammo for the whole party. Jayber’s Turret can also take off the heat from you and your teammates. As often mentioned above, Ajax and his shield work great to block most of Devourer’s moves.
Last but not least, try to group up with friends instead of playing with randoms. As this is going to be your first major roadblock, you must try to communicate properly with each other. Finding others who’ve completed the Raid can also help you out by getting strategies and tips for the fight. Just don’t expect to be carried — all team members have to contribute damage and minimize death to complete this mission.

