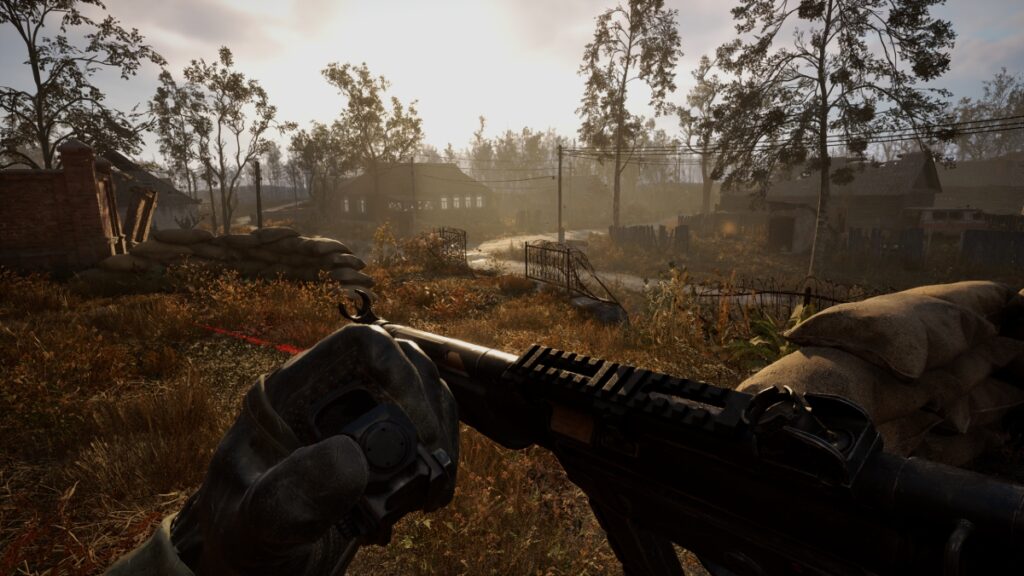
Cold steel and a handful of bullets are all that stand between you and the other side in Stalker 2. Amassing an arsenal is only step one of your survival journey, however. You can upgrade weapons at Techs in settlements, but you can also install your own attachments. Having the perfect scope for a sniper ambush? Adding an extended mag just in time for a Bloodsucker fight? That’s better news than a free Artifact. Here’s how to equip attachments and make your guns all they can be in Stalker 2.
Stalker 2 Attachments Guide
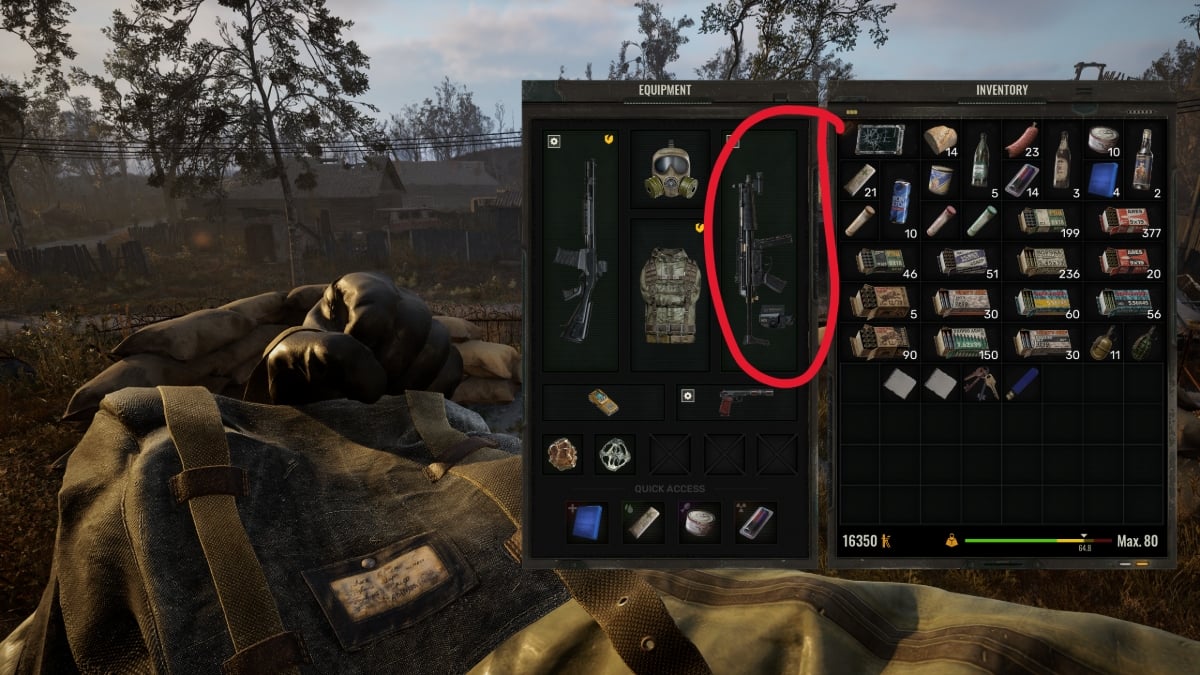
Even the best guns in the game need help reaching their full potential. That’s where attachments come in. There are two ways to equip attachments in Stalker 2, and one is more dangerous than the other. Inventory management usually isn’t a threat to your life, but since opening your inventory doesn’t pause the game, you leave yourself open to ambush. Here’s what you need to do:
- Method One: Open your inventory
- Left-click and drag your chosen attachment onto a compatible gun
- Method Two: Draw the gun you wish to mod
- Hold “T” (or D-pad Up) to open the Attachments menu
- Select the mod you wish to add
- Wait for the attachment animation to finish
To remove an attachment from a gun in your inventory, right-click on the gun and select the name of the attachment you wish to remove. To remove one via the Attachments menu, simply open it again and select the attachment to remove. Doing so takes a few seconds, so it’s not wise to do so while under fire or fending off a mutant’s claws. On-the-fly modding through the Attachments menu still beats opening the inventory, however. Sometimes it’s the little things that keep a Stalker’s head attached.

