Skip To...
If you’re not keen on mazes in Zelda Tears of the Kingdom, you may want to look up a guide about South Lomei Labyrinth. Luckily for you, that’s exactly what this is! South Lomei Labyrinth is a gigantic maze with three parts. One for the sky, one for the surface, and one down below in the depths. Each part must be completed in order of surface, to the sky, to the depths, before the next part is unlocked. Below is a step-by-step walkthrough that can help guide you, from beginning to end, on how to complete South Lomei Labyrinth in Zelda Tears of the Kingdom.
How To Navigate The South Lomei Labyrinth Maze and Find the Motsusis Shrine

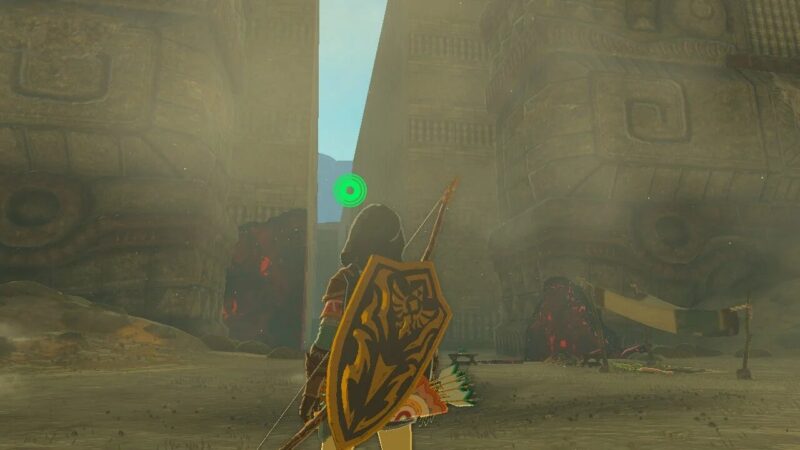
To get to the Motsusis Shine, you first need to navigate the South Lomei Labyrinth in Zelda Tears of the Kingdom. The maze is quite difficult to handle if you’ve never taken on one similarly before. The Motsusis Shrine is in the center of this maze. As you enter, you’ll find a researcher’s notebook that gives a few tips regarding the maze ahead. The previous traveler left a trail of acorns that lead to the center of the maze. Follow the acorn path to reach your next objective. Below you can complete the maze by following some step-by-step instructions:
- First, take the first right after you enter the maze.
- Take a left over the Gloom.
- After encountering the Gloom, you’ll see a campsite. Just before this campsite, take a left.
- Turn left. Then turn left again down the stairs.
- Turn right, then left, then right.
- At the fork, take a right, then go up the stairs.
- Turn right after the stairs.
- Go up the stairs again, then take a left.
- Take another left.
- Turn right, then left, then right, then left.
- Take a right before the dead end.
- Take a left.
- Continue straight on and continue down the stairs. At the fork in the path, you’ll notice a campsite. Turn right at this fork.
- Go up the stairs, then take a left.
- Drop down over some Gloom. Turn left at the corner.
- At the end of the hallway, turn left.
- Turn right, then left. At the campsite, drop down. There you will find the Motsusis Shrine on the left.
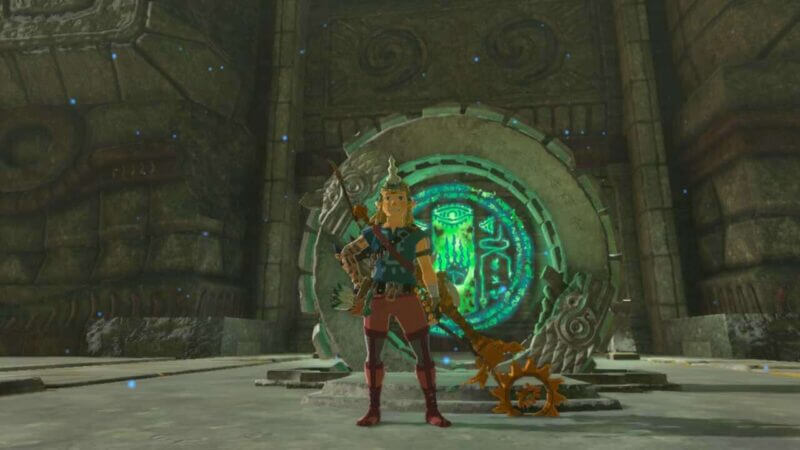
Because the Motsusis Shine is a Raru’s Blessing Shine, you need only enter to complete it. The maze itself surrounding it was the test. Once inside, you’ll find a chest that contains a large Zonai charge. Enter the shrine and collect your Light of Blessing. This is just the first part in many South Lomei Labyrinth in Zelda Tears of the Kingdom. Luckily, the puzzle itself is just the shrine, so you don’t need to do anything extra to complete this portion of the Labyrinth.
How To Beat the Siyamotsus Shrine

When at the surface terminal, you can see the sky labyrinth. This is the second part of the South Lomei Labyrinth in Zelda Tears of the Kingdom. To get up there, navigate to Gerudo Canyon Skyview Tower. Once you’ve shot yourself up into the sky, glide toward East Gerudo Sky Archipelago. From there, you can glide most of the way, then navigate the rest. A pre-made glider can get you there quite easily. Once you reach the Siyamotsus Shrine, note that this is an Unlit Blassing Shrine. This means you’ll need to light some braziers in order to complete the shrine fully. Don’t worry though, the shrine itself gives you the tools you’ll need.
Related:
All Bubbulfrog Locations in Zelda Tears of the Kingdom
To begin taking on South Lomei Labyrinth in Zelda Tears of the Kingdom, go toward the chest to grab the Mighty Contstuct Bow inside and some nearby arrows. If you need some Fire Fruit, there are some Fire Fruit bushes nearby, which you will need. Throughout completing the shrine, it will shift. On the platform you’re standing on, there are two unlit braziers and two lit ones. Use the Fire Fruit arrows to ignite the last two braziers. Once you do this, the shrine will reveal a launcher underneath a chest. Examine it and receive your Light of Blessing to complete the shrine.


