Skip To...
Finding a place to hang your hat is part of Nightingale’s charm, with abundant opportunities to create your dream home. It’s a Survival game by definition, but the Victorian-inspired aesthetics along with dashes of other historical periods in this fantasy adventure are a joyous sight. In our Nightingale building guide, we’ll show you each step to setting up your ideal Respite.
Step 1: How to Place and Craft a Building in Nightingale

The building mechanics in Nightingale are streamlined but intimidating even after the tutorial. You can build even the most basic structures by using the following:
- Press ‘B’ on the keyboard or ‘Down’ and then ‘Up’ on the gamepad to open the Build menu.
- Select your preferred building from recipes you currently know. Hit ‘Place’ on the PC or hit ‘X’ with the building selected with your gamepad.
- You should see the outline of the building where you can choose its designated spot on the map.
- If it fits, it’ll have a green hue, and if there are obstructions, it’ll be red.
- Once you’ve placed a building or house component, the outline will show as blue.
- Exit the Build menu and approach what you’re trying to build.
- Press and hold ‘E’ on the keyboard or ‘X’ on the gamepad to see the rotary menu, where you can choose to add components manually or automatically.
- Once you’ve got your components added, step out of the outline, and it will use only the required resources.
- Voila! Whether it’s your first tent or the start of a glorious home, you have the basics down!
The building mechanics for Nightingale are not always as simple as the steps shown above. But for players not looking to spend much time on a house, you’ll get by using these tips when setting up the many crucial workstations at your Respite.
However, for those of you who want to create your ideal home in the game, this is only the beginning. You’ll still need your workstations ready and plentiful, with sights set on certain ones that will bear the bulk of your building burden.
Step 2: Setting Up Your Workstations

Nightingale does a good job introducing players to workstations of ascending levels, such as Simple, Refined, and Excellent. You’ll get by with the latest versions of certain stations like the Workbench, but anything in the Crafting: Refinement section of your build menu can be overwhelmed quickly. To make building less tedious in Nightingale, create an assembly line of the following:
- Saw Table
- Masonry Bench
- Smelter
- Brazier
- Tanning Station
Adding upgraded versions of these stations next to their previous versions is key here. A Simple Saw Table and a Refined Saw Table can both harvest Lumber from Wood Bundles, but only a Refined Saw Table or better can take that Lumber to make Carved Wood.
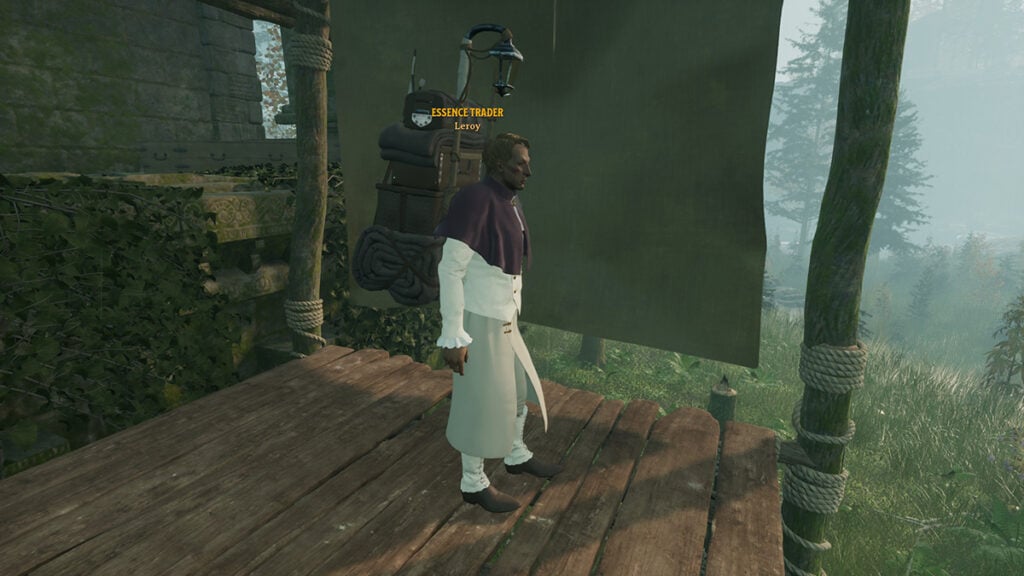
If you lack the recipes for these more advanced workstations, keep exploring and buying their recipes from any Essence Trader you find. They’re surprisingly cheap, typically not going for much more than 15 Essence Dust apiece. Adding all of these to your base will make life easier for you in the following steps.
Step 3: Build Your Starter Home
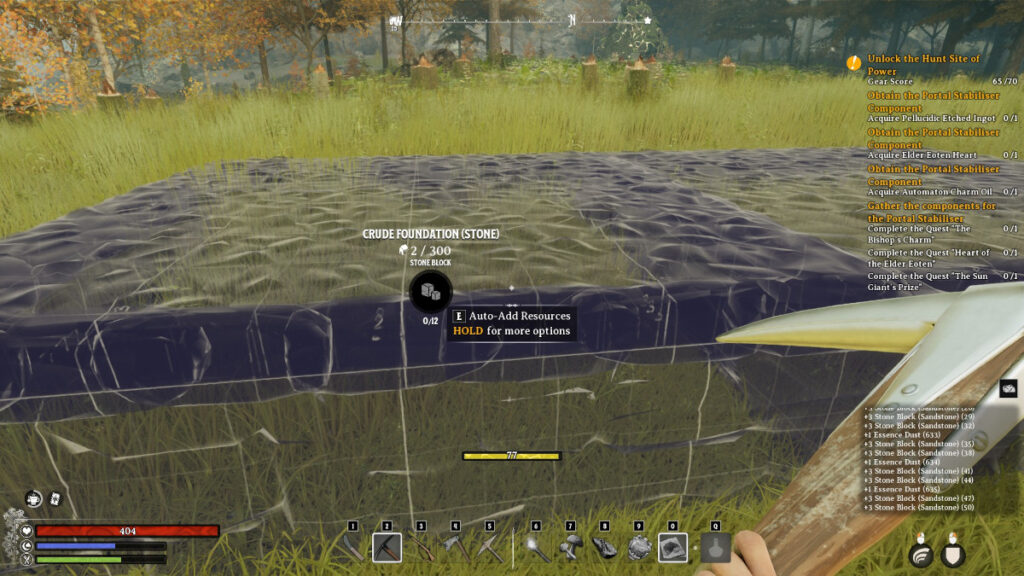
After your intro with Puck, you’ll see the recipe to build a Crude house. While these are unsightly, they’re a great practice opportunity with the cheap and plentiful resources they use. There’s a simple process to building any house in Nightingale before getting into the tedium of ingredients for more advanced housing pieces.
General advice for any builders: clear any trees first. Otherwise, if you cut down trees near your house, they can break walls or roofs with ease if they make contact.
The basic steps for a starter home are as follows:
- Open your Build Menu, and scroll to your Buildings section.
- As you get more recipes, you’ll unlock more Buildings subcategories like Crude, Desert, Tudor, and more.
- Always start with the Foundation when laying pieces. As a rule of thumb, envision how big you want your house and place enough Foundation blocks first.
- Select Solid Wall pieces to go upright along the outline of the Foundation. Set aside one space for a doorway.
- Keep things simple for your first house. Stick to one floor only, consider a window piece for natural light, and additional indoor lighting.
- Remember, this is also a shelter for your crafting equipment, and even being indoors adds bonuses to their productivity.
Consider flat simple roofs before going for the gabled or finished roofs. They’re entirely for show, but all you need is protection from the elements at first. However, for finished roofs like gables, treat them like corner pieces of the puzzle. Apply them in the corners first, then add slanted roofs or even wall pieces between them to fill the gaps.
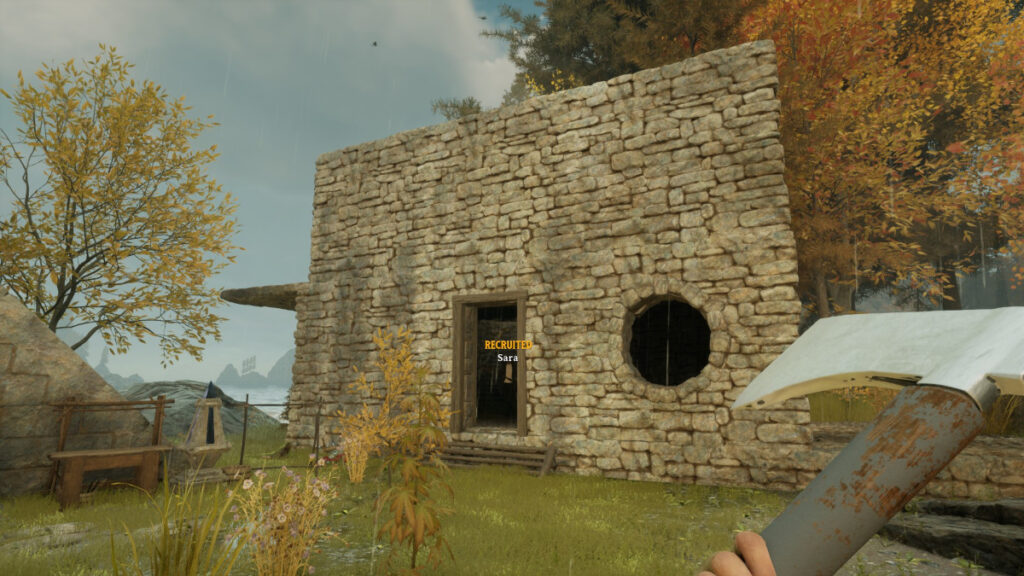
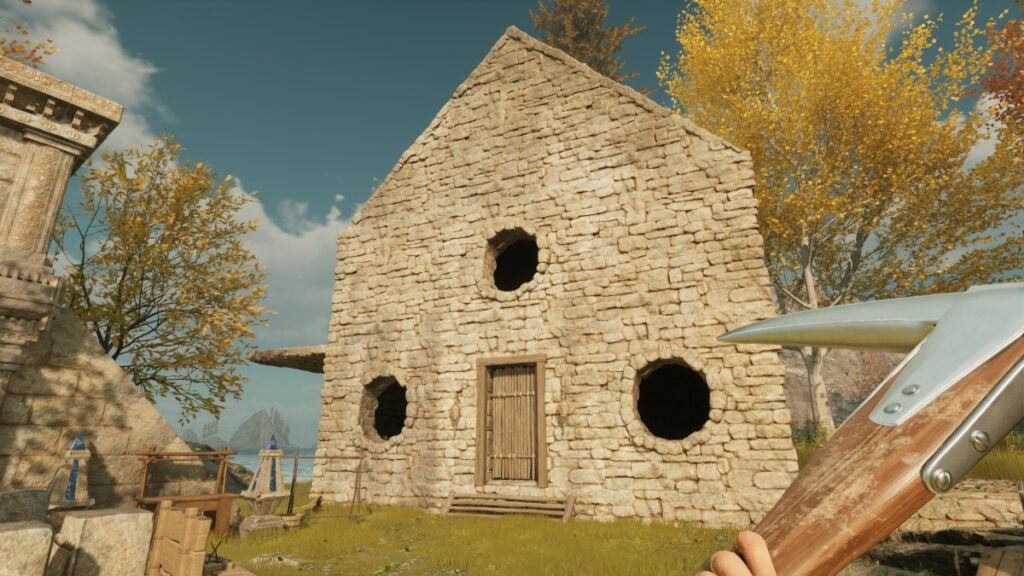
If you chain the wall pieces together with your foundation before adding components, you can go back and forth and add to your whole structure at once. This keeps things simple, linking every piece in the process.
Step 4: Set Your Respite and Gather More Recipes
Once you’ve got a home with a nice bed and crafting equipment, find the nearest portal and work on the next step. Consider your surroundings at your current Respite too, and ponder whether other starting realms might be easier for you in the future. The game does a nice job in providing a handy guidebook, but sometimes it’s easier to have a resource persistently available on the side.
But if you want the scoop on where you can buy any building, lighting, storage, furniture, survival, or resting equipment recipes, we’ve got you covered:
| Building Recipe | Type | Biome | Realm Level | Essence Price |
|---|---|---|---|---|
| Simple Candle | Light | Any | Abeyance | 15 (Dust) |
| Hide Chandelier | Light | Any | Abeyance | 15 (Dust) |
| Hide Wall Sconce | Light | Any | Abeyance | 15 (Dust) |
| Hide Table Lamp | Light | Any | Abeyance | 15 (Dust) |
| Hide Standing Lamp | Light | Any | Abeyance | 15 (Dust) |
| Crude Wood Advanced Roofs | Building | Any | Abeyance | 30 (Dust) |
| Crude Stone Advanced Roofs | Building | Any | Abeyance, Antiquarian | 30 (Dust) |
| Wagon Wheel Chandelier | Light | Forest | Antiquarian | 5 (T1) |
| Utilitarian Shelf | Furniture | Forest | Antiquarian | 5 (T1) |
| Crude Stone Second Storey Set | Building | Desert, Forest | Antiquarian | 5 (T1) |
| Railway Inspector’s Lamp | Light | Desert | Astrolabe | 5 (T1) |
| Crude Stone Advanced Walls | Building | Desert | Astrolabe | 5 (T1) |
| Antler Chandelier | Light | Forest | Astrolabe | 5 (T1) |
| Simple Hide Sconce | Light | Forest | Astrolabe | 5 (T1) |
| Simple Wooden Table | Furniture | Forest | Astrolabe | 5 (T1) |
| Decorative Shelf | Furniture | Forest | Astrolabe | 5 (T1) |
| Simple Dining Chair | Furniture | Forest | Astrolabe | 5 (T1) |
| Crude Wood Advanced Walls | Building | Forest | Astrolabe | 5 (T1) |
| Crude Wood Unique Set | Building | Forest | Astrolabe | 5 (T1) |
| Globe Sconce | Light | Swamp | Provisioner | 10 (T1) |
| Simple Wooden Chair | Furniture | Swamp | Provisioner | 10 (T1) |
| Hide Tent | Survival | Desert | Provisioner | 10 (T1) |
| Shire Sconce | Light | Desert | Provisioner | 10 (T1) |
| Sleek Lamppost | Light | Desert | Herbarium | 5 (T2) |
| Railway Signal Lamp | Light | Desert | Herbarium | 5 (T2) |
| Desert Basic Set | Building | Desert | Herbarium | 10 (T2) |
| Tudor Basic Set | Building | Forest | Herbarium | 10 (T2) |
| Pteridomania Pot | Survival | Forest | Herbarium, Gloom | 5 (T2) |
| Humble Candlestick | Light | Forest | Herbarium | 5 (T2) |
| Art Nouveau Table | Furniture | Forest | Herbarium | 5 (T2) |
| Elegant Dining Chair | Furniture | Forest | Herbarium | 5 (T2) |
| Shack Basic Set | Building | Swamp | Herbarium | 10 (T2) |
| Lantern Sconce | Light | Swamp | Herbarium | 5 (T2) |
| Euclid’s Lamppost | Light | Desert | Gloom | 5 (T2) |
| Desert Upper Floor Set | Building | Desert | Gloom | 10 (T2) |
| Desert Advanced Roofs | Building | Desert | Gloom | 10 (T2) |
| Railway Signal Lamp | Light | Forest | Gloom | 5 (T2) |
| Rocking Chair | Furniture | Forest | Gloom | 5 (T2) |
| Wicker Pet Bed | Resting | Forest | Gloom | 5 (T2) |
| Tudor Upper Floor Set | Building | Forest | Gloom | 10 (T2) |
| Tudor Advanced Roofs | Building | Forest | Gloom | 10 (T2) |
| Shack Upper Floor Set | Building | Swamp | Gloom | 10 (T2) |
| Shack Advanced Roofs | Building | Swamp | Gloom | 10 (T2) |
| Metal-Framed Cot | Resting | Swamp | Gloom | 5 (T2) |
| Bell Sconce | Light | Swamp | Gloom | 5 (T2) |
| Regal Sconce | Light | Desert | Hunt | 5 (T2) |
| Desert Advanced Walls | Building | Desert | Hunt | 10 (T2) |
| Desert Unique Set | Building | Desert | Hunt | 10 (T2) |
| Tudor Advanced Walls | Building | Forest | Hunt | 10 (T2) |
| Humble Candlestick | Light | Forest | Hunt | 5 (T2) |
| Colossal Shelf | Furniture | Forest | Hunt | 5 (T2) |
| Birdcage Sconce | Light | Swamp | Hunt | 5 (T2) |
| Shack Advanced Walls | Building | Swamp | Hunt | 10 (T2) |
| Shack Unique Set | Building | Swamp | Hunt | 10 (T2) |
| Sturdy Dresser | Furniture | Forest | Antiquarian (Ascended) | 50 (T3) |
| Gentleman’s Candlestick | Light | Forest | Antiquarian (Ascended) | 50 (T3) |
| Stave Fireplace | Light | Forest | Antiquarian (Ascended) | 50 (T3) |
| Stave Basic Set | Building | Forest | Antiquarian (Ascended) | 75 (T3) |
| Stave Advanced Roofs | Building | Forest | Antiquarian (Ascended) | 75 (T3) |
| Stave Advanced Walls | Building | Forest | Antiquarian (Ascended) | 75 (T3) |
| Stave Upper Floor Set | Building | Forest | Antiquarian (Ascended) | 75 (T3) |
| Footed Chest | Furniture | Desert | Antiquarian (Ascended) | 50 (T3) |
| Pagoda Basic Set | Building | Desert | Antiquarian (Ascended) | 75 (T3) |
| Pagoda Advanced Roofs | Building | Desert | Antiquarian (Ascended) | 75 (T3) |
| Pagoda Advanced Walls | Building | Desert | Antiquarian (Ascended) | 75 (T3) |
| Pagoda Upper Floor Set | Building | Desert | Antiquarian (Ascended) | 75 (T3) |
| Fine Four-Poster Bed | Resting | Swamp | Antiquarian (Ascended) | 50 (T3) |
| Petite Candlestick | Light | Swamp | Antiquarian (Ascended) | 50 (T3) |
| Bhutan Basic Set | Building | Swamp | Antiquarian (Ascended) | 75 (T3) |
| Bhutan Advanced Roofs | Building | Swamp | Antiquarian (Ascended) | 75 (T3) |
| Bhutan Advanced Walls | Building | Swamp | Antiquarian (Ascended) | 75 (T3) |
| Bhutan Upper Floor Set | Building | Swamp | Antiquarian (Ascended) | 75 (T3) |
| Bhutan Unique Set | Building | Swamp | Antiquarian (Ascended) | 75 (T3) |
| Candelabra | Light | Forest | Astrolabe (Ascended) | 50 (T3) |
| Stave Throne | Furniture | Forest | Astrolabe (Ascended) | 50 (T3) |
| Tall Candlestick | Light | Desert | Astrolabe (Ascended) | 50 (T3) |
| Ornate Brass Chandelier | Light | Swamp | Astrolabe (Ascended) | 50 (T3) |
| Shaded Lamp | Light | Forest | Gloom (Ascended) | 50 (T3) |
| Bhutan Canopy Bed | Resting | Desert | Gloom (Ascended) | 50 (T3) |
| Round Wooden Table | Furniture | Forest | Herbarium (Ascended) | 50 (T3) |
| Two-Headed Shelf | Furniture | Forest | Herbarium (Ascended) | 50 (T3) |
| Willson’s Mining Lamp | Light | Desert | Herbarium (Ascended) | 50 (T3) |
| Flame Safety Mining Lamp | Light | Swamp | Herbarium (Ascended) | 50 (T3) |
| Elegant Sconce | Light | Forest | Hunt (Ascended) | 50 (T3) |
| Art Nouveau Chair | Furniture | Forest | Hunt (Ascended) | 50 (T3) |
| Clawfoot Lamp | Light | Forest | Provisioner (Ascended) | 50 (T3) |
| Clerk’s Lamp | Light | Swamp | Provisioner (Ascended) | 50 (T3) |
You’ll notice better opportunities such as more advanced recipes from Essence Traders in Provisioner, Herbarium, Gloom, and Hunt realms. However, don’t discount other Traders. After all, it’s best to meet each one and get any crafting station recipes you’re missing first. It’s best to buy recipes for workstations first, then buildings.
Step 5: Build Your Dream Home
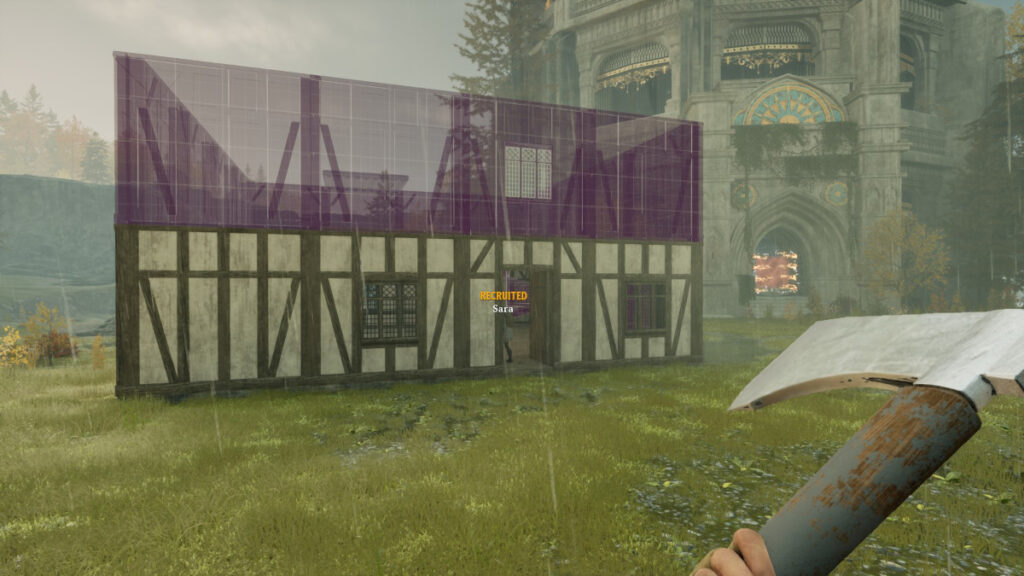
As you get through more advanced realms, you’ll find beautiful designs you’ll find more appealing. You’ll need to pick up the required recipes as a set to get the full experience. The mechanics should come as second nature, but there are some final tips to impart here:
- Build stairs after first-floor walls are laid down, with stairs leading up a corner of the house.
- If a set catches your eye, complete that set before buying from others for buildings.
- Advanced houses have incredibly tedious demands for refined materials, so be extra choosy, and prepare to have all workstations running.
With Nightingale currently in early access, the idea with this building guide is to get you comfortable playing and roleplaying in the game. You can build your ideal home location, furnish it how you like, and know where to go to get key recipes using this guide. Don’t be afraid to bookmark it, and keep an eye out for updates from Inflexion!


