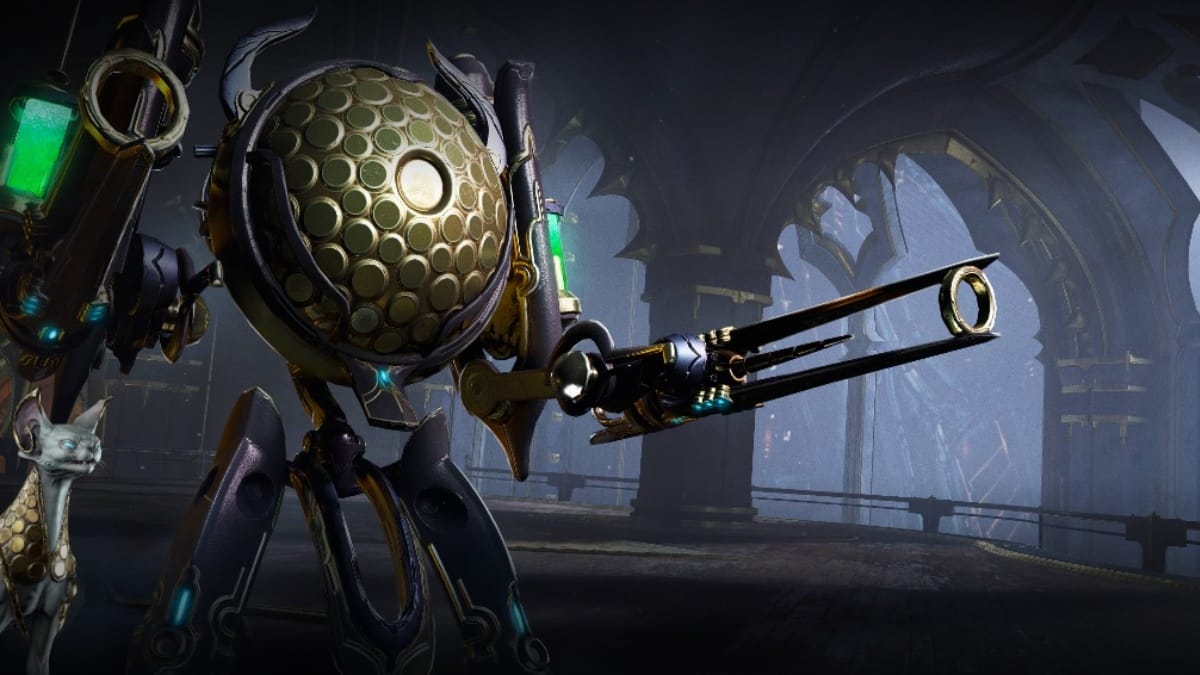
The Netracell in Warframe is a source of both power and insanity for its players. While it can shower you with some endgame rewards, trying to get a functioning public squad in Netracells is a high-octane slapstick complete with Benny Hill music. But it needn’t be that way, not with our Warframe Netracell guide and explanation. We’ll give some tips along the way.
Warframe Netracell Mechanics Explained
Think of Netracells as an elevated version of Orokin Vault runs, except more difficult and with a larger map. You need to pick all four keyglyphs (one for each squad member, ideally, if you have a squad) to open the Netracell near the end of the mission. Netracells are only accessible after finishing the Whispers in the Walls quest.
They can be more generous than Archon Hunts since you can run Warframe Netracells five times per week and can give the following rewards:
- Melee Arcane Adapter
- Amber Archon Shard (can be Tauforged)
- Azure Archon Shard (can be Tauforged)
- Crimson Archon Shard (can be Tauforged)
- Melee Animosity (Arcane)
- Melee Crescendo (Arcane)
- Melee Duplicate (Arcane)
- Melee Exposure (Arcane)
- Melee Fortification (Arcane)
- Melee Influence (Arcane)
- Melee Retaliation (Arcane)
- Melee Vortex (Arcane)
It’s just that you have to go through several hoops before being able to open the Netracell and reap the rewards. The extra tasks are what can confuse the whole squad, particularly those new to the mission type.
We’ll divide the explanations and tips based on the phases of the Netracell mission types.
Phase 1 – Finding the Netracell via Terminals
This is easily the most tedious part of the Netracell mission since you need to cover huge distances in a map full of corridors. You don’t exactly have to hack all the terminals to reveal the Netracells’ location.
Also, don’t bother fighting the enemies during this phase, and don’t just run around looking for Voca all over the map, especially if you’re in a squad and if you’re carrying a keyglyph. There’s a better time and place for that.
If you have a fast Warframe like the ones we’ll list below, you can just zoom past the Netracell marker before it disappears after you hack the first terminal. Consider bringing these Warframes for rushing Netracells:
- Volt
- Wukong
- Titania
- Nova (using her Wormhole)
Again, this is faster if you have three other players dividing the labor.
Phase 2 – Kill Enemies Inside the Red Circle
This is the part where you can be trigger-happy but with restraints. You’ll be tasked with killing the Netracell guards to lower its security.
Do yourself and your squad a favor and just stay in the middle of the red circle. Enemy deaths outside the red circle are a wasted effort. Hence, frames that nuke large areas, such as Saryn or Mesa, can inadvertently prolong this phase.
Also, don’t use Gloom or anything that will slow down enemies in a large area; you want them rushing to the red circle.
Related:
How To Get Ducats in WarframeNow, after a certain threshold, a Necramite Drone will need to be killed to continue. Leave the task to the fastest Warframe or one player and just stay where the red circle used to be. The circle will reappear once the Drone is dead.
And the most important tip of all: Try not to die in a Warframe Netracell, or you might miss the juicy rewards at the end if you run out of revives.


