
Table of Contents
If you’ve been playing Splatoon 3 for a while, you know that not all maps are created equal. Some stretch out and create advantageous alleyways, for better or for worse. Depending on what weapon you wield, some stages may be great for you and deadly for others. Others may have perches that can help you or your enemy. Every stage is different; each has advantages and disadvantages for every player. What you make of that stage is up to your skill as a player, but understanding how each stage ranks in versatility for all weapons can help you make better decisions on when to play during your practice. We’ve compiled a list of stages, ranked from most advantageous toward specific weapon types to the most open to all players.
While Splatoon 2 and the first iteration of the game had taller, more wide stages, Splatoon 3 takes a different direction. Many of the stages give an advantage toward long-ranged weapons and attacks, offering plenty of cover and distance for enemies to take aim at each other. This doesn’t make life too much harder for those of us with a short-ranged preference, only the challenge to get better at closing in on an enemy. No matter what weapon you wield, there are disadvantages and upper hands to be had all over the place in Splatoon 3. Take the recommendations below to heart to find a good stage where you can practice free of built-in obstacles. Then, when you’ve mastered your weapon of choice, you can play on any stage regardless of the advantages or disadvantages.
8. Scorch Gorge
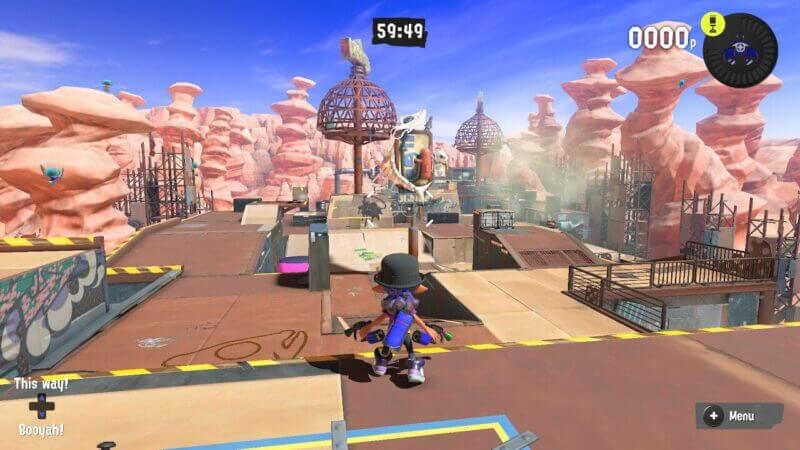
First, we start with one of the most popular stages in Splatoon 3. While Scorch Gorge was one of the most represented maps during the hype pre-release season for Splatoon 3, it has since become an infamous spot for long-ranged weapons and specials to rack up the splats. Weapons like Stringers, Chargers, and some Splatanas can easily pry an advantage here with specific camping spots that allow them to strike from a safe distance. Specials like the Crab Tank also shine here, with a few sizable perches toward the middle of the map that can be dangerous for the opposing team when that Special Gauge fills up.
Scorch Gorge is a long stage, making it almost undeniably balanced toward long-ranged weapons. Walking the catwalk with the grate section in the middle is almost impossible if anyone competent is holding a long-range weapon near that area. That being said, navigating and splatting with a mid or short-ranged weapon isn’t impossible, so there’s no reason to avoid the stage completely if you specialize in those types. Consider keeping an eye out for specific parts of the map, such as the perch areas in front of each enemy side, as well as the structure in the middle. If you have stage awareness and understand how to keep out of an enemy’s firing range, you should be able to navigate Scorch Gorge with no problem, even with something as short-ranged as a Roller.
7. Mincemeat Metalworks
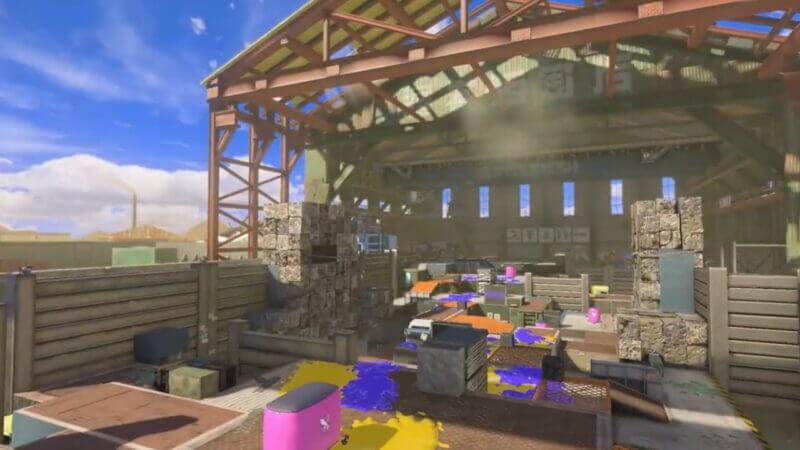
Mincemeat Metalworks is another new stage in the game, introduced only in Splatoon 3. Despite the new assets here, the Metalworks stage hosts the same problems as Scorch Gorge. The layout is long, giving an advantage to any long-distance shooters or slingers. Even some buckets can get in easy splats here due to the cramped and grated nature of the middle parts in Metalworks. However, while it is easier to nest and splat as a long-ranged weapon in Metalworks, this doesn’t leave short-ranged weapons destitute.
While many central areas are easier for long-ranged weapons to navigate, short-ranged weapons can succeed in many side areas: places that don’t give chargers and buckets much wiggle room to navigate. If you can navigate quickly and aim well, the grated area in the middle of Metalworks can be great for any weapon. Simply take caution with enemy placement awareness and cross over the areas of your disadvantage until you can corner a long-ranged weapon.
6. Eeltail Alley
Eeltail Alley is another narrow stage, as you can probably figure out by the name alone. However, it ranks a little higher on the list due to the alley’s flexibility over some of the previously mentioned stages. While the first few are narrow with few navigation options throughout, Eeltail Alley almost acts like a double-decker stage. It’s an alleyway with high and low points to give the stage an odd kind of flexibility based on linear heights rather than vertical space.
While it’s still narrow and lends itself toward those with long-range weapons, Eeltail Alley is still a viable stage for almost any weapon. There are congested areas where mid-range weapons might find some inherent success, such as in the critical middle point of the stage. With enough navigation expertise and the natural barriers provided by the layout of each area within Eeltail Alley, any player with a decent competitive head on their shoulders can play on the stage without much issue.
5. Mahi Mahi Resort

Mahi Mahi Resort in Splatoon 3 is a much different beast to handle compared to Splatoon 2. Unlike the previous version of the stage, this version takes place on the water. That being said, the stage is more dangerous to players this way. One wrong jump or not enough gas behind your leap, and you’ll fall right into the water. This stage isn’t our top spot simply because it’s such a restrictive stage. While the two layers of gameplay in the middle of the stage make Mahi Mahi interesting, the amount of eggshell walking players must undertake just to navigate is a far cry from the ease the previous Mahi Mahi had. If you find yourself falling a little too often into the water at Mahi Mahi Resort, try slowing down and practicing more battlefield awareness. There is no trick to navigation, only repetition.
4. Undertow Spillway

Undertow Spillway makes its way to our top four in the list simply because of the center design that makes it so interesting. In the middle of the map is a wall everyone can climb. On each side of that wall is a lowered area where smaller fights often can occur. Not only is the map divided by opposing sides, but this rut also helps create a figurative line that separates the teams and causes tension. While this is a creative way of making a new point of conflict on the map, it’s unfortunately not enough to spread it across the entire stage. Some places on the map, such as the northeast and southwest corners, often remain untouched, So once you get tired of that zone in the middle, contending with it can become exhausting and repetitive.
3. Hagglefish Market
Hagglefish Market is one of the top Splatoon 3 maps due to the high-energy chokepoints throughout its design. While this is another long stage that favors long-distance weapons, Hagglefish Market is not irredeemable. In fact, recently, there was an update to Hagglefish Market that placed a pillar in the middle while lengthening each side. This made it less prone to long-distance strategies, giving mid and short-ranged users a bit of an extra boost. Still, the reason Hagglefish Market is not second or first spot on our list is not because of long-distance
2. Mako Mart
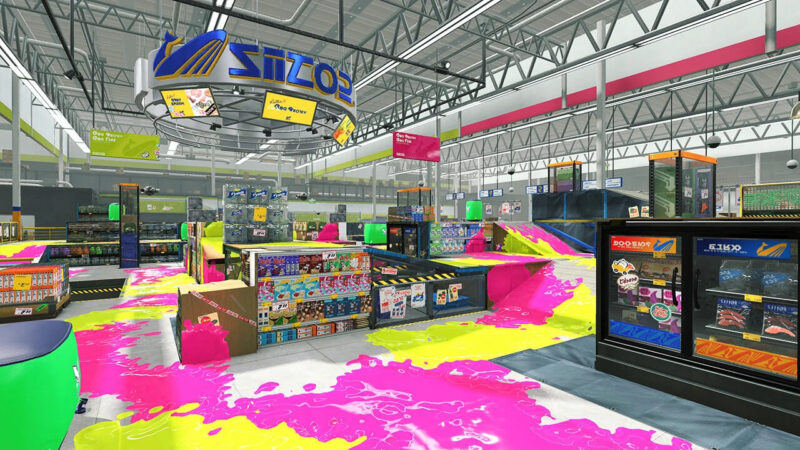
Mako Mart is a top Splatoon 3 map because of its balance design. It claims the spot as of the most balanced and satisfying stages to play on in Splatoon 3. Just every bit as fun as in Splatoon 2, Mako Mart really shows that stages don’t need to be complex to be good. All it needs to do is provide enough vertical gameplay without overdoing it with the complexity. There are plenty of zones where 1 on 1 fights can happen (and do). There are also multiple platforms where any shooter can take aim and rain ink down below on passersby. With enough wide space for any weapon to get a foothold, Mako Mart is a fun place to throw down, which is why it takes our number two spot in the tier list.
1. Wahoo World
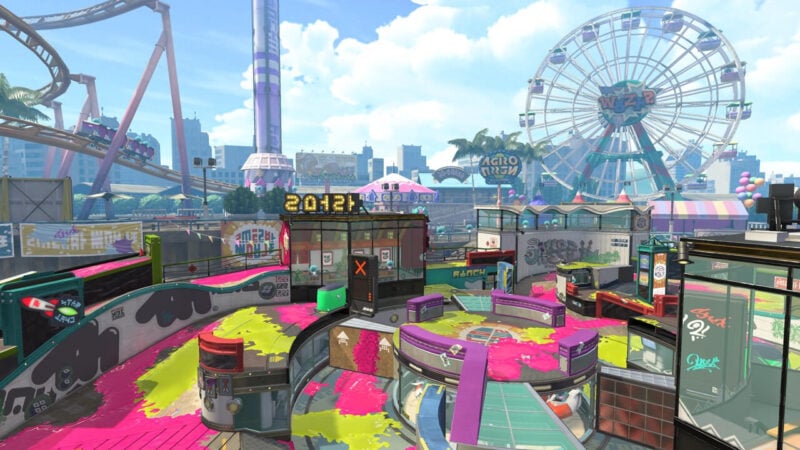
Wahoo World is one of the most spacious, versatile stages in Splatoon 3. Some would even say it is the best in Splatoon 2. Wahoo World steals our top spot in Splatoon 3 maps because it’s huge, with enough space for everyone to play. The center of the stage moves, making it a constant dynamic zone for battles. No matter what mode you play in Wahoo World, it’s suitable for any mode. There’s enough space for Clam Blitz and enough area for path-making in Rainmaker. The zone is aptly placed, with rotating platforms on the way to the point of contention.
Do you agree with some of the maps we’ve selected? Do you agree that some stages could use a little fine-tuning in the future? What do you think can help fix some of these stages? We’d love to hear your answers below.
")
")

")
")
