Close Menu
  • Gaming
    • Game Guides
    • Codes
    • Game News
    • Game Previews
    • Game Reviews
    • Game Features
    • Game Lists
    • Platforms
      • Nintendo
      • PC
      • PlayStation
      • Xbox
      • Mobile
  • Entertainment
    • Movies
    • Movie Features
    • Movie Reviews
    • TV
    • Reality TV
    • Royals
  • Celebrity
    • Hollywood
  • Human Interest
  • Astrology
  • Videos
  • More
    • Anime
    • Lists
    • Podcasts
    • Reviews
Facebook X (Twitter) Instagram LinkedIn YouTube
  • About Us
  • Join Our Team
  • Meet the Team
  • Privacy Policy
  • DMCA Policy
  • Contact Us
  • Terms of Use
  • Sitemap
  • Editorial Guidelines
  • Advertising Policy
The Nerd Stash
  • Gaming
  • Celebrity
    • Hollywood
  • Human Interest
  • Videos
The Nerd Stash
Home»Game Guides»How To Solve South Lomei Labyrinth in Zelda Tears of the Kingdom

How To Solve South Lomei Labyrinth in Zelda Tears of the Kingdom

If you’re not keen on mazes in Zelda Tears of the Kingdom, you may want to look up a guide about South Lomei Labyrinth. Luckily…

Jessica KamphouseBy Jessica KamphouseJune 7, 20234 Mins Read
Using tools like Ascend to navigate the mazes is a useful tactic.
Image Source: Nintendo via The Nerd Stash

Skip To...

  • How To Navigate The South Lomei Labyrinth Maze and Find the Motsusis Shrine
  • How To Beat the Siyamotsus Shrine
This article is over 2 years old and may contain outdated information.

If you’re not keen on mazes in Zelda Tears of the Kingdom, you may want to look up a guide about South Lomei Labyrinth. Luckily for you, that’s exactly what this is! South Lomei Labyrinth is a gigantic maze with three parts. One for the sky, one for the surface, and one down below in the depths. Each part must be completed in order of surface, to the sky, to the depths, before the next part is unlocked. Below is a step-by-step walkthrough that can help guide you, from beginning to end, on how to complete South Lomei Labyrinth in Zelda Tears of the Kingdom.

How To Navigate The South Lomei Labyrinth Maze and Find the Motsusis Shrine
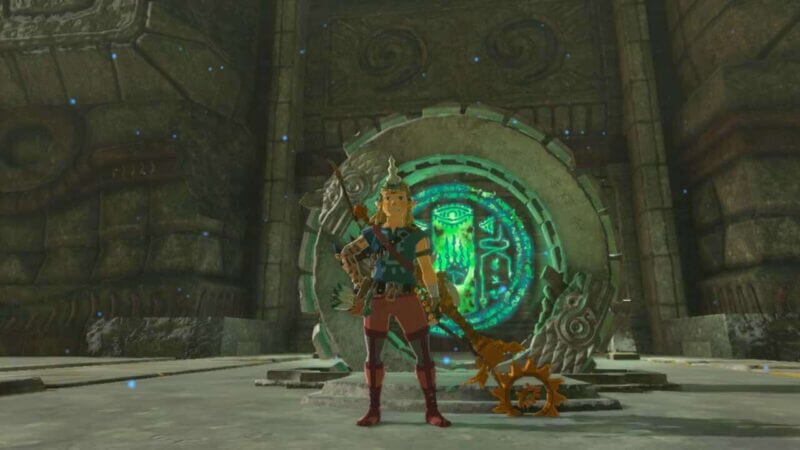
The South Lomei Labyrinth in Zelda Tears of the Kingdom has many parts.
Image Source: Nintendo via The Nerd Stash

To get to the Motsusis Shine, you first need to navigate the South Lomei Labyrinth in Zelda Tears of the Kingdom. The maze is quite difficult to handle if you’ve never taken on one similarly before. The Motsusis Shrine is in the center of this maze. As you enter, you’ll find a researcher’s notebook that gives a few tips regarding the maze ahead. The previous traveler left a trail of acorns that lead to the center of the maze. Follow the acorn path to reach your next objective. Below you can complete the maze by following some step-by-step instructions:

  1. First, take the first right after you enter the maze.
  2. Take a left over the Gloom.
  3. After encountering the Gloom, you’ll see a campsite. Just before this campsite, take a left.
  4. Turn left. Then turn left again down the stairs.
  5. Turn right, then left, then right.
  6. At the fork, take a right, then go up the stairs.
  7. Turn right after the stairs.
  8. Go up the stairs again, then take a left.
  9. Take another left.
  10. Turn right, then left, then right, then left.
  11. Take a right before the dead end.
  12. Take a left.
  13. Continue straight on and continue down the stairs. At the fork in the path, you’ll notice a campsite. Turn right at this fork.
  14. Go up the stairs, then take a left.
  15. Drop down over some Gloom. Turn left at the corner.
  16. At the end of the hallway, turn left.
  17. Turn right, then left. At the campsite, drop down. There you will find the Motsusis Shrine on the left.

Because the Motsusis Shine is a Raru’s Blessing Shine, you need only enter to complete it. The maze itself surrounding it was the test. Once inside, you’ll find a chest that contains a large Zonai charge. Enter the shrine and collect your Light of Blessing. This is just the first part in many South Lomei Labyrinth in Zelda Tears of the Kingdom. Luckily, the puzzle itself is just the shrine, so you don’t need to do anything extra to complete this portion of the Labyrinth.

How To Beat the Siyamotsus Shrine
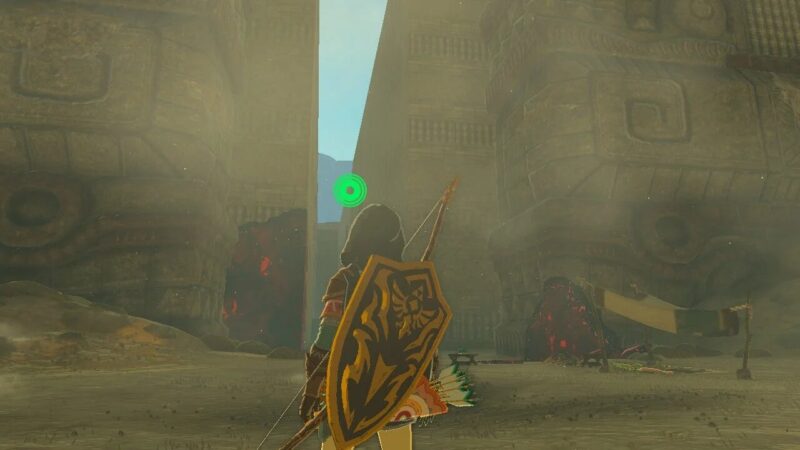
The South Lomei Labyrinth in Zelda Tears of the Kingdom has three parts: the sky, the depths, and the mainland.
Image Source: Nintendo via The Nerd Stash

When at the surface terminal, you can see the sky labyrinth. This is the second part of the South Lomei Labyrinth in Zelda Tears of the Kingdom. To get up there, navigate to Gerudo Canyon Skyview Tower. Once you’ve shot yourself up into the sky, glide toward East Gerudo Sky Archipelago. From there, you can glide most of the way, then navigate the rest. A pre-made glider can get you there quite easily. Once you reach the Siyamotsus Shrine, note that this is an Unlit Blassing Shrine. This means you’ll need to light some braziers in order to complete the shrine fully. Don’t worry though, the shrine itself gives you the tools you’ll need.

Related:

All Bubbulfrog Locations in Zelda Tears of the Kingdom

To begin taking on South Lomei Labyrinth in Zelda Tears of the Kingdom, go toward the chest to grab the Mighty Contstuct Bow inside and some nearby arrows. If you need some Fire Fruit, there are some Fire Fruit bushes nearby, which you will need. Throughout completing the shrine, it will shift. On the platform you’re standing on, there are two unlit braziers and two lit ones. Use the Fire Fruit arrows to ignite the last two braziers. Once you do this, the shrine will reveal a launcher underneath a chest. Examine it and receive your Light of Blessing to complete the shrine.

Related Topics
Guide Tears of the Kingdom
Share. Facebook Twitter LinkedIn Reddit Email
Jessica Kamphouse
  • Website

Jessica is a longtime writer and lover of games, which is why she writes for NerdStash. If she isn't busy evaluating the plotlines of a game or inventing her own, she'll be working on one of her many story projects. If being a nerd about a certain blue hedgehog could pay the bills, she'd be set for life.

SUGGESTED READS

Minecraft Accused of Mocking Lonely Kids, Sparking Mental Health Backlash: 'One of the Ickiest Things I've Seen'
Features

Minecraft Accused of Mocking Lonely Kids, Sparking Mental Health Backlash: ‘One of the Ickiest Things I’ve Seen’

Destiny 2 Renegades PS5 Review
8.5
Features

Destiny 2: Renegades Review – The Shooter Strikes Back

Clair Obscur: Expedition 33 Loses GOTY, Other Award from Indie Game Awards Over Generative AI: 'Some Weird Performative BS'
Game News

GOTY Stripped Over AI?: Clair Obscur: Expedition 33 Loses Awards at Indie Game Awards, ‘Some Weird Performative BS’

Sony Patents Real-time AI Game Censorship Tech That Could Even Make GTA 6 Kid-Friendly
Game News

Sony Patents Real-Time AI Game Censorship Tech That Could Even Make GTA 6 Kid-Friendly

Zenless Zone Zero Version 2.5 Announcement
Game News

Zenless Zone Zero Version 2.5 Is Ready To Wrap Up the Year With Two New Agents and a Free Outfit

PC Gamers Can't Catch a Break as Nvidia Plans 40% GeForce GPU Production Cuts, Report: 'Who Needs a PC Anyways'
Game News

PC Gamers Can’t Catch a Break as Nvidia Reportedly Plans 40% GeForce GPU Production Cuts: ‘Who Needs a PC Anyways’

Trending
Minecraft Accused of Mocking Lonely Kids, Sparking Mental Health Backlash: 'One of the Ickiest Things I've Seen'

Minecraft Accused of Mocking Lonely Kids, Sparking Mental Health Backlash: ‘One of the Ickiest Things I’ve Seen’

Destiny 2 Renegades PS5 Review
8.5

Destiny 2: Renegades Review – The Shooter Strikes Back

Clair Obscur: Expedition 33 Loses GOTY, Other Award from Indie Game Awards Over Generative AI: 'Some Weird Performative BS'

GOTY Stripped Over AI?: Clair Obscur: Expedition 33 Loses Awards at Indie Game Awards, ‘Some Weird Performative BS’

Sony Patents Real-time AI Game Censorship Tech That Could Even Make GTA 6 Kid-Friendly

Sony Patents Real-Time AI Game Censorship Tech That Could Even Make GTA 6 Kid-Friendly

The Nerd Stash
Facebook X (Twitter) Instagram YouTube LinkedIn
  • About Us
  • Join Our Team
  • Meet the Team
  • Privacy Policy
  • DMCA Policy
  • Contact Us
  • Terms of Use
  • Sitemap
  • Editorial Guidelines
  • Advertising Policy
© 2025 The Nerd Stash. All Rights Reserved.

Type above and press Enter to search. Press Esc to cancel.