
Skip To...
Are you ready to film terrifying monsters to get views on the internet with your friends? Content Warning manages to be both overly silly and absolutely terrifying, combining games like Phasmophobia and Lethal Company into a single experience. That being said, it’s a game that you will definitely need to play a few times to get the hang of. With some time, patience, and everything I’ve got down below for you, you can dive into the game for the first time with confidence. Ready to play some Content Warning with friends?
Content Warning: Your First Steps Into the Old World
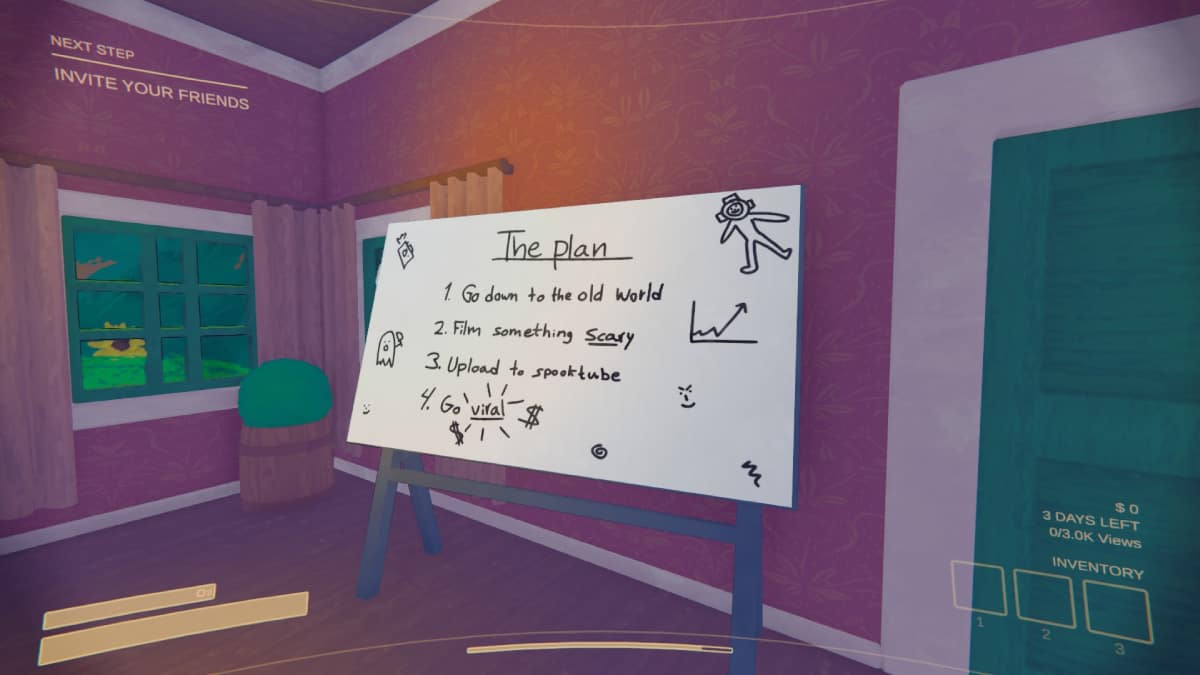
Being a vlogger whose income comes from filming terrifying creatures in an underground world to upload onto SpookTube doesn’t sound like a rewarding profession. However, Content Warning at least makes it fun. I personally started playing the game in a hosted room all by myself until I got the hang of how to play. It gave me a chance to explore the map and understand the best routes of escape. Even then, there are a ton of things that I wish I had known about before going in.
Content Warning With Friends
When you first open Content Warning and want to play with friends, you’ll be met with two options of how to play off the bat.
- Play With Friends
- Join Random
Play With Friends allows you to play with people on tour Steam friends list. Join Random puts you into a random game that’s online with a random set of players.
Play With Friends
Play With Friends opens up a menu that has three save files. If you don’t have a save already, you can select the Host button at the bottom of the screen. You’ll immediately be dropped into the shared cabin, where you start the game.
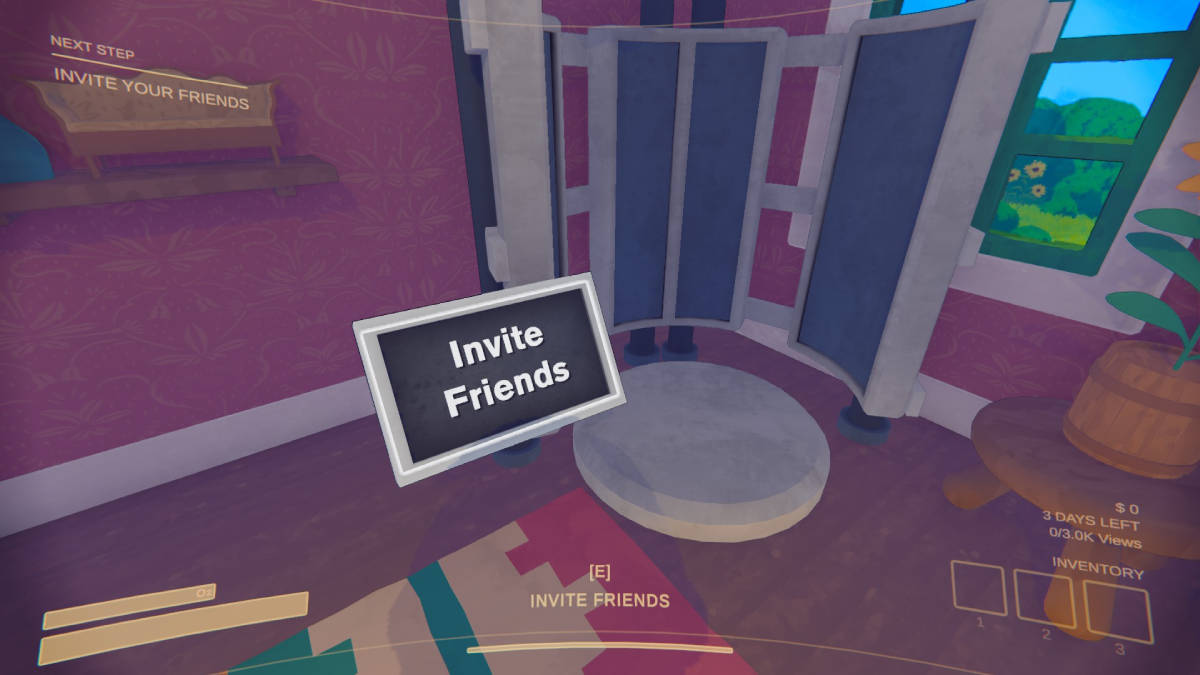
In front of the row of beds is a chamber where you can invite friends. Hover your mouse over the sign that reads Invite Friends to open up your Steam friends list. There is currently no way to invite friends via a code.
Join Random
When you select Join Random, you’ll immediately be dropped into the chamber of someone else’s game. If you don’t wish to be in their game, press the Escape key and Exit to return to the Main Menu. Maybe you’ll meet new Content Warning friends this way.
Customizing Your Character

Instead of their being costumes or hats that you can use to differentiate you from your friends, you type in a face. Also, in front of the beds is a panel that allows you to type in whatever you want into your face as well as change its color. You can also choose to make the text bigger or smaller, as well as flip it to face a different direction.
In front of it, press the E key, and you’ll be pulled into the face customization menu. Hover and left-click on any of the colors to change into them, and use your keyboard to type in any face you want. You aren’t able to copy and paste anything you find online; we already tried. When you’re finished, left-click on Apply to lock it in.
Buying Accessories
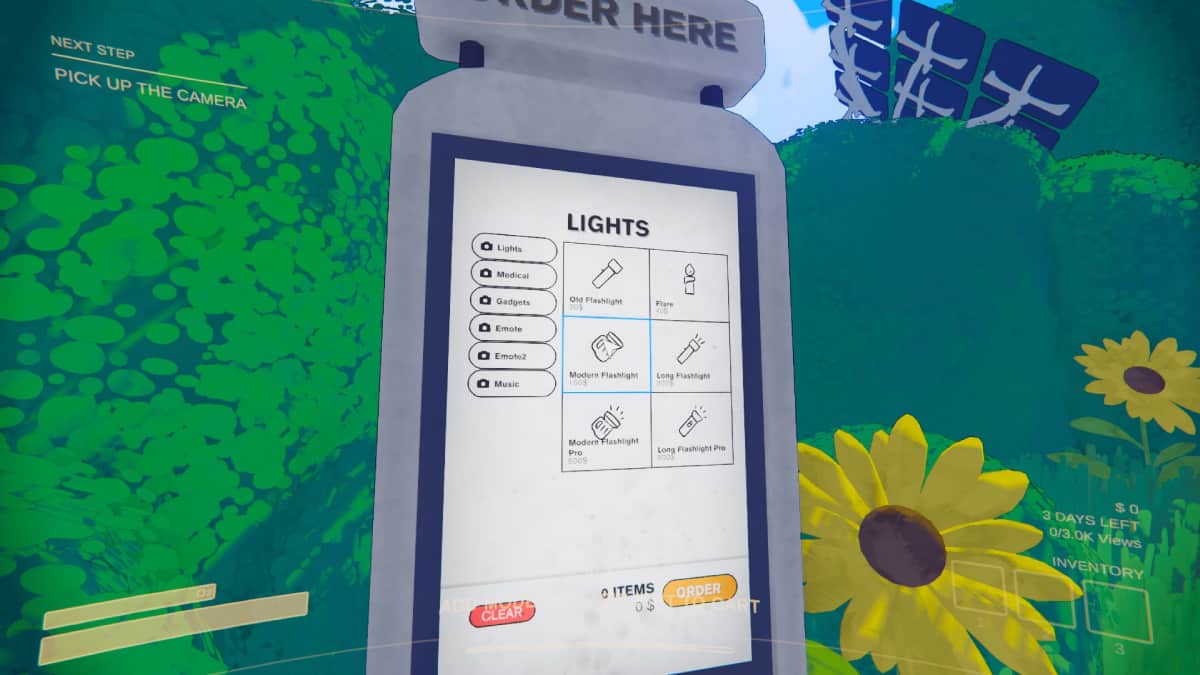
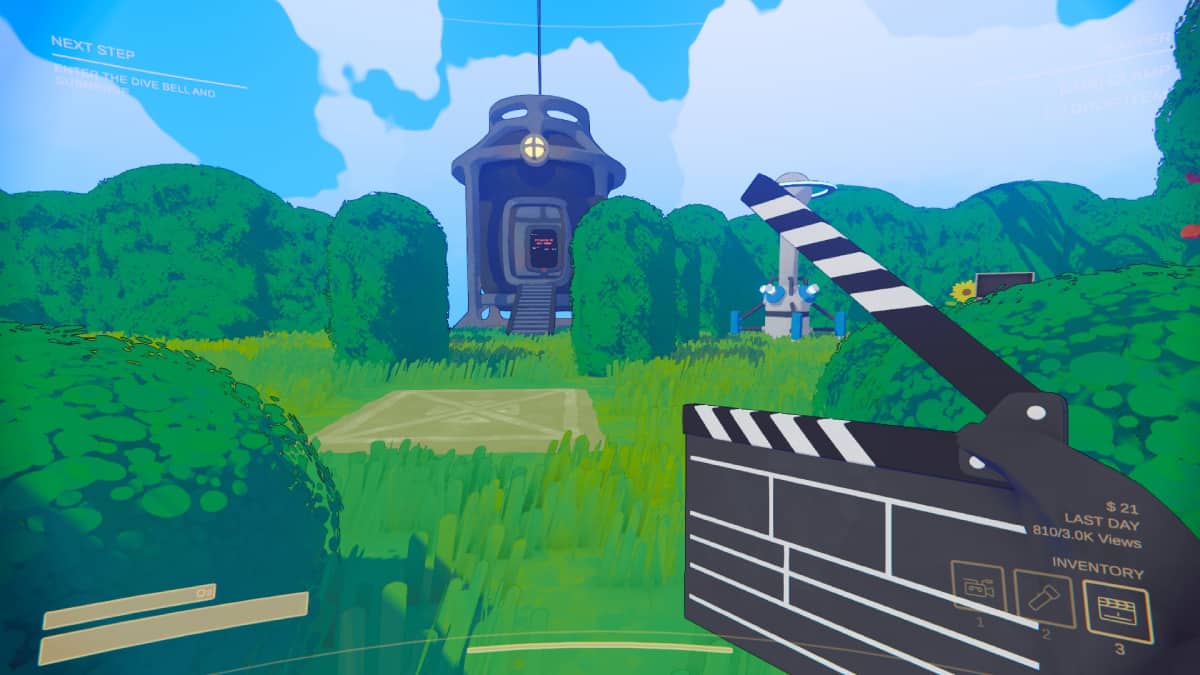
After you’ve left your home and picked up your camera and a flashlight, you’re ready to go into the Dive Bell. Before that, you might want to take a look at what accessories you can afford. Next to your team’s home, you’ll find a digital board with all of the different emotes and equipment you can buy. You don’t have any money until after you’ve uploaded your first video and made some revenue, so you won’t need to worry about buying things on the first day. You also cannot make any purchases after coming back from the Old World and will need to wait until morning.
When you do have some cash, I recommend buying a few Flares. Of all the things you can buy, they’re the most useful. After you snag them, a drone will fly by and drop them off on a platform in front of the accessory kiosk.
The Gadgets available are fun for including in the video itself, especially since they can grant you more views. The Emotes don’t roll over to other games and are only available for the three-day session you’re in, so they’re only worth getting if you have extra money to blow.
Taking Your First Video / Gameplay Controls
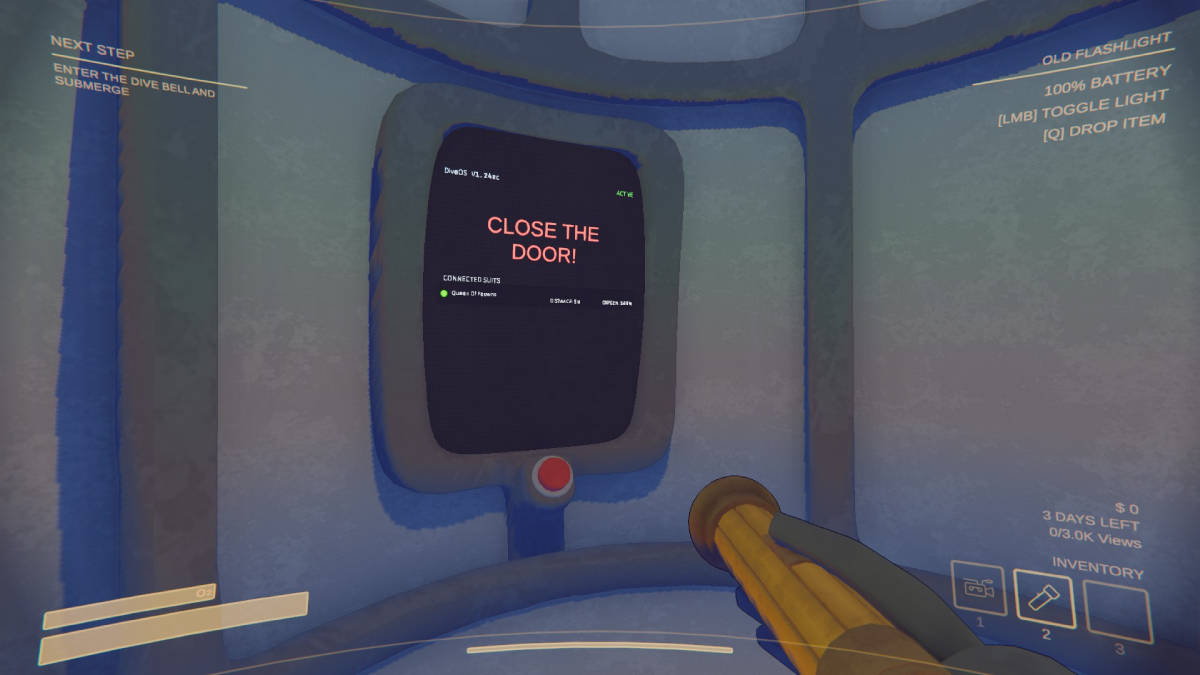
With your camera and flashlight in hand, you’re ready to record your first scary video. Head over to the Dive Bell and into the Old World. Using the 1, 2, and 3 buttons, you’ll shuffle through your on-hand inventory.
- Toggle the flashlight on and off with the left-click button while the flashlight is in your hand.
- Film with your camera with the right-click button while the camera is in your hand.
- Bring your camera screen up to your face using the right-click button while the camera is in your hand.
- Use the R button to record yourself while the camera is in your hand.
- With the camera in hand, use the scroll wheel to zoom in and out.
- Use the Q button to throw the item that you are currently holding.
- Press the T button to dance an emote that you purchased.
- The E button lets you interact with things.
- If you’re using Push to Talk features, the V button is the one tied to it.
- Spring using the Left Shift button.
Ideally, you will want to head into the Old World and carefully wander around until you find a monster to record. After recording some footage (the length of time you have left on the camera is recorded on the top right of the screen), you and your teammates need to return to the Dive Bell and resurface.
Escaping From Monsters
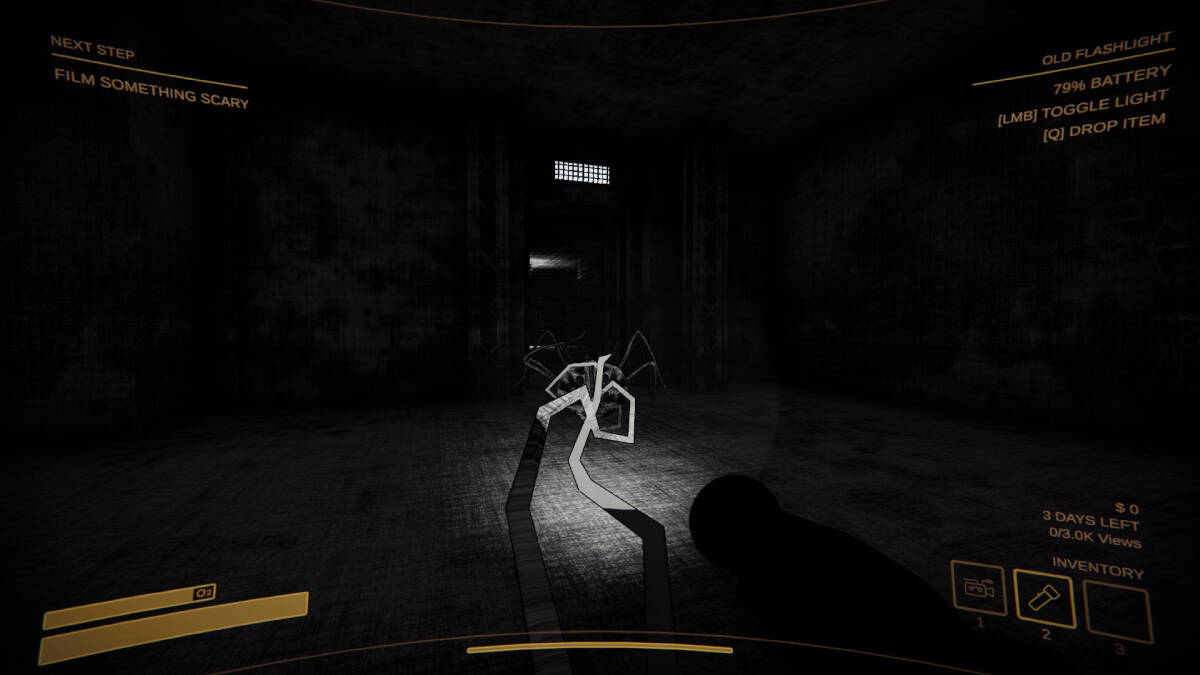
There are a total of twelve different monsters that you can encounter in Content Warning. They each can be avoided in their own way, but it takes practice to know exactly what you need to do. We have a handy guide to all the monsters you can encounter and their weaknesses here.
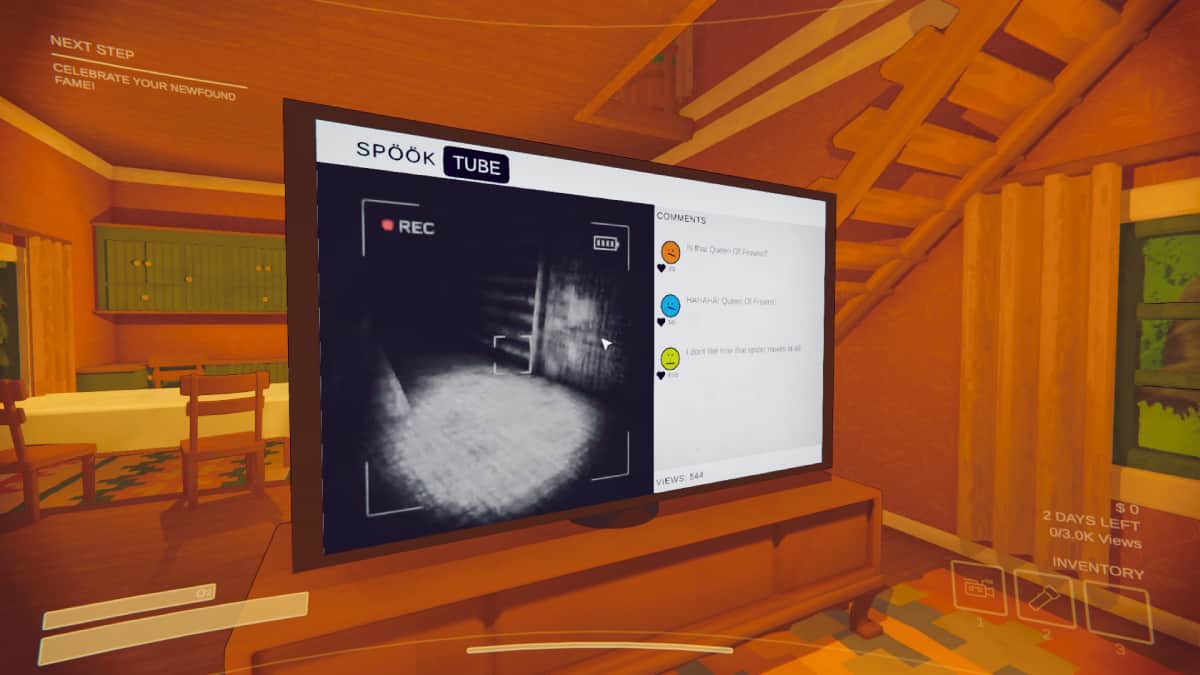
Uploading Your Video
After resurfacing, it’s time to upload the footage you took. Using the Q button, you’ll throw your camera into the video encoder to produce a CD.
- Throw the camera into the video encoder using the Q button.
- Take the CD out of the encoder.
- Upload the CD to Spooktube using the TV in the house.
- Wait for the video to play and record how many viewers actively watched it.
- Reel in the views and cash earned in revenue from the video.
You won’t be able to do anything else after you’ve uploaded the video, so you’ll need to head upstairs and go to bed to begin anew the next day. There are only three days for each session, so choose how you spend your time and footage wisely.
Frequently Asked Questions
How To Change Faces in Content Warning (& Can You Unlock More?)
What Does “Failed to Extract Video” Mean in Content Warning? Explained
All Items in Content Warning (& How They Work)
How Many People Can Play Content Warning? Max Players Explained
Content Warning is playable on PC.


