")
While you may be eager to enter the Mythril Mine and chase after Sephiroth, staying in the Grasslands for a while is a good idea. Besides unlocking Activation Towers, you can help several people in distress who can use the help of a Merc. There are five side quests that you can accept, with the last only becoming available once you complete a specific mission. I highly recommend completing all Grasslands side quests in FF7 Rebirth since you can get a ton of EXP and deepen your relationship with your allies from these missions.
Table of contents
All Grasslands Region Side Quests in FF7 Rebirth
You can accept all side quests in Grasslands by checking out the notice board or speaking directly to the related NPCs in FF7 Rebirth. The side quests will only become available once you capture your first Chocobo and return to Bill’s Ranch. At this point, you are free to enter the Mythril Mine or stay to explore this area.
Flowers From the Hill
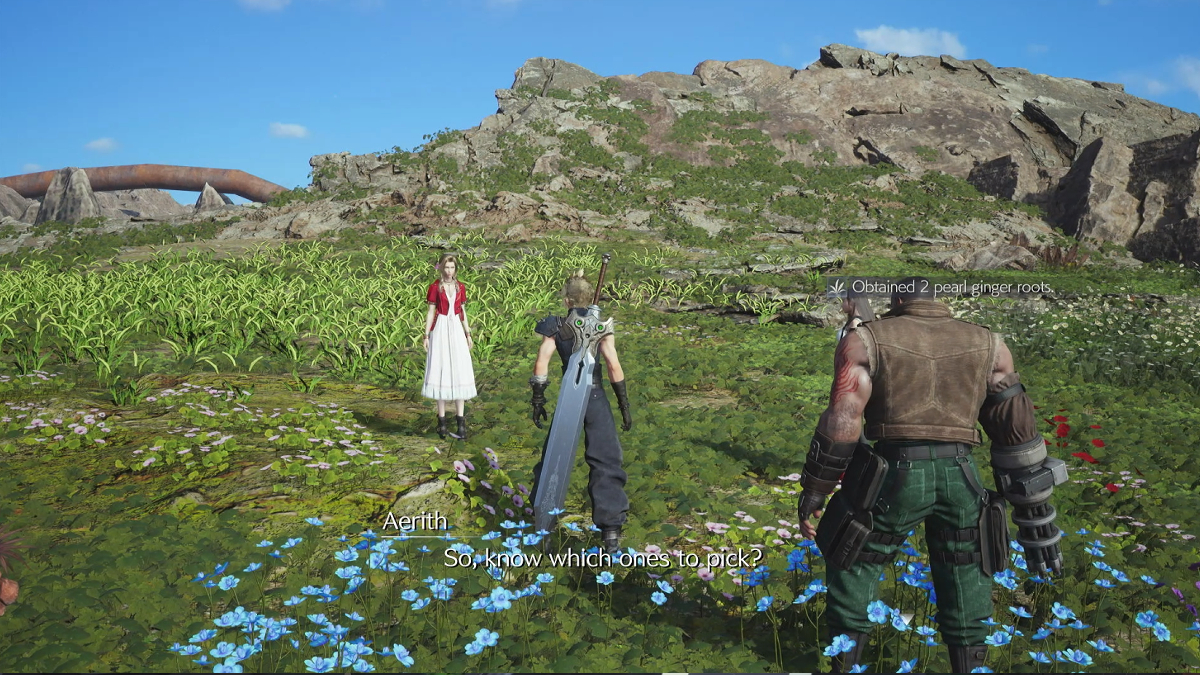
Flowers From the Hill is the first mission you can accept in the Grasslands. Billy will ask you to speak with his sister, Chloe. The girl wants to create a flower crown but cannot visit the Wildflower Plateau due to the monsters infesting the area.
You must head northwest and climb up a hill to reach this area. Numerous Mandragora have taken residence here, and you can kill them with Fire or Ice magic. After this Grasslands’ area is clear, you can pick up these flowers to make Chloe’s flower crown and complete this FF7 Rebirth side quest:
- Red Gerbera
- White Daisies
- Yellow Calendulas
A Rare Card Lost
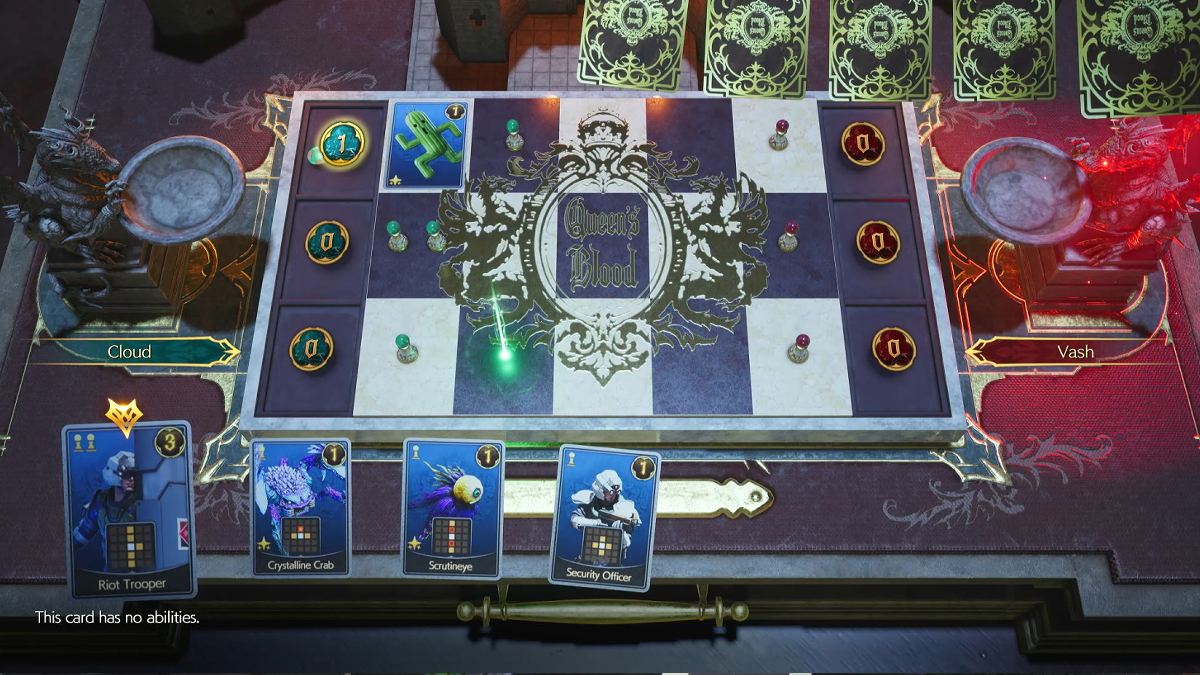
The second Grasslands side quest in FF7 Rebirth does not require you to fight monsters. Instead, you must win three Queen’s Blood matches to retrieve a legendary card. Here are the steps you can take to complete this mission:
- Speak with the bartender named Vash in Kalm.
- Defeat Vash in a Queen’s Blood match to prove your ability.
- Find and defeat Virgil at the Clock Tower.
- Head to Thorin’s Card Shop on the northeast side of Kalm.
- Defeat Thorin to win the Chocobo & Moogle card.
- Return to Vash and return the legendary card.
Don’t worry; you won’t have to part with this powerful card after completing this Grasslands mission. After seeing your Queen’s Blood skill, Vash agrees to let you keep the Chocobo & Moogle card until he is good enough at the game to beat you.
Lifeline in Peril

The third Grasslands side quest in FF7 Rebirth is Lifeline in Peril. The Mayor of Kalm is in trouble because they found a leak in the city’s Mako pipeline. The man will ask you to check on the “hotshot mercenary” who should’ve handled this issue. Follow the objective mark and head southwest to find the Mako Pipeline Maintenance Warehouse.
You will discover that the Merc is actually Kyrie, and the girl will ask you to gather resources to fix the pipe. She will mark four spots on your map so you can easily find them. Once you have all the materials, you can run north to the leaking Mako pipe. A group of Noxicaps will spawn around the pipe, and you must use Fire magic to defeat these monsters.
Livestock’s Bane
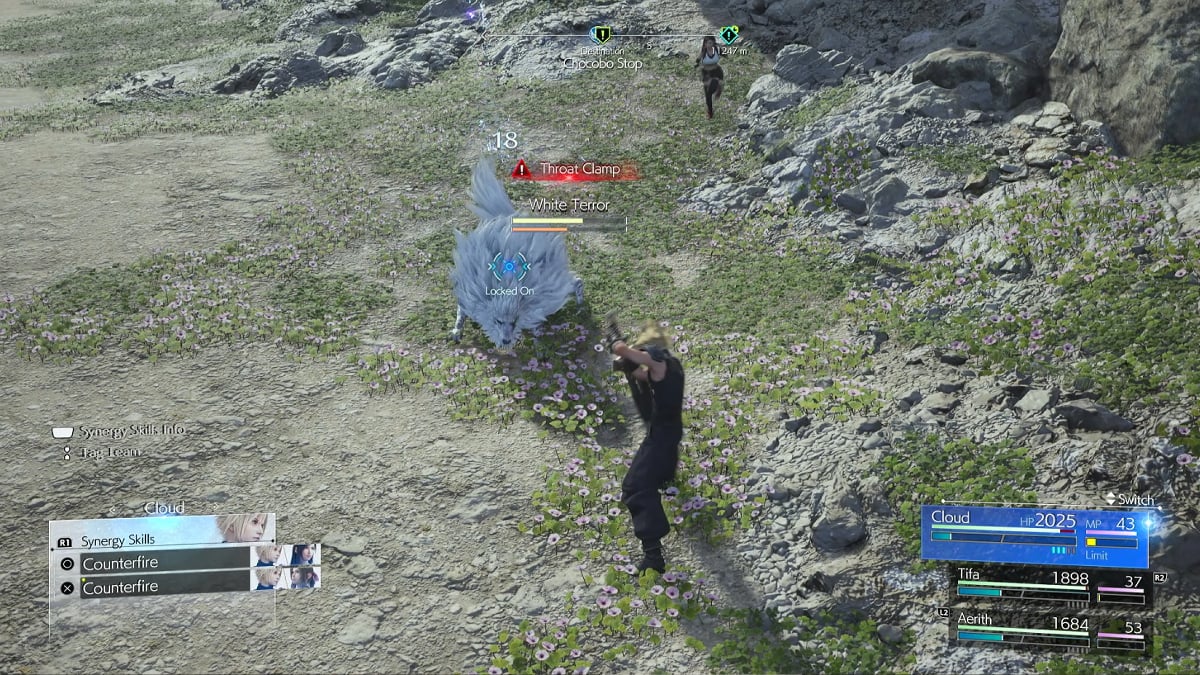
Livestock’s Bane is the fourth Grassland side quest in FF7 Rebirth. This time, you need to track and kill a monster that has been eating farm livestock. You must ride your Chocobo and use its nose to locate the beast.
White Terror is one of the hardest enemies in the game despite being an optional mini-boss. It has fast speed and powerful attacks that can quickly kill your team. You should use characters with fast attack speeds, like Cloud and Red XIII, to deal damage. I also recommend casting Poison to gradually reduce the monster’s HP.
Where the Wind Blows
You can only access the last Grasslands mission, Where the Wind Blows, after completing the Livestock’s Bane quest in FF7 Rebirth. Broden’s request is to help his old friend, Mildred, who wants to restore old Republic Windmills. Unfortunately, she is missing an important part, the Windmill Gear, which can be crafted using these materials:
- Quetzalcoatl Talon x1
- Chunks of Iron Ore x2
- Chunks of Lea Titanium x1
- Beast Bones x5
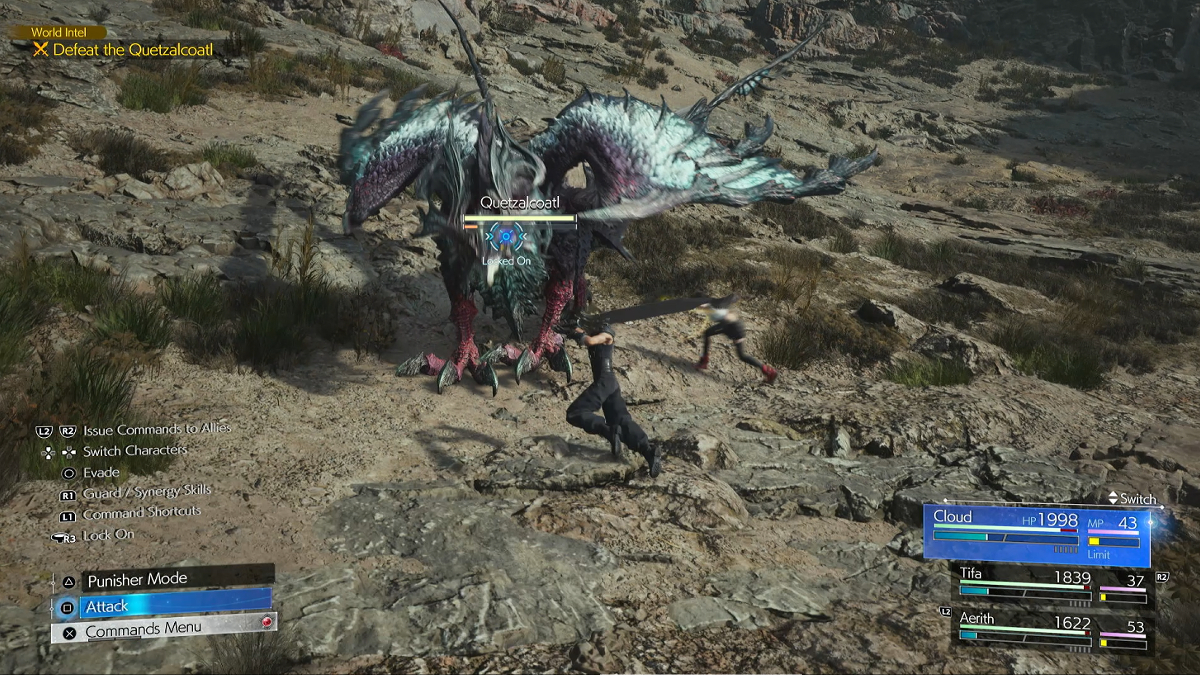
The Quetzalcoatl Talon is the hardest one to obtain since you must defeat a powerful beast. First, you have to unlock the Classified Intel: Winged Lacertilian of Yore by visiting four Lifestream Springs. Once you’ve fulfilled this requirement, Chadley will mark the new Classified Intel on your map, and you can challenge this Level 22 mini-boss.


")