Skip To...
After you’ve made significant progress in the story and collected several artifacts, you’ll just need to get the last one. The most powerful forces in the universe, such as Starborn, will stand in your way, so get ready for long and ruthless battles. In this guide, we’re going to talk about one of the last main missions, namely how to complete Revelation in Starfield. During the quest, you will encounter many anomalies and waves of enemies, so make sure to stock up on ammo and medical kits. Below, we will describe how to overcome all obstacles and get the last artifact.
Starfield: How To Complete Revelation
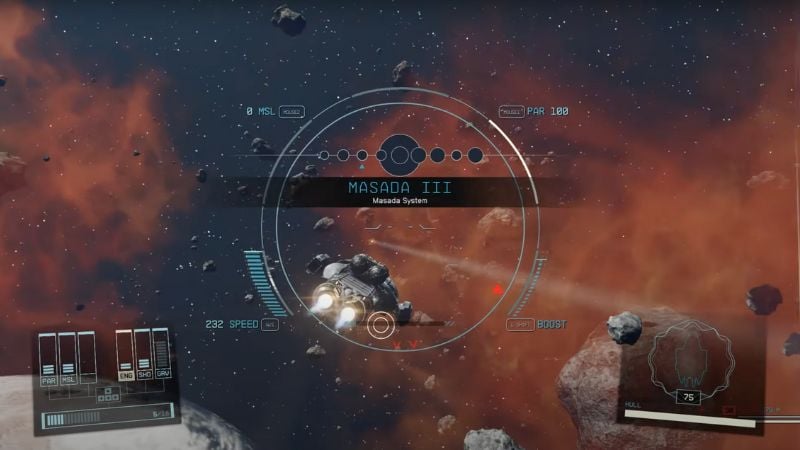
The Revelation mission in Starfield begins when you reach the orbit of the planet Masada III. Make sure your ship has enough fuel to make the Grav Jump. If not, you’ll have to visit one of the planets along the way to replenish your fuel supply.
Once there, you will notice many enemy ships that you will need to fight. If you sided with the Hunter or Emissary during the Unearthed mission, their ships will help you in the battle, but if not, you’ll have to do it yourself. You’ll need to be cautious to defeat Starborn ships, so always be moving to avoid attacks, keep an eye on your ship’s health, and repair it when necessary. Once you’ve dealt with the ships, you can land on the planet to continue the mission.
How to Find and Enter the Temple
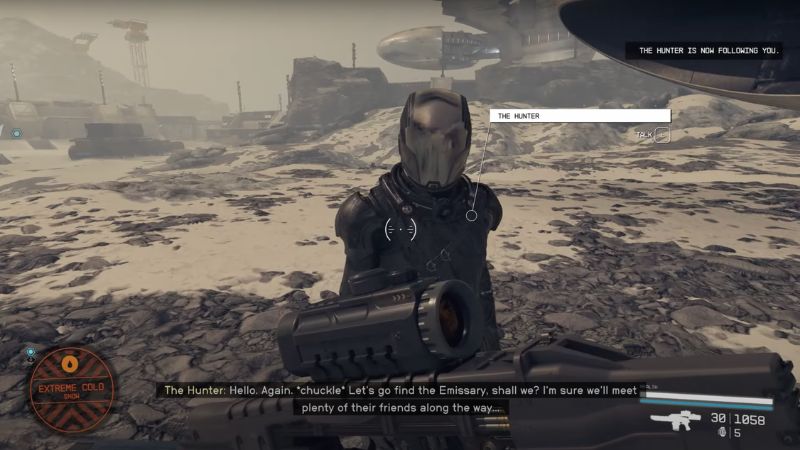
When you land on the planet, a quest marker will show you where to go next but take your time. You’re going to face a battle, so you’ll need to prepare. Not far from the landing spot, you will notice several areas with loot. Pick up everything you need to survive in battle and protect yourself from the cold climate on this planet. When you’re ready, follow the quest marker.
As you get closer, 6 Starborn enemies will jump out at you. Fighting against them is tough because they are quite strong, but if you have a shotgun it will make everything easier. A good tactic is to use your boost pack to fly closer to the enemy and then fire a charge at melee range to do maximum damage. Keep an eye on your ammo and health, and try to avoid situations where several enemies are attacking you from different directions at once. If you do everything right, you’ll quickly be able to deal with Starborn and move on inside.
How to Enter Ecliptic Base
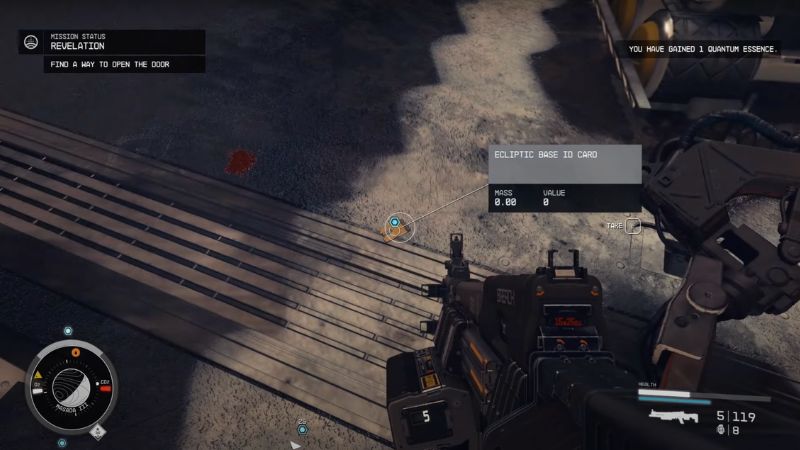
Following the mission marker, you will enter a tunnel that will eventually lead you to the building area. There will be a new wave of enemies, but in addition to Starborn, there are also Ecliptic Soldiers. Use the same tactics as last time to defeat them quickly. Concentrate on an enemy like Guardian Athaliah. He is stronger than the others and also drops a keycard that will help you move on. Once you’re done with them, follow the quest marker to get inside the Ecliptic base.
Follow the quest marker, which will lead you to the first anomaly on the path. Enter it to move on. Just move along the cave to exit the anomaly.
After doing so, you’ll be taken to a location with a new wave of enemies. In addition to Starborn, there will also be a bunch of robots, so be careful. To end the fight faster, go to the control room and hack the terminal, which you can use to make the robots fight on your side. Once you’ve eliminated all the enemies, look for the Ecliptic Base Key among their corpses to help you unlock the next location.
Anomaly With Petrov
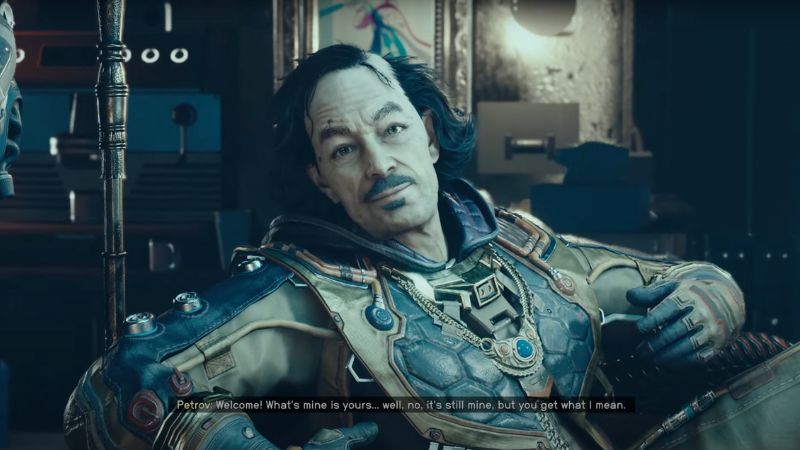
Next, you will find a second anomaly that will lead you to a crazy junk collector you may have met before. Petrov will speak with you, but regardless of the choices you make, you’ll be in for a fight. It’s not hard to defeat him, and once you do, you can take a break and recover. When you’re done, head for the door to exit the anomaly.
Final Chamber
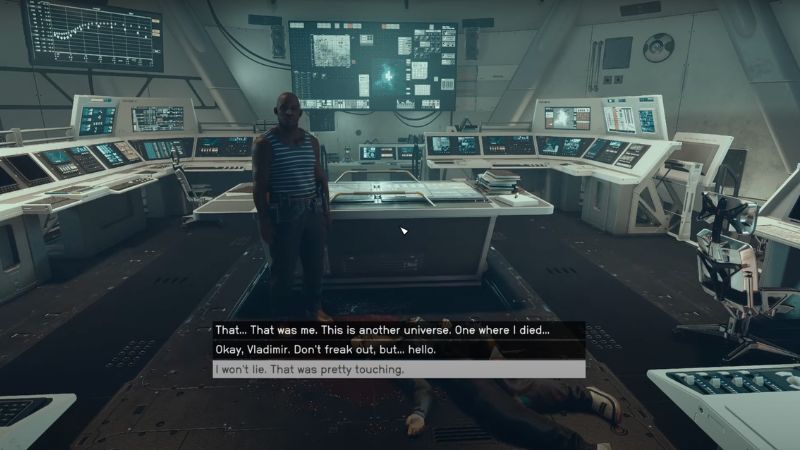
Now you find yourself in an underground cave and when you ride in the elevator you will get to the last anomaly. To get out of the anomaly, talk to Vladimir and go back.
After doing so, you will find yourself back in the cave. Before entering the Buried Temple, you will encounter another obstacle in the form of Guardian Fionn. It’s a pretty powerful enemy because it clones itself. Don’t worry, after you defeat the original, the copies will die. Use your tactics with a shotgun, and when you’re done, move on to the temple.
Emissary and Hunter
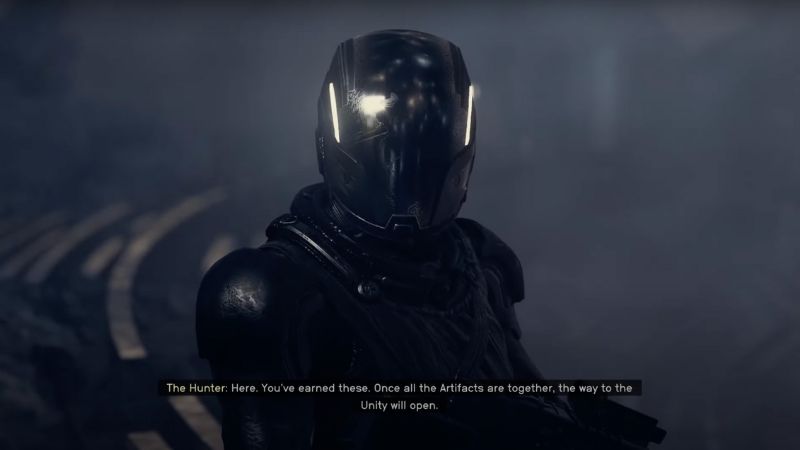
Once inside, you will meet Emissary and Hunter, and now you have an important decision to make. Before you can take the artifact, you will need to resolve the conflict between them and there are several options for development, namely:
| Take the Emissary’s side | You and Emissary fight against Hunter. When the battle is over, you take the artifact and Unmitigated Violence from Hunter’s corpse. |
| Take the Hunter’s side | You and Hunter fight against Emissary. When the battle is over, you collect the artifact and Eternity’s Gate from the Emissary’s corpse. |
| Fighting both | You do not take sides and fight to the death with both of them. After the battle, you take the artifact, as well as Unmitigated Violence from the Hunter’s corpse and Eternity’s Gate from the Emissary’s corpse. |
| Convince to reconcile | If you have good Persuasion skills, you can convince both sides to give up their intentions. To do this, you will need to complete 8 points, so save the game to go back if you fail. If you succeed, they will give you their artifacts, and you can also take Artifact Mu from the pedestal. |
After you decide and pick up the artifact, the mission is over. Now you know how to complete Revelation in Starfield, so we hope you won’t face any difficulties during this quest.
Related:
How to Get Starborn Armor in Starfield
Starfield is available on

