The Blacksmith in Lords of the Fallen helps you upgrade your weapons to deal more damage to enemies. Without them, you will find yourself struggling to keep up as you continue your adventure. When you first arrive at Skyrest, you won’t see them even if you explore the area. You must unlock the Blacksmith by finding their location and rescuing them first. After you free them, you can obtain their services as long as you have the required materials for upgrading in Lords of the Fallen.
Reaching The Blacksmith In Lords of the Fallen

From the Skyrest visage, head to the right and start making your way down through Pilgrim’s Perch. A notice should appear to let you know you are going in the right direction. Slowly make your way down and fight your way through the enemies until you reach the Vestige of Blind Agatha. You should see an elevator nearby that won’t work and your goal is to get to the bottom of the elevator shaft.
Make your way outside and fight your way to the bottom where you will see an Umbral Entity blocking an entrance. If you aren’t already in Umbral, enter it now. There are three soulflay targets that you must clear before the Entity opens up. Two of the soulflay targets are close to the entity, one to the northeast and the other to the northwest.
The final soulflay target requires you to go down a spine-like path to the bottom. You find it near the Book of Sin item but you must move quickly as there are several enemies. After all the Soulflay targets are down, you can dispel the Umbral Entity and go inside. Continue following the path until you reach an elevator that takes you back to the Vestige of Blind Agatha. Take it as a shortcut and then make your way back down.
Freeing the Blacksmith From Jail

Head back down the elevator and defeat the enemies on the same level. When you are ready, look down, take the nearby ladder to the bottom, or jump off the edge. You will find one enemy with a shield and a few dogs nearby. Defeating the dogs is crucial to your victory; the shield-wielding enemy isn’t too difficult to defeat on their own.
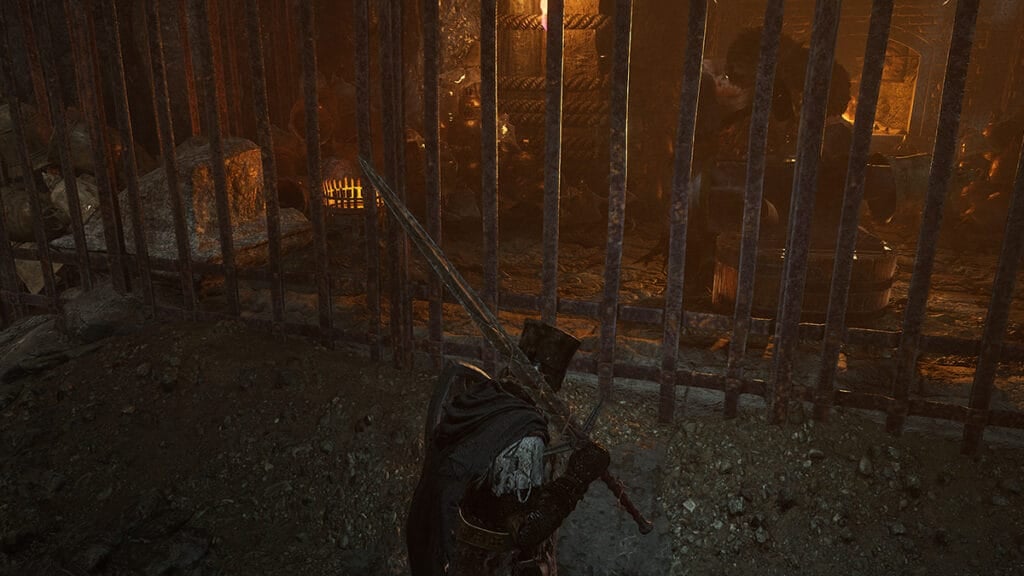
Inspect the remains of the enemy and you should find a Prison Cell Key. Turn around and you should see a large prison cell. Approach it and talk to the person inside to find Gerlinde. Hand Gerlinde the Prison Cell Key and you will free them. They don’t move immediately, but after resting at your next respite, they will shift to Skyrest.
From there, you can talk to Gerlinde about upgrading your weapons and catalysts for magic. You won’t be able to upgrade armor and you must ensure that your stats allow you to wield the weapons you upgrade. Nothing happens to Gerlinde afterward, allowing you to freely use the blacksmith in Lords of the Fallen as much as you like.
For a quick recap, here’s how you get the Blacksmith:
- Head right from the Skyrest vestige to reach Pilgrim’s Perch.
- Fight your way to the Vestige of Blind Agatha.
- Head outside and fight your way down to the Umbral Entity blocking the way.
- Destroy the three soulflays protecting the Entity.
- Head inside and activate the elevator to create a shortcut.
- Drop down and defeat the shield-wielding enemy and the dogs.
- Take the Prison Cell Key from the enemy’s corpse and give it to Gerlinde through the cell.
- Rest at a Vestige, then visit Gerlinde at Skyrest.
Lords of the Fallen is available on PlayStation,