Skip To...
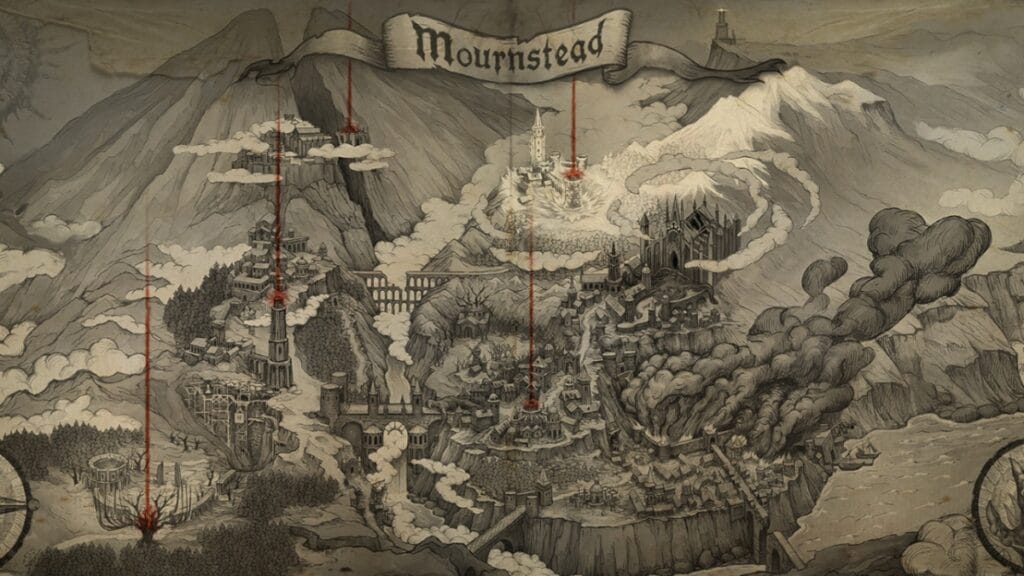
When it comes to map design, Soulslikes vary. Games like Elden Ring allow you to explore a massive open world, going almost anywhere you want at any time. Others are more linear, giving players just a handful of branching paths if any choice at all. Though Lords of the Fallen isn’t open world, many routes lead to and from the hub of Skyrest Bridge. Which keys you find and bosses you fight make a big difference in how you’ll progress through Mournstead, and it also influences which ending you will ultimately receive. Here’s our recommended progress route for Lords of the Fallen.
Abandoned Redcopse
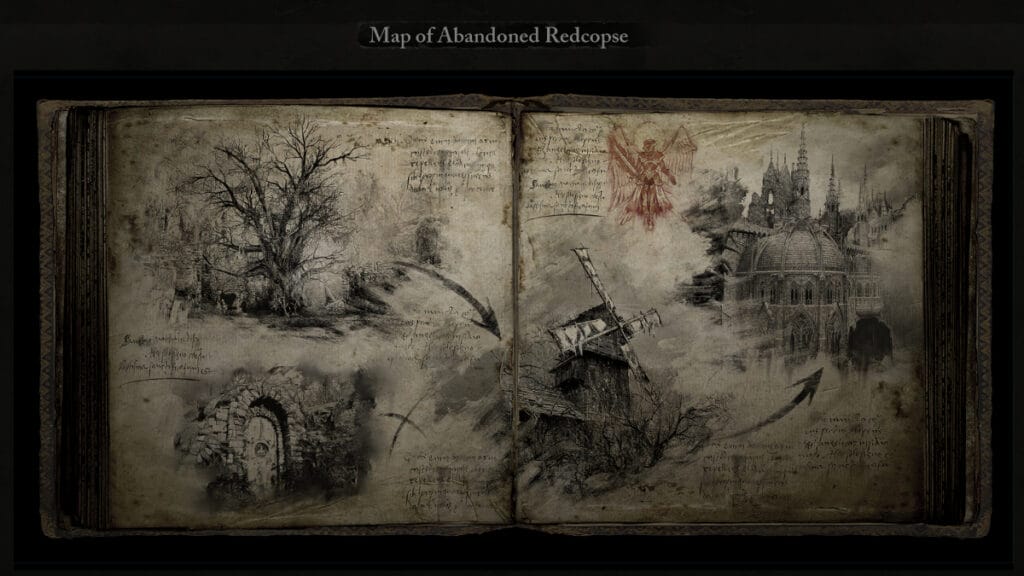
Everyone’s journey through Mournstead starts the same, with a trip through the tutorial area and Abandoned Redcopse. It’s an essential step in the progress route, but it mostly acts as a way to ease the player into the rhythms and expectations of Lords of the Fallen. There isn’t much here in the way of critical items, other than the Map of Mournstead and Map of Abandoned Redcopse. Poke around for a hidden chest and a good early-game ring, then defeat Pieta and head into Skyrest Bridge.
Pilgrim’s Perch Ascent and Descent
Skyrest Bridge is the hub area for Lords of the Fallen, so regardless of your progress route, you’ll be spending a good deal of time here. If it’s your first time, make sure you activate the Vestige, speak with each of the NPCs, and see what the merchants have available. From there head down the stairs and start your journey through Pilgrim’s Perch. This area is broken into Ascent and Descent, and both areas can be tricky. Getting through here is a pain as a low-level character, but it’s a great way to get some good early-game loot, level up, and hone your skills.
Forsaken Fen
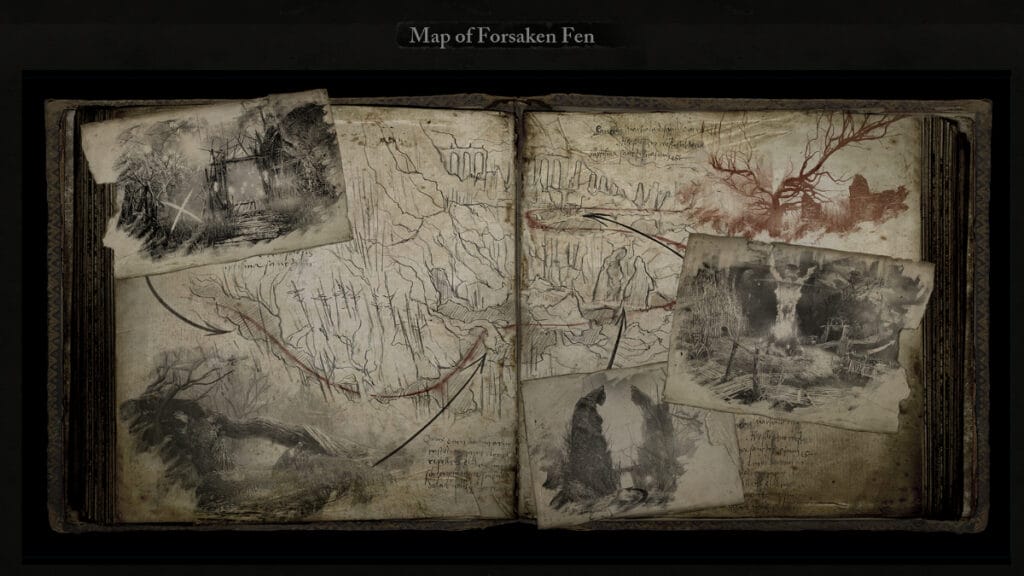
After clearing Pilgrim’s Perch Descent you’ll find your way to Forsaken Fen. Souls games are notorious for their poisonous swamps, and LotF is happy to follow in that tradition. Like most areas, Forsaken Fen is much larger and more complicated than it first lets on. After visiting the Vestige at the entrance to the swamp, make sure you save the petrified woman before moving on to do battle with the Hushed Saint. This is the first beacon boss you’ll encounter with this progress route, and he’s one of the tougher enemies in Lords of the Fallen. Once he’s dead, activate the beacon before saying goodbye to the swamp.
Fitzroy’s Gorge
Leave Forsaken Fen in the direction of Fitzroy’s Gorge. After the oppressive darkness of the swamp, this area is a welcome relief, but that doesn’t mean it’s safe. Follow the gorge trail into the tunnels, being mindful of the hounds and other enemies that will try to stop you. This path will eventually take you to a bridge where you’ll face the Ruiner. At later levels this fight is easy, but this progress route has you face it relatively early, so it can be a challenge. Once you’ve finally put that Rhogar in its grave, you’re clear to head to Calrath.
Lower Calrath
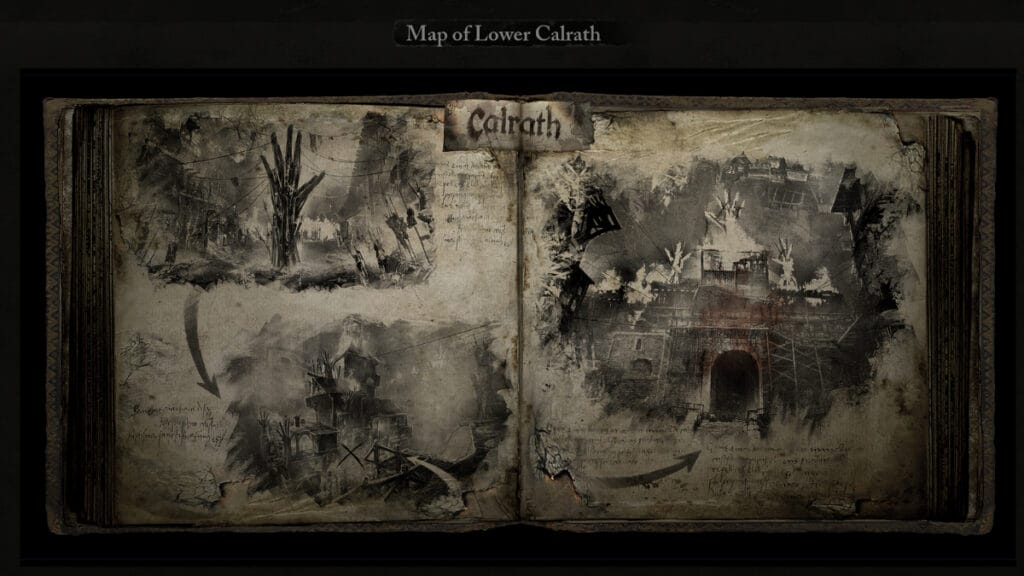
Calrath is an incredibly large and complicated area. It’s so large, in fact, that the game divides its content between five separate maps. Getting stuck in this ruined city is a common experience. As with the rest of the game, the most important thing is to follow the maps, moving from one point of interest to the next. Calrath is full of Rhogar enemies, so Fire Damage is extremely common. Check your resistances before you enter to see how worried you should be, and pack some of the best consumables if you can afford them.
Calrath Slums and Upper Calrath Mining District
Your route through Lower Calrath will lead you to the Calrath Slums and, eventually, the Upper Calrath Mining District. The importance of following your maps and moving from one point of interest to the next cannot be overestimated. Do otherwise, and you’re likely to spend a long time wandering these burning streets, warding off Rhogar as you attempt to find the path again. Your journey here will eventually lead you to a battle against the Spurned Progeny. Beating this gargantuan monster is anything but easy, but the rewards are worth it.
Sunless Skein
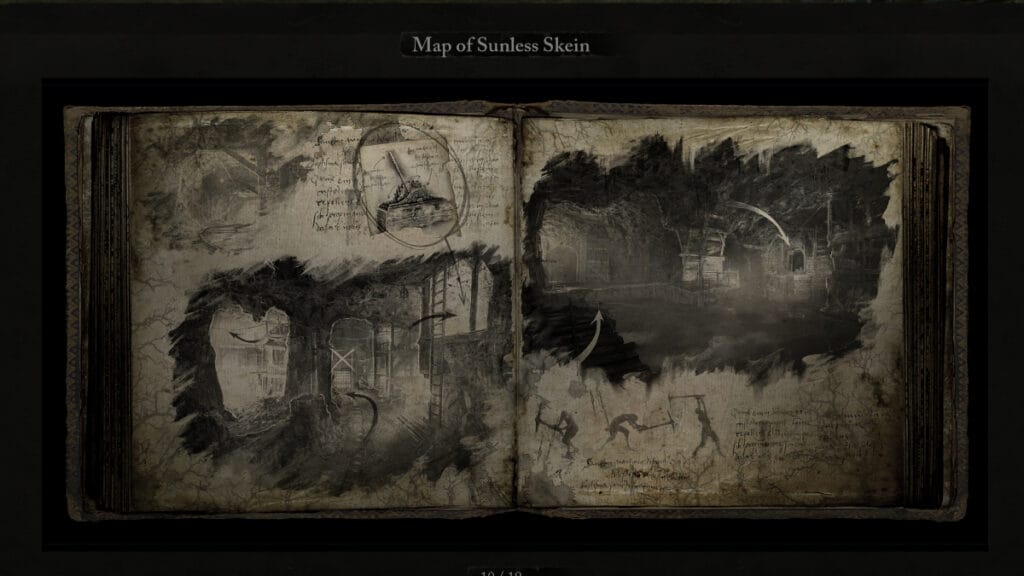
If you’re sick of the endless fires and lights of Upper Calrath, you’re in luck, because you’re heading into the cold, dark underground next. Sunless Skein is exactly as ominous as it sounds, but it’s a much easier area to navigate than Calrath. You’ll need to solve some simple water-level manipulation puzzles to advance, but that’s far better than dealing with the maze of burning buildings you just left behind. Before you know it you’ll be leaving Sunless Skein behind for Calrath Cistern. This is one of the easier parts of the progress route, but it’s still Lords of the Fallen, so don’t let your guard down.
Calrath Cistern
Calrath Cistern is fairly straightforward, but it’s also more dangerous than Sunless Skein. If you haven’t journeyed back to Skyrest Bridge for a while, now would be the time. Upgrade your weapons, catch up with the merchants, and maybe buy some Remembrance items from Molhu. Calrath Cistern is home to a pair of nasty boss battles. The Skinstealer is the easiest of the two, whereas the Bringers can be much more difficult, depending on your build. Once you’ve dealt with these bosses, you’ll have the option of taking the lift to Upper Calrath or venturing down into Revelation Depths. For now, go down.
Revelation Depths
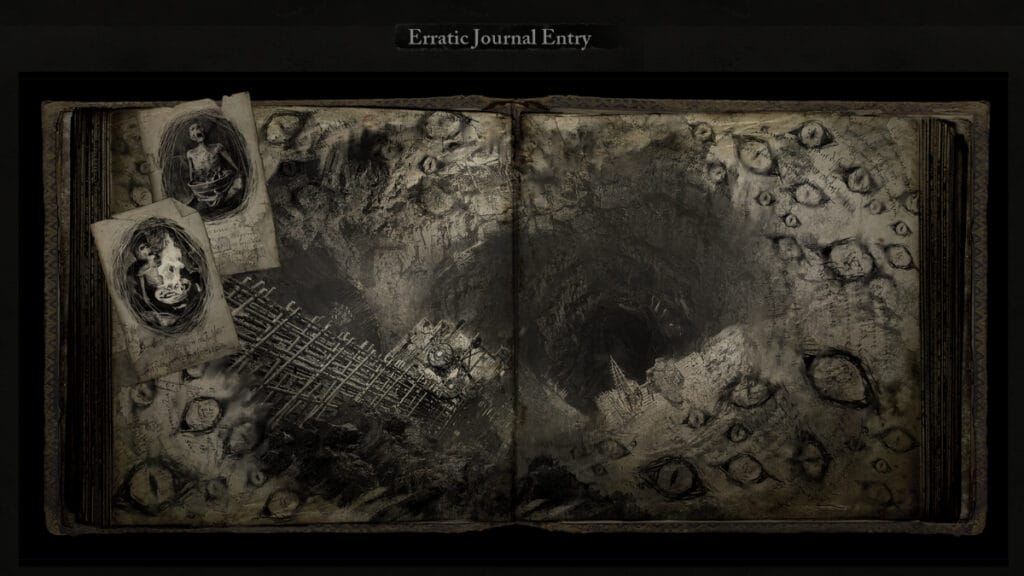
Revelation Depths, the area depicted in the Erratic Journal Entry, might give you Pilgrim’s Perch flashbacks. It’s a place of sheer cliff faces, narrow wooden walkways, and dizzying drops. Missteps here tend to be fatal, and the enemies crowded into this area will make your journey anything but pleasant. Even so, it’s worth the long trip into the depths of this area. At the bottom, you’ll face a difficult battle against Harrower Dervla, the Pledged Knight, and The Unbroken Promise. It’s worth noting that if you want to seek the Umbral ending later, you’ll need to follow up on the Seek Scourings prompt here.
Upper Calrath
After you’ve dealt with these bosses, return to the lift at the top of the Calrath Cistern and take it to Upper Calrath. Upper Calrath is arguably one of the most difficult areas in the game in terms of mobs. There’s no boss guarding the beacon here, which is the only good news you’ll get. The ordinary Rhogar you’ll face are anything but easy. Once you’ve cleansed the beacon, you’ll be taking a trip all the way back to Abandoned Redcopse.
Fief of the Chill Curse
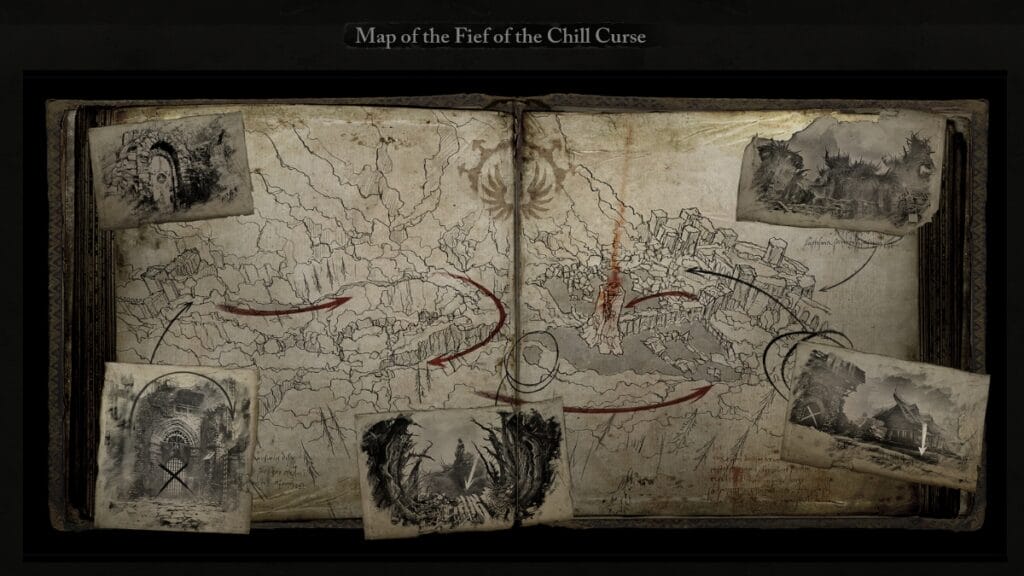
Right next to the Windmill Vestige in Abandoned Redcopse you’ll find the bell door leading into the Fief of the Chill Curse. You’ll find a boss a short distance in, but as soon as you’ve dealt with him, the Fief is yours to explore. Overall, Fief of the Chill Curse is one of the easier areas, both in terms of navigating it and taking on its enemies. Beat the Hollow Crow and cleanse the beacon here, then you can be on your way again.
Belled Rise
Belled Rise, like the Pilgrim’s Perch areas it connects with, is a bit rough. Though easier to navigate than the rest of Pilgrim’s Perch, it’s home to some challenging enemies that make getting through it tough. Once you’ve slain with the Sacred Resonance of Tenacity, the rest of the journey isn’t hard. Thankfully, he can easily be killed with cheese tactics, so even if you skip some steps in the progress route and come here early, he’ll still be one of the simplest bosses in Lords of the Fallen.
Manse of the Hallowed Brothers
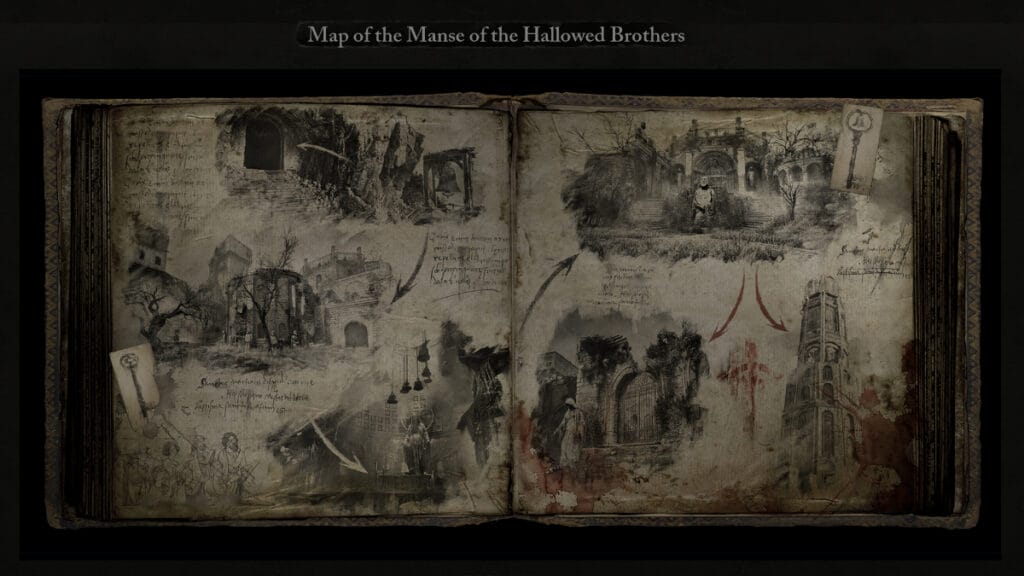
This progress route takes you to the Manse of the Hallowed Brothers. The Manse is one of the game’s most challenging locations. It’s large, features numerous double-backs and hidden areas, and requires specific keys in order to advance. There’s a pair of optional bosses here, but even the normal enemies are difficult enough, and their density makes navigating the Manse a pain sometimes. The next beacon is easy to see from most places on the map, but getting there will require careful exploration.
Tower of Penance
Attached to the Manse of the Hallowed Brothers is the Tower of Penance. You’ll need to scale its heights and plumb its depths if you want to reach the beacon. First, however, you need to beat Blessed Carrion Knight Sanisho. Survive his poisonous powers, and you’ll reach the tower at last. You’ll find and defeat Tancred and Reinhold at the bottom. Bring your best spells and gear, because it’s going to get rough. When they’re dead, claim their key, then take the lift to the top of the power to cleanse the beacon.
Abbey of the Hallowed Sisters
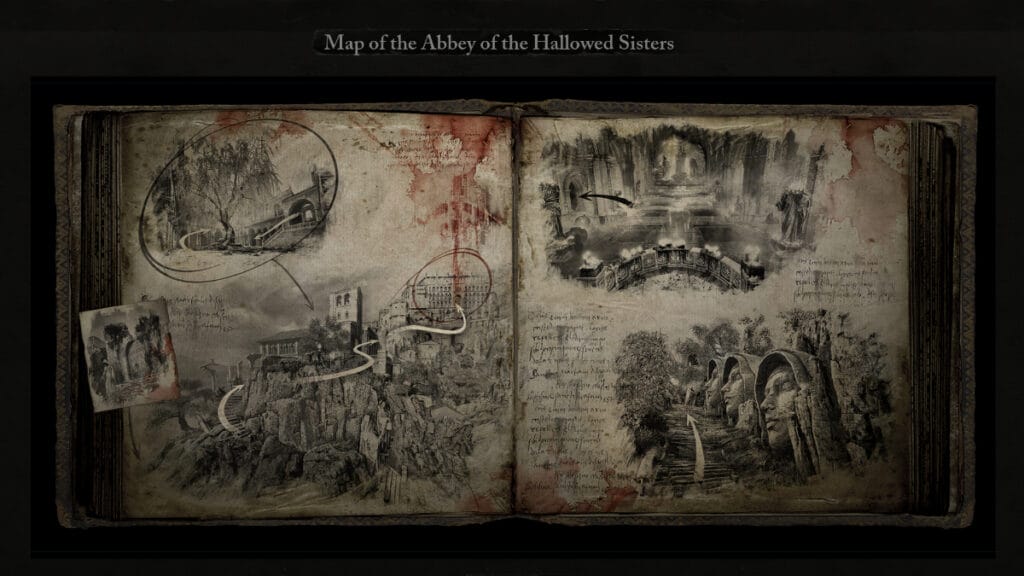
With four beacons cleansed, your journey is almost over. Return to the Manse of the Hallowed Brothers. Pass through the gate to reach the Abbey of the Hallowed Sisters. Though it looks similar to the Manse, the Abbey is less of a maze and, therefore, easier to navigate. It’s home to some brutal spellcasters that can pick you apart at range. Always be aware of your available cover or be ready to dodge. Abbess Ursula and Rapturous Huntress of the Dusk bar your way, but both fights are short and sweet.
The Empyrean and Bramis Castle
Forge ahead to the Empyrean. It’s a small area that serves as the arena for the next beacon boss: Judge Cleric, the Radiant Sentinel. With Judge Cleric slain and five beacons cleansed, you can now return to the Vestige at Upper Calrath. Pass through the door just beyond the Cistern lift. You’ll arrive at the place where your journey through Mournstead ends: Bramis Castle. Lords of the Fallen has a difficult finale, but after everything this progress route has put you through, you should be well-prepared for what’s to come.
Here is a summary of the major areas and the order in which they should be tackled.
- Abandoned Redcopse
- Forsaken Fen
- Lower Calrath
- Sunless Skein
- Revelation Depths
- Fief of the Chill Curse
- Manse of the Hallowed Brothers
- Abbey of the Hallowed Sisters
Lords of the Fallen is available for PC, PlayStation 5, and

