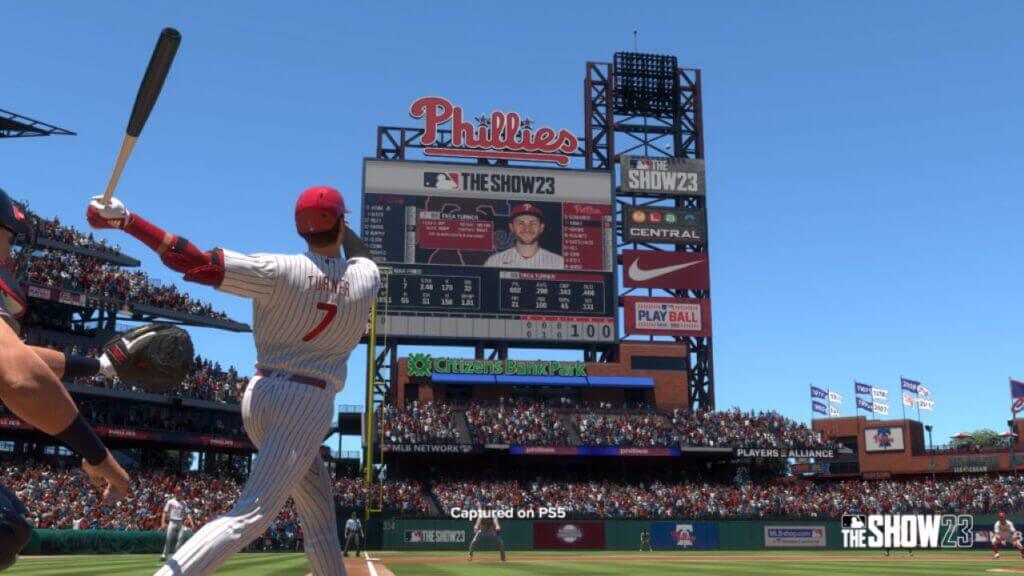
Are you wondering how to remove created player in MLB The Show 23? Then you need to follow this guide. Although the game is still new, many sports games share similar game principles. Another thing they have in common is continually creating new players and careers. Fortunately, the digital world enables you to restart, so you can create a new player or start a new career by erasing your current one.
Removing a created player is a quick and easy process that can be done anytime during your gameplay. Whether you’re unhappy with a player’s attributes or want to start fresh, following these guidelines will help you remove any unwanted players from your team and continue playing the game with the roster you wish to.
How To Remove Created Player In MLB The Show 23
If you’ve created a player in MLB The Show 23 and want to remove them from your game, you can do so by following a few simple steps. Removing a created player is quick and easy whether you’ve changed your mind about their attributes or want to start fresh. Here’s a detailed guide on how to remove a created player in MLB The Show 23.
Step 1: Navigate to the Main Menu
The first step in removing a created player is to navigate to the main menu of MLB The Show 23. You can do this by pressing the Options button on your controller or selecting Main Menu from the in-game menu.
Step 2: Select Franchise
Once you’re on the main menu, select the Franchise option. This will take you to the Franchise mode, where you can manage your team and players.
Step 3: Choose Your Team
Next, you can select the team that your created player is on. This will bring up the team roster screen, which lists all your team players.
Step 4: Find Your Created Player
You can scroll through the team roster until you find your created player. If you have a lot of players on your team, you can use the left and right directional buttons on your controller to move between pages of the roster.
Step 5: Select Your Created Player
Once you’ve located your created player, select their name using the X button on your controller. This will bring up their player card, which shows their attributes and statistics.
Step 6: Delete Your Created Player
Select the Delete Player option on the player card using the X button on your controller. A confirmation message will appear, asking if you’re sure you want to delete the player. Select Yes to confirm and remove the player from your team and the game.
Step 7: Save Your Changes
After deleting your created player, be sure to save your changes to the roster. You can select the Save Roster option from the in-game menu. This ensures that your changes are saved and will be reflected the next time you play the game.
Related:
How to Update The Rosters in MLB The Show 23
Note that once you delete a created player, you won’t be able to recover them. All of their statistics, attributes, and other information will be lost. If you want to keep any of this information, be sure to take note of it before deleting the player. Also, if you delete a created player who was previously in your team’s starting lineup, you’ll need to adjust your lineup accordingly. You can do this by selecting the Lineup option from the team roster screen and moving players around as necessary.
In conclusion, you can accomplish the straightforward process of removing a created player in MLB The Show 23 in just a few steps. By following these instructions, you can easily remove any unwanted players from your team and continue playing the game with your desired roster. It is important to remember to save your changes after removing a player and to be aware that any information associated with that player will be lost permanently.


