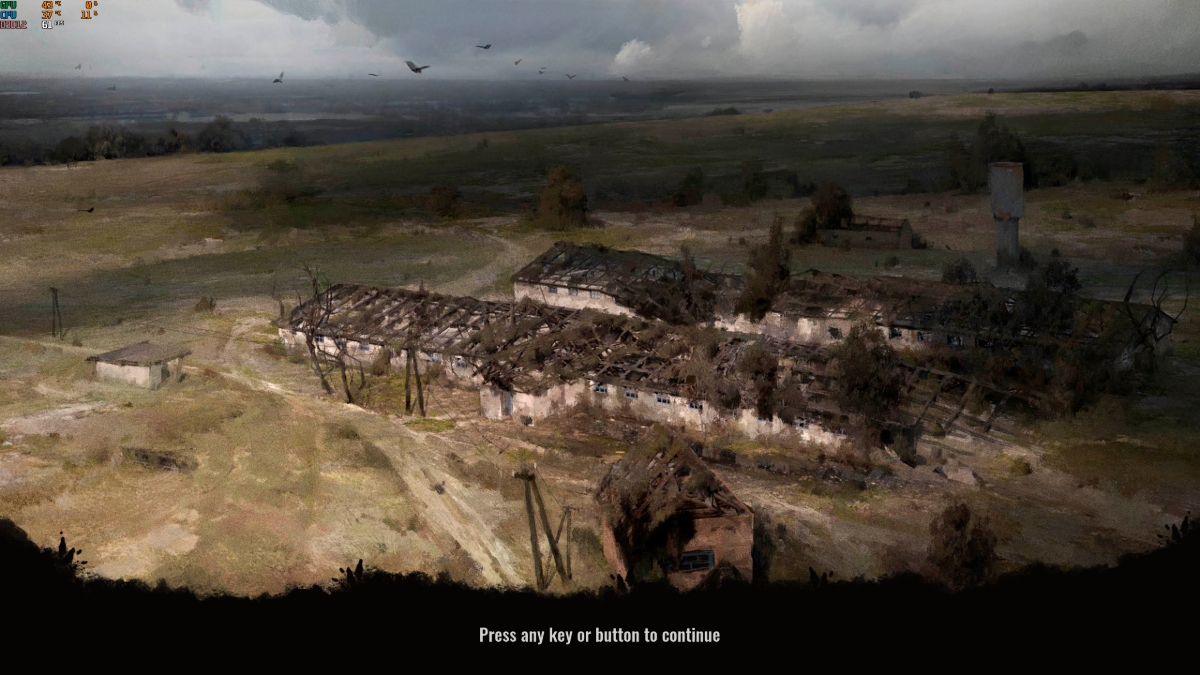
If you’re itching to get in the Zone to substitute Vodka for water so you can bathe in radiation, you’ll find that a lot of other things might slow you down. The first among them is the pesky and mandatory Compiling Shaders loading screen whenever you start STALKER 2. It’s even worse if the game crashes and you have to open it again. So we have a guide for you on how to skip that Compiling Shaders screen in STALKER 2.
Creating an .ini File for STALKER 2
You’ll have to do a bit of tinkering with Windows if you want to be rid of the shader compilation. Here are the steps and note that some of them have specific differences depending on the version of the game you have (Steam or Game Pass).
- Ensure that STALKER 2 isn’t running.
- Type or copy and paste AppData on the Windows search bar, press enter.
- This will take you to the AppData folder. Look for ‘Local,’ select it.
- Under Local, look for the ‘Stalker2’ folder and select it.
- Under Stalker2, select Saved/Config/WinGDK (for Game Pass versions).
- For Steam versions: Saved/Config/Windows
- In a blank area, right-click, select New, and create a new Text Document.
- Right-click the new text document and rename it to: Engine.ini
- Open Engine.ini and copy and paste these lines, without the bullet points:
- [SystemSettings]
- r.PSOWarmup.WarmupMaterials=0
- If an Engine.ini already exists, just open it copy and paste ‘r.PSOWarmup.WarmupMaterials=0‘ under [SystemSettings]
- Click on ‘File‘, select ‘Save‘, and close the text document.
- Launch the game.
After that, your game shouldn’t run the shader compilation command anymore, leading to a much faster startup. If it still performs the shader compilation process, you might have to check the Engine.ini text document you created for typos or to see if you actually created it in the right place.
If you install or update your GPU drivers, we recommend re-enabling the shader compilation to minimize bugs or glitches. You can do this by moving the Engine.ini text document out of the folder we mentioned above. Then you can put it back in once the game has compiled its shaders.
You Can Also Use a Mod for a Simpler Process
If you don’t like tinkering with your game files manually, you can leave the process to a mod. However, note that modding STALKER 2 also requires you to create specific folders in the game’s files.
Assuming you’ve already set up your STALKER 2 for modding, you can download the no-shader compilation mod here. It achieves the same effect as the manual process above. Do be warned that mods will sometimes break or cease working if the game updates itself.


