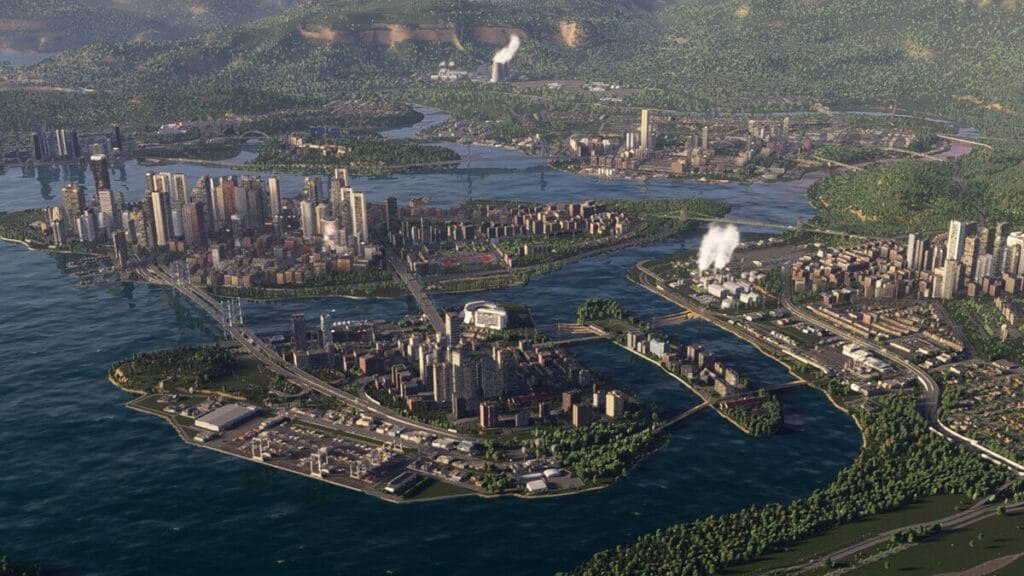
Cities: Skylines 2 gives you the option to terraform the land to your liking in order to create incredible structures. Many of the landscaping tools and usages are the same as the previous installment, so it might already seem familiar if you’re a fan. However, there are still a few nuances that could make using these landscaping tools a little more difficult. Considering that, we wrote out exactly how to use the landscaping tools in Cities: Skylines 2.
How To Use the Terraforming Tools in Cities: Skylines 2

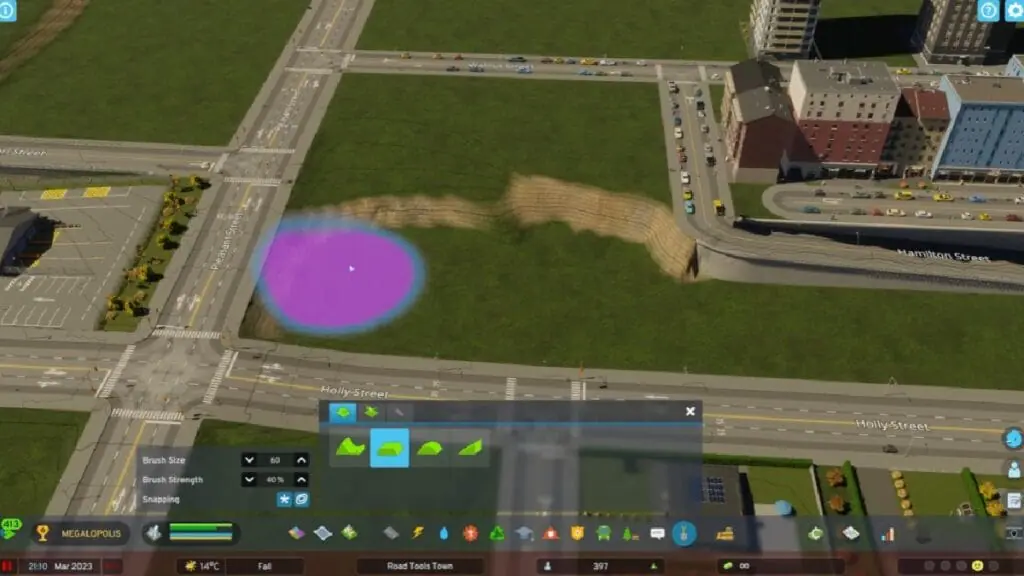
There are now many more customizable options when it comes to landscaping and terraforming in Cities: Skylines 2. For starters, you can bring the brush size all the way up to 1,000 as well as all the way down to 10. We outlined each of the tools that you can use below, as well as what it is that they do and how to do it.
| Name | How To Use | What It Does |
| Shift Terrain Tool | Left-click raises the terrain up. Right-click sinks the terrain downward. | Add layers of height to areas around the map. |
| Level Terrain Tool | Left-click to level the terrain. Rick-click to select the level that you wish the terrain to be. | Level the terrain to your preference. |
| Soften Terrain Tool | Left-click at the seam of two contouring levels. | Softens the contour lines between two areas so that slopes aren’t so steep. |
| Slope Terrain Tool | Left-click to create a slope up to the height of your choosing. Rick-click to select the height of the top of the slope. | Create a slop to better connect to areas. |
| Tree Brush | Left-click to place the trees on the landscape. Rick-click to remove the trees. (You can also select the Matching Type option to only remove the same type of trees as the ones you selected) | Choose between placing several trees or single trees across the landscape. You can also choose which trees you’d like and they gradually grow. |


