
Close Menu
  • Gaming
    • Platforms
      • Nintendo
      • PC
      • PlayStation
      • Xbox
  • Entertainment
    • Movies
    • TV
    • Royals
  • Celebrity
    • Hollywood
  • Human Interest
  • Astrology
  • More
    • Reviews
Facebook X (Twitter) Instagram LinkedIn YouTube
  • About Us
  • Join Our Team
  • Meet the Team
  • Privacy Policy
  • DMCA Policy
  • Contact Us
  • Terms of Use
  • Sitemap
  • Editorial Guidelines
  • Advertising Policy
The Nerd Stash
  • Gaming
  • Celebrity
  • Hollywood
  • Human Interest
The Nerd Stash
Home»Gaming»The Mystifying Case of the Midnight Marauder Side Quest Walkthrough for The Outer Worlds 2

The Mystifying Case of the Midnight Marauder Side Quest Walkthrough for The Outer Worlds 2

An underground mystery

Julio La PineBy Julio La PineOctober 24, 20253 Mins Read
The Mistifying Case of the Midnight Marauder Guide
Image Source: Obsidian Entertainment/Xbox Game Studios via The Nerd Stash

Most of the side quests in The Outer Worlds 2 have more than one way to solve them, and one of the first ones you’ll encounter is the Mystifying Case of the Midnight Marauder. You’ll likely get the bread crumbs for this one by going through some terminals in Paradise Island, more specifically, in Fairfield. If you read the right message, you’ll get started with a sort of hidden quest that can lead to a quick confrontation, some experience points, and a bit of loot.

The Mystifying Case of the Midnight Marauder Walkthrough

While there are many ways to get and solve The Mystifying Case of the Midnight Marauder side quest, we’ll go over the one that worked better for us and in the fastest way.

First, head to the house, located at the beginning of the housing row after leaving the greenhouse. Look for the one with a terminal and a switch that has some flying sparks on it.

Interact with the terminal and read the “Contingencies” entry to start the quest.
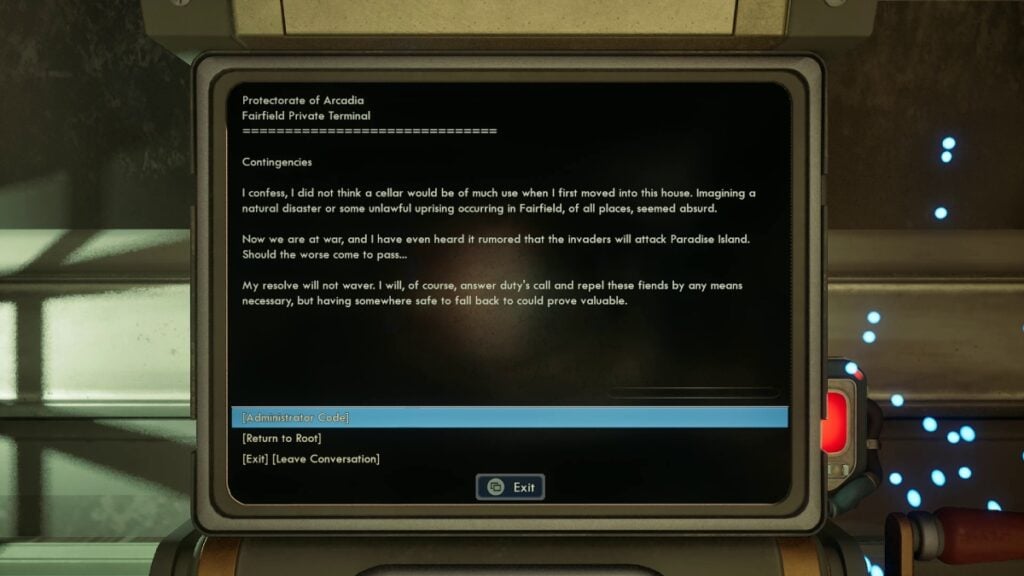
The Mystifying Case of the Midnight Marauder Clue
Image Source: Obsidian Entertainment/Xbox Game Studios via The Nerd Stash

While we could go over the long way of how to solve it, find the cellar, and so on, the fastest way to locate the cellar mentioned in the entry is by throwing a few skill points on Observation. In our case, we only had three when we started this quest, and they were enough to lead us to the solution.

If you have enough points in Observation, head to the left side of the house where the terminal was.
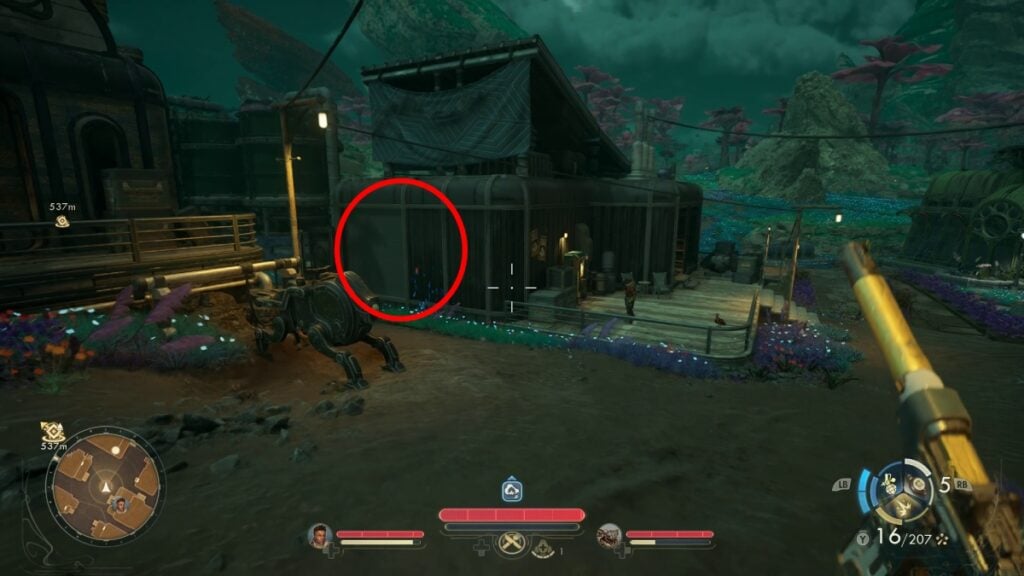
Hidden door
Image Source: Obsidian Entertainment/Xbox Game Studios via The Nerd Stash

You can see the exact house and wall you need to go to in the above picture. Once you find it, just walk there and approach it. If your Observation skill is high enough, you’ll get the little eye marker and will spot the hidden door.
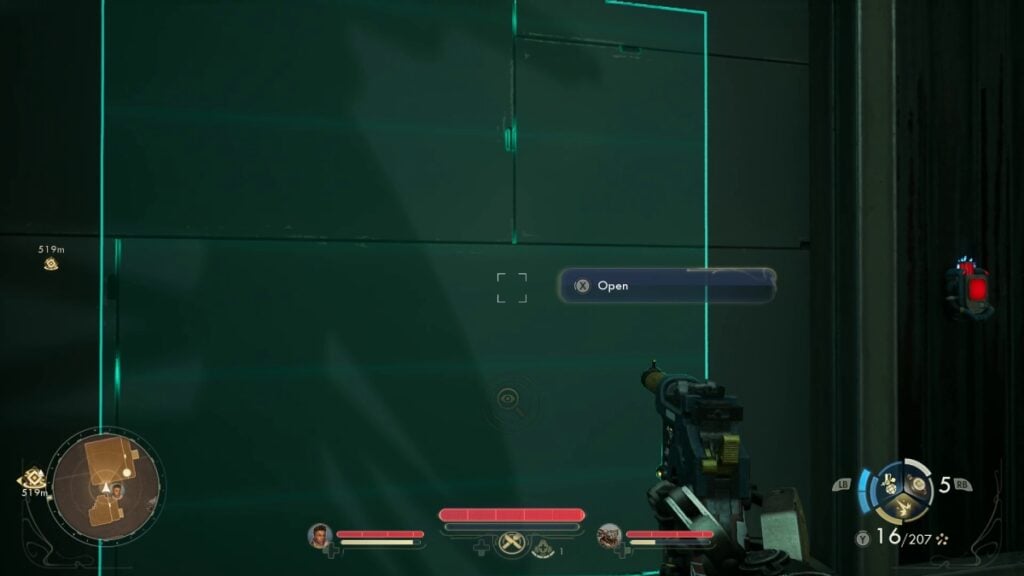
Observation skill check
Image Source: Obsidian Entertainment/Xbox Game Studios via The Nerd Stash

Approach it and it will turn blue-ish, letting you interact with it. Just open it and head downstairs for the next part of the quest.
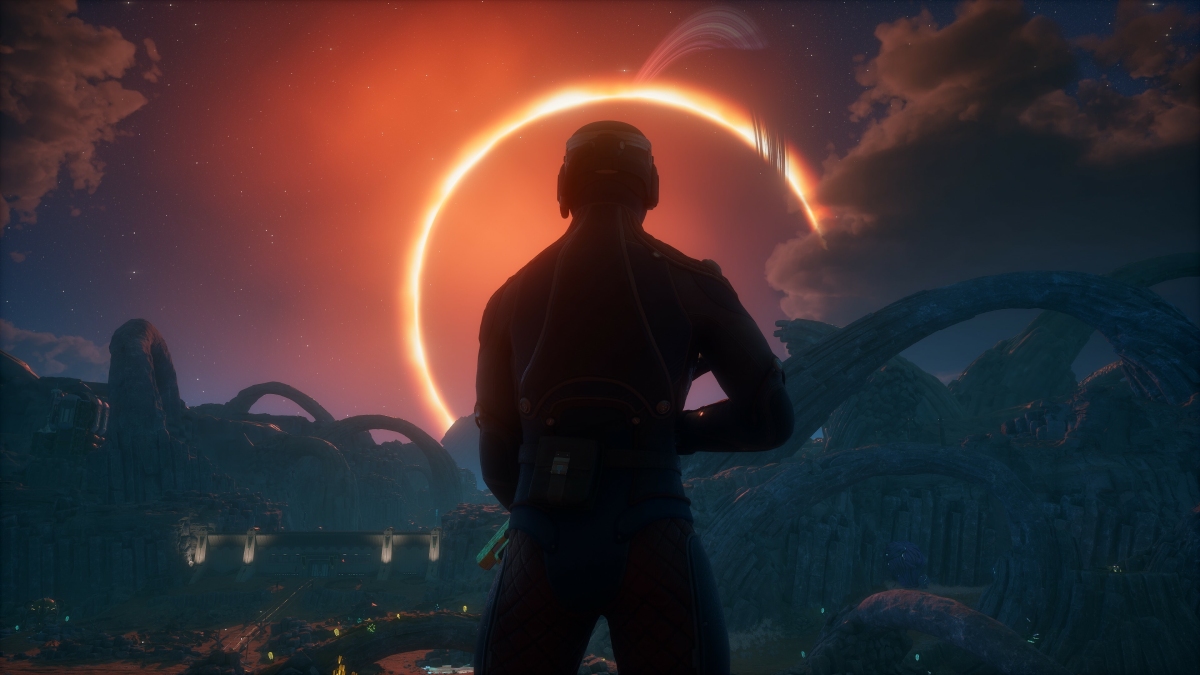
After Playing Grounded 2, I’m Confident The Outer Worlds 2 Will be Another Stellar Sequel
Related: After Playing Grounded 2, I’m Confident The Outer Worlds 2 Will be Another Stellar Sequel

You’ll be greeted by a few NPCs who will tell you about why they are hiding below the cellar. There are several options you can pick from, and in our case, we went with the violent one, so chaos quickly followed.
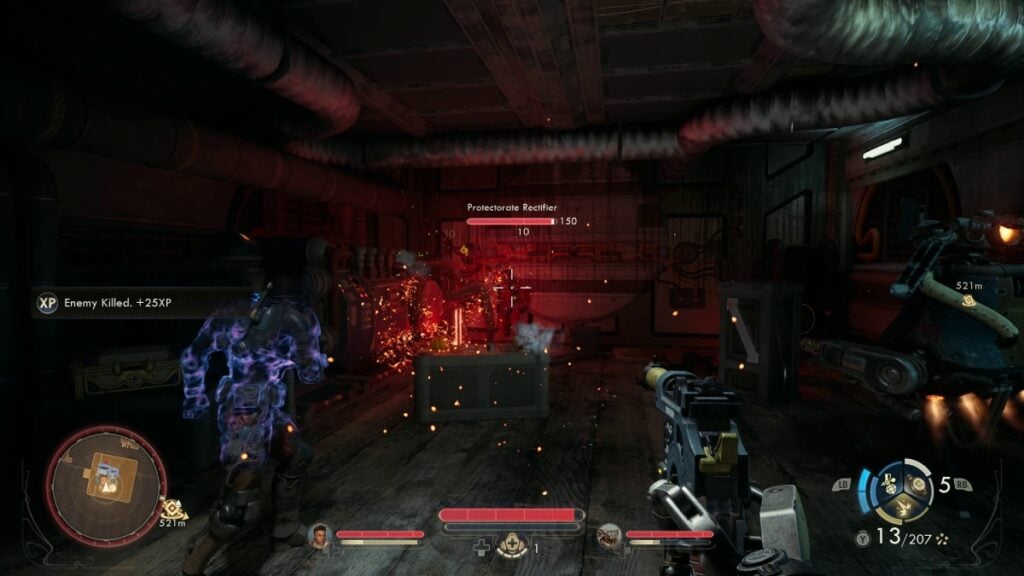
Cellar combat
Image Source: Obsidian Entertainment/Xbox Game Studios via The Nerd Stash

After solving the situation in whatever way you can, you’ll get some experience points, some more dialogue options, and a bit of loot from around the area. It isn’t the most rewarding side quest in the game, but it is there to let you put some skills to the test and see just how deep the choice-making aspect goes.


Related Topics
Guide The Outer Worlds 2
Share. Facebook Twitter LinkedIn Reddit Email
Julio La Pine
  • Website

News/Guide Writer for The Nerd Stash. When not working, you'll find him playing Final Fantasy 14, any good JRPG, and modding Project Zomboid.

SUGGESTED READS

Where to Find All Echobones & Catch Panthalus in Palworld 1.0
Gaming

Where to Find All Echobones & Catch Panthalus in Palworld 1.0

Transport Fever 3 Features
Gaming

Transport Fever 3 Is Gearing Up for Launch With New Footage Showcasing Several Features for Transport Tycoon Fans

9.5
Gaming

Rhythm Heaven Groove Review – Harmonic Perfection

Marvel Rivals Season 9 Hands-On Preview
Gaming

Marvel Rivals Season 9 Hands-On Impressions: Feels Like a Whole New Game

Diablo 4 x Overwatch Collab
Gaming

Diablo 4 x Overwatch Impressions: Something of an Inconsistent Bag

Late game blink theory in Dota 2
Gaming

Why Dota 2 Modern Late Game Doesn’t Forgive A Single Blink

The Nerd Stash
Facebook X (Twitter) Instagram YouTube LinkedIn
  • About Us
  • Join Our Team
  • Meet the Team
  • Privacy Policy
  • DMCA Policy
  • Contact Us
  • Terms of Use
  • Sitemap
  • Editorial Guidelines
  • Advertising Policy
© 2026 The Nerd Stash. All Rights Reserved.

Type above and press Enter to search. Press Esc to cancel.