")
The 64th Warframe, Follie, is here, and she’s every bit as good as you expected when Digital Extremes first revealed her. The painter-themed Warframe ought to tickle your brain if you’re the creative type, and for anyone looking to break the game, well, there’s also plenty of that in Follie’s kit. Try out our endgame Follie build to paint the town red.
Follie Build Explanation
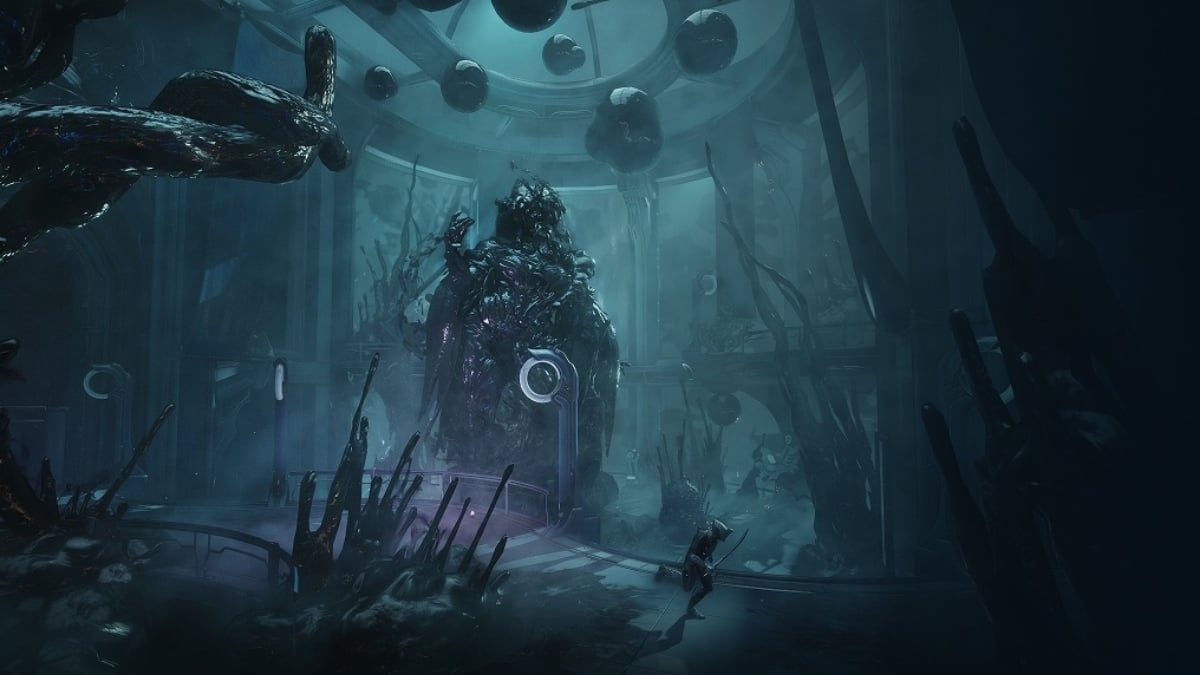
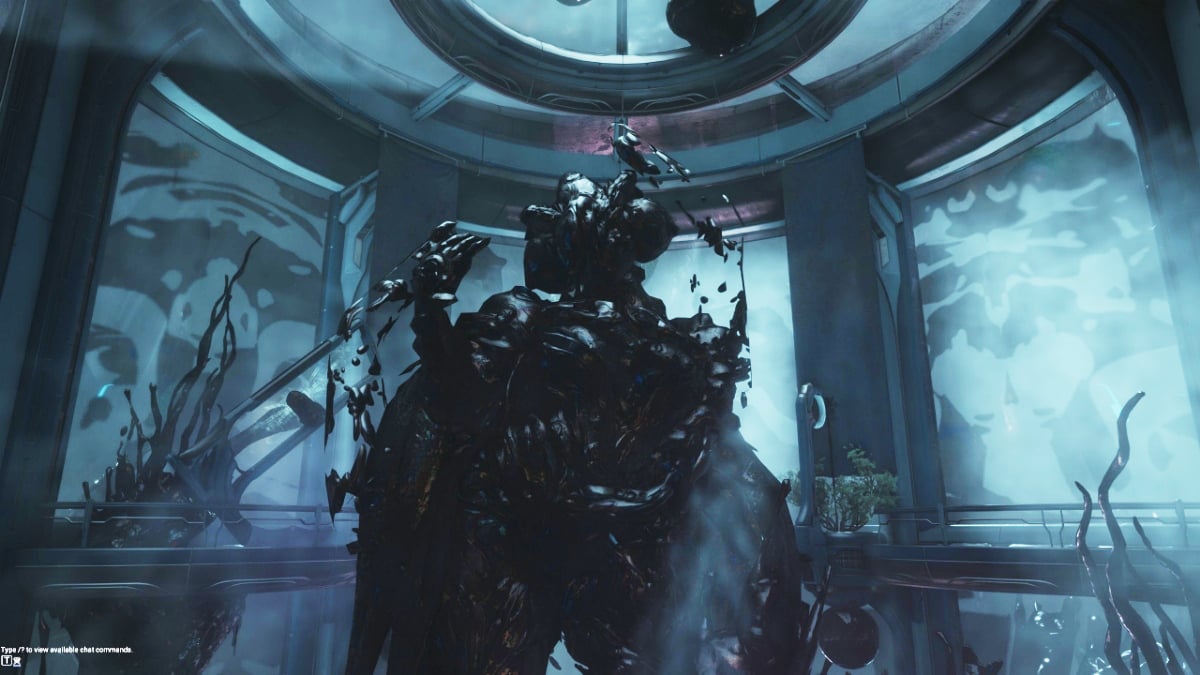
This particular Follie build will capitalize on the Warframe’s nuking potential, which comes from her 2nd Ability, Shadowgraph. Shadowgraph allows Follie to create items out of thin air and practically detonate some of them for huge damage.
Shadowgraph is technically several abilities, and each object has a different purpose, but Explosive Barrel and Arc Trap will be her ace when it comes to nuking whole rooms and areas in missions. We’ll discuss that later in the playstyle section. For now, here’s what you need to make this Follie build the best it can be.
Mod List
Feel free to change some mods around; however, you will want your Ability Strength to be at 200 percent so that Follie’s 4th Ability will fully strip enemy armor. Ability Range generally also needs to be at or above 200 percent, as most of her Abilities rely on that stat. She’s built here as a nuker Warframe, after all.
Arcanes for the Follie Build
- Molt Augmented – On Kill: +0.24% Ability Strength. Stacks up to 250x.
- Arcane Energize (Optional) – On Energy Pickup: 60% chance to replenish 150 Energy to self and allies within 15m
Archon Shards for the Follie Build
We recommend going with this combo:
- 4x Crimson Archon Shards (Strength)
- 1x Amber Archon Shard (Casting Speed) or another Crimson
You can replace the Amber Shard with another Crimson Shard for more Ability Strength or Duration. Ideally, everything should be Tauforged, but that’s an optional luxury.
Playstyle for the Follie Build
There really isn’t much of a rotation in mind for this particular Follie build, which is great. Because that means she’s easy to learn and play. You do need to keep a few things in mind, and how to open up combat so that you’ll be maximizing the build the way we intended.
So try to keep this sequence in mind whenever you’re dealing with enemies. Consider this as Follie’s gameplay or combo loop.
- Cast the 3rd Ability to damage reduction, try to stay in the ink pool.
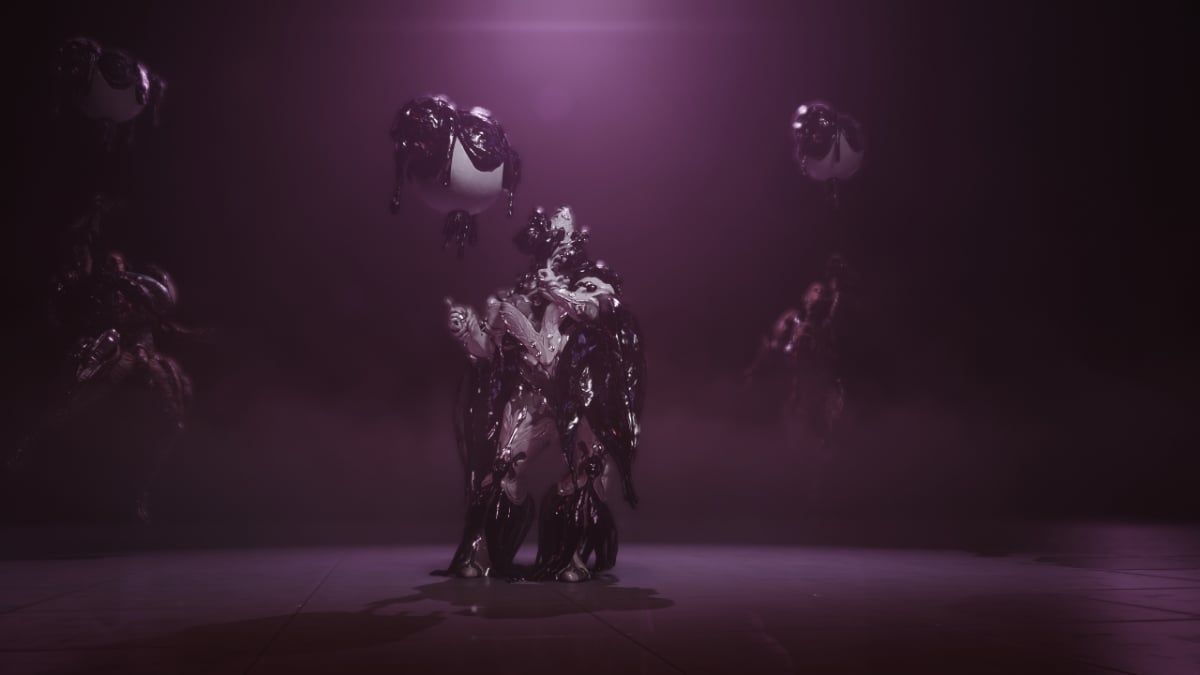
- If enemies have yellow/orange health bars, use the 4th Ability on a group to crowd control them and strip their armor. Feel free to shoot them or the balloons.
- [Alternatively] Open with the 2nd Ability to spawn an Arc Trap.
- Then use the 2nd Ability (again) to spawn an Explosive Barrel on an enemy group.
- Shoot the Explosive Barrel.
- Spam the 2nd Ability to spawn either Arc Traps (for crowd control) or Explosive Barrels (for damage). Keep shooting the barrels if you spawned them.
- If you lose shields or you get in trouble, cast the 3rd Ability to relocate it. Alternatively, you can also use the 1st Ability to teleport out of harm’s way.
If you want to subsume anything, the 1st Ability is a good candidate, and you can try replacing it with Roar or Gloom (overkill, to be honest).


