Queen’s Blood has definitely made an impact on the poor people of the world in Final Fantasy 7 Rebirth. The Card Carnival mini-game is just one example. However, you’ve got to do it if you want to get all 145 cards. It’s a bit of a droll, but that’s why I went ahead and did the hard work for players everywhere. Pry yourself from your deck for a bit and let’s review all of the Card Carnival Queen’s Blood puzzle solutions in FF7 Rebirth.
Every Card Carnival Puzzle Solution in FF7 Rebirth
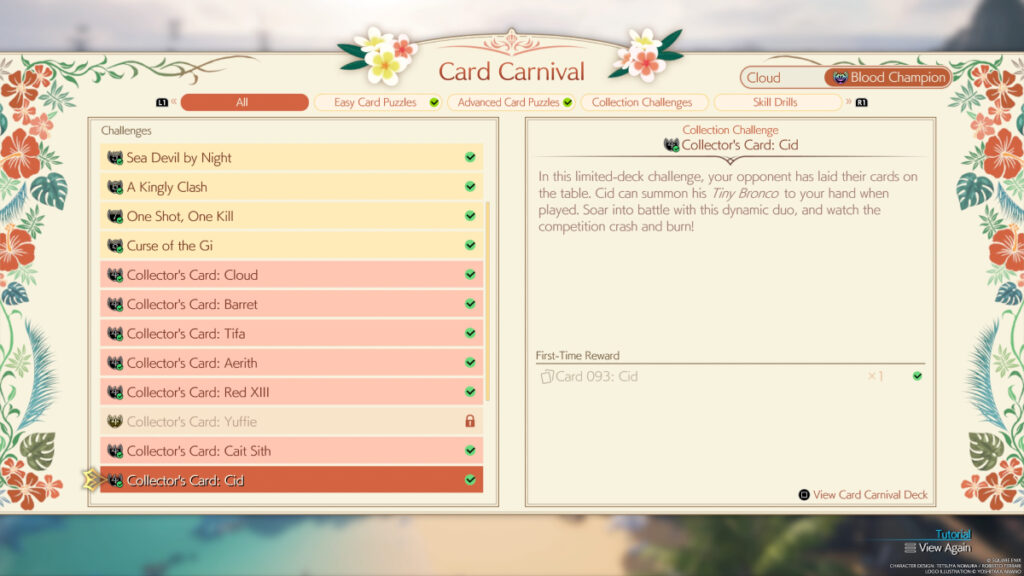
Costa del Sol is home to Card Carnival, a Queen’s Blood mini-game where your opponent has already set down their cards on the board. You have to use a set amount of cards to earn more points than however many points your opponent got in the beginning. There are four categories of games you can play:
- Easy Card Puzzles
- Advanced Card Puzzles
- Collection Challenges
- Skill Drills
The Skill Drills are the only one of the four that don’t reward you for completing them. They’re just practice rounds, so don’t even worry about doing them.
Easy Card Puzzles
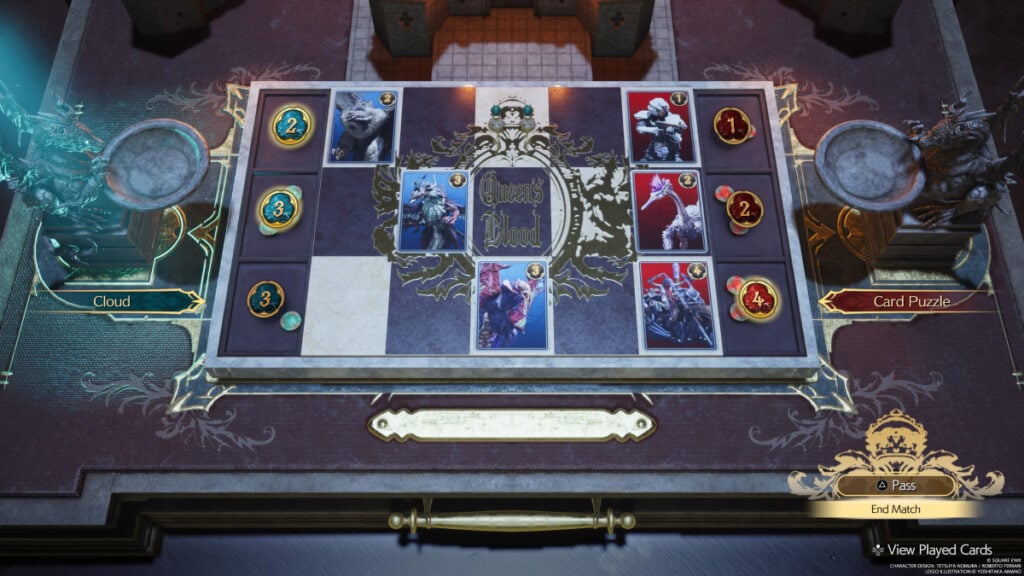
- Three-Card Stud
- Zu: top row, first space.
- Quetzalcoatl: middle row, second space.
- Fleetwing: bottom row, third space.
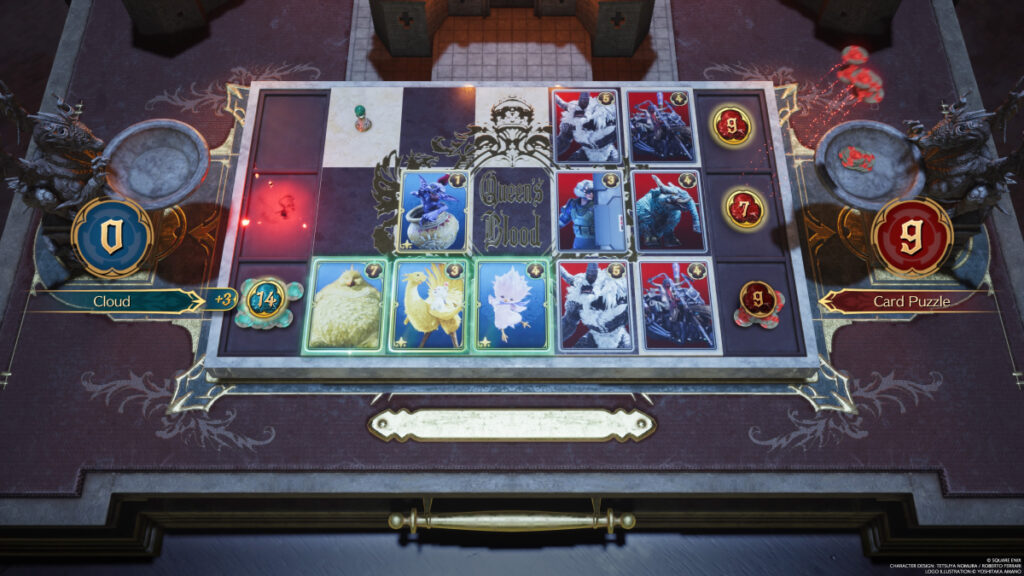
- Go for Choco-Broke
- Fat Chocobo: bottom row, first space.
- Posh Moogle: bottom row, third space.
- Chocobo and Moogle: bottom row, second space.
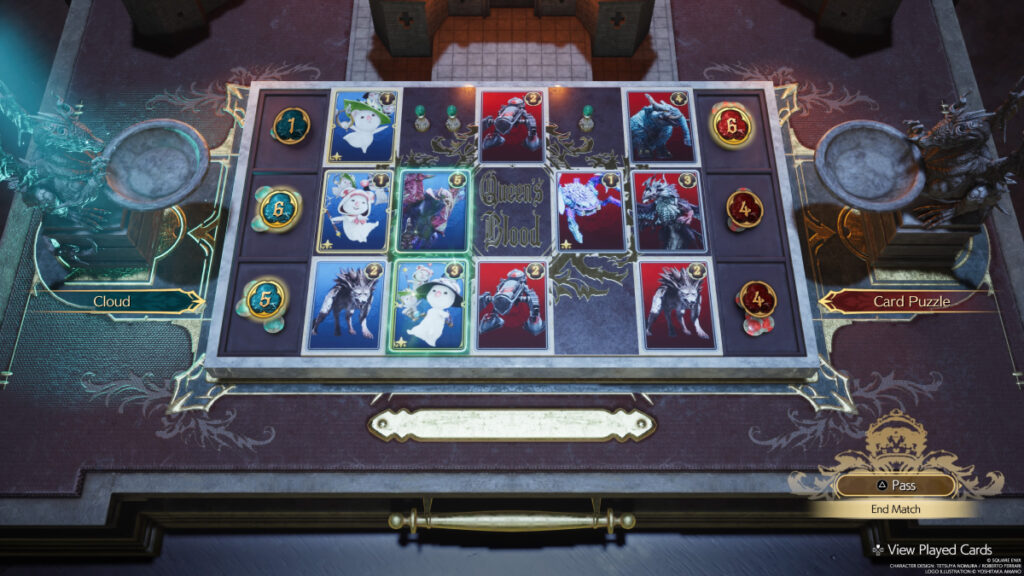
- Mischief-Making Moogles
- Moogle Trio: middle row, first space.
- Fleetwing: middle row, second space.
- Grasslands Wolf: bottom row, first space.
- Moogle Mage: bottom row, second space.
- Moogle Bard: top row, first space.
Advanced Card Puzzles
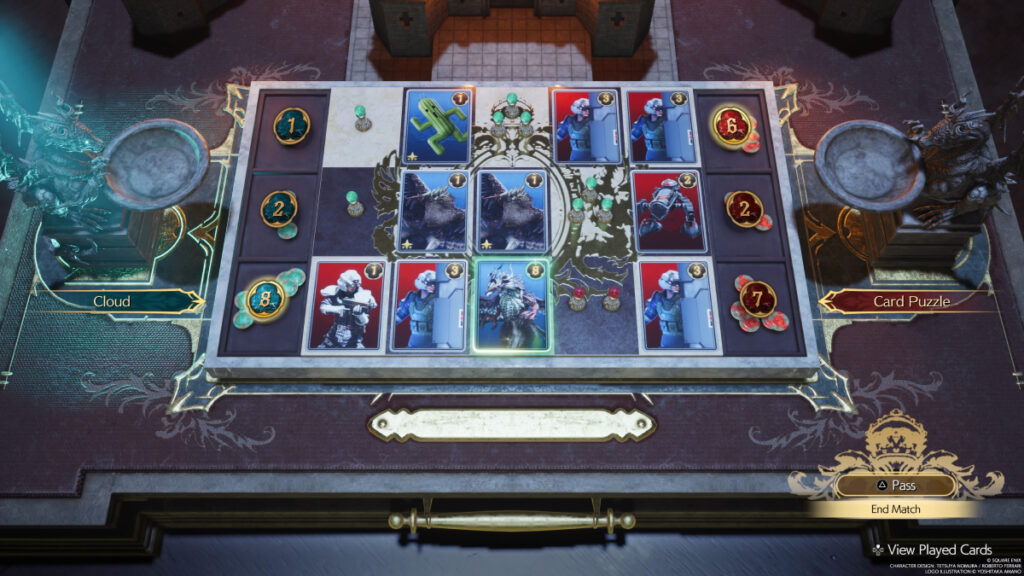
- Spears and Needles
- Cactuar: top row, second space.
- Spearhawk: middle row, second space.
- Spearhawk: middle row, third space.
- Quetzalcoatl: bottom row, third space.
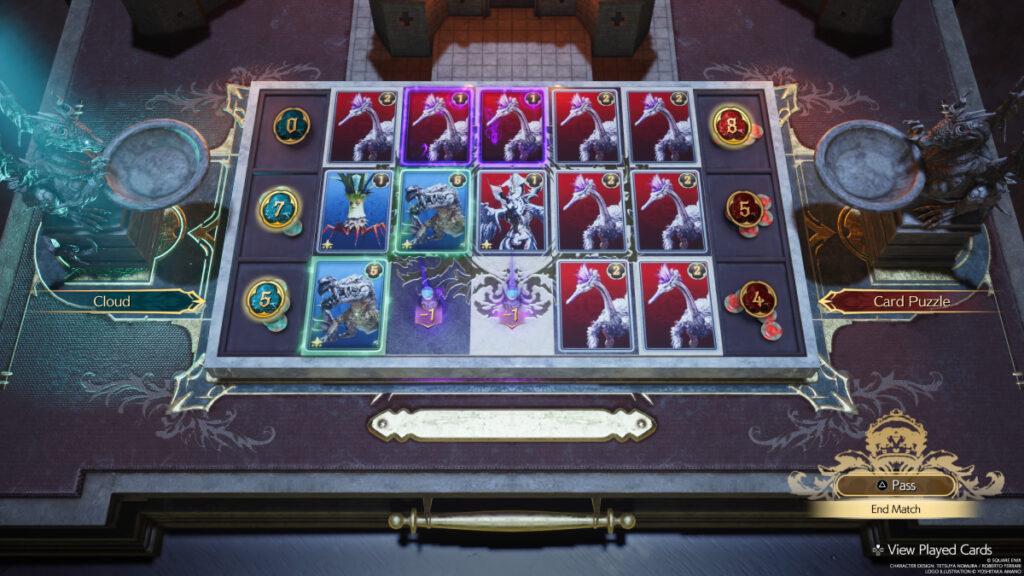
- Sea Devil by Night (The following cards must be played in the order that they are written)
- Security Officer: bottom row, second space.
- Sea Devil: middle row, second space.
- Sea Devil: bottom row, first space.
- Mandragora: bottom row, second space.
- Mandragora: middle row, first space.
- Mandragora Minion: bottom row, second space.
- Mandragora Minion: bottom row, third space.
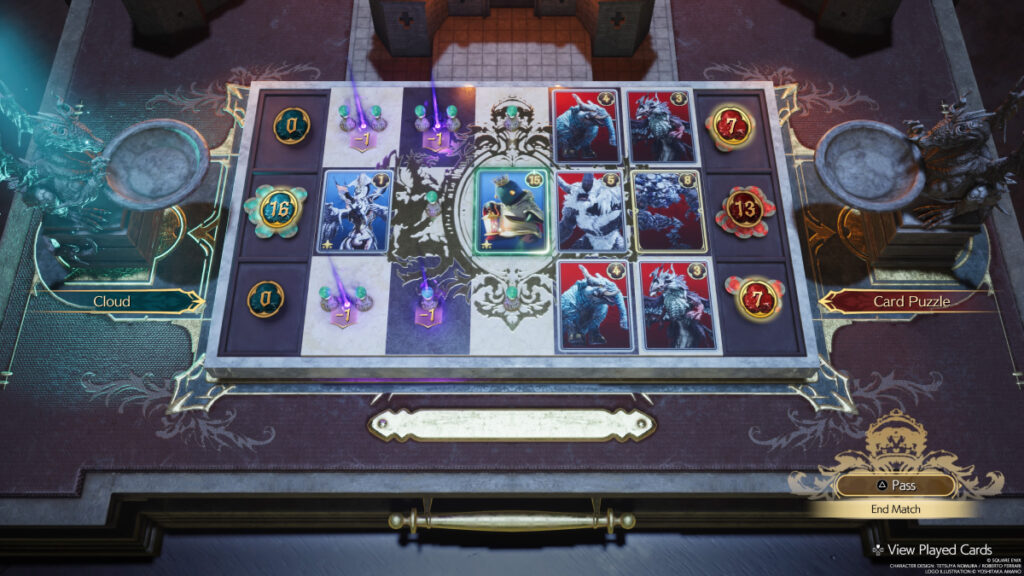
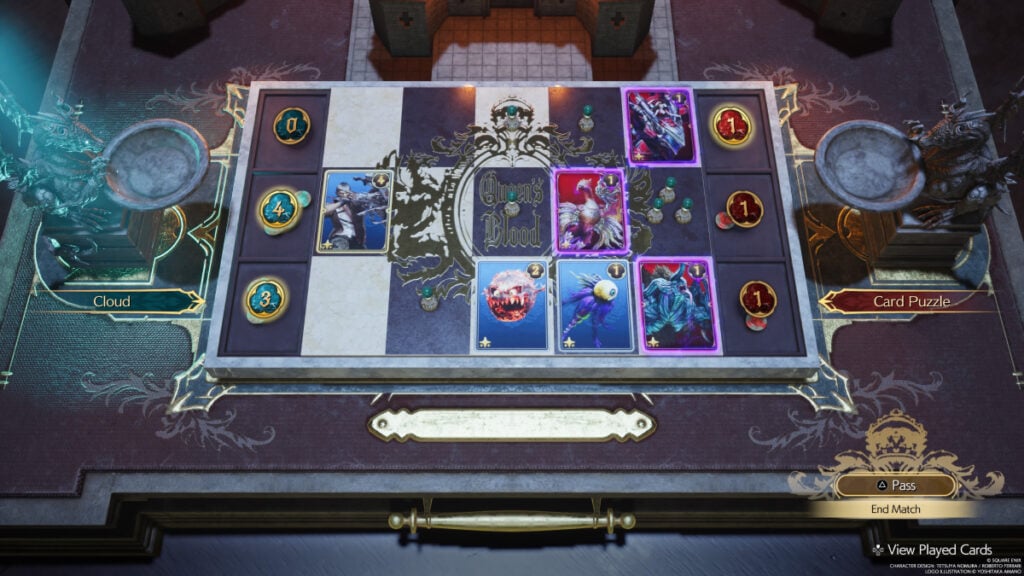
- A Kingly Clash (Play the cards in the same order that they are written below)
- Zu: top row, second space.
- Zu: bottom row, second space.
- Tonberry King: middle row, third space.
- Deathwheel: top row, first space.
- Deathwheel: bottom row, first space.
- Mindflayer: middle row, first space.
- One Shot, One Kill (You won’t have a problem as long as you play the cards in the same order as written)
- Bomb: top row, fourth space.
- Scrutineye: bottom row, fourth space.
- Bloatfloat: bottom row, third space.
- Dyne: middle row, first space.
- Bomb: bottom row, third space.
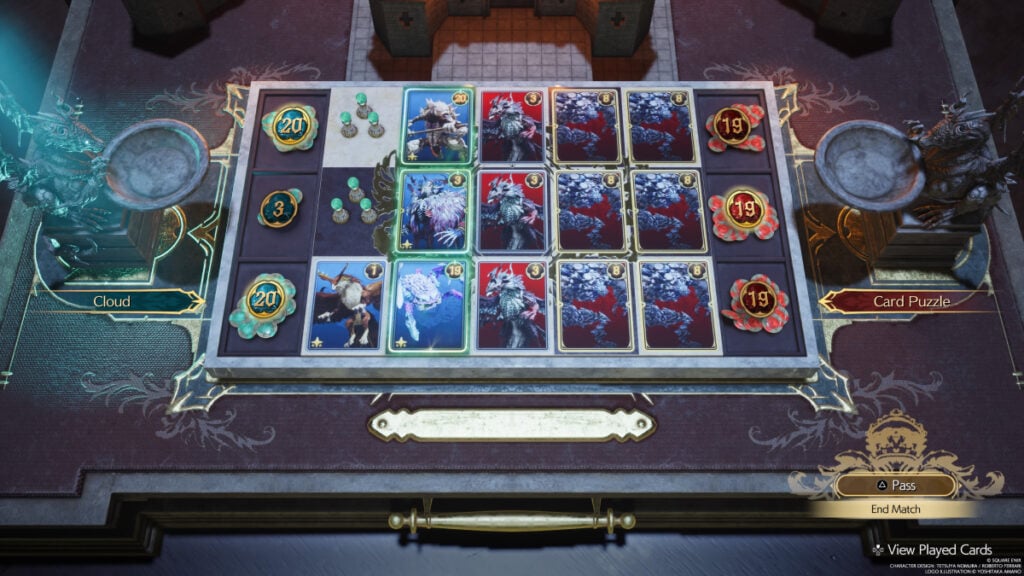
- Curse of the Gi (When you place cards down matters in this game, so follow the order that’s provided)
- Desert Sahagin: top row, second space.
- Sandhog Pig: middle row, first space.
- Jabberwock: middle row, second space.
- Crystalline Crab: bottom row, second space.
- Riot Trooper: bottom row, first space.
- Griffon: bottom row, first space.
- Jabberwock: middle row, second space.
Collection Challenges
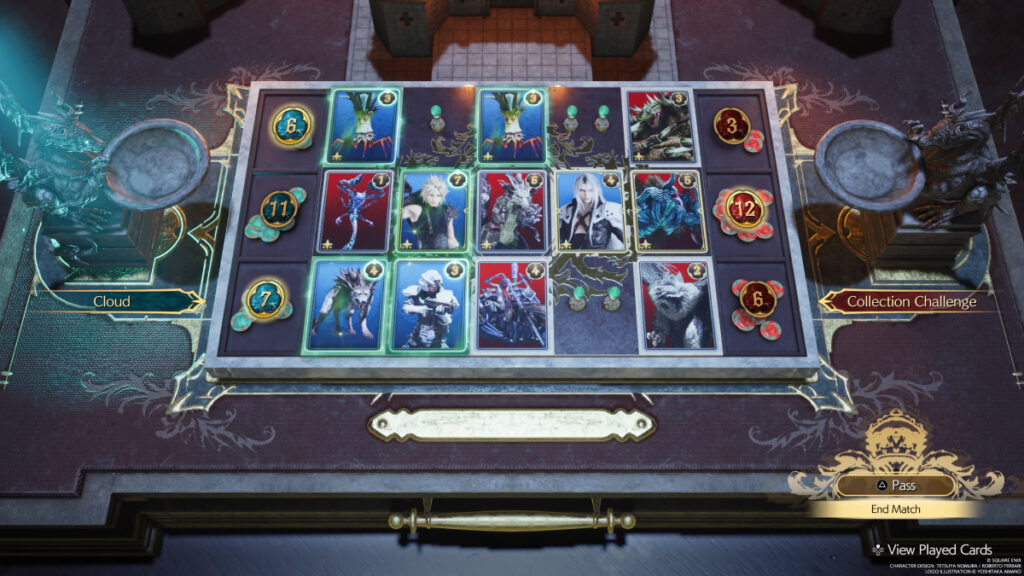
- Collector’s Card: Cloud
- Sephiroth: middle row, fourth space.
- Security Officer: bottom row, second space.
- Cloud: middle row, second space.
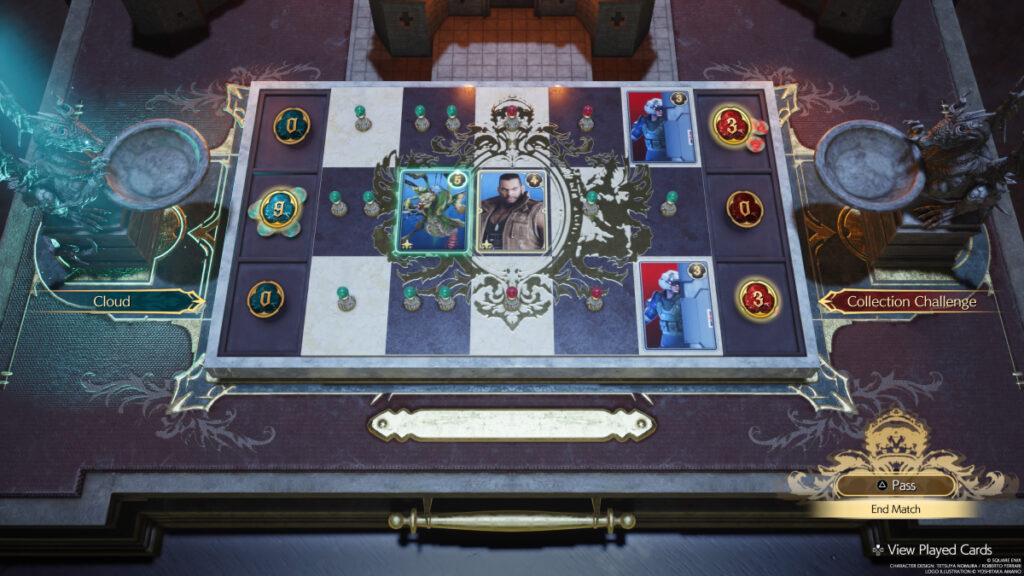
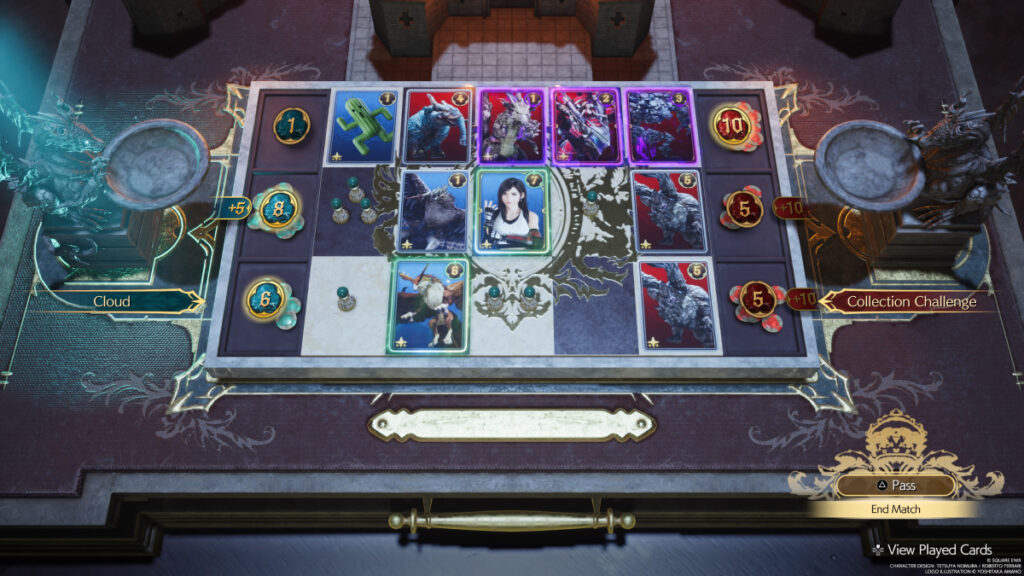
- Collector’s Card: Barret (You’ll need to place the cards you have in the exact order as you see below)
- Toxirat: top row, second space.
- Sandhog Pig: bottom row, second space.
- Bomb: middle row, second space.
- Insectoid Chimera: on top of the Bomb card.
- Barret: middle row, third space.
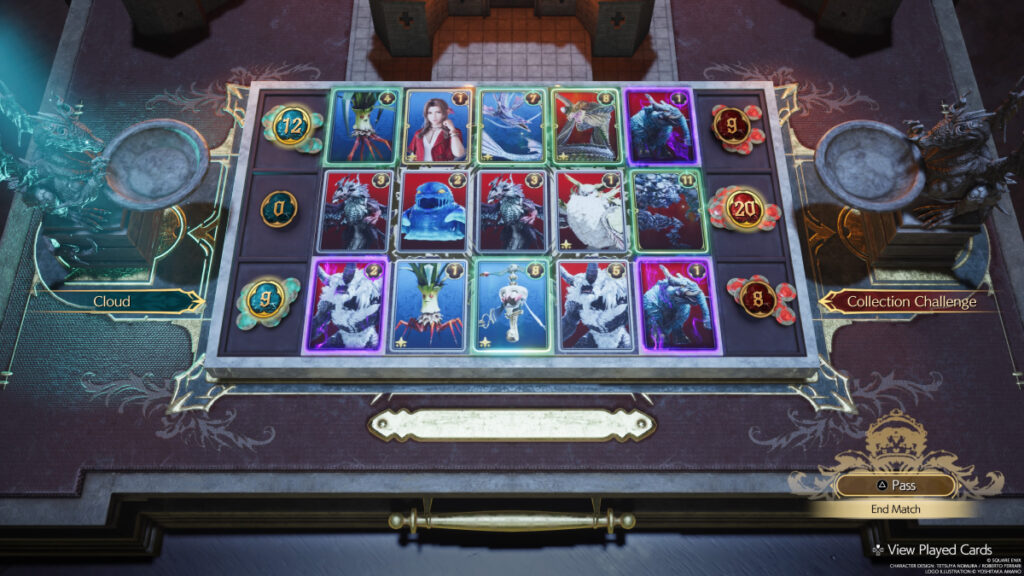
- Collector’s Card: Tifa (Place the cards down in the order that they are written below)
- Cactuar: top row, first space.
- Spearhawk: middle row, second space.
- Deathwheel: bottom row, second space.
- Tifa: middle row, third space.
- Griffon: on top of the Deathwheel card.
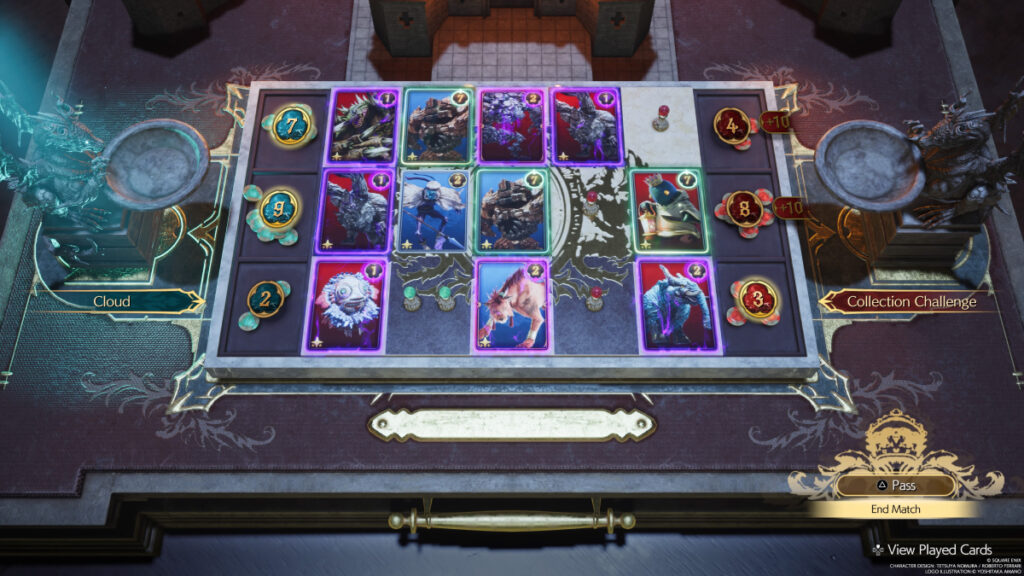
- Collector’s Card: Aerith
- Aerith: top row, second space.
- Leviathan: top row, third space.
- Mandragora: bottom row, second space.
- Adjudicator: bottom row, third space.
- Mandragora Minion: top row, first space.
- Collector’s Card: Red XIII
- Red XIII: bottom row, third space.
- Sandhog Pig: middle row, second space.
- Stone Golem: top row, second space.
- Stone Golem: middle row, third space.
- Gi Spector: on top of the Sandhog Pig
- Collector’s Card: Yuffie
- Skeeskee: top row, first space.
- Skeeskee: bottom row, first space.
- Spearhawk: top row, third space.
- Crystalline Crab: bottom row, third space.
- Bomb: middle row, third space.
- Yuffie: on top of the Bomb card.
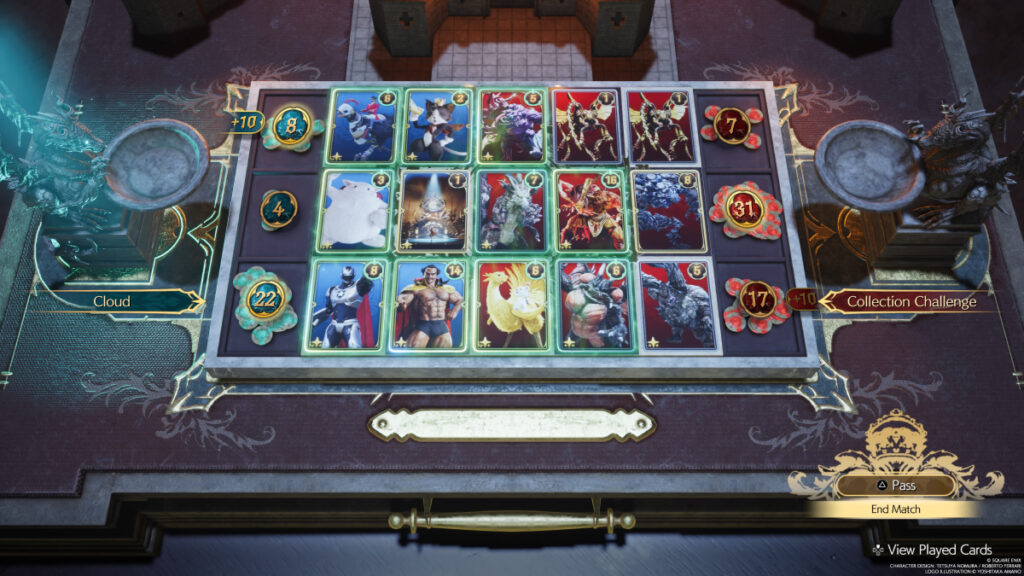
- Collector’s Card: Cait Sith
- Space Ranger: bottom row, first space.
- Chocobo Jockey: top row, first space.
- Cait Sith: top row, second space.
- Moggle: middle row, first space.
- Dio: bottom row, second space.
- Loveless: middle row, second space.
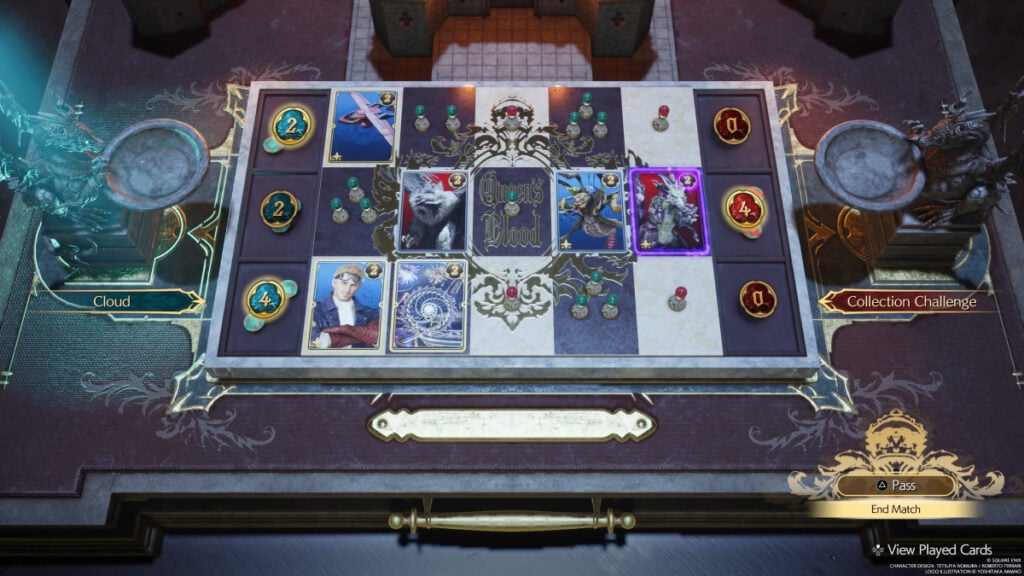
- Collector’s Card: Cid
- Cid: bottom row, first space.
- Tony Bronco: top row, first space.
- Skywheel: bottom row, second space.
- Bomb: middle row, fourth space.
- Insectoid Chimera: on top of the Bomb card.
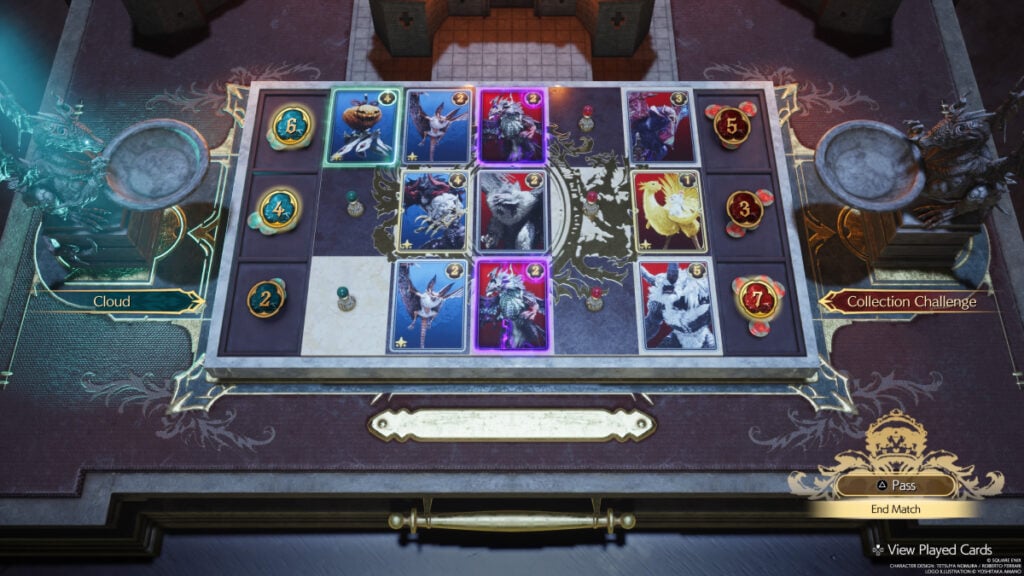
- Collector’s Card: Vincent
- Vincent: middle row, second space.
- Black Bat: top row, second space.
- Black Bat: bottom row, second space.
- Rictus: top row, first space.
- Galian Beast: middle row, second space.
Final Fantasy 7 Rebirth is available now on the PS5.

