")
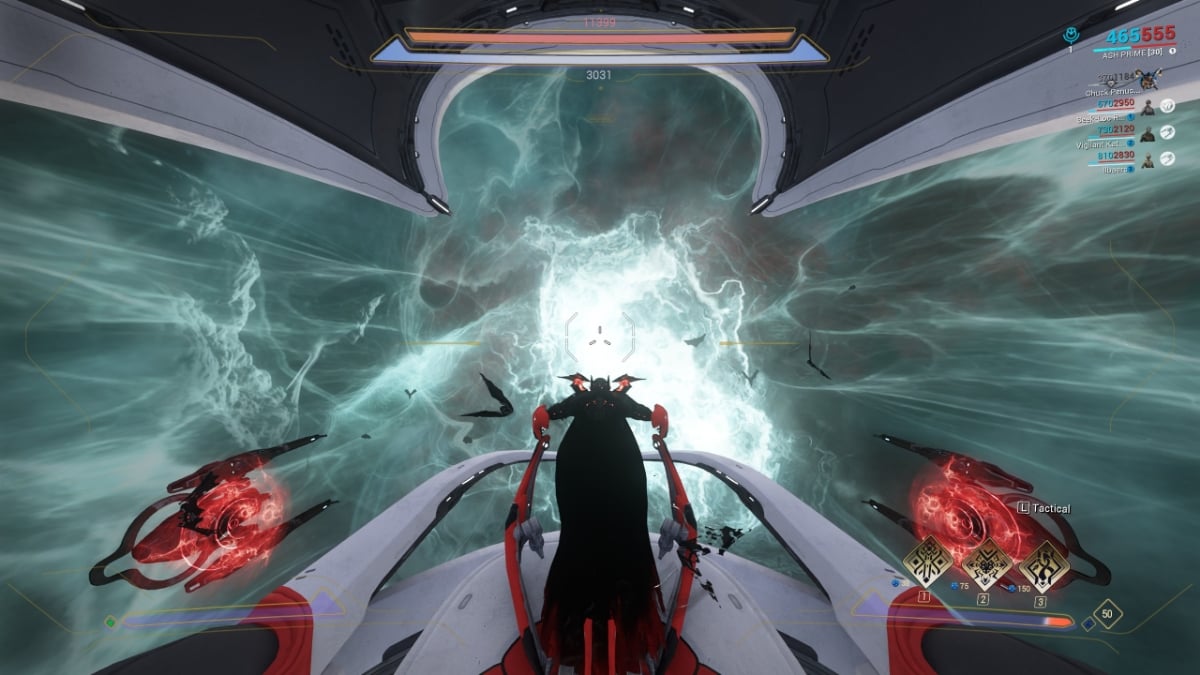
After years of dormancy, Warframe has finally brought attention back to its spaceship combat system, aka the Railjack, thanks to the Sirius and Orion update. It’s currently one of the best and most accessible ways to experience Railjack combat without grinding to obtain the spaceship first. However, you’ll eventually want your own for multiple reasons, such as Mastery ranks or even consistently farming Kuva and Tenet weapons.
More than anything, a Railjack is your personal battleship in Warframe, unlocking large-scale space combat missions, Void Storms, and several endgame activities. Obtaining one used to be an enormous grind, but the process has been streamlined considerably. Still, new players often get confused about the prerequisites and resource requirements, so we’ll help you with that.
Railjack Prerequisites
Before you can begin building a Railjack, you must meet the following requirements:
| Requirement | Details |
|---|---|
| Complete “The Second Dream” Quest | Main story quest progression |
| Obtain Cephalon Cy Blueprint | Purchased from the Market for Credits |
| Access a Dry Dock | Available in certain Relays or a Clan Dojo |
| Start the “Rising Tide” Quest | Unlocked after crafting Cephalon Cy |
Note: You do not need your own clan Dry Dock. Public Dry Docks can be found in Relays on Saturn, Europa, Eris, and Pluto. These Dry Docks are where you’ll be parking your Railjack after missions and where you can also perform some customizations and upgrades.
And since you need to complete “The Second Dream” quest first, it goes without saying that the Railjack is a mid-game endeavor. You can’t miss that quest as it’s mandatory for progression. So we’re skipping ahead to the steps.
Step 1: Buy and Craft Cephalon Cy
Visit the in-game Market on your Orbiter and purchase the Railjack Cephalon Blueprint for 35,000 Credits. After crafting it in your Foundry, the Rising Tide quest becomes available.
Cephalon Cy Crafting Requirements
| Resource | Amount |
|---|---|
| Credits | 5,000 |
| Mutagen Samples | 15 |
| Detonite Ampules | 15 |
| Fieldron Samples | 15 |
| Orokin Cell | 1 |
Craft time: 1 minute.
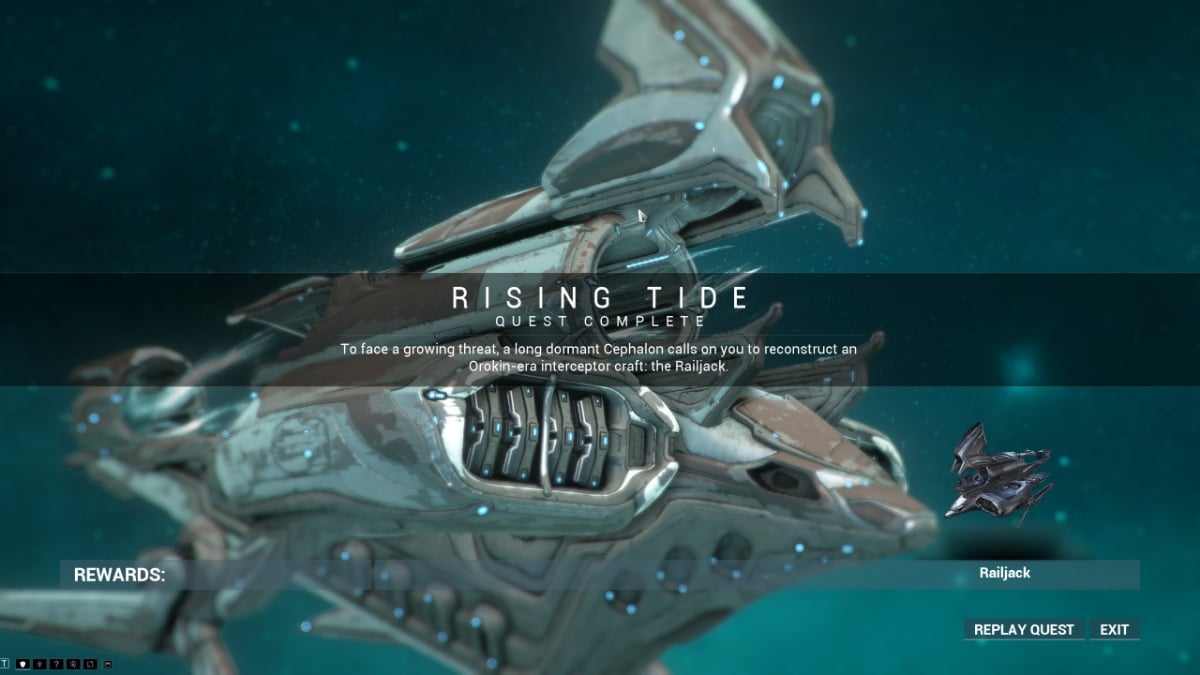
Step 2: Begin the Rising Tide Quest
After Cephalon Cy is completed, activate the Rising Tide quest from your Codex and head to a Dry Dock. The following nods have Dry Docks:
- Kronia Relay (Saturn)
- Orcus Relay (Pluto)
- Leonov Relay (Europa)
- Kuiper Relay (Eris)
During the quest, Cy will send you to recover and repair six Railjack components:
- Fuselage
- Port Nacelle
- Starboard Nacelle
- Tail Section
- Engine Cowling
- Reactor Housing
Each component must be repaired individually at the Dry Dock. Now the hard part comes in, especially if you’re beelined for this quest as a beginner. You need materials to repair these Railjack components.
Total Railjack Construction Materials
The following table shows the combined total resources required to repair all six Railjack components during Rising Tide.
| Resource | Total Amount |
|---|---|
| Credits | 150,000 |
| Cubic Diodes | 15 |
| Carbides | 15 |
| Plastids | 250 |
| Rubedo | 1,250 |
| Neural Sensors | 3 |
| Cryotic | 250 |
| Orokin Cells | 1 |
| Nano Spores | 1,250 |
| Circuits | 800 |
| Alloy Plate | 4,000 |
| Control Modules | 20 |
| Ferrite | 2,500 |
| Polymer Bundle | 300 |
| Argon Crystal | 1 |
| Detonite Ampules | 10 |
| Salvage | 1,000 |
Most Difficult Resources to Farm
Focus on these first to make farming easier:
- Argon Crystals (expire after 24 hours)
- Cryotic (requires Excavation missions)
- Neural Sensors
- Orokin Cells
- Carbides
- Cubic Diodes
These tend to slow down newer players more than common resources such as Ferrite or Alloy Plate.
Step 3: To the Moon
Once the parts are repaired, you’ll still need a power source. From this point, Cephalon Cy will task you with going to Earth’s moon (Lua) to collect a Void Key. After obtaining the Void Key, insert it into the Railjack’s Reliquary Drive to complete the ship and finish Rising Tide.
After Rising Tide is completed:
- Your Railjack appears behind your Orbiter.
- You can enter it directly from your Orbiter.
- Railjack missions become available through the Star Chart.
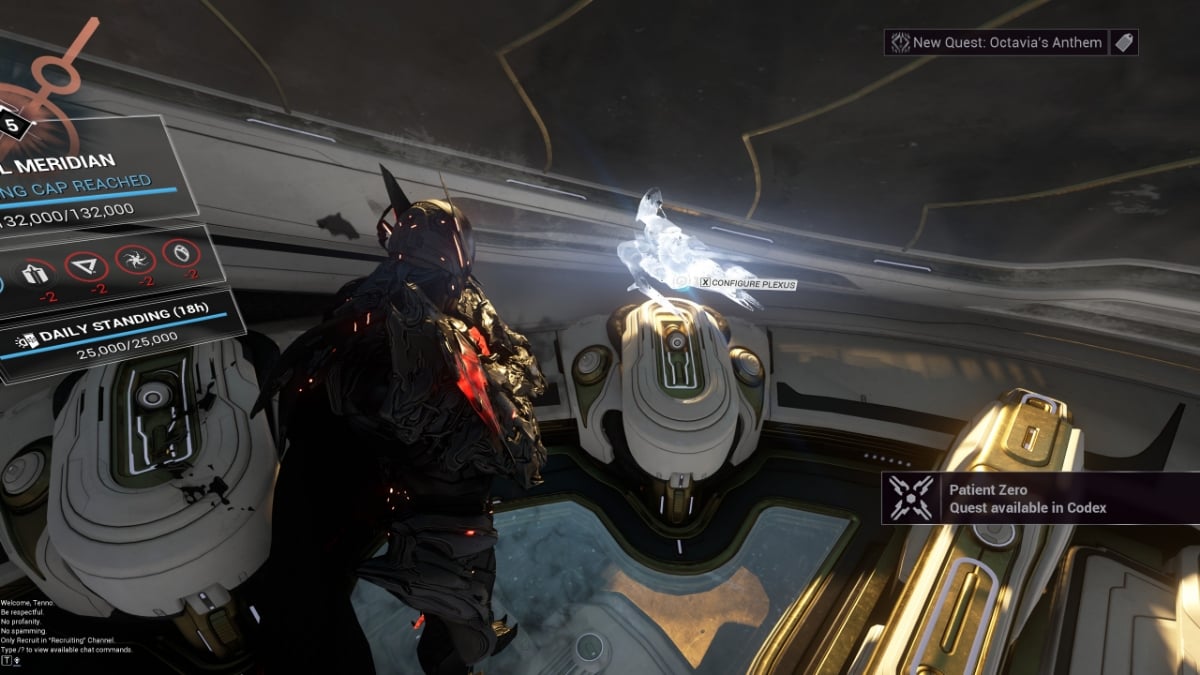
- Intrinsics, Crew Members, and Plexus progression are unlocked.
Step 4: Improve Your Railjack
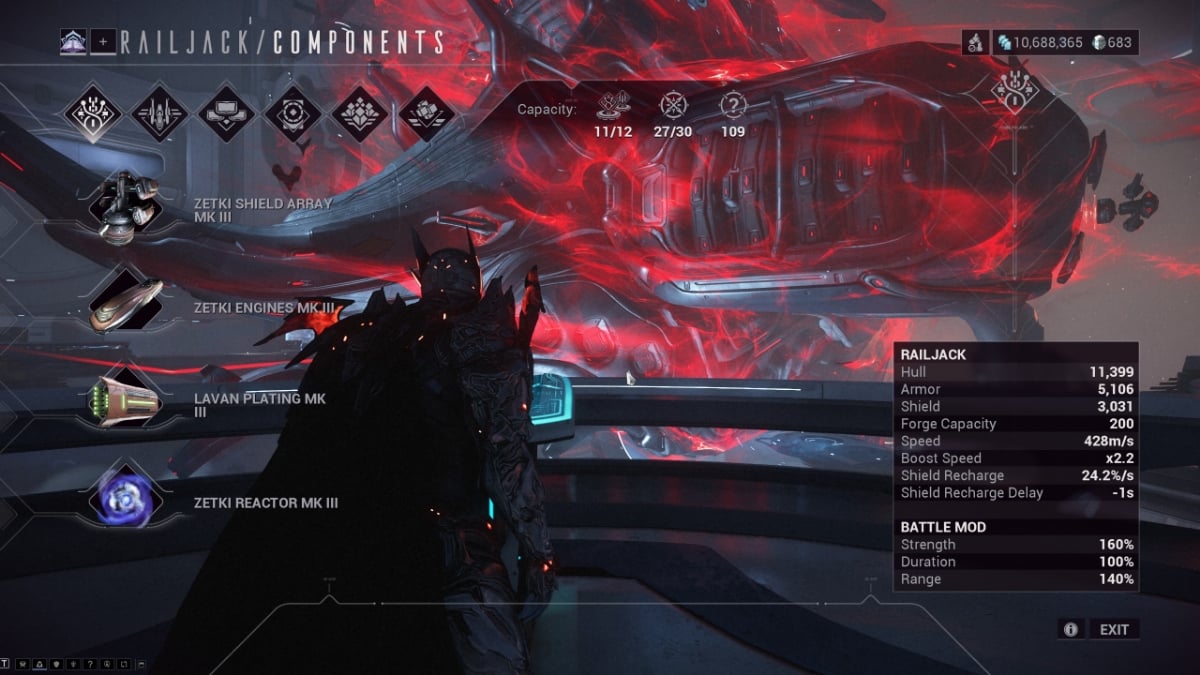
Like Warframes and weapons, you will also need to give your Railjack some TLC by ranking it up, picking and upgrading its mods and weapons, and selecting its skills or Intrinsics. You can also hire some crew members from Ticker in Fortuna (Venus). Once you obtain your Railjack:
- Complete the easy Earth Proxima missions first.
- Invest Intrinsics into Piloting, Gunnery, and Engineering.
- Recruit AI Crew Members from Ticker in Fortuna as soon as possible.
- Upgrade your Plexus mods regularly.
- Research Sigma components from Clan Dojos or farm better Vidar, Zetki, and Lavan parts from Railjack missions.
Building a Railjack is one of Warframe’s larger progression milestones. Once completed, however, you’ll gain access to an entire section of the game, including Void Storms, Railjack Proximas, AI crew management, and some of Warframe’s most unique missions, so it’s all worth it in the end.


