Skip To...
Most missions, like Zero Hour, in Destiny 2 have some secrets. Sometimes they might be doors that you don’t realize are there, and other times they can be as simple as hidden chests, and sometimes, you might even encounter both of them in the same mission. Destiny 2’s Zero Hour exotic mission is no exception and holds loads of secrets in the form of Vault Puzzles for you to uncover and unlock. While these puzzles might be well-hidden and tricky to find by yourself, you really don’t need to worry. We’ve got you covered with a full list of every Destiny 2 Vault Puzzle solution in the Zero Hour exotic mission.
[Updated on May 30, 2024 – Updated to include the final vault puzzle]
First Vault Puzzle
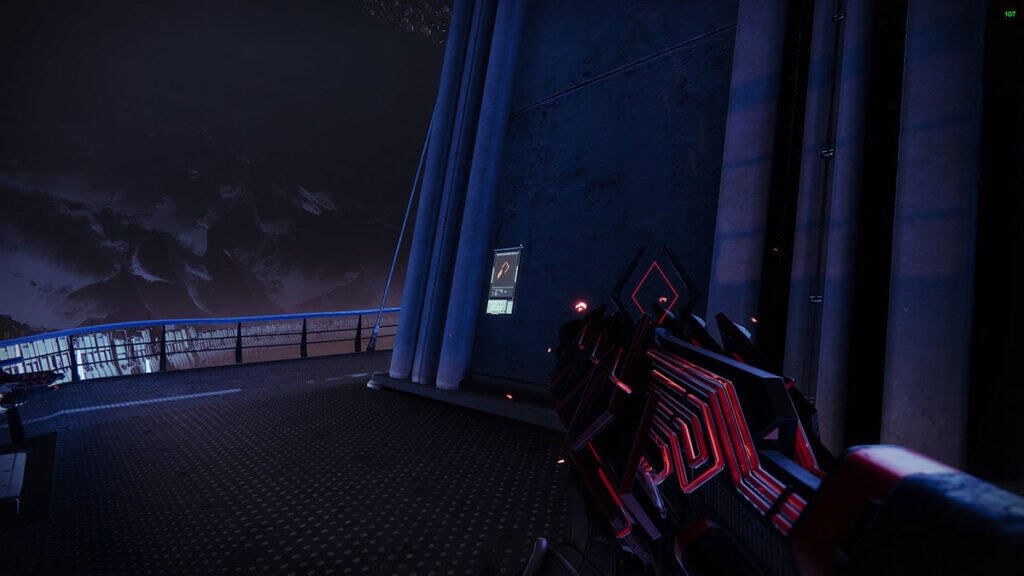
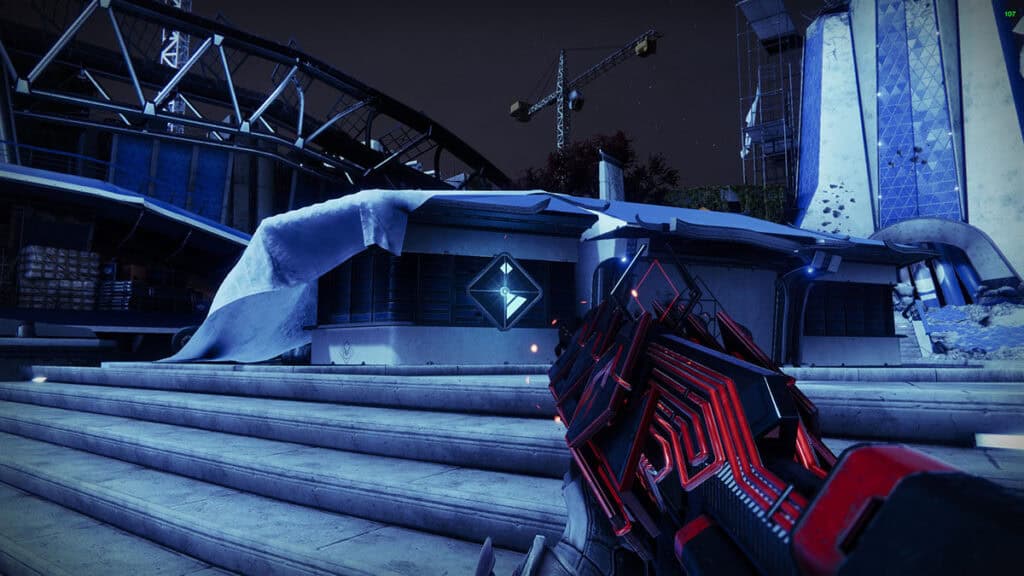
The first Vault Puzzle in the Zero Hour Exotic mission has two different steps to it. First, you’ll need to clear out the enemies in the second room of the mission. So, after you make your way through the first room of enemies, go through the now-open doorway and into the next room. Clear out the enemies there, then check out the switch up near the entrance of the room. Now, this switch can show one of three symbols on it, so pay attention to what it is.
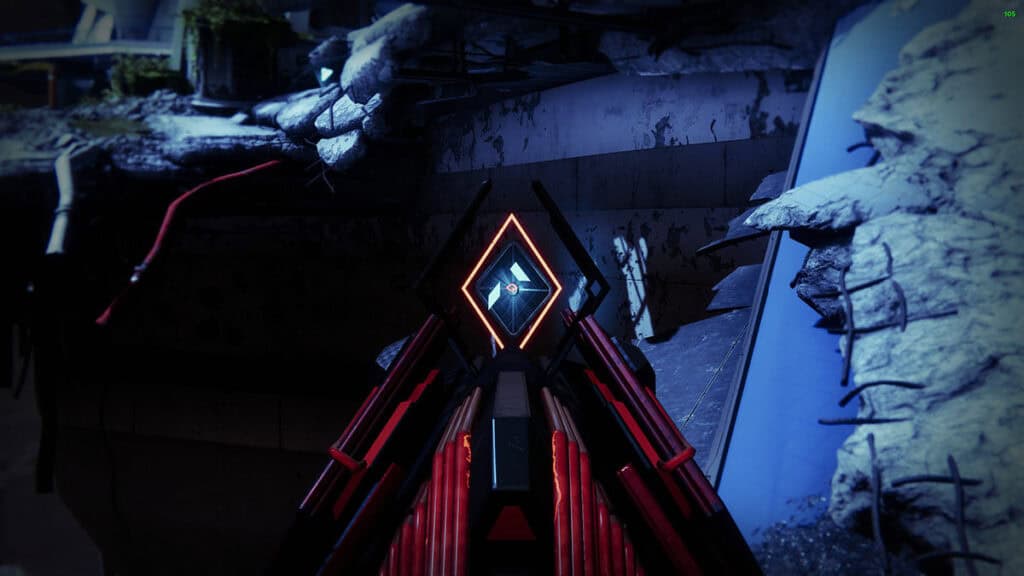
Next, take a look at the building closest to you, the tower in the center of the area, and the wall off the ledge that leads to the next room. In each of these places, you’ll find crystals to shoot. Shoot the one with the corresponding symbol.
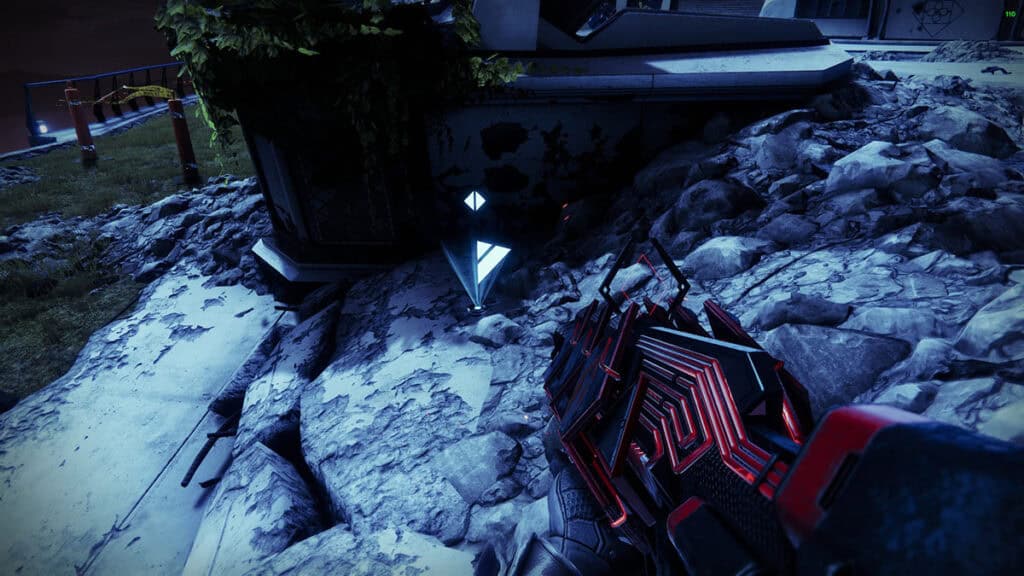
After that one’s been shot, you should check the projector found just over the ledge from where this crystal is located. It will show the symbol of the next crystal that needs to be shot. Take a look at that symbol, shoot the corresponding crystal, then shoot the final crystal that hasn’t been touched yet. Since all three crystals are in the same area, it shouldn’t be too difficult.
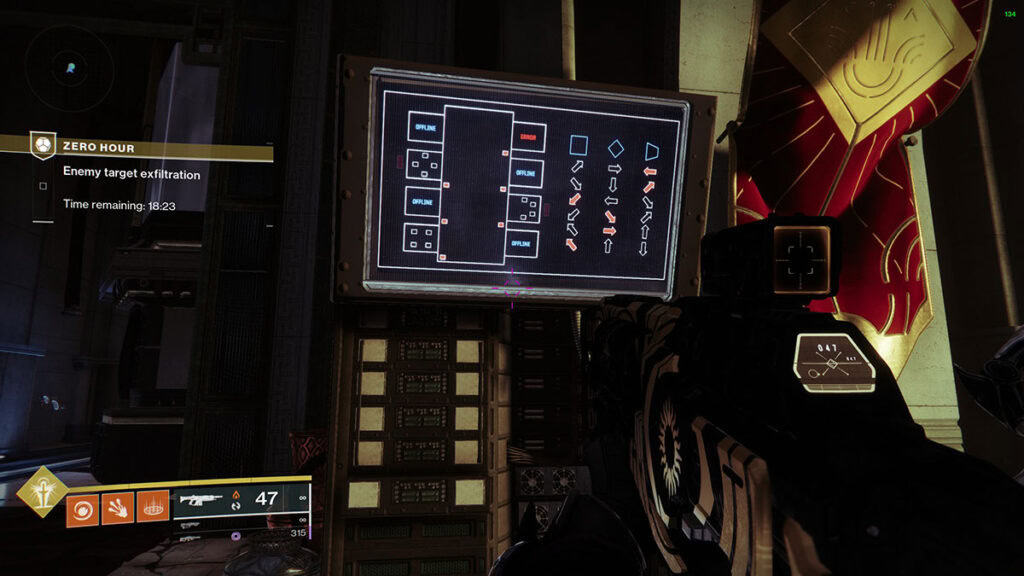
Now it’s time to head into the Vault to complete the Vault Puzzle. This one will be a bit of back and forth, so pay attention. From the outside of the room to the left of the monitor, head inside and start activating switches in the following order:
- Inside right side, closest to the door.
- Inside left side, closest to the door.
- Outside, left side of the doorway.
- Inside left side, back of the room.
- Inside right side, back of the room.
- Outside right side of the monitor, just to the left of the blue doorway.
Second Vault Puzzle
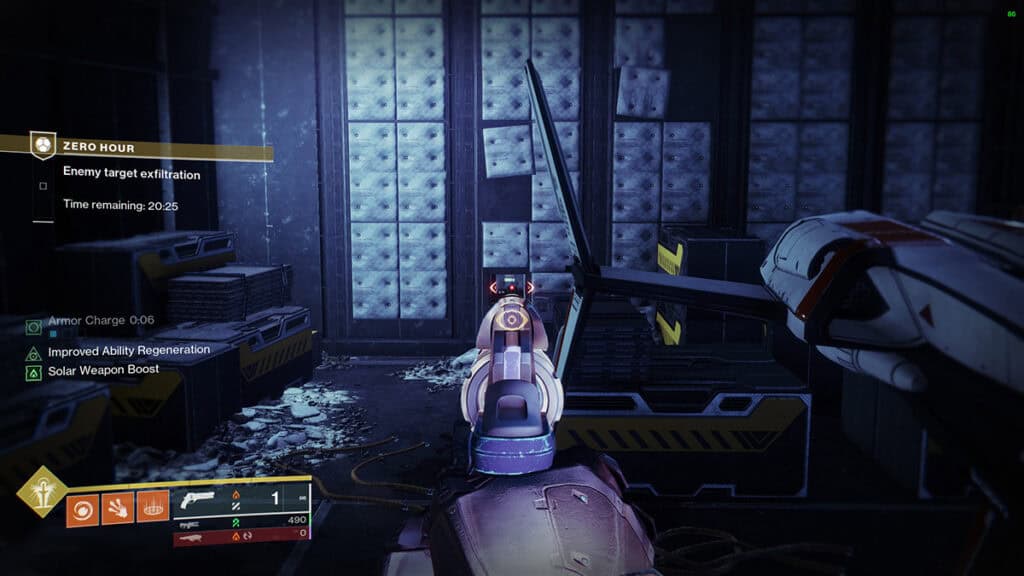
For the second Vault Puzzle in Zero Hour, your first step will take place in the Passage room containing planes. As soon as you hop down into the room, head behind the plane to the far wall with an open vent.
Inside of it, you’ll find the first control panel, similar to the one in the second room of the mission. Interact with the control panel and read the symbol to find the first crystal you need to shoot. The three crystal locations can be found:
- Under the stairs directly to the right of the control panel
- Under the stairs beside the plane
- On the wall above the first set of stairs on the same side of the room as the panel
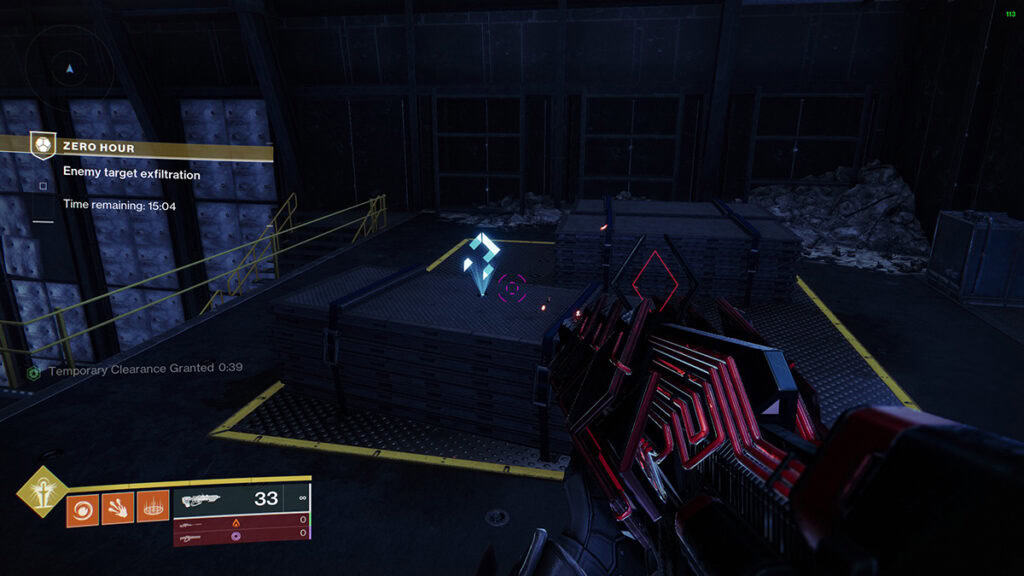
The projector is located at the top of the stairs near the plane. Using the projector, find the matching crystal to shoot second, then shoot the final crystal. Keep in mind that all of these crystals must be shot with Outbreak Perfected.
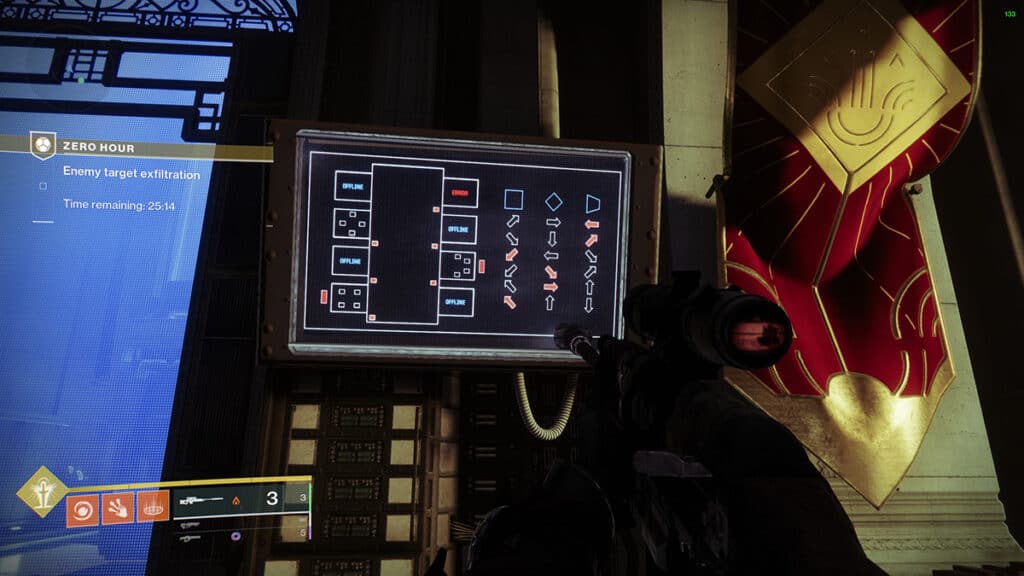
Make your way through the mission to get to the Vault Room next. Here, you’ll activate the following switches in order:
- In the third room down on the left side, activate the switch on the front of the center pillar.
- In the same room, activate the switch on the left side of the pillar.
- In the same room, activate the switch on the back of the pillar. It’s pretty high up so you might need to jump.
- From the entrance to the hall, turn to the first doorway on your right and activate the switch to the left of it.
- Moving farther down the right side of the room, activate the switch that is to the right of the third doorway down.
- Return to the third room, down on the left side, and activate the switch on the right side of the center pillar.
Third Vault Puzzle
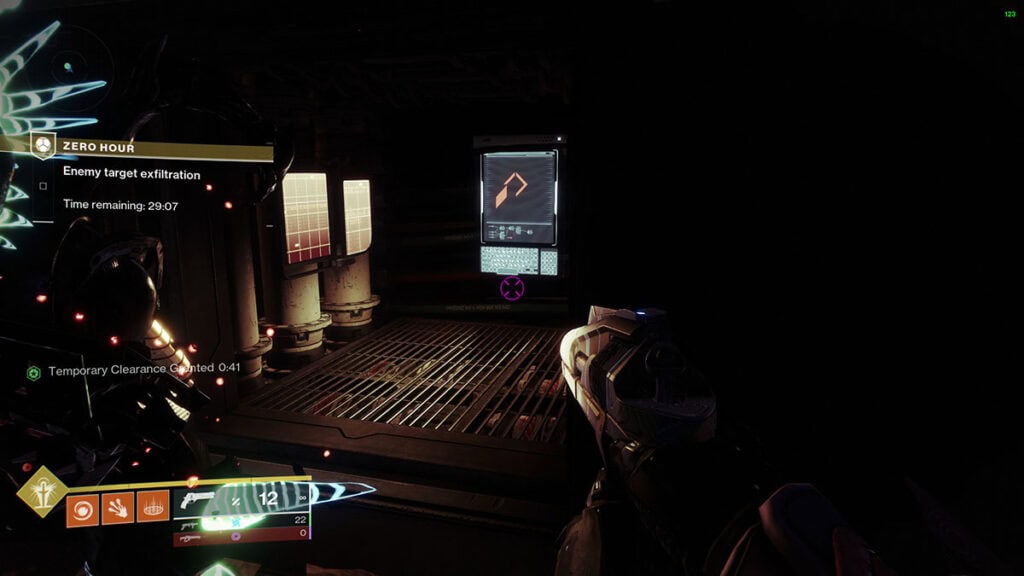
For the final vault puzzle in the Zero Hour Exotic mission, we’ll be heading to the Maze Room where the robot wanders around. To find the initial control panel, drop into the maze, then turn to your left, and crawl into the first vent on the right wall. In there, activate the panel, then head back out to find the different crystals you’ll need to shoot with Outbreak Perfected. The projector that shows the second symbol you should look for will be on the floor just in front of the second crystal location.
- Just outside of the panel vent in the corner to the left.
- Down the corridor from the first crystal in the first hallway to the left.
- In the center of the maze on the inside wall above the giant gap.
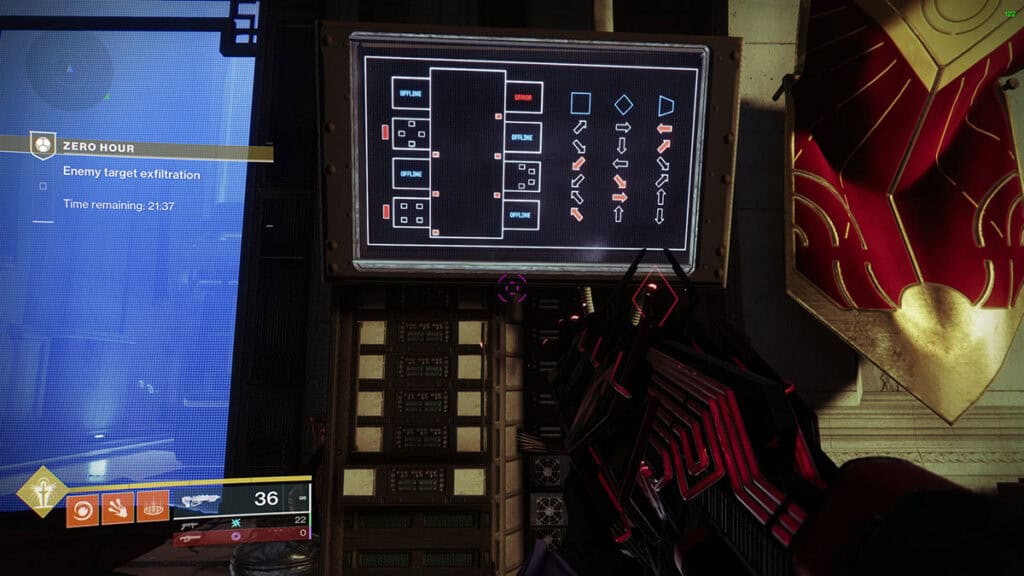
- Just outside the second room down from the left side, activate the switch on the outside of the doorway.
- Looking across the room, interact with the switch on the left side of the third room from the right.
- Inside the second room on the right from where you entered the Vault room, interact with the Switch on the right side of the back wall.
- In the same room, interact with the switch on the left side of the back wall.
- Within the same room, interact with the switch on the left wall.
- Interact with the only switch left in this room, the switch on the right wall.
Destiny 2 is now available on PC,

