Skip To...
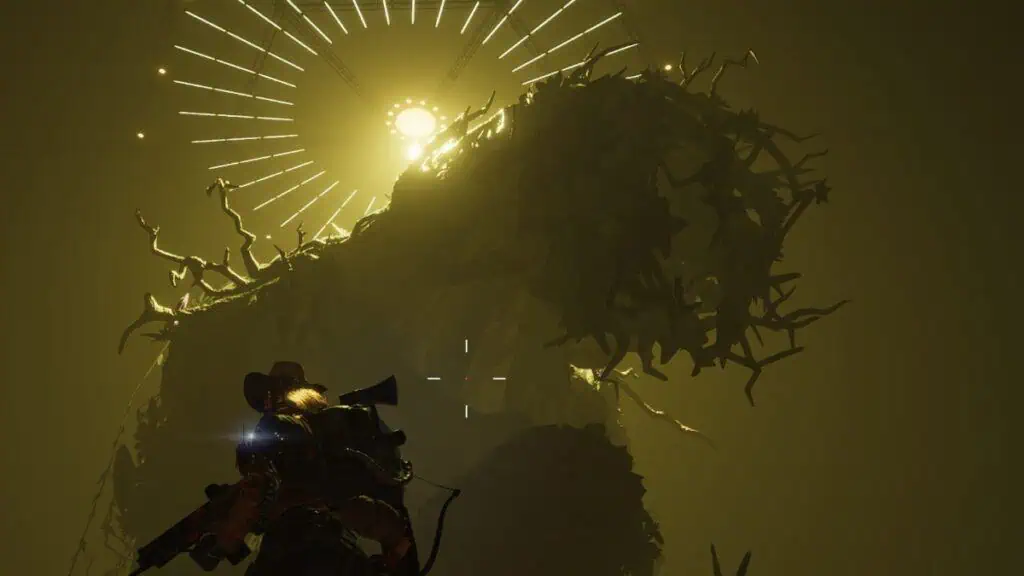
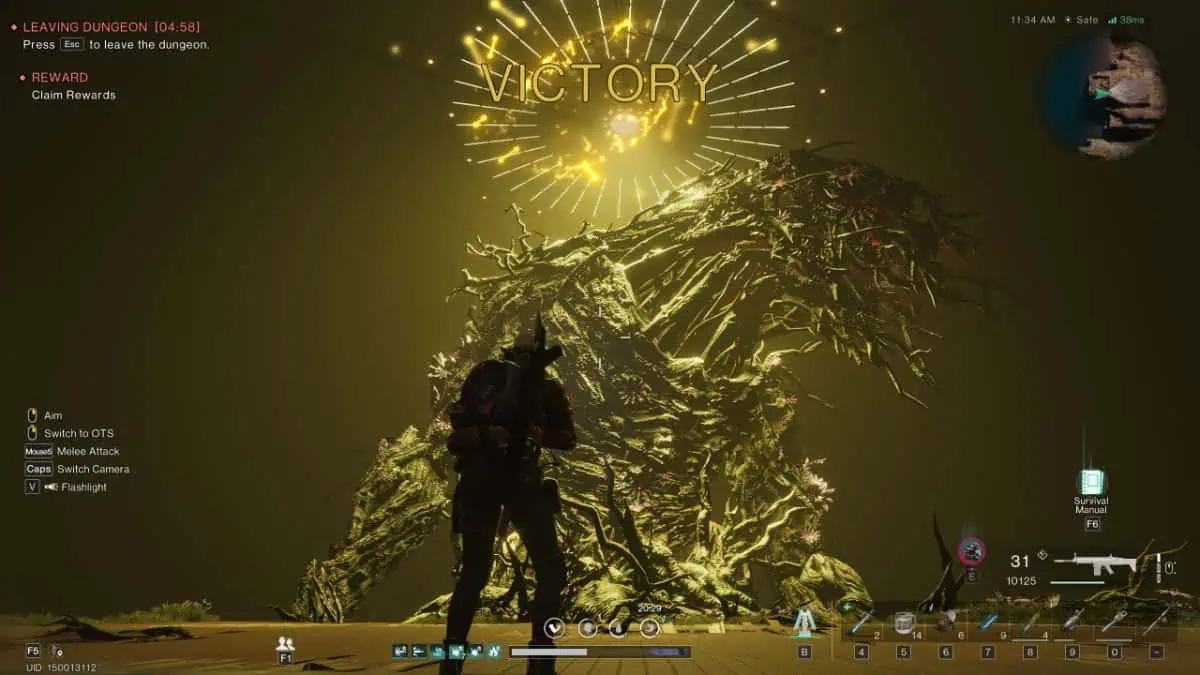
The Forsaken Giant is Once Human‘s hardest Monolith boss and one that unlocks your final conversation with Mistuko (at the time of writing). The boss, being a Level 60 monster and only available in Pro mode, is quite possibly the toughest fight you’ll face save for Pro Prime Wars or the LEA Labs raid. If you want to tick off that main quest marker or even get yourself a Nutcracker Deviation (one of the rewards), then here’s how to beat the Forsaken Giant in Once Human.
Once Human Forsaken Giant Location and Preparation
You should have no trouble finding this one. It’s part of the main quest and the location, Forsaken Monolith, is just West of Blackfell. Just head to the entrance on the ground floor (right in front of the Teleportation Tower) and go up the stairs. The boss is Level 60, by the way, and seeing as players can only go as high as Level 50, that means you need ample preparation for the fight.
For that matter, I recommend the following preparations and gear:
- Bring Quick Activators
- For Deviations, bring either Festering Gel (healing) or Lonewolf Whisper (DPS and control)
- Equip armor or mods that give increased HP and Movement Speed
- Use a Double Jump or Spring Legs Potion
- Try joining an active Warband so they can help
You can omit some of these, but the potions and the Deviations can make a world of difference in this fight. Additionally, the Forsaken Giant fight has scaling; more players means more boss HP. You might want to take that into account when you fail solo and try again with a group.
Once the preparations are set, it’s time to hop into the actual boss fight tips.
How to Beat the Forsaken Giant in Once Human
As soon as you finish the boss cinematic, the game will place you right in front of the Forsaken Giant and it will be immobile. You can shoot it to commence the boss fight, but before you do that, you might want to perform the following steps:
- If you have a jump potion, drink it.
- Buff up with whatever food or drink you have.
- You might also want to start the fight with a Molotov if you have the Master Tactician Cradle perk to get the buff.
Once the fight gets triggered, you and your teammates need to mind your positioning, or you might die.
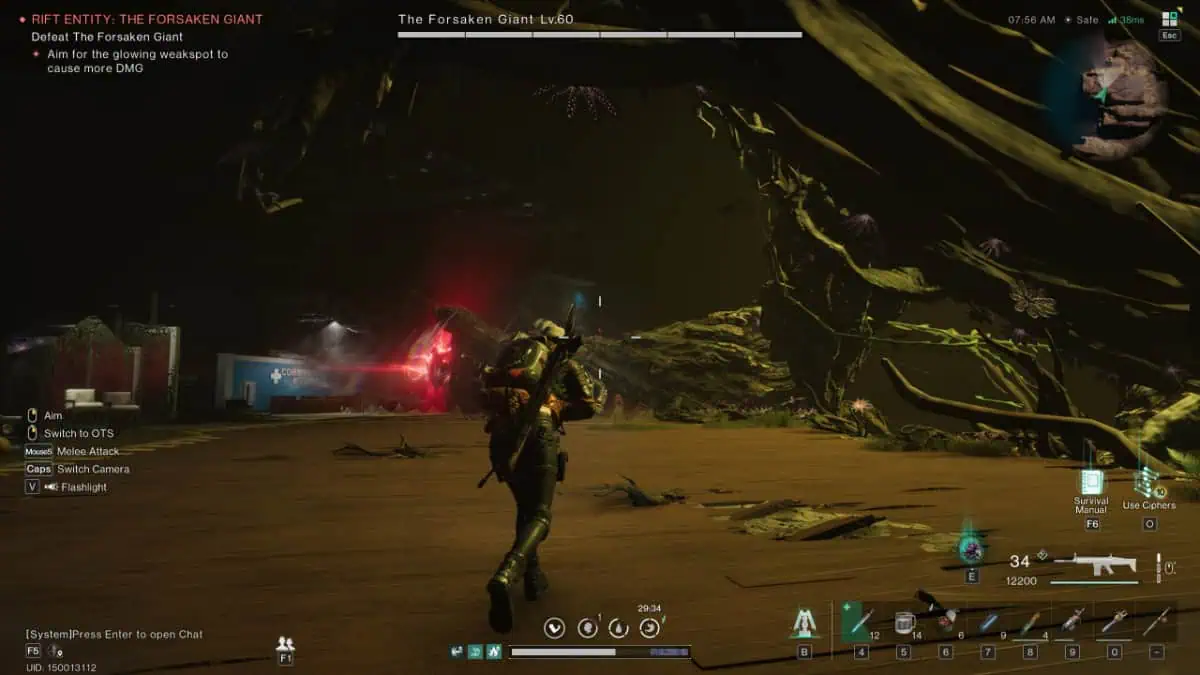
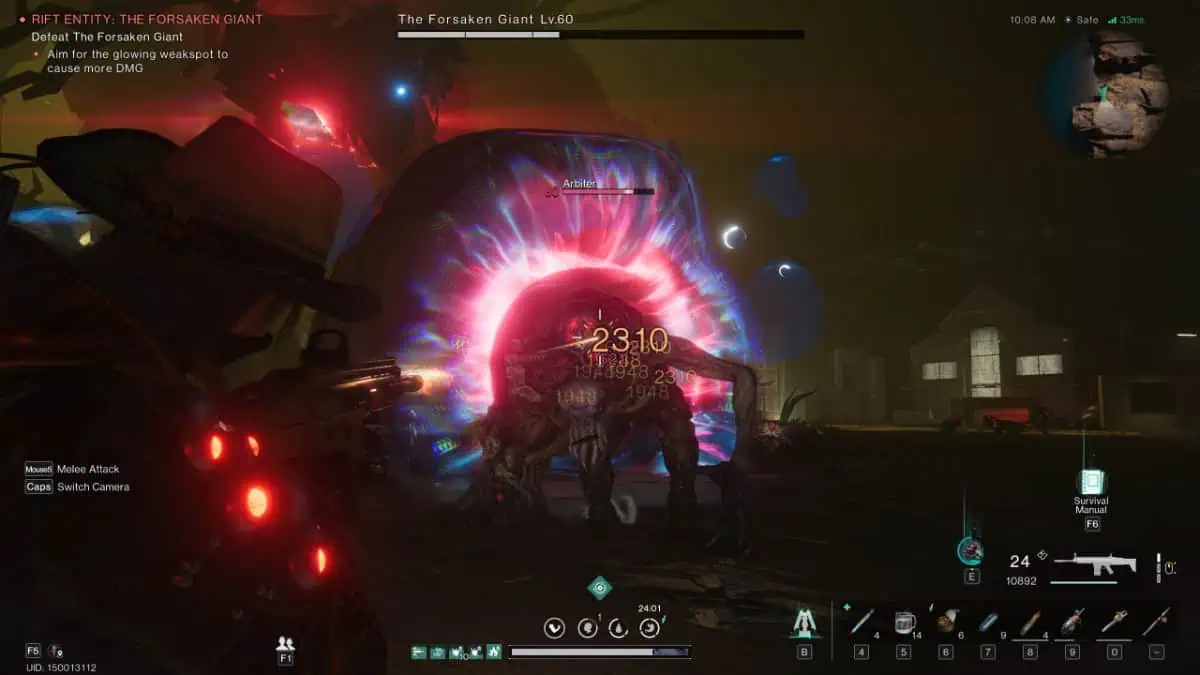
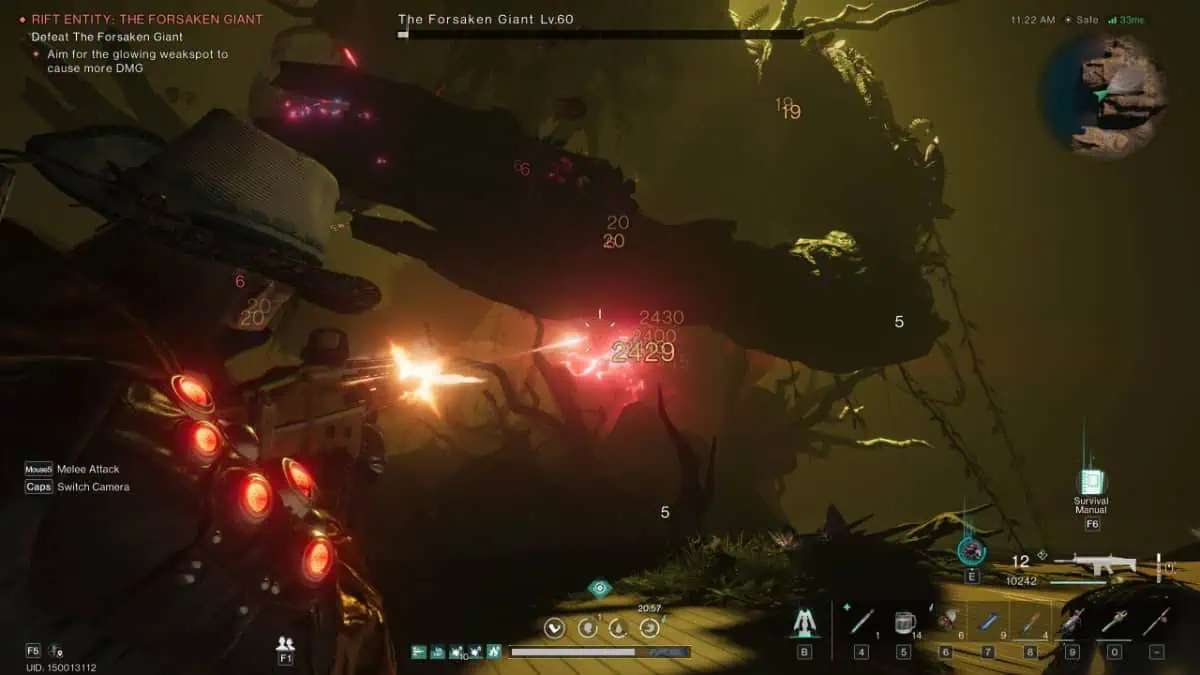
- Initially, the Forsaken Giant will have a glowing red weak spot on either of its shoulders. Shoot this red weak spot.
- After shooting the weak spot, move away. Don’t stay in one area.
- The Forsaken Giant will then perform two of its most devastating attacks and you need to evade them successfully or they might kill you instantly.
Surviving the Forsaken Giant – Evade the Slam and Sweep
The fist slam might occur before you shoot out the shoulder weak spot so be wary of that one. The fist slam attack has two damage instances: the initial slam and the shockwave that comes afterward. Get hit by both and you will get incapacitated.
Luckily, you can jump over the shockwave to evade it. However, getting hit directly by the fist will knock you down, denying you the chance to jump over the shockwave. So make sure you see and anticipate where the Forsaken Giant’s fist will land so you can run away from it.
Usually after the fist slam, the Forsaken Giant will then follow it up with another devasting and potential one-hit-kill attack: the arm sweep. This one is tricky to evade without any jump potion. But if you have taken a double jump or a high jump potion, you can easily evade this move.
If you didn’t have a jump potion, you could still avoid the arm sweep by running away from it. The arm sweep usually doesn’t reach the far opposite side.
Surviving the Forsaken Giant – Be Mindful of the Floor & Enemies
Occasionally, the Forsaken Giant will spawn some minions. It’s important to deal with them as they get overwhelming. This is where the Festering Gel or the Lonewolf Whisper Deviations come in handy, reserve them for this minion phase.
The Forsaken Giant will also mark a player with a red glow (or just you if solo) and the game will give you a message saying the boss is going to destroy the arena. Don’t panic, this only means the Forsaken Giant will attack the areas with the red glowing mark. If a floor you’re standing on gets hit thrice, it will collapse and you will fall off the arena, ending in a game over screen.
So keep moving while you have the red glowing mark to ensure that certain floor areas don’t get hit thrice. At the very least, make sure the middle floor section doesn’t get hit or collapse. Keep practicing these survival moves; once you get used to them, it’s time to focus on damage.
Damaging the Forsaken Giant – Weak Spots and Stuns
Unfortunately, there’s no other way to reliably damage the Forsaken Giant other than hitting its red-glowing weak spots repeatedly. These red weak spots typically appear in the following body parts:
- Back of the hand
- Inner hands
- Shoulder
- Head
- Belly
Don’t shoot if it’s not glowing red, or you’ll just be wasting ammo. Additionally, you can also stun the Forsaken Giant. Some of its tears will fall on the floor as items that you can pick up and throw at enemies.
If you throw the red tears at the Forsaken Giant, you will either stun or stagger him, allowing you a longer chance to shoot the aforementioned weak spots. Beyond that, simply have patience for the weak spots to appear, and don’t forget your defensive reactions. It’s an endurance fight from this point on.

