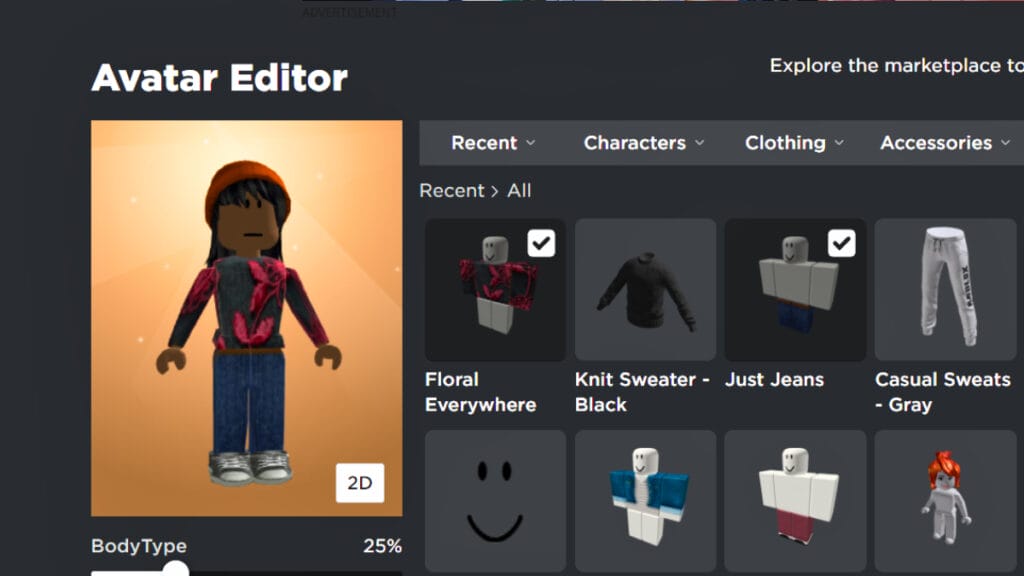
Are you in awe of the Roblox clothing marketplace? Or maybe you think you can do something better or more fitting to your style? As the game thrives on user content, you can make your own clothes on Roblox. It’s not as daunting as it seems, but it does depend on what kind of avatars you wish to make clothes for. There are plenty of talented individuals sporting user-generated avatars. However, let’s keep things simple and create clothing for the classic avatars.
Creating Classic Clothes in Roblox
If you’re ready to tackle Roblox games wearing a unique style, it’s time to get those creative juices flowing. As long as you have a working computer, you can make clothes on Roblox. Every program I mention here is completely free to use, too.
Prepare the Classic Clothes Templates

The best way to make clothes is to use the templates from Roblox found in the Creator Hub. This ensures everything you have will fit on the classic avatars. You can save templates for the shirt and pants. Once you do, head over to a free image editor program. For the sake of my walkthrough, we’ll use Photopea.
When you’re on Photopea, you’ll go through the following steps to prepare your template so you can make Roblox clothes with ease:
- Select “Open from computer” and locate your saved template.
- From the left-hand toolbar, click on “Rectangle Select.”
- You want to highlight all of the squares. Take it one set at a time, and whenever you highlight a square, click the “delete” key to get rid of it.
Find and Place Textures and Designs

Now we can get into the thick of it and make our Roblox clothes. I decided to keep it simple for my first outfit. So, I went to the free image website Pexels and searched for “fabric texture.” There are plenty of free-to-use images you can download to add some realism to your shirt and pants set.
Once you find and save the image you want, it’s time to head back to Photopea with our template and complete these steps:
- Select the “File” tab and choose “Open & Place.”
- Select the move tool and make sure “Transform controls” is checked. Also, move this new layer below the Background layer.
- Adjust the size of the texture layer until it looks how you want it to.
To make the best clothes for your Roblox avatar, leave the bottom blocks on the arms template texture-free. These will be your hands, and unless you want them covered, don’t move the texture layer on them.
The most important tip I can give, though, is to resize your images. When you save and use it in photo editing software, there’s a strong chance it’s too big for Roblox and won’t upload. There are free online programs like Image Resizer that will help. I had my images set to 585 x 559 px.
Tips for Using the Pants Template
For the pants template, don’t place the layer on the top torso section of the template. Just focus on the bottom pants spaces. If need be, you can fit the texture layer to one side, duplicate the layer, and move it to the other side. So that it fits better, select the “Edit” tab, click “Transform,” and “Flip Horizontally.” Also, leave some space on the bottom blocks again so the shoes can show.
Testing and Using Your Roblox Clothes

Before you finish your creation, you can always add more textures, personal logos, words, etc. Do whatever you wish to make your shirt and pants truly yours. When you’re ready, go here: Creation Hub > Creations > Development Items > Decals.
It’s here that you can upload to test the clothes you make before fully implementing them into Roblox. Once you do put them into the game itself, then there’s no going back. So, it never hurts to do a test run.
With the decals uploaded, let’s head to Studio, start a world, and follow these steps:
- Select the “Avatar” tab and “Rig Builder.” Choose any avatar or your own avatar.
- With the avatar selected, you can right-click and delete the clothes.
- Click the plus sign to add whatever clothing you’re testing.
- Go back to the Creator Hub to view your decals. Select the three dots on the image and copy the ID code.
- Back in the Studio, look under “Appearances,” choose the template, and paste the code in the URL box. Once you select the enter key, the clothes should appear on the avatar.
If you like what you see, you can upload your clothes onto Roblox. So, in the Creator Hub, go to “Creations” and “Avatar Items.” Choose what you made and select “Upload Asset.” Once you choose your template, give it a title and description. You’ll need 10 Robux to upload it. When it’s live, it’ll move to your inventory. You can make it available for free or put a price on it. Either way, you’ve successfully made clothes in Roblox.

