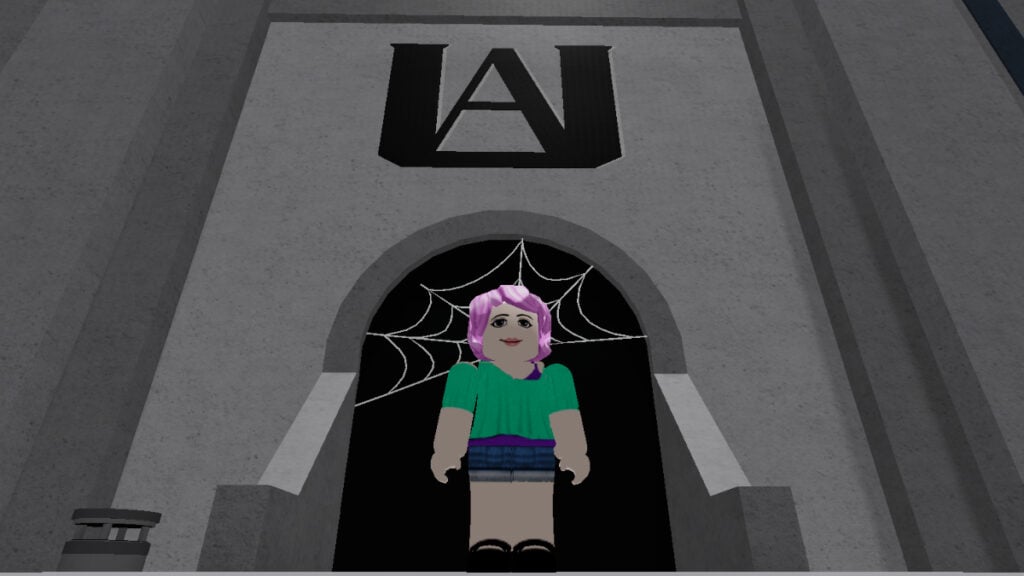
Decals are images you can place on bricks and other objects to add some variety to Roblox. Unlike t-shirts, you can’t wear them around, but they’re still an essential part of customizing the game to suit your unique style. Although keeping them for yourself is an option, you can also give them away to other players. There’s no better way to express yourself and flex your creative side, assuming you take the time to learn the ins and outs of these blocky beauties. Here’s how to make Decals and spice up life in Roblox.
Roblox Decals Guide
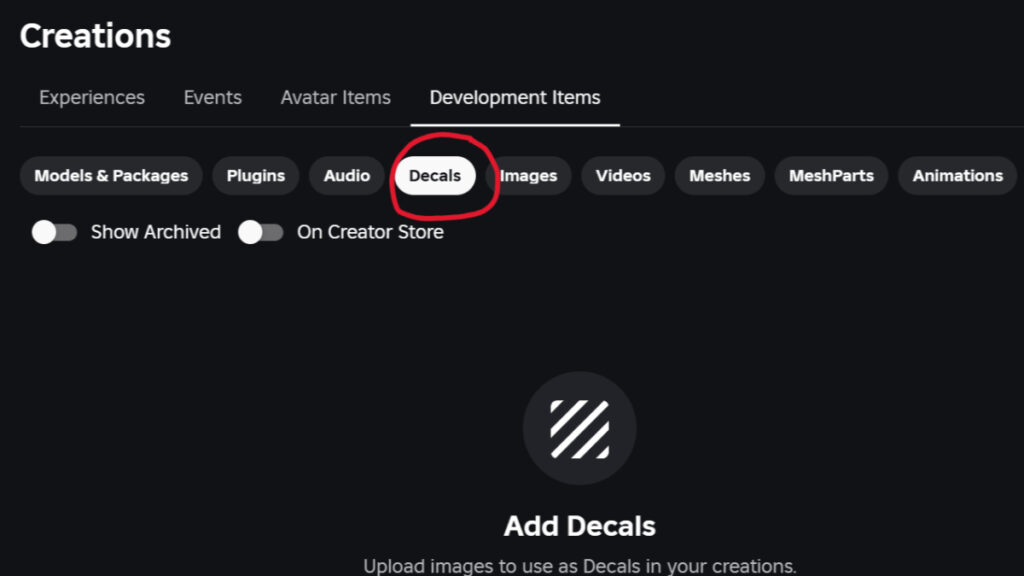
To create Decals in Roblox you’ll need to use a PC or Mac. Studio isn’t accessible on mobile. The actual creation process isn’t hard, although there are multiple steps. You’ll also need to configure your new Decal before it’s ready for distribution in the Creator Store. Here’s what you need to do to get this creativity train chugging:
- Go to the official Roblox website
- Navigate to “Create” to enter the Creator Hub
- Select “Creations” (on the left side of the screen)
- Select “Development Items”
- Select “Decals”
- Click “Upload Asset”
- Make sure the Asset Type is set to “Decal”
- Select the image you want to use
- Name the Decal and add a description if you want
- Click “Upload”
The image you upload must be a jpg, png, tga, or bmpMax and can be no larger than 20 MB. The image must also be smaller than 8000×8000 and will be downsized if larger than 1024×1024. After the image passes moderation, it will be visible to others, preventing players from flooding the game with inappropriate images. It can sometimes take a few minutes for the image to display correctly once uploaded. You may need to refresh a few times before your Decal appears in all its glory. Now go forth and decorate the world.

