
Among the different types of intel that Chadley asks you to collect in Final Fantasy 7 Rebirth, you’ll want to prioritize fiend intel. These are areas on the map that have groups of enemies that Chadley wants you to fight against. Each fight has three parameters that you need to meet to get the full ten points for that region’s intel. After you’ve fought them all off, a boss appears. Fortunately, I have you covered on what to expect.
All FF7 Rebirth Fiend Locations

The different fiend intel that you can collect in Final Fantasy 7 Rebirth gives you a chance to hone your combat skills. Using the Assess materia, you can also find out more information on them and their weaknesses. Once you’ve battled the enemies in these locations, you’ll be allowed to go back and redo the fight for any reason. This is so even if you’ve already completed the combat assignment fully.
Grasslands

The Grasslands has a total of six fiend intel locations and one boss named Quetzalcoatl. I recommend being at Level 22 before trying to fight any of these enemies. The parameters you need to meet as well as what level you should be before you fight them are as follows:
- Venorat – Level 17
- Pressure an enemy.
- Stagger an enemy.
- Avoid being poisoned.
- Emnidunk – Level 18
- Pressure an enemy.
- Stagger an enemy.
- Defeat all enemies within the time limit.
- Mi – Level 18
- Pressure both fire- and ice-imbued enemies.
- Stagger an enemy.
- Defeat all enemies within the time limit.
- Mandrake – Level 18
- Prevent enemies from using Quick Nap.
- Stagger an enemy.
- Defeat all enemies within the time limit.
- Aggrevrikon – Level 19
- Pressure an enemy.
- Stagger an enemy.
- Defeat all enemies within the time limit.
- Quetzalcoatl – Level 22
Junon

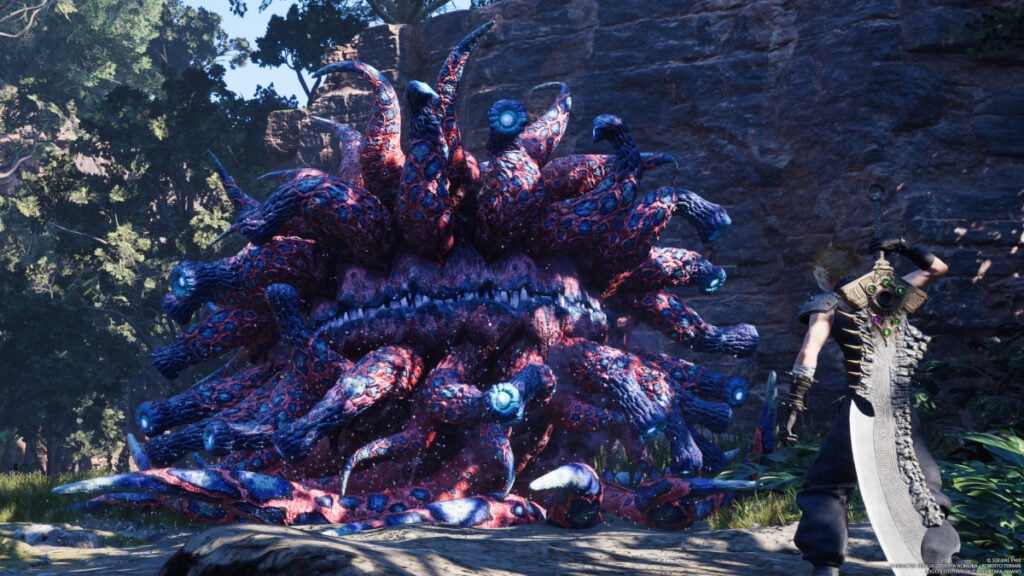
In Junon, you’ll be going against four fiends and a boss named the Mindflayer. I would recommend being at Level 26 before taking on this project. As I explained, the fiends each have three parameters that you need to meet in order to successfully defeat them:
- Fonadu – Level 23
- Pressure an enemy.
- Stagger an enemy.
- Defeat all enemies within the time limit.
- Whymzelett – Level 22
- Stagger an enemy.
- Prevent enemies from taking flight when using Soothing Breeze.
- Defeat all enemies within the time limit.
- Lavalisk – Level 22
- Pressure an enemy.
- Stagger an enemy.
- Defeat all enemies within the time limit.
- Stormwing – Level 21
- Pressure an enemy.
- Stagger an enemy.
- Defeat all enemies within the time limit.
- Mindflayer – Level 26
Corel Region

The Corel Region has a total of six fiend intel locations as well as an unsuspecting boss named the Tonberry King. Before tackling any of these enemies, I recommend being at Level 31 to make it easier.
- Shankhalopod – Level 25
- Pressure an enemy.
- Stagger an enemy.
- Defeat all enemies within the time limit.
- Heliopara Terpsicolt – Level 26
- Pressure an enemy.
- Stagger an enemy.
- Defeat all enemies within the time limit.
- Saberhawk – Level 30
- Stagger an enemy.
- Don’t get stunned.
- Defeat all enemies within the time limit.
- Duneworm – Level 31
- Stagger an enemy.
- Defeat the enemy without getting swallowed.
- Defeat the enemy within the time limit.
- Bladefin – Level 30
- Pressure an enemy.
- Stagger an enemy.
- Defeat all enemies within the time limit.
- Silver Chimera – Level 31
- Exploit an enemy’s weakness.
- Stagger an enemy.
- Defeat all enemies within the time limit.
- Tonberry King – Level 31
Gongaga

The Gongaga region also has six fiend intel encounters and a boss named the Great Malboro. The toughest enemy is level 38, so you’ll want to be there before taking any of them on.
- Pastel Amphidex – Level 31
- Stagger an enemy.
- Don’t turn into a frog.
- Defeat all enemies within the time limit.
- Brumeflower – Level 32
- Stagger an enemy.
- Defeat all the enemies within the time limit.
- Defeat the enemies before they fully evolve.
- Grandhorn Warden – Level 35
- Pressure an enemy.
- Stagger an enemy.
- Defeat all enemies within the time limit.
- Savage Grandhorn – Level 34
- Pressure en enemy.
- Stagger an enemy.
- Defeat the enemy within the time limit.
- Maloceros – Level 35
- Interrupt an enemy while they are using Concentrate.
- Stagger an enemy.
- Defeat the enemy within the time limit.
- Fulvum Varanus – Level 34
- Pressure an enemy.
- Stagger an enemy.
- Defeat all enemies within the time limit.
- Great Malboro – Level 38
Cosmo Canyon

There are seven fiend intel spots to find in the Cosmo Canyon region. You’ll want to be at least at level 45 before taking on any of these enemies.
- Sahagin Warrior – Level 38
- Stagger an enemy.
- Don’t get petrified.
- Defeat all enemies within the time limit.
- Drohdroh – Level 37
- Stagger an enemy.
- Unleash a limit attack,
- Defeat all enemies within the time limit.
- Shirdal – Level 39
- Exploit an enemy’s weakness.
- Stagger an enemy.
- Defeat the enemy within the time limit.
- Pyrowire – Level 38
- Pressure an enemy.
- Stagger an enemy.
- Defeat all enemies within the time limit.
- Bashfulisk – Level 38
- Pressure an enemy.
- Stagger an enemy.
- Defeat all enemies within the time limit.
- Elder Golen – Level 39
- Pressure an enemy.
- Stagger an enemy.
- Defeat all enemies within the time limit.
- Jabberwock – Level 45
Nibel Region

The Nibel Region only has four fiend intel locations and a boss named King Zu. As opposed to the region prior, you should be at Level 43 before taking on these fiends.
- Pyretail – Level 40
- Pressure an enemy.
- Stagger an enemy.
- Defeat all enemies within the time limit.
- Carnifex – Level 41
- Pressure an enemy.
- Stagger an enemy.
- Defeat all enemies within the time limit.
- Marquis Valron – Level 41
- Pressure an enemy.
- Stagger an enemy.
- Defeat all enemies within the time limit.
- Suevite Disgorgon – Level 42
- Pressure an enemy.
- Stagger an enemy.
- Defeat all enemies within the time limit.
- King Zu – Level 43
Final Fantasy 7 Rebirth is available now on the PS5.