
The Dirge of Bilqis quest in Genshin Impact is the sequel to the Golden Slumber quest line, so it must be finished before you can begin this guide. The quest involves speaking to Katheryne in Sumeru City in order to begin the quest, then completing a series of 6 different quests that will take you on a wild ride. These quests will take you through quite a few steps, so be ready to spend a decent amount of time on this quest line. Keep reading for a full guide on The Dirge of Bliquis quest line in Genshin Impact.
Genshin Impact: How to Complete the Dirge of Bilqis Quest Line
Quest #1 – Wisdom Has Built Her House, She Has Hewn Out Her Seven Pillars
This portion of the quest requires a lot of running around and talking to NPCs, so be sure to pay close attention
- Head to Sumeru City, then speak to Katheryne
- Make your way over to the Tanit Tribe, then speak with Jeht
- Speak with Aderfi
- Speak with Masseira
- Speak with Yuften
- Head back to speak to the Tribe’s Matriarch
- Join up with Jeht to help Yuften
- With Jeht still, feed the crocodiles
- Head back to Yuften and talk
- Give the goods you collected to Aderfi
- Head to Jeht’s house
Dirge of Bilqis Genshin Impact Quest #2 – The Temple Where Sand Flows Like Tears
- Head to the temple that lies outside of Gurabel
- Head to the temple’s gate
- Activate the device there, opening the gate
- To do this, you’ll need to change the direction of the light beam by attacking the Rune until the beam falls on the door device that is next to Azariq
- Head inside the temple
- Activate the device inside the temple
- At the temple’s center, there will be a giant device; touch it
- Attack the rune in order to activate the door device like you did for the temple’s gate
- Head in through the opened gate and complete the rune puzzle
- Head forward until you get to a room with a waypoint and a chest
- Clear the puzzle in this room, then continue on through the next door
- You will find yourself in a room that has a large crack through the center of it
- Jump through the crack
- Attack the rune device again in order to unlock the door and head through it
- You will find yourself back at the temple
- Use the rune device in order to redirect the light bean to the sand pile that covers the large device to clear it
- Use the rune device to activate the door device that you just cleared of sand
- Head through the door
- Clear the puzzle to access the next room, then open the gate and do it again in the next room
- The next room you come across will have a waypoint inside
- Clear the puzzle in this room, then exit through the door that uses the door device
- The quest marker will show you how to get back to the temple
- Follow it
- Using the rune device, scatter sand on the large divide, then redirect the beam of light to the door that is marked
- Head inside the newly opened door
- Defeat the mechanical enemy that is within the new room and clear the puzzle within the room
- Open the next door and keep running through to the next room with a waypoint
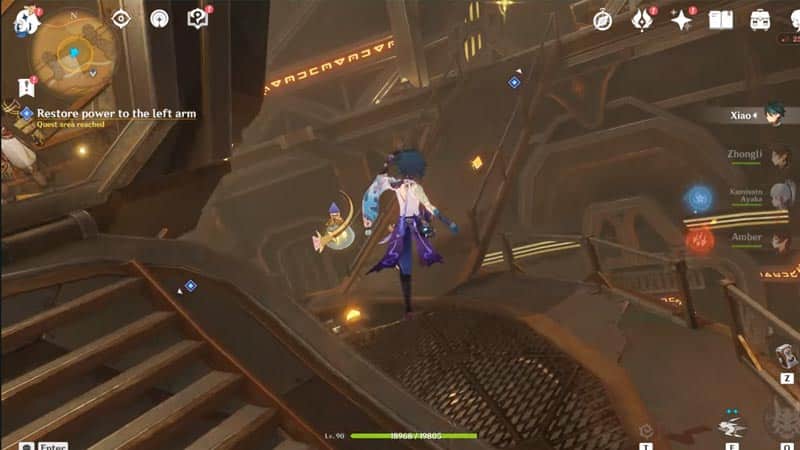
- You’ll find another rune device at the top of the stairs that must be activated to activate the device on the opposite side of the room
- Head down the hole that is opened now, activate the device down there, then climb back up
- Now, use the rune device again to disperse the pile of sand to the right of it, and activate the door device beneath it
- Head through the door and head down the hallway until you find the next rune device
- Open the door there and find yourself back in the temple once again
- Remove the last pile of sand using the rune device there and active the giant device that sits at the temple’s center
- Exit the temple and go to the marked location
- Venture into the ruins that are on the opposite side, open the door, then head inside
- Keep going until you reach Liloupar’s Cell which has a big tree in the center
- Fight and beat Asoushbord: Forgotten Mechanical Guardian
- Interact with the shiny object within the tree
- Head up toward the waterfalls and through the canyon until you’ve reached the ambush point
- Beat all of the Eremites, and then go to their camp
- Clear the camp and collect the 3 marked letters
- Head back to the Tribal Settlement and speak with Babel
- Speak with Azariq and Jeht
- (Optional) Beat Azariq in a game of Genius Invocation TCG
Quest #3 – Dune Entombed Fecundity: Part 1
- Speak with Jeht and Azariq once again at the camp, then head to the settlement to speak with Babel
- Head to Eternal Oasis in Mt. Damavand and descend into the location
- To begin the cutscene, you’ll need to approach the entrance
- A few enemies will spawn; defeat them
- Once you’ve entered into Mt. Damavand, head to the Temple of Buried Dominion
- Investigate the Eremite Camp
- Keep heading forward until you approach a mechanism
- Investigate this mechanism, then active it
- Head in through the door you opened with the mechanism and activate the next mechanism
- A cutscene will begin
- Head to the marked mechanism and active the one that lies opposite it
- Head into the new room and turn the cell of the light pillar, unlocking the outside mechanism
- Head back outside and activate the mechanism. you just unlocked
- Head farther into the mountain to where the next marker is
- Next to the new location, there will be a mechanism next to the new door that you should unlock
- Head inside the new door, where you will find a large pit
- You won’t be able to get through, so you’ll have to find another way to get into the central area
- Head back down the hole and go farther
- There will be Mechanical Constructs that are in front of the door, which you must defeat
- Head in through the door that was once blocked by the Mechanic Constructs and turn to the right to collect Liloupar’s Fragment
- Head in farther past the Primal Obelisk and head into the room with the Scorpion enemy that you must defeat in order to get through the next door
- Activate the mechanism at the end of the stairs, then activate the large mechanism
- Destroy the Mechanical Constructs before they can damage the mechanism and head through the door to the exit
- Return to the surface
Quest #4 – Dune Entombed Fecundity: Part 3
- Head up to the marked location after you’ve gotten back to the surface
- Activate the robot at the marked location and view the cutscene that begins after
- Activate the robot, then click anywhere on the screen and activate the robot again for a third time. However, this time, you should aim for the rocks that display a sparkling effect
- Head to the lower floor
- Fight and defeat Azariq and his men
- Defeat Aderfi and the Fatui
- Head back inside of the large robot, then enter the exposed tunnel
- Head in deeper until you’ve found the valve device
- Use the valve device
- Head farther past the waypoint and to the Court of Withered Life
- Go inside the Ancient Gate
- Solve the puzzle within the Ancient Gate and head through the next door that unlocks
- Head down until you reach a floor that has a Mechanical Construct guarding it
- Head to the end of that room and collect Liloupar’s Fragment
- Activate the Valve device there and move onto the platform that contains the main device
- Defeat the enemies that spawn in order to protect the device, then head up to the platform
- Defeat Ferigees, the Guardian of the Eternal Oasis
- Active the Elevator there
- Head to the Eternal Oasis
Dirge of Bilqis Genshin Impact Quest #5 – The Eternal Dream, Ever Lush
- Continue on to the Paradise of Eternal Peace
- Head to where the Goddess of Flowers sleeps
- Collect Liloupar’s Fragment, then head out to find Jeht in the Eternal Oasis
- Speak to Jeht, then Liloupar
- Convince Jeht to go and report your findings back to Babel in the Settlement
Related:
Where to Find the Wenut Tunnels Location in Genshin Impact
This is everything you need to know in order to complete the full Dirge of Bilqis quest guide for Genshin Impact. Be sure to check back for more useful guides, and as always, be safe and have fun!


