
Want to know how to complete Misko’s Treasure: The Fierce Deity side quest in Zelda Tears of the Kingdom? Although you will get a lot of powerful weapons and armor as you progress through the Tears of the Kingdom story, finding the rarest sets is a side goal for any player. Sure, you can get a lot of Pristine weapons in Hyrule Depths, but finding the Fierce Deity set will take a lot more effort. However, if you have already found a bottle with a message, you only have to walk around Hyrule to complete Misko’s Treasure: The Fierce Deity in Zelda Tears of the Kingdom, and we will help you.
Zelda Tears of the Kingdom: Misko’s Treasure: The Fierce Deity Walkthrough
First, to accept Misko’s Treasure: The Fierce Deity, you must complete the previous quest called Misko’s Cave of Chests. In short, you must help Domidak and Prissen find the real treasure among the many fake ones. The dog near the cave will help you with this. Once you do that, you will receive Ember Trousers and find a strange bottle with a message. After opening the bottle and reading its contents, you will learn about a legendary sword and accept Misko’s Treasure: The Fierce Deity quest.
As we said earlier, you must visit a few points on the Hyrule map to complete Misko’s Treasure: The Fierce Deity in Zelda Tears of the Kingdom. You’ll find one piece of Fierce Deity armor at each point, and once you’ve collected them all, you’ll gain access to a stash containing the legendary Fierce Deity Sword. Next, we will explain in more detail how to find each piece of armor.
Fierce Deity Boots
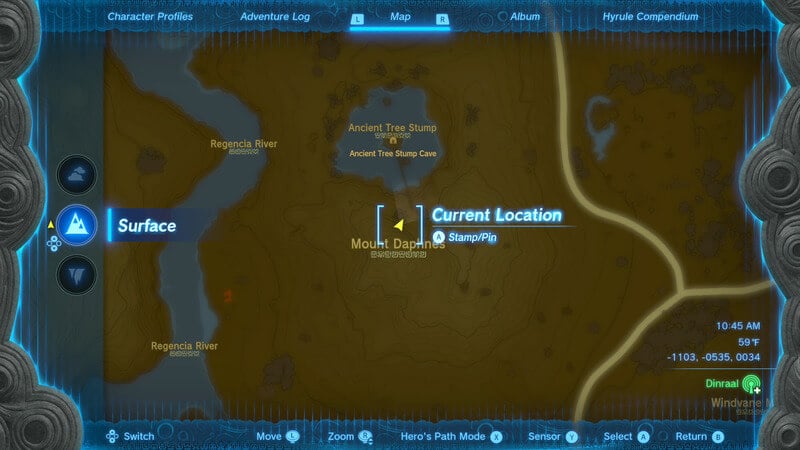
- Head to the east side of Hyrule Field to a small lake north of Mount Daphnes and east of Regencia River.
- Cross the tall wooden bridge to the Ancient Tree Stump in the middle of the lake.
- Jump into the hole and use the Paraglider to go down (beware of the roots so as not to die).
- Go along the root into the cave parallel to the wooden bridge on which you went to the stump (orient yourself on the map).
- Climb the big root to the top and enter the room with the small temple.
- Open the chest and take Fierce Deity Boots.
Fierce Deity Armor
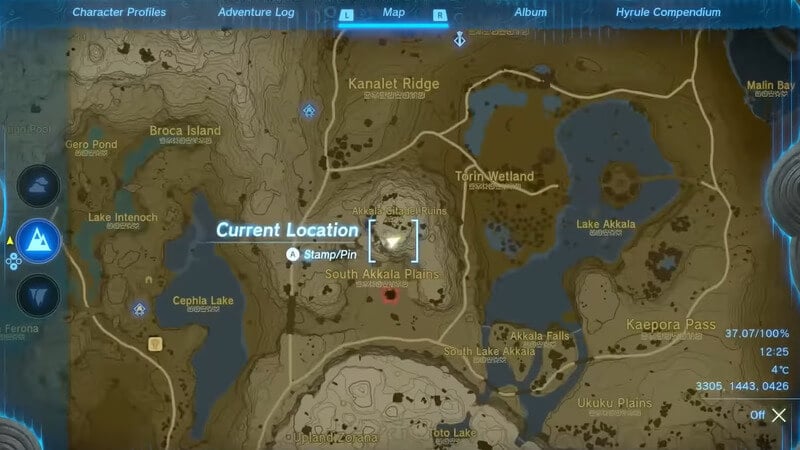
- Travel to the southern part of the Akkala region to the Akkala Citadel Ruins location.
- Go to the southwest corner of the building and crawl through the small hole in the wall.
- Jump down the hole in the floor and grab the Fierce Deity Armor from the chest in the small temple.
Related:
How To Get Soldier’s Armor in Zelda Tears of the Kingdom
Fierce Deity Mask

- Head to the northern part of Deep Akkala to Skull Lake.
- Use the Paraglider to reach the right eye and jump down the hole.
- Go deep into the cave along the road killing all the skeletons on your way. You will also have to destroy one stone wall.
- After destroying the wall, climb up the hill in the center of the cave and take the Fierce Deity Mask from the chest in the small temple.
Fierce Deity Sword – Quest Final
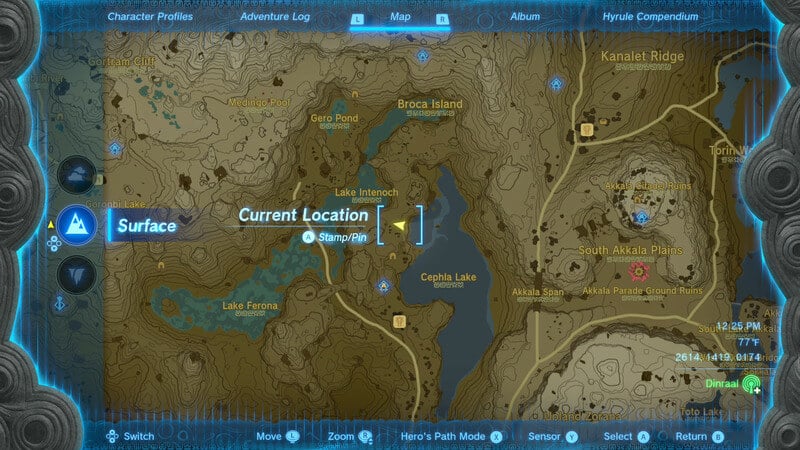
- After collecting all the parts of the Deity Sword armor set, equip it and go to the cave near Cephla Lake, which started your today’s journey.
- A secret passage will open to your right once you enter the cave.
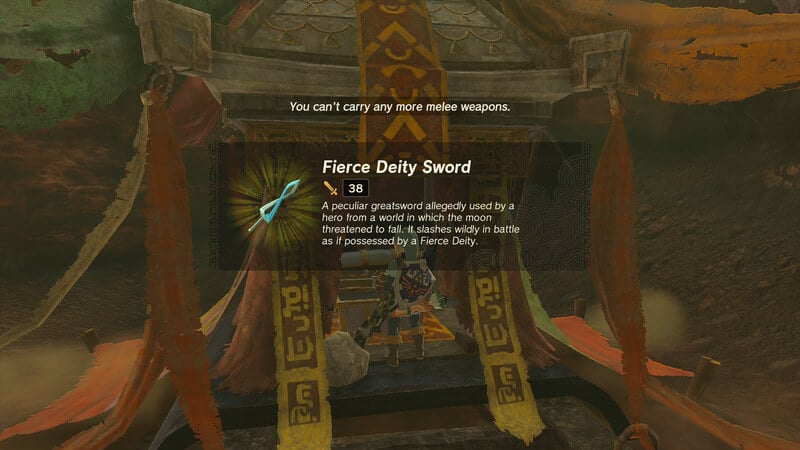
- Enter the secret room and take the Fierce Deity Sword from the chest. At this point, you will complete Misko’s Treasure: The Fierce Deity side quest and get some great armor and weapons with a base damage of 38.
Tears of the Kingdom is available on Nintendo Switch.


