
If you are wondering what the collars you’ve been gathering from mutants are for in Stalker 2, you can discover its use during the In the Name of Science quest. You can only start this mission by giving Shcherba the scientific documents you found during the In Search of Past Glory quest. In this mission, you must gather five more collars from the mutants in the Zone. Afterward, you must enter another abandoned building to make the device work.
How To Complete In the Name of Science in Stalker 2
You must hunt five mutants and grab their collars to complete the In the Name of Science quest in Stalker 2. Four require you to defeat a monster while one is an optional fight since a group of mercenaries will claim the collar. Here are your targets and their locations:
- Boathouse – Wild Island: Psy Bayun
- Hydrodynamics Lab – Zaton: Controller
- The Brood – Garbage: Snork
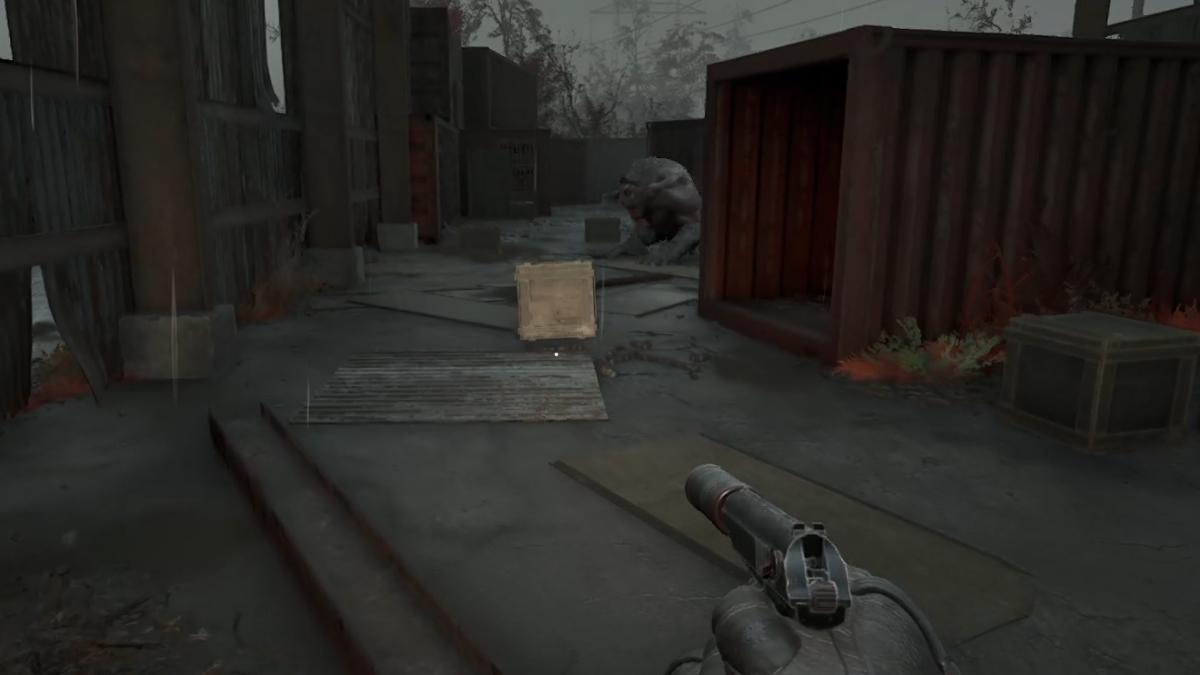
- Containers – Red Forest: Pseudo Giant
- Brain Scorcher – Malachite: NPCs
Out of all the monsters, you must face the Controller and the Pseudo Giant, which are the most challenging. Although the Pseudo Giant is alone, it is arguably the hardest mutant to kill in the Zone due to its massive HP. The Controller is a familiar enemy, but this monster will be hiding inside a building filled with zombies.
The easiest collar to get is located at the Brain Scorcher Anomaly. Unlike the rest, a group of mercenaries has claimed the device from the mutant. The man won’t give it to you for free. You can either pay him or kill him to get the item. I recommend paying him unless you want to enter a gunfight.
How To Find the Device That Jams the Collar Signals
Once you have all the collars, you can return them to the Roofed Warehouse to give them to Shcherba. Unfortunately, something is jamming the signals and preventing the device from working. You must explore an abandoned building to fix this issue during the In the Name of Science quest.
The Storage on the Hill is filled with zombies and other mutants so ensure you’re prepared. Once you’re inside, you can follow these steps to complete the In the Name of Science quest:
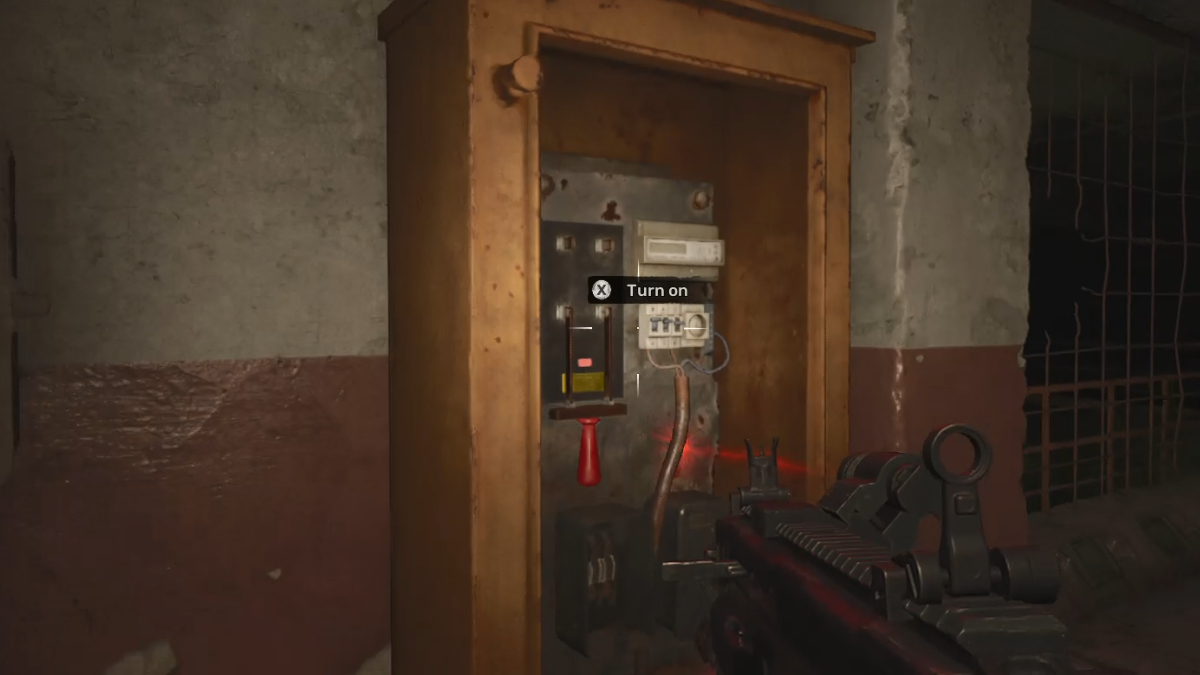
- Kill the zombies and enter the room to your right to flip the switch.
- Pass through the iron door to your right and follow the passage.
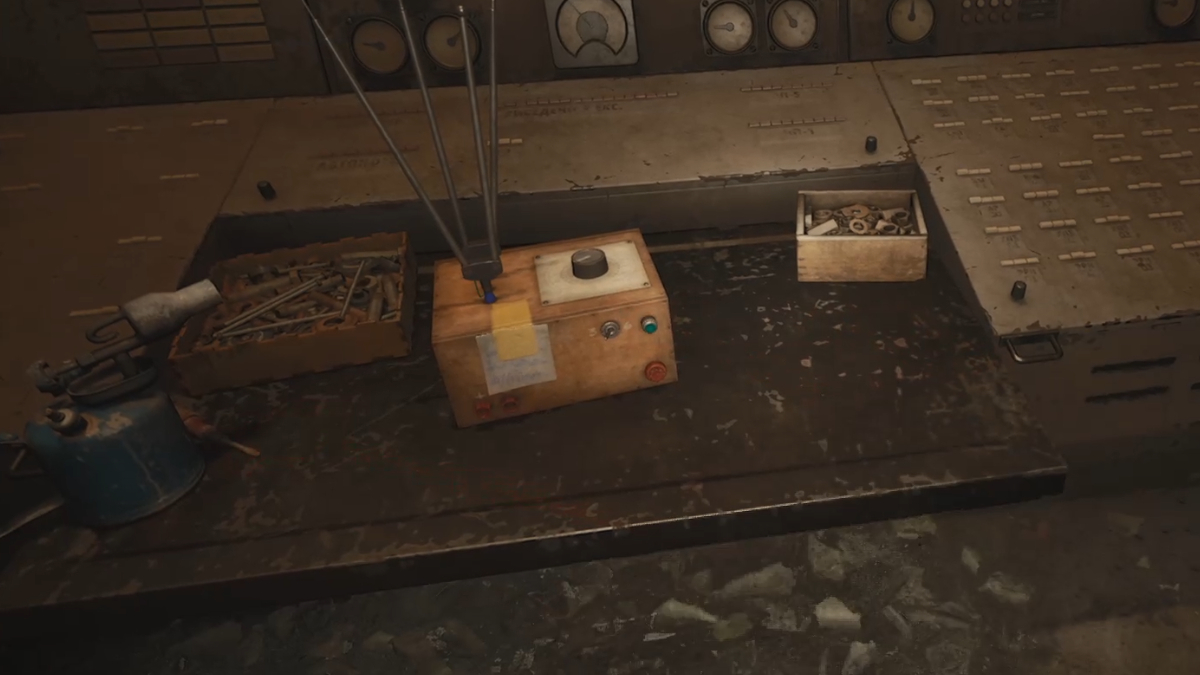
- In the room with acid anomalies, you can find the second switch.
- Pass through the bulkhead door and go down the stairs.
- Before jumping down the ledge, prepare to fight some mutant rats.
- In the next chamber, you must defeat two Poltergeists.
- Use the ladder and pass through the open door to find the jammer.
Should You Disable or Recalibrate the Jammer?
After listening to the recordings left behind, you can understand the reason behind the jammer. You have two decisions that you can take during the In the Name of Science quest:
- Disable the jammer to activate the collars: Shcherba rewards you with some Coupons, but you have to fight three Bloodsuckers. However, you can get a Gauss Gun after dealing with Shcherba.
- Recalibrate the jammer to shut down the collars: Dvupalov rewards you with Coupons, but you don’t get a Gauss Gun.
I recommend disabling the jammer if you’re not afraid of fighting Bloodsuckers. This will give you a powerful weapon called Gauss Gun. When confronting Shcherba afterward, I suggest sparing the man so the scientist faction won’t be hostile toward you.


